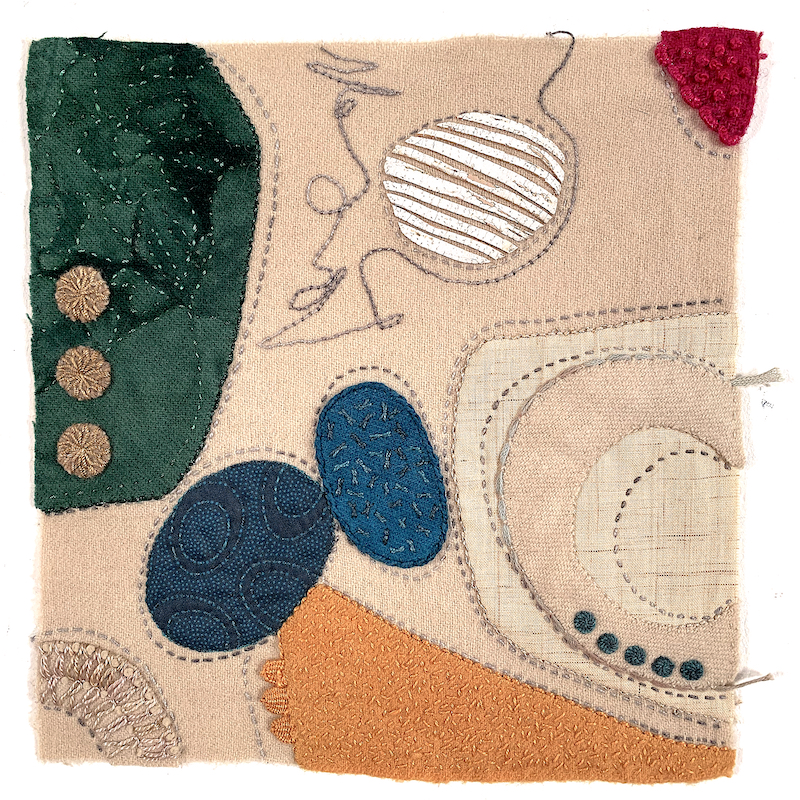
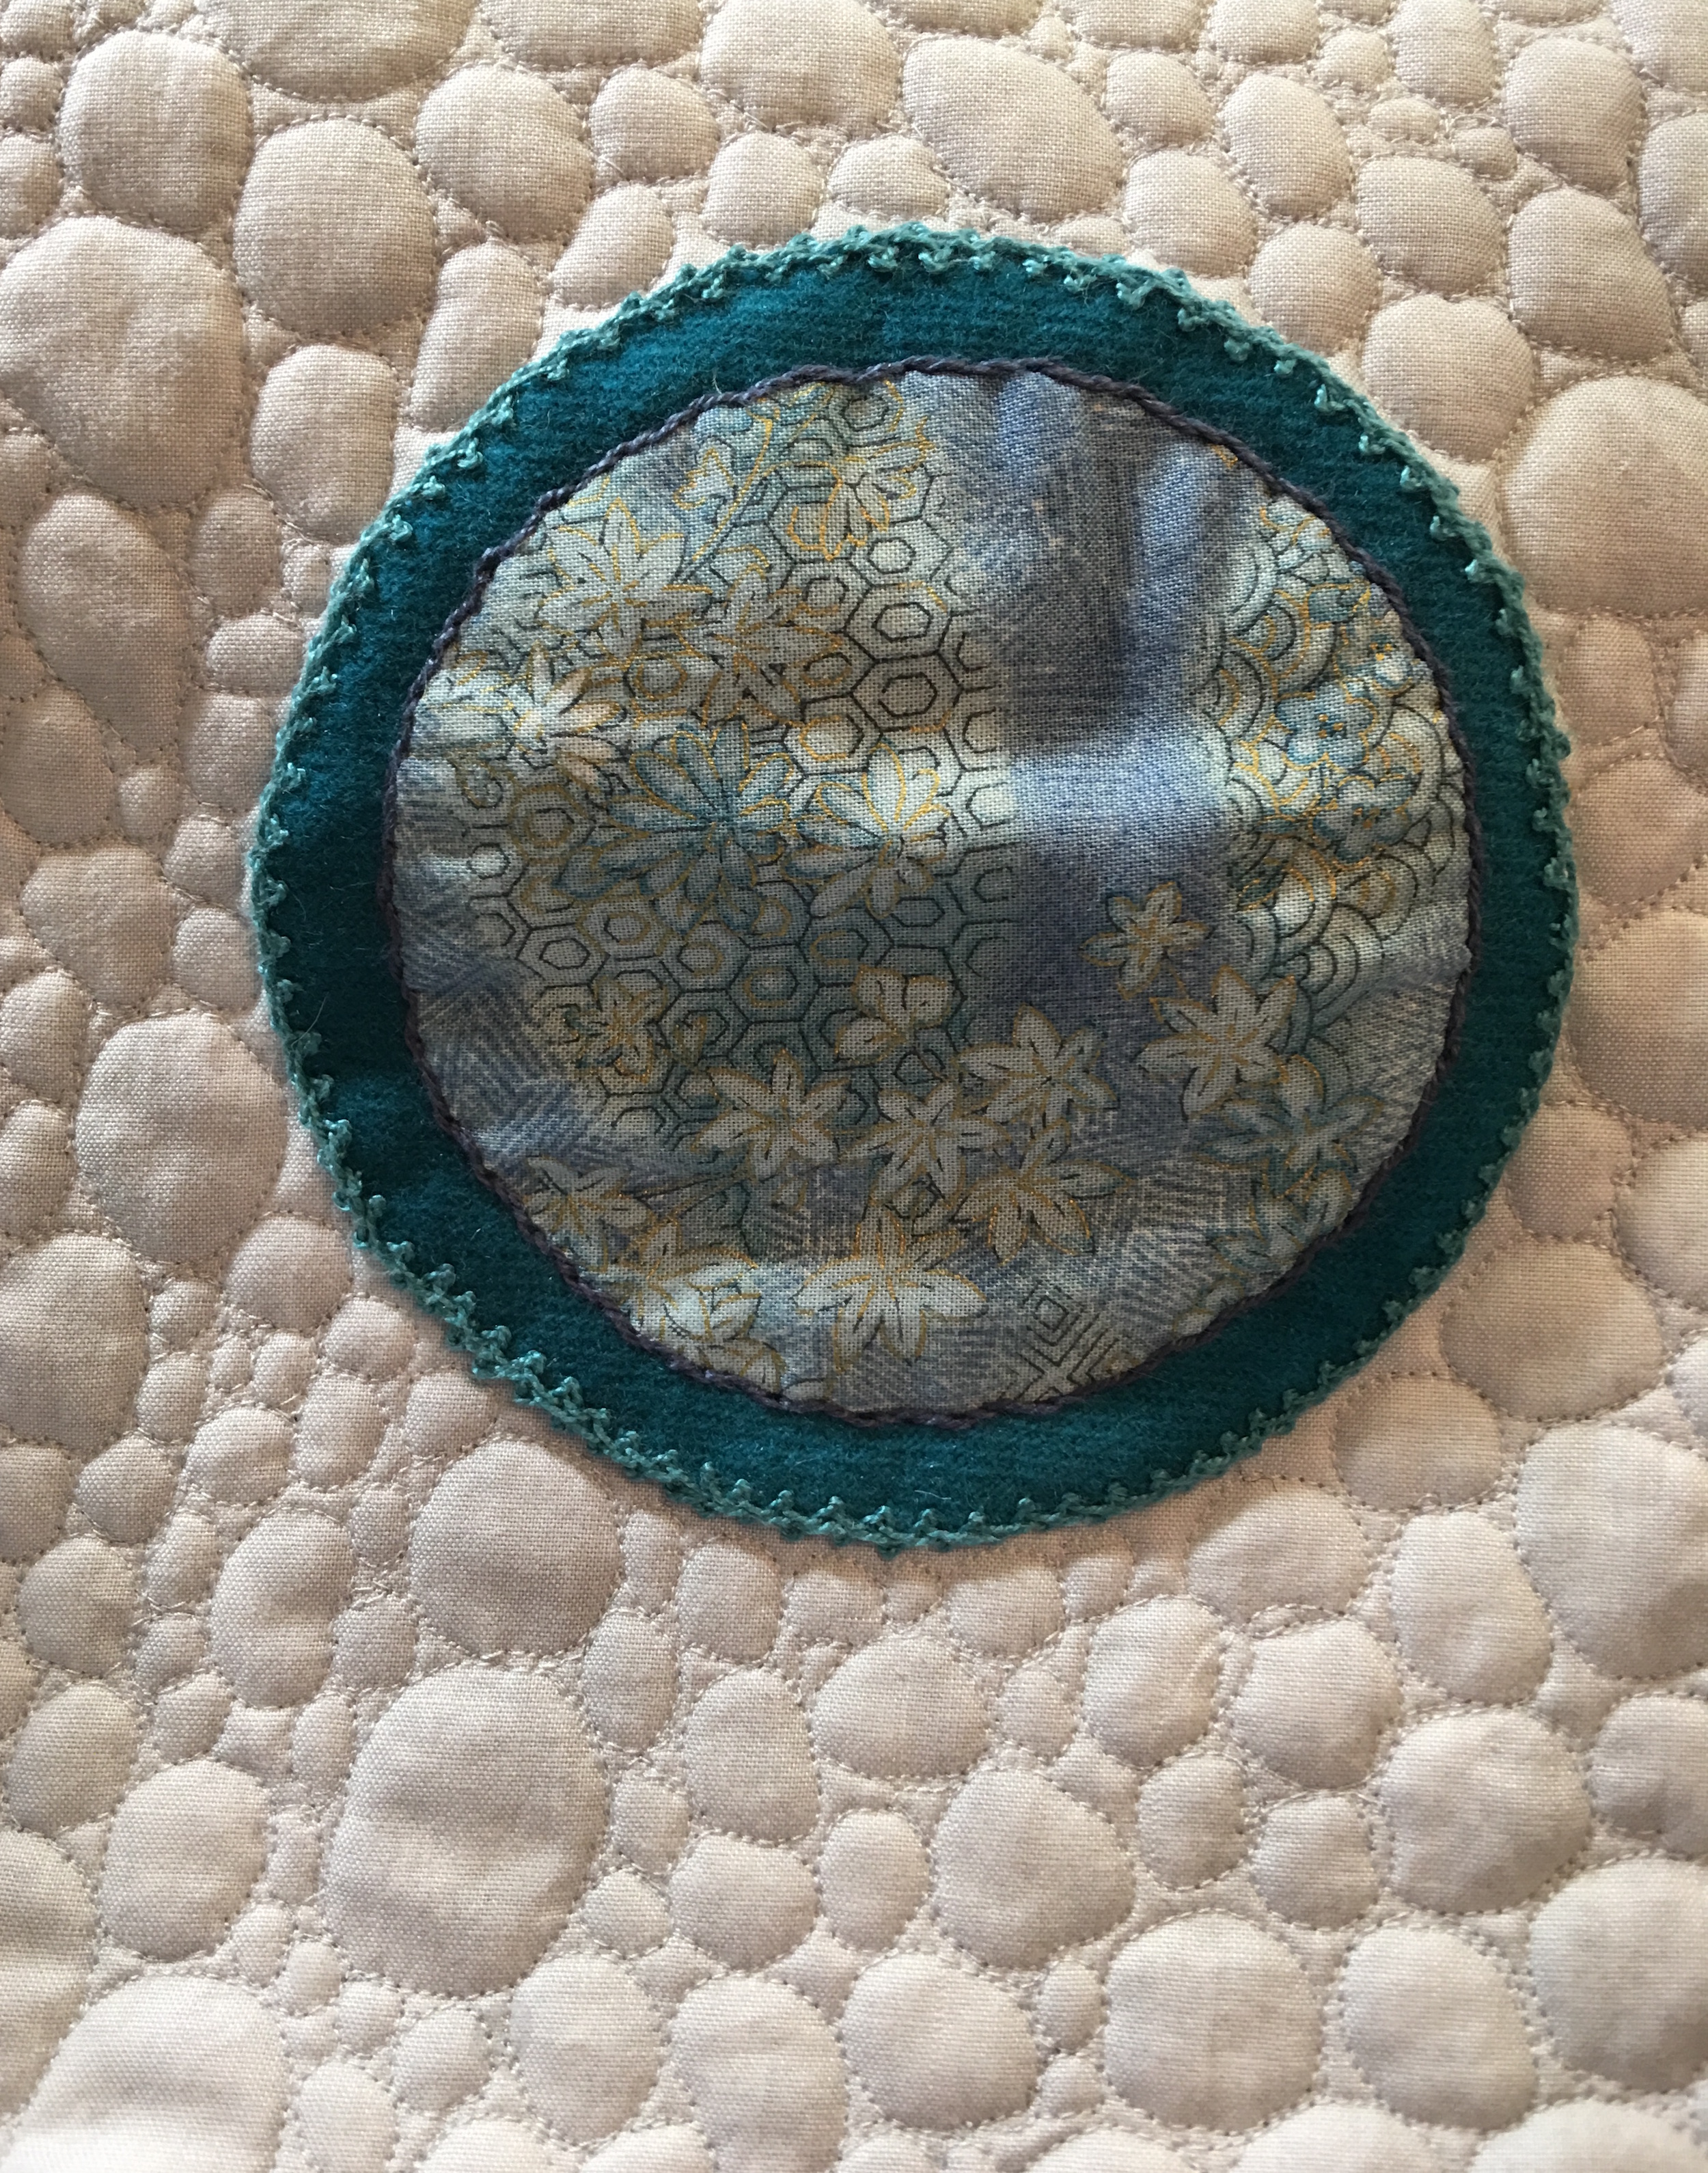
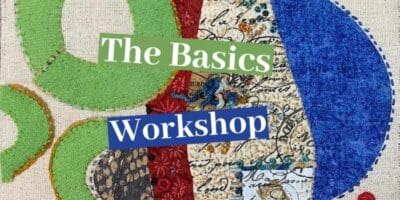
A month ago I taught a 2-hour stitching workshop exploring shapes and stitches at my quilt guild. It was a huge success, and lots of fun! I prepared squares of wool and precut circles in different sizes. More than 20 people attended and each person got to pick a wool square and some circles, which they then whipstitched on to their wool base. As most of the participants already knew how to do some of the more basic stitches such as the Running Stitch and Backstitch, I taught how to do the Bullion Knot and a Cast On Bullion stitch. (We only had two hours) It was a lot of fun! I really, really love teaching.
Through one of the participants (who also happens to be a friend) of that workshop I was introduced to one of the owners of the last remaining quilt shop in New York City, Gotham Quilts – New York City’s Quilt Shop. It was a terrific meeting and as a result of that meeting, I will be teaching a 6-hour Creative Stitching workshop playing with shapes using many of Sue Spargo‘s techniques in April. If you’d like to sign up for it, you can, by clicking ‘here‘. The workshop is on April 25th from 11:30 – 6. Everyone will get a “kit” which will include precut circles, a wool square base, wool thread to whipstitch the shapes onto the background, needles, lots of different kinds of threads to play with, tons of Perle Cotton threads, a piece of silk velvet, some stabilizer for the silk velvet, a sampling of beads, buttons and silk ribbon. I am SO excited and hope some of you will join me!
For those of you unfamiliar with Gotham Quilts, it opened in 2014 and is located at 40 West 37th Street between 5th and 6th Avenues in the heart of Manhattan and just a block from the Garment District. Two friends, Andrea and Ivete, own and run it. Over the years they have expanded what began as a tiny shop on the second floor, to a multi level space, carrying a wonderfully curated selection of fabrics and notions as well as Bernina Sewing Machines. They are now open six days a week, everyday but Sunday, from 11 – 6, and on Thursdays until 7pm.
Gotham Quilts
I hope to see some of you there!
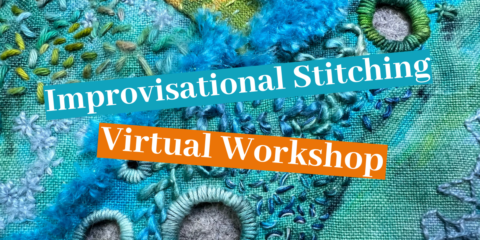
Have you checked out my latest YouTube video? My channel is: Ariane Zurcher – On the Other Hand where I give tutorials on all things involving stitching, sewing, design and creating. I will be doing videos that are for Left Handers, but others that are not hand specific. So join me, and stitch along!
Tutorial: How stitch the Pekinese Stitch
How to stitch The Coral Stitch with 2 (okay 3) variations!
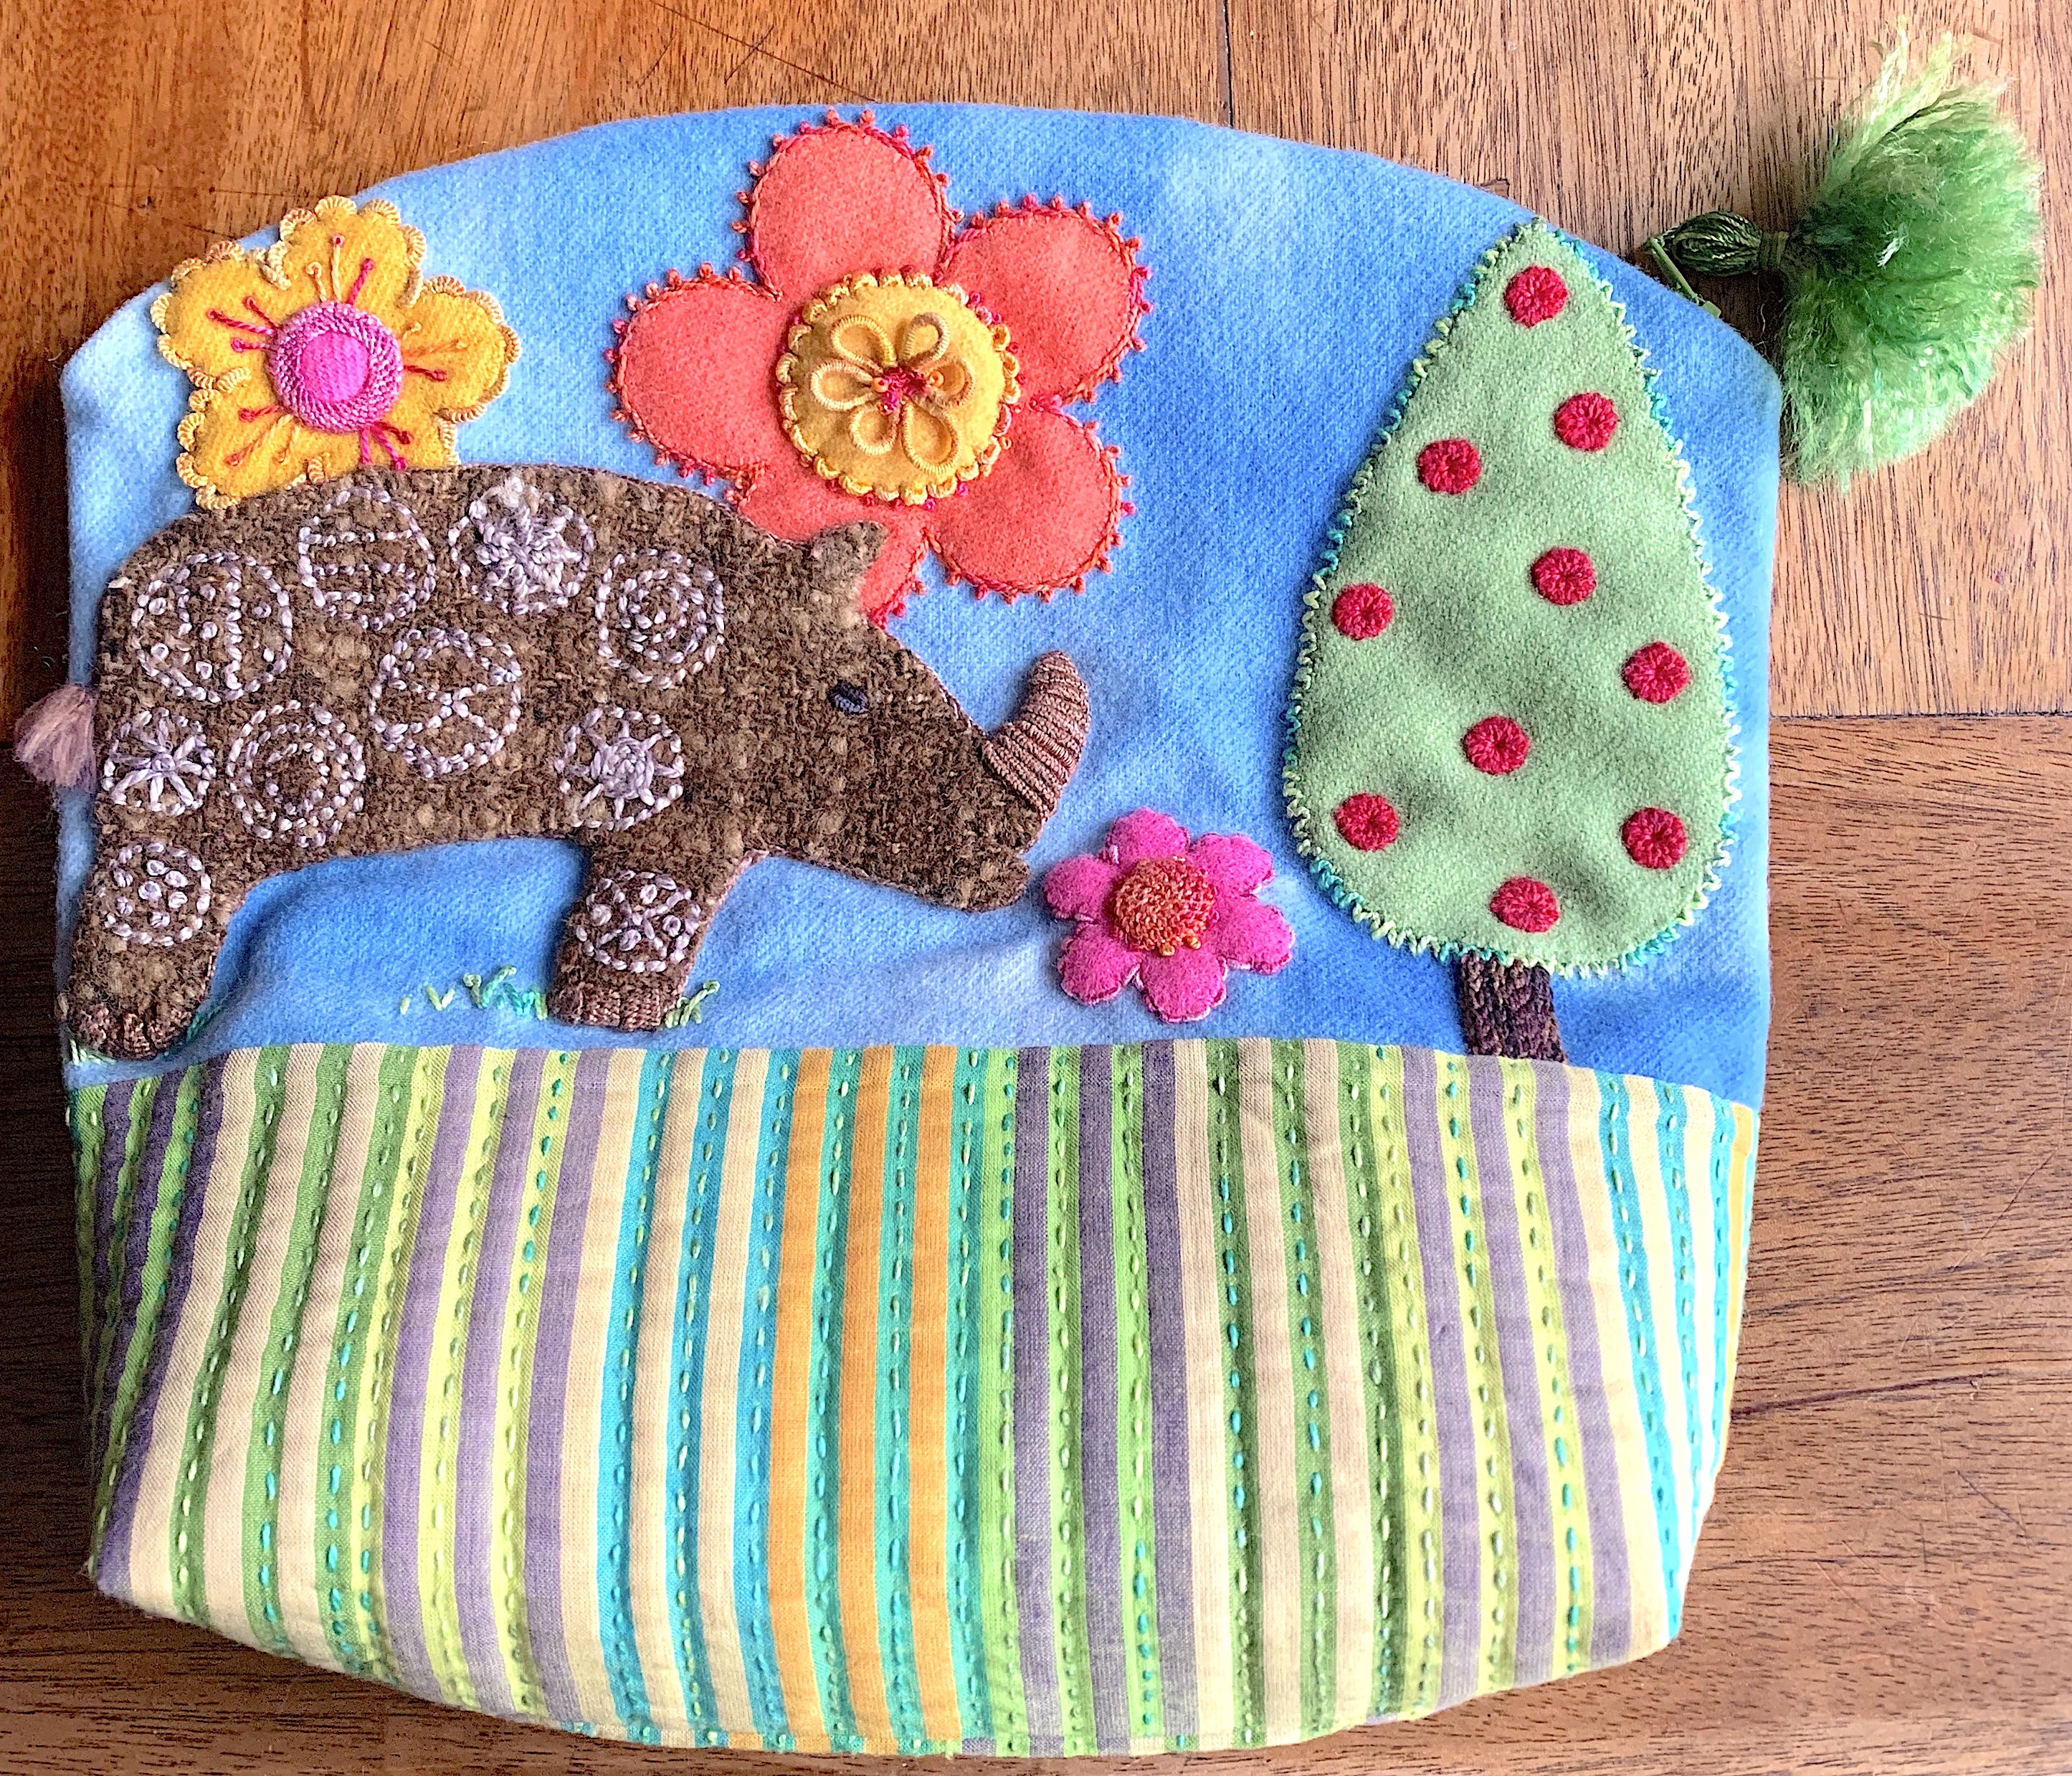
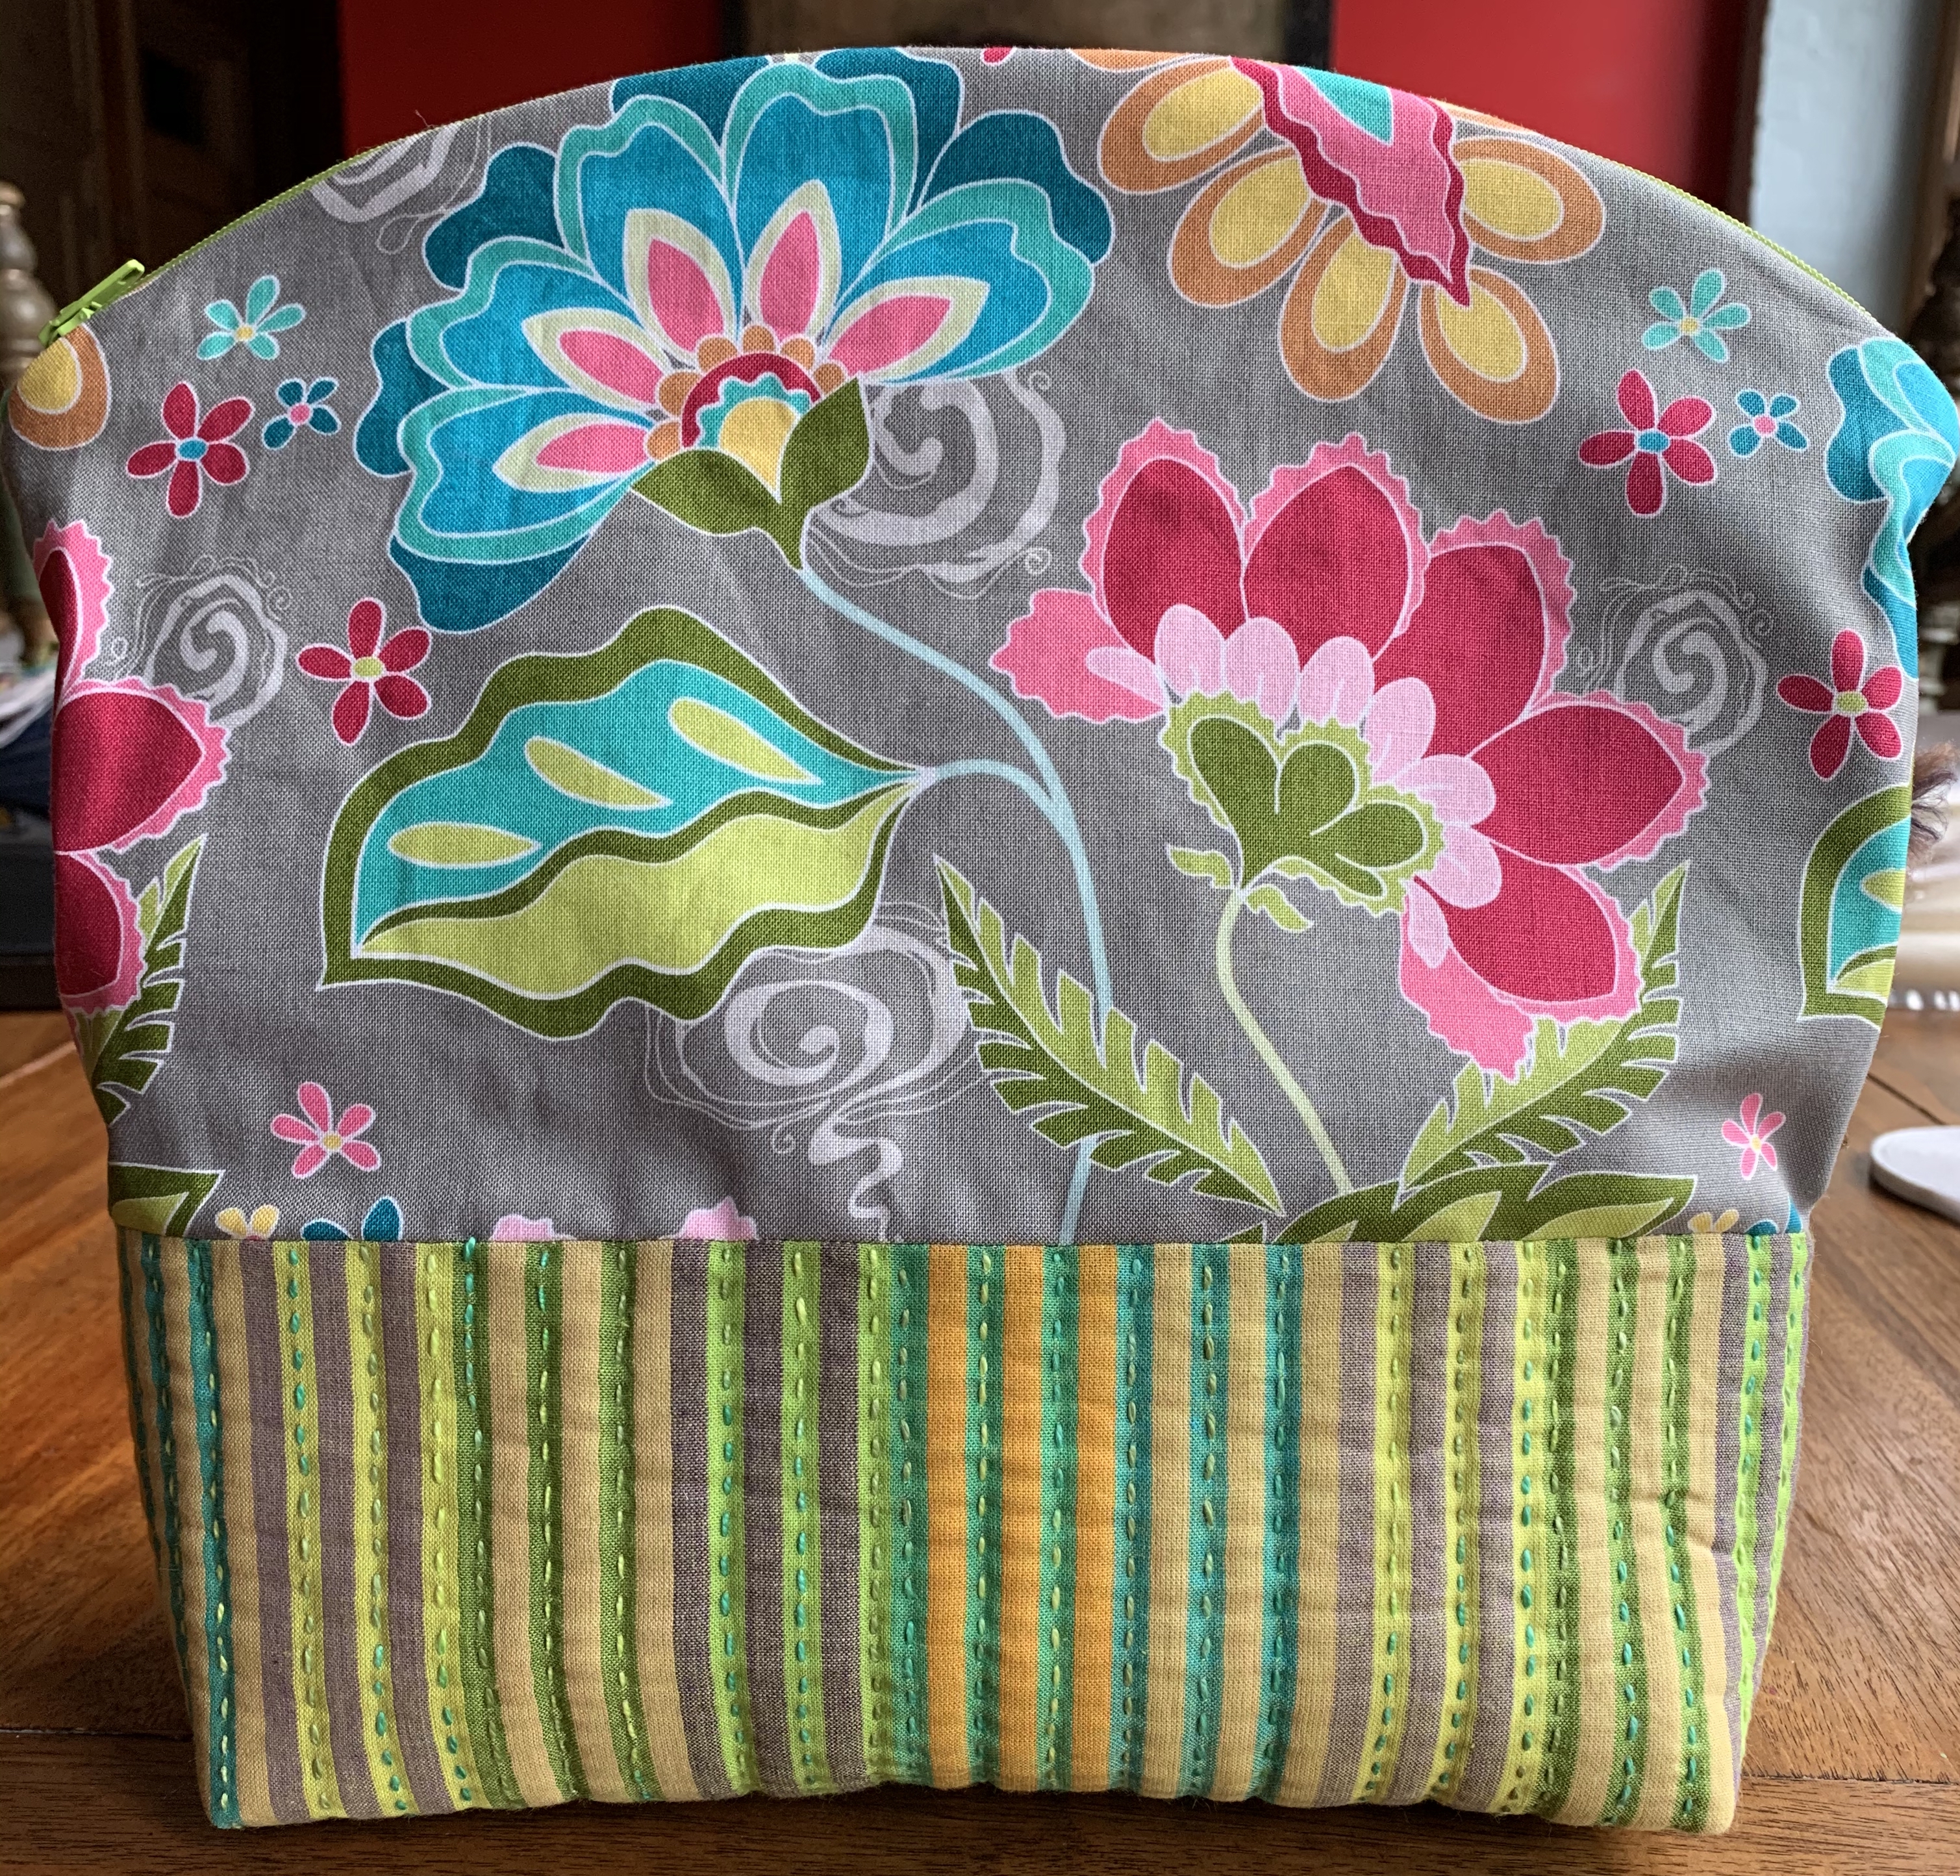
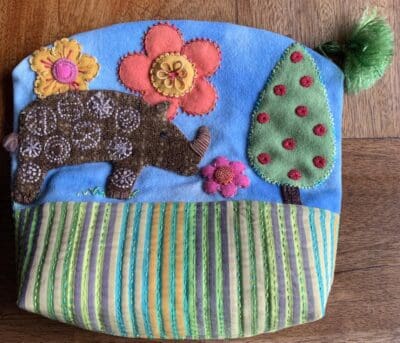
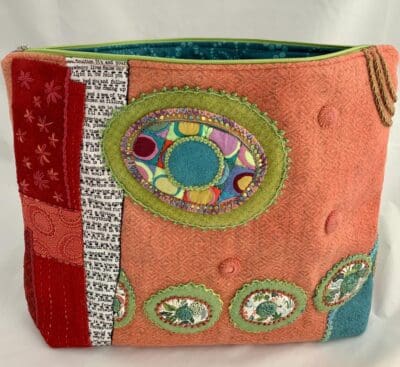
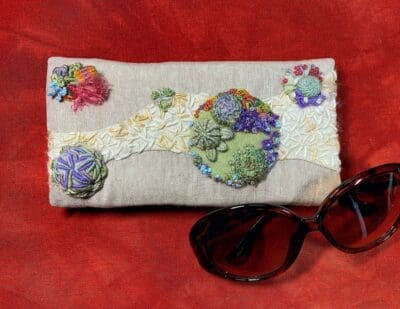
I love a good zippered pouch. Preferably one that I can take on an airplane, large enough for a tablet or small sketch book, a needle roll, small pair of scissors, and project, but not so large that it becomes cumbersome. I began looking around at what is already out there and found many lovely bags, but finally decided to design my own. It measures 12″ x 12″, has a slightly curved top with a tassel for the zipper pull.
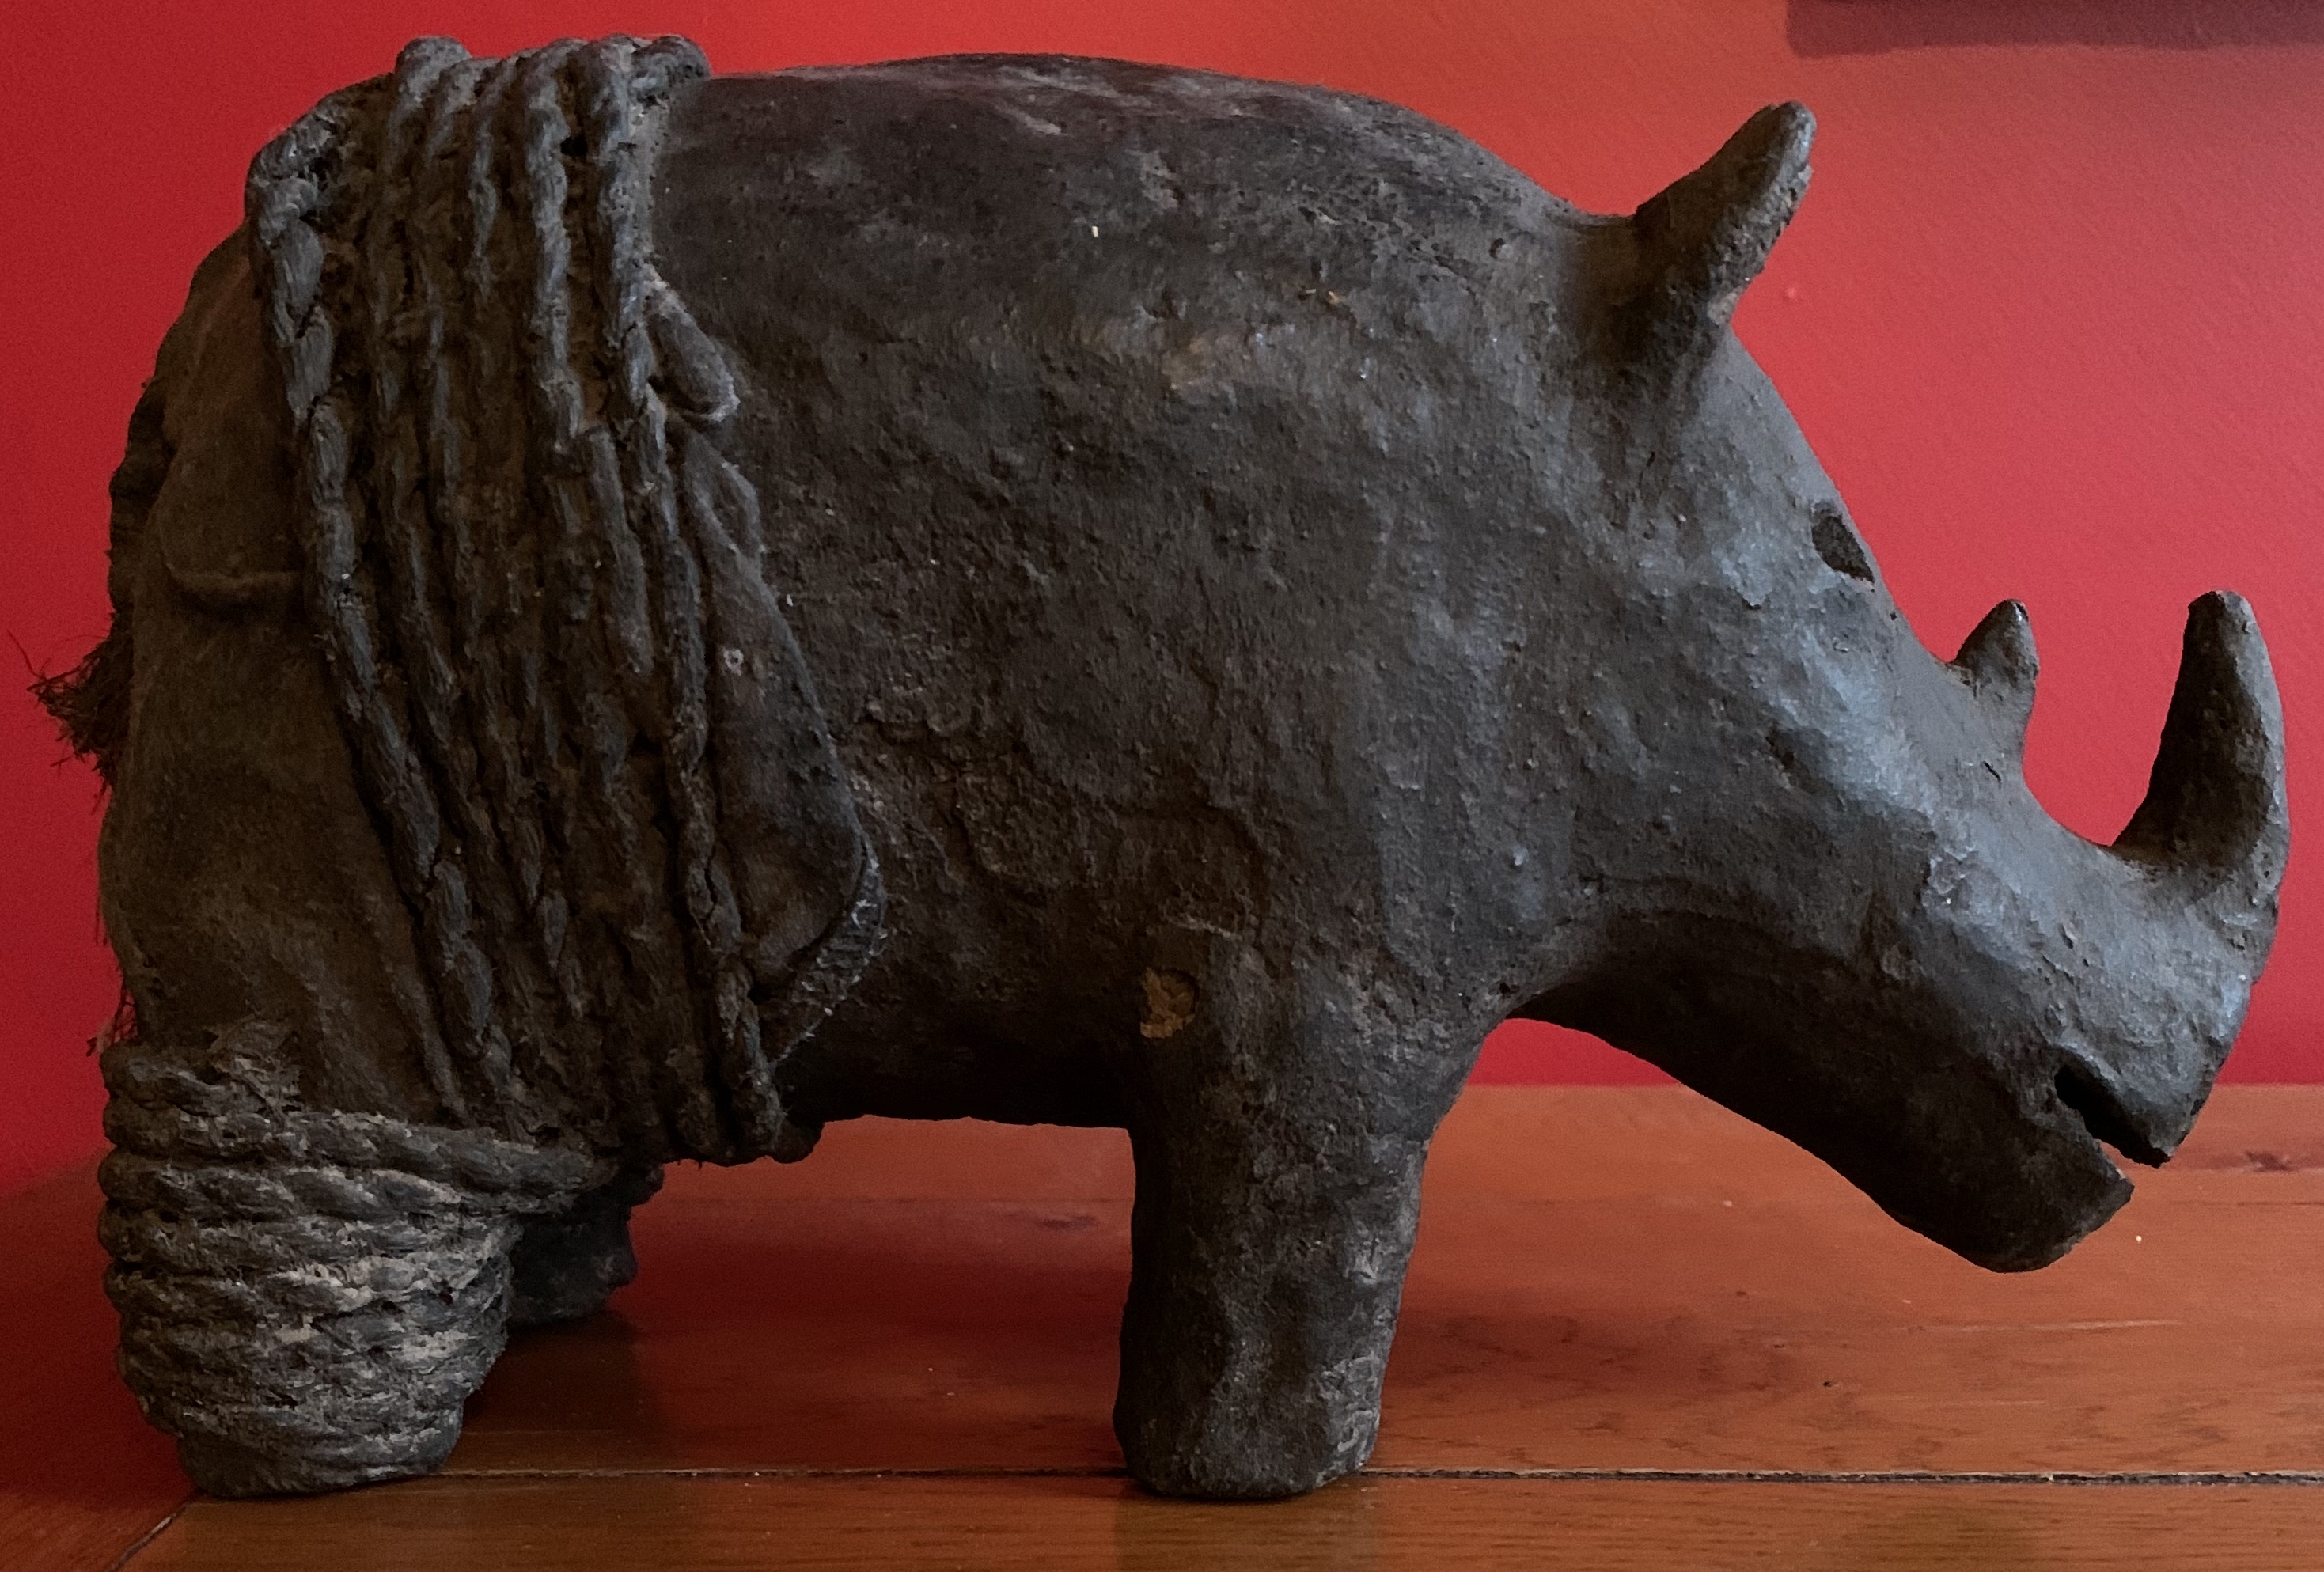
Years ago my husband and I came upon this beautiful African Rhino and decided we had to have him. This became my inspiration for the design on the front of my bag.
As many of you know, I re-found hand stitching through Sue Spargo. I fell in love with the way she used traditional embroidery stitches, but used all kinds of different threads, to add another dimension to wool appliqué. I responded to the “folk art” style of her designs, but also to the layering she employs in her work. Using wool as her base, she then might layer another piece of wool, which is then layered with a smaller piece of silk velvet, cotton print, linen, cork, ribbon, beading, whatever best accents her design – the options are endless! That was five years ago…
Today, I’m honored to call Sue my friend. She gives me endless encouragement, suggestions, helpful tips, and is one of the kindest, most generous souls I’ve ever met. She also happens to be one of the hardest working women I know, is a smart business woman and runs a thriving brick and mortar store as well as online business at suespargo.com, all while teaching year round all over the country and world. If you haven’t taken a class with Sue, you are in for a treat. Sue is patient, helpful, encourages everyone to put their own personal touches onto their pieces, is incredibly talented, oozes creativity and did I mention how kind she is? Kind. Just incredibly kind.
So when I decided to design my own zippered pouch I immediately sent it off to Sue to get her okay. After all I’m using her techniques, her wools, her threads and never want to take credit for any of that. She, of course, being Sue, told me she loved it and so here it is, ready for others to make if they choose.
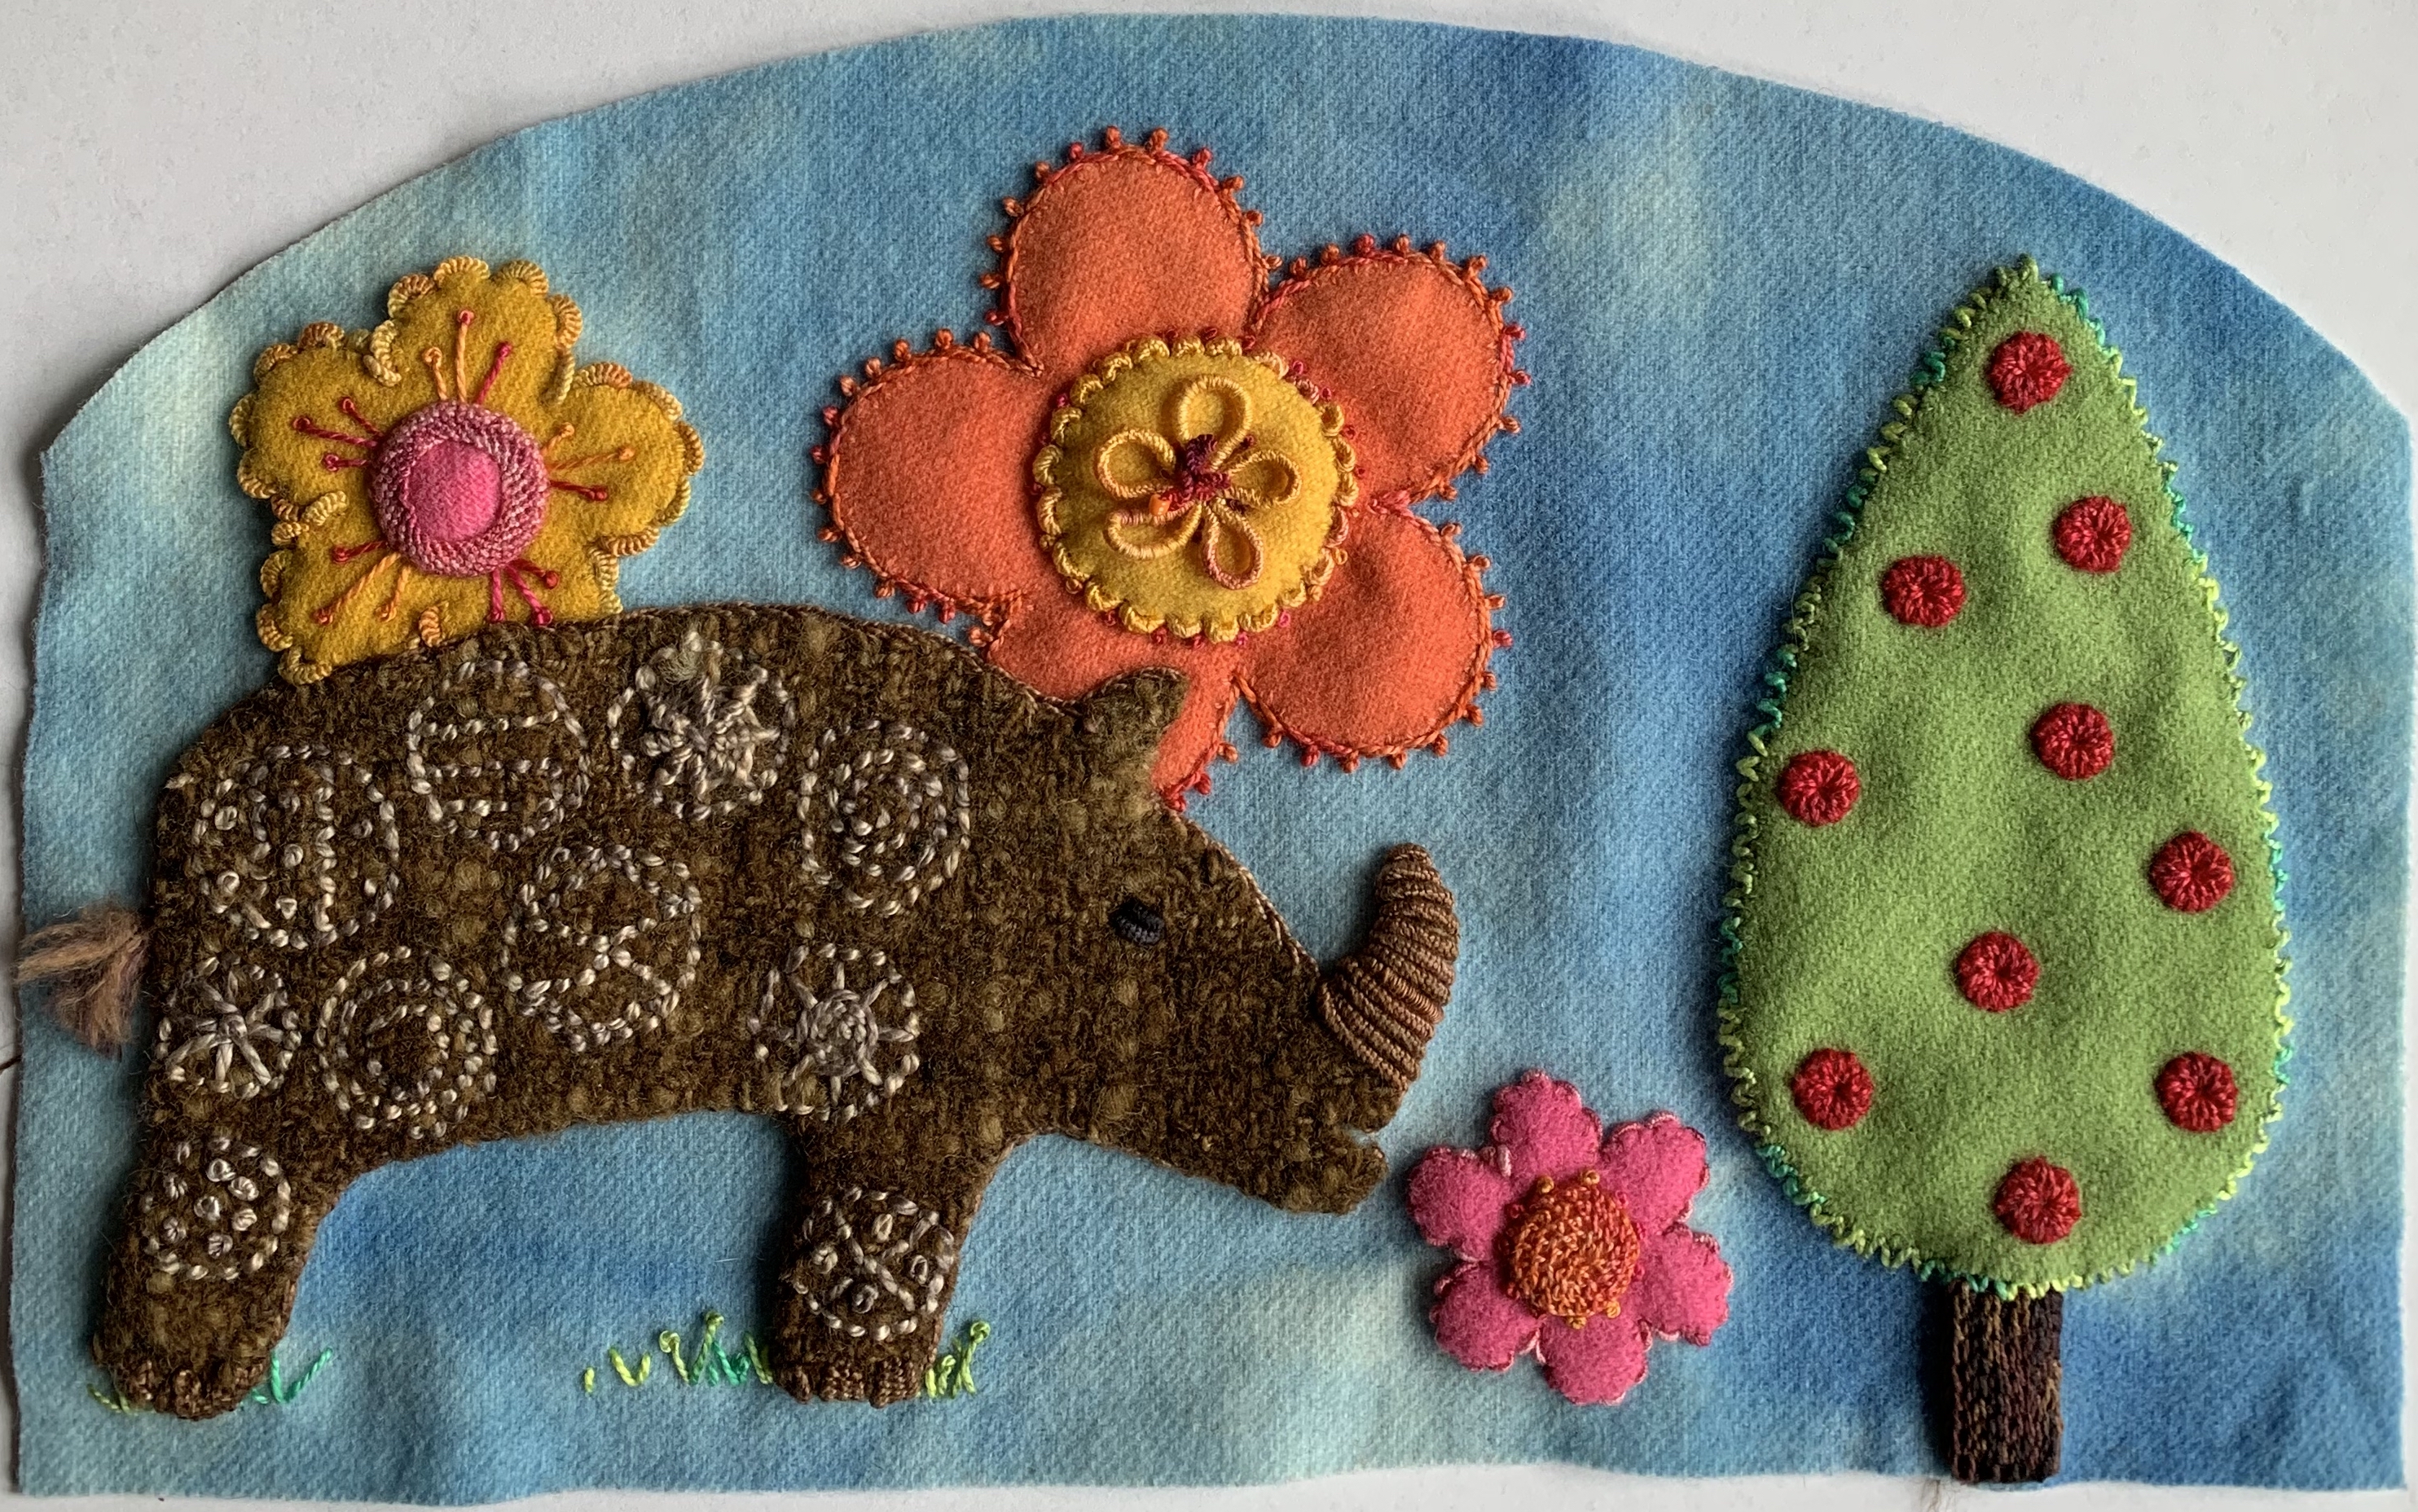
The Embellished Top
If you want to make this pouch yourself, you can purchase the pattern, templates and detailed instructions, including tons of step by step photographs to help you, as well as a list of materials you will need from my Etsy Site. I even added instructions for us lefties out there, so that our zipper will be on the opposite side! All the wool, fabric, and threads you need to make this pouch are on Sue Spargo’s website except maybe the zipper. It’s a one-stop shopping experience. And who doesn’t want a zippered, fully lined pouch!? Also – if you don’t want to make the wool Rhino top, you can use the pattern templates to make the whole thing out of cotton fabric or bark cloth or canvas or linen or whatever you like!
The Back of the Zippered Pouch
When I was designing my pouch, I first made it using all cotton fabrics and added Soft and Stable to the whole thing to give it more oomph. I swear that’s the technical word…
Zippered Pouch using all cotton fabric
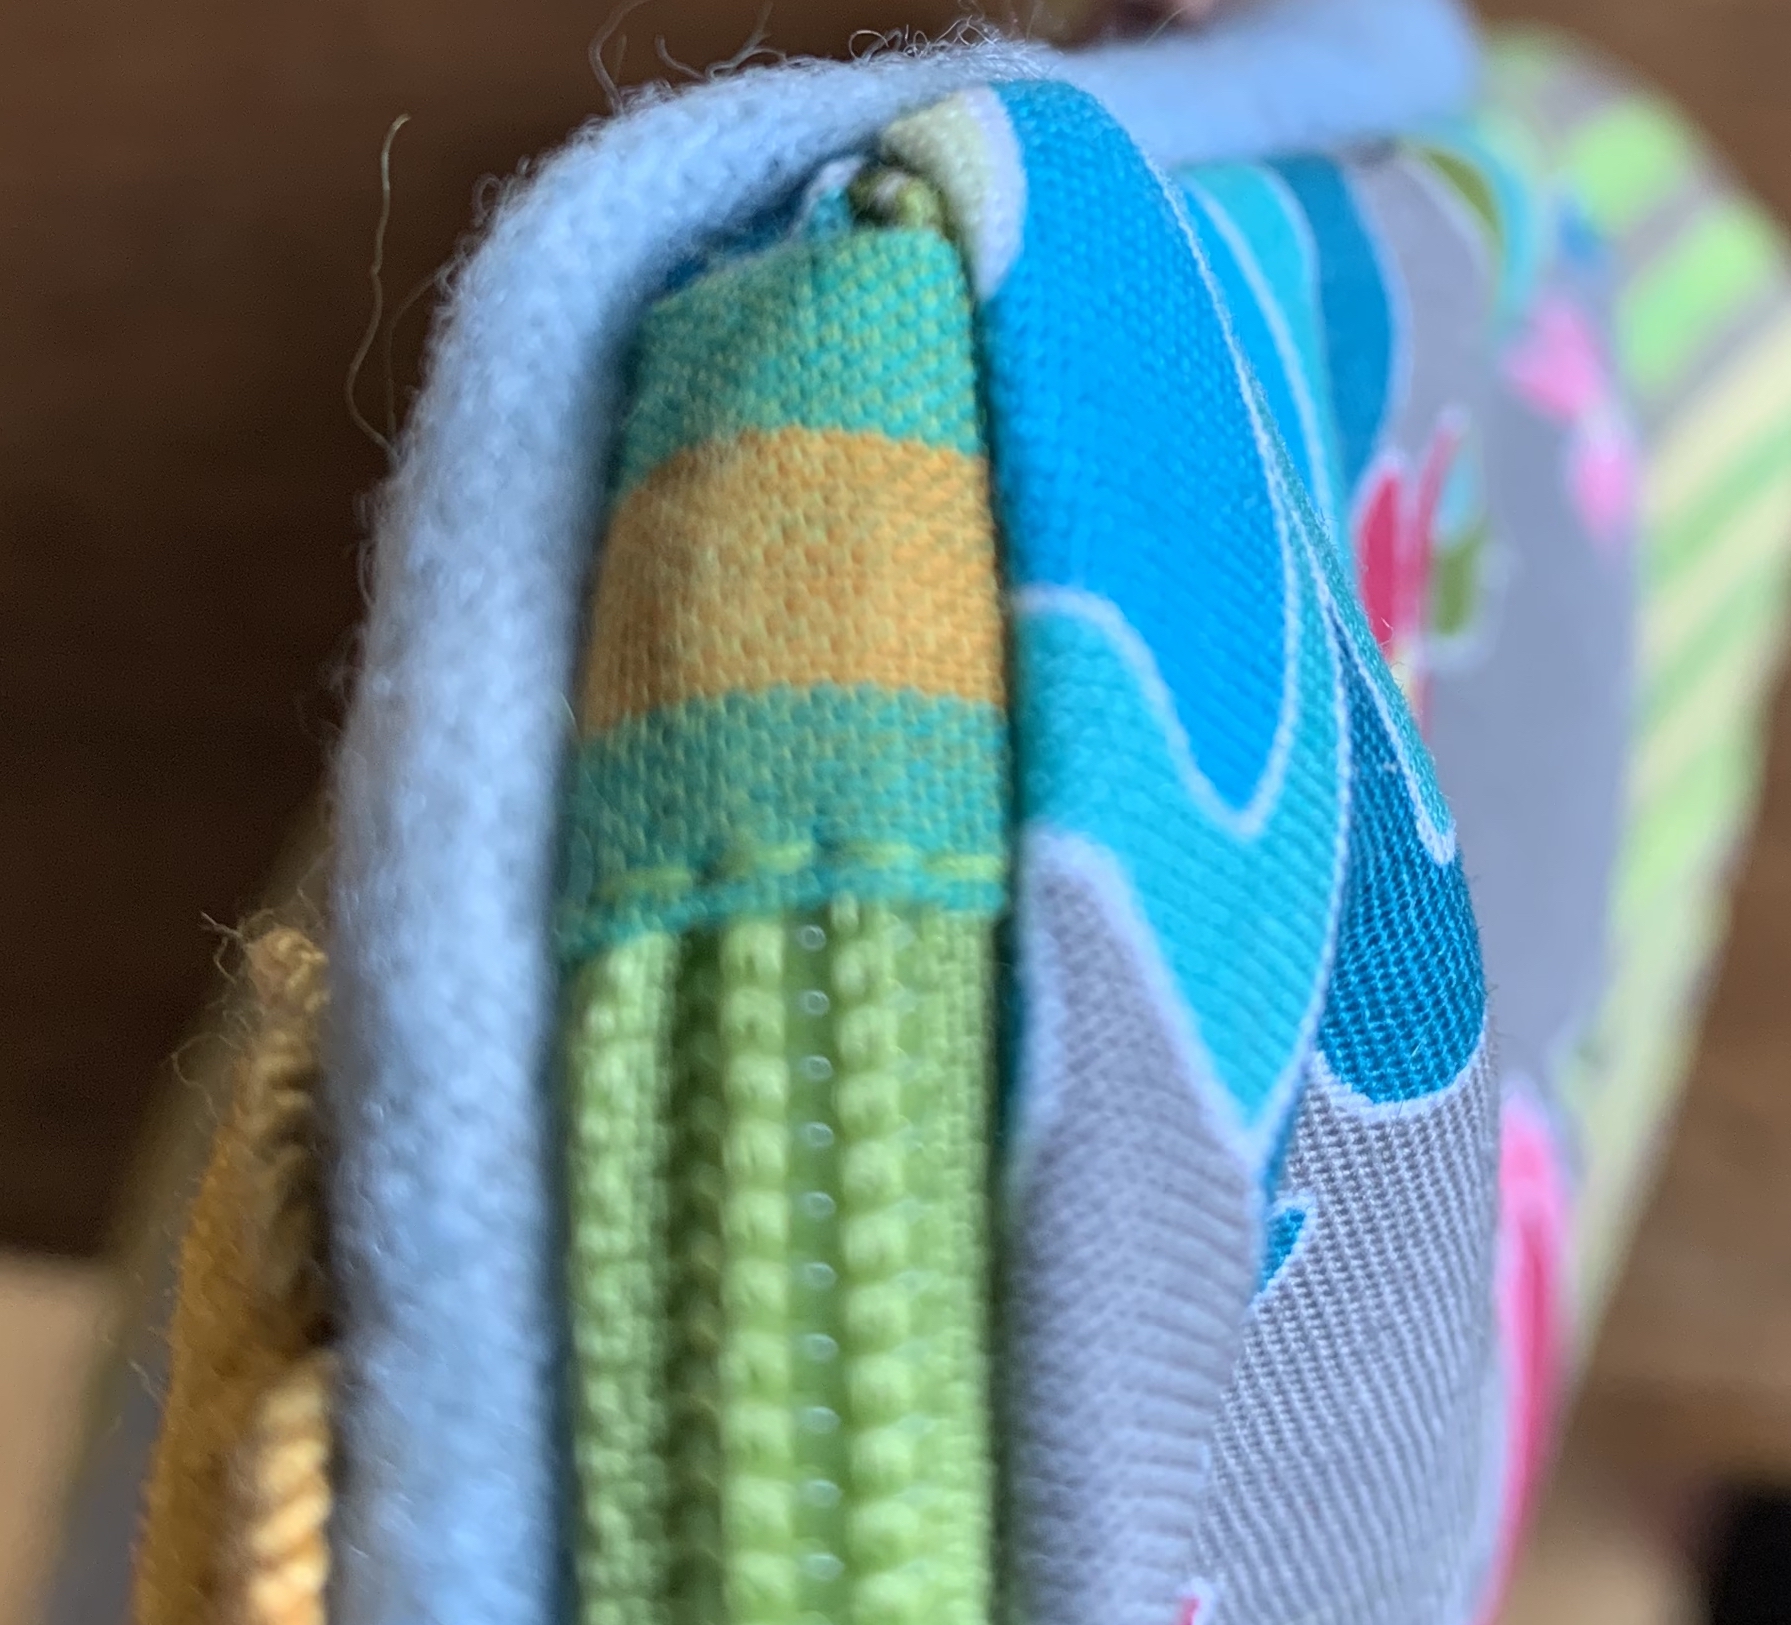
I also re-designed the curve so it was gentler, with the added plus being it is easier to sew in the zipper, and I added fabric tabs to the ends of the zipper, which gives it a nice, clean finish.
Zipper Tab Close Up
Tell me what you think. Post your finished bag on Instagram and tag me and/or on Facebook. Don’t forget to tag me so I can applaud your efforts.
I think about art all the time: the process, the way life impacts it… Wondering about how other people will see it, whether they will approve, like or dislike it, is the biggest buzz kill to creativity that I know of. But, I find, silencing those worries often difficult. The best steps I know to do is to dive in head first, and just go for it.
This last year has been one of exploration, diving in head first and going for it. If any of you are on Instagram, I post my works in progress almost daily. Below are three projects I finished this past year. I have four more in the works, but nowhere near completion.
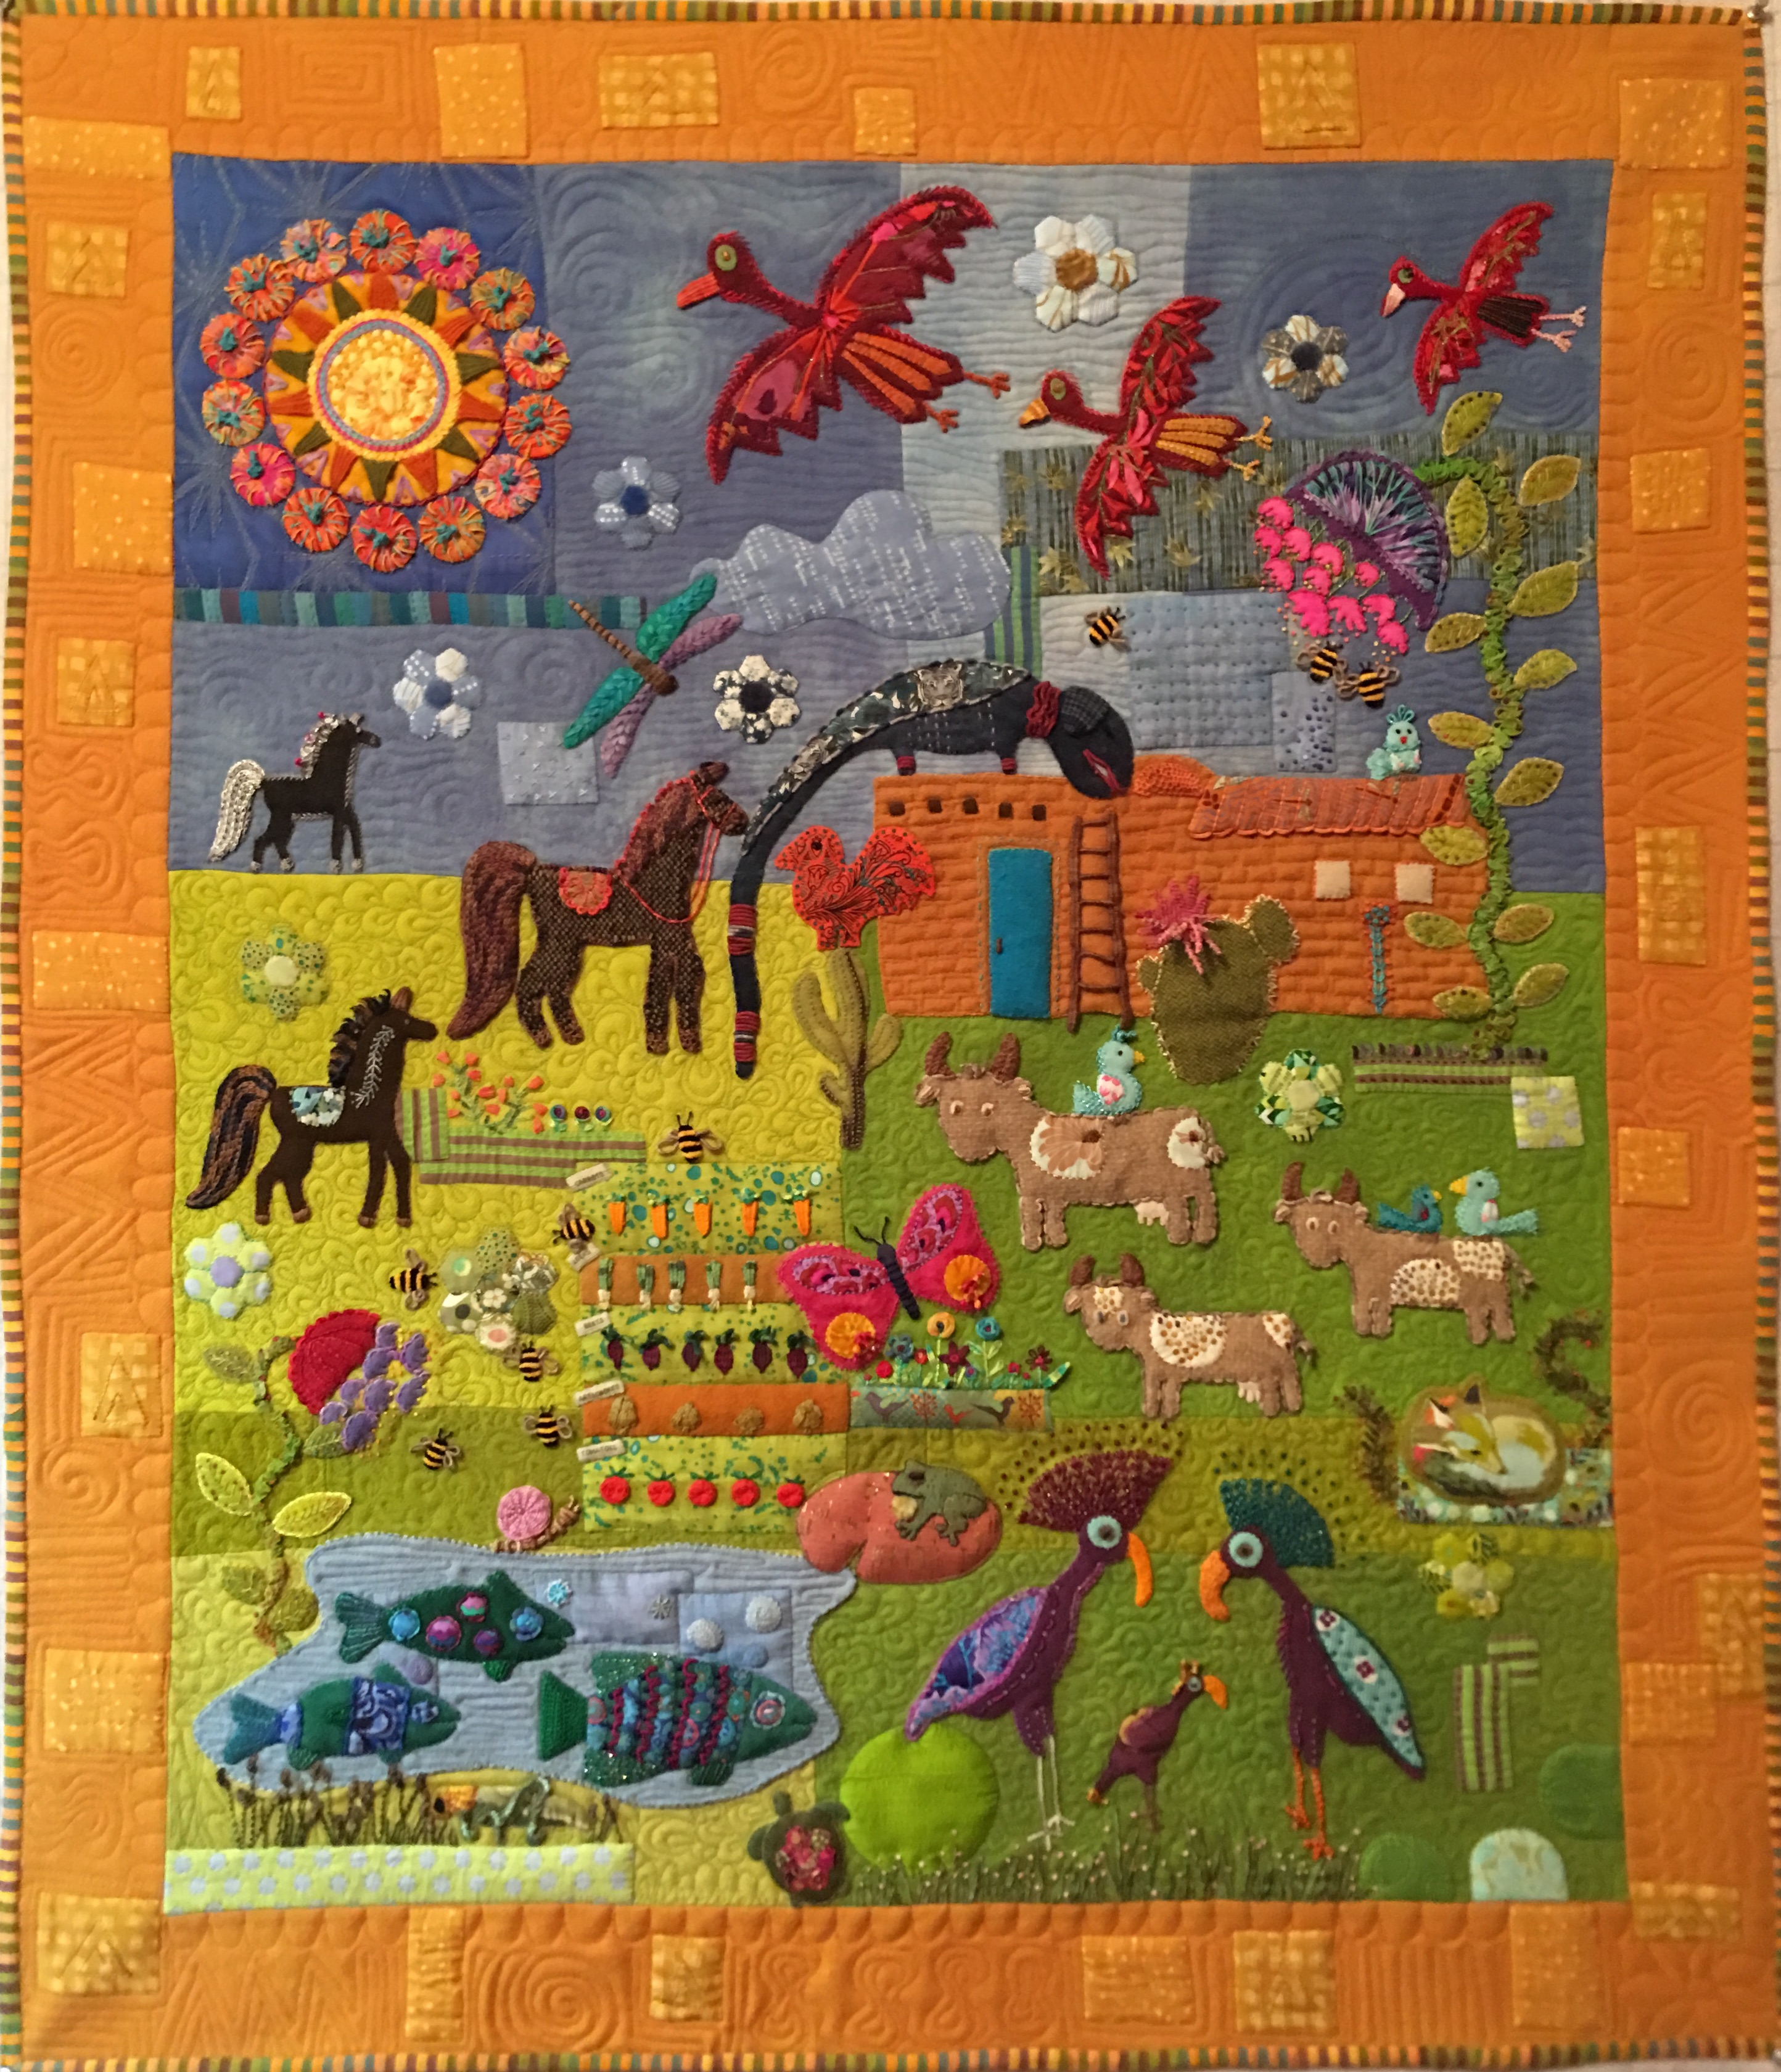
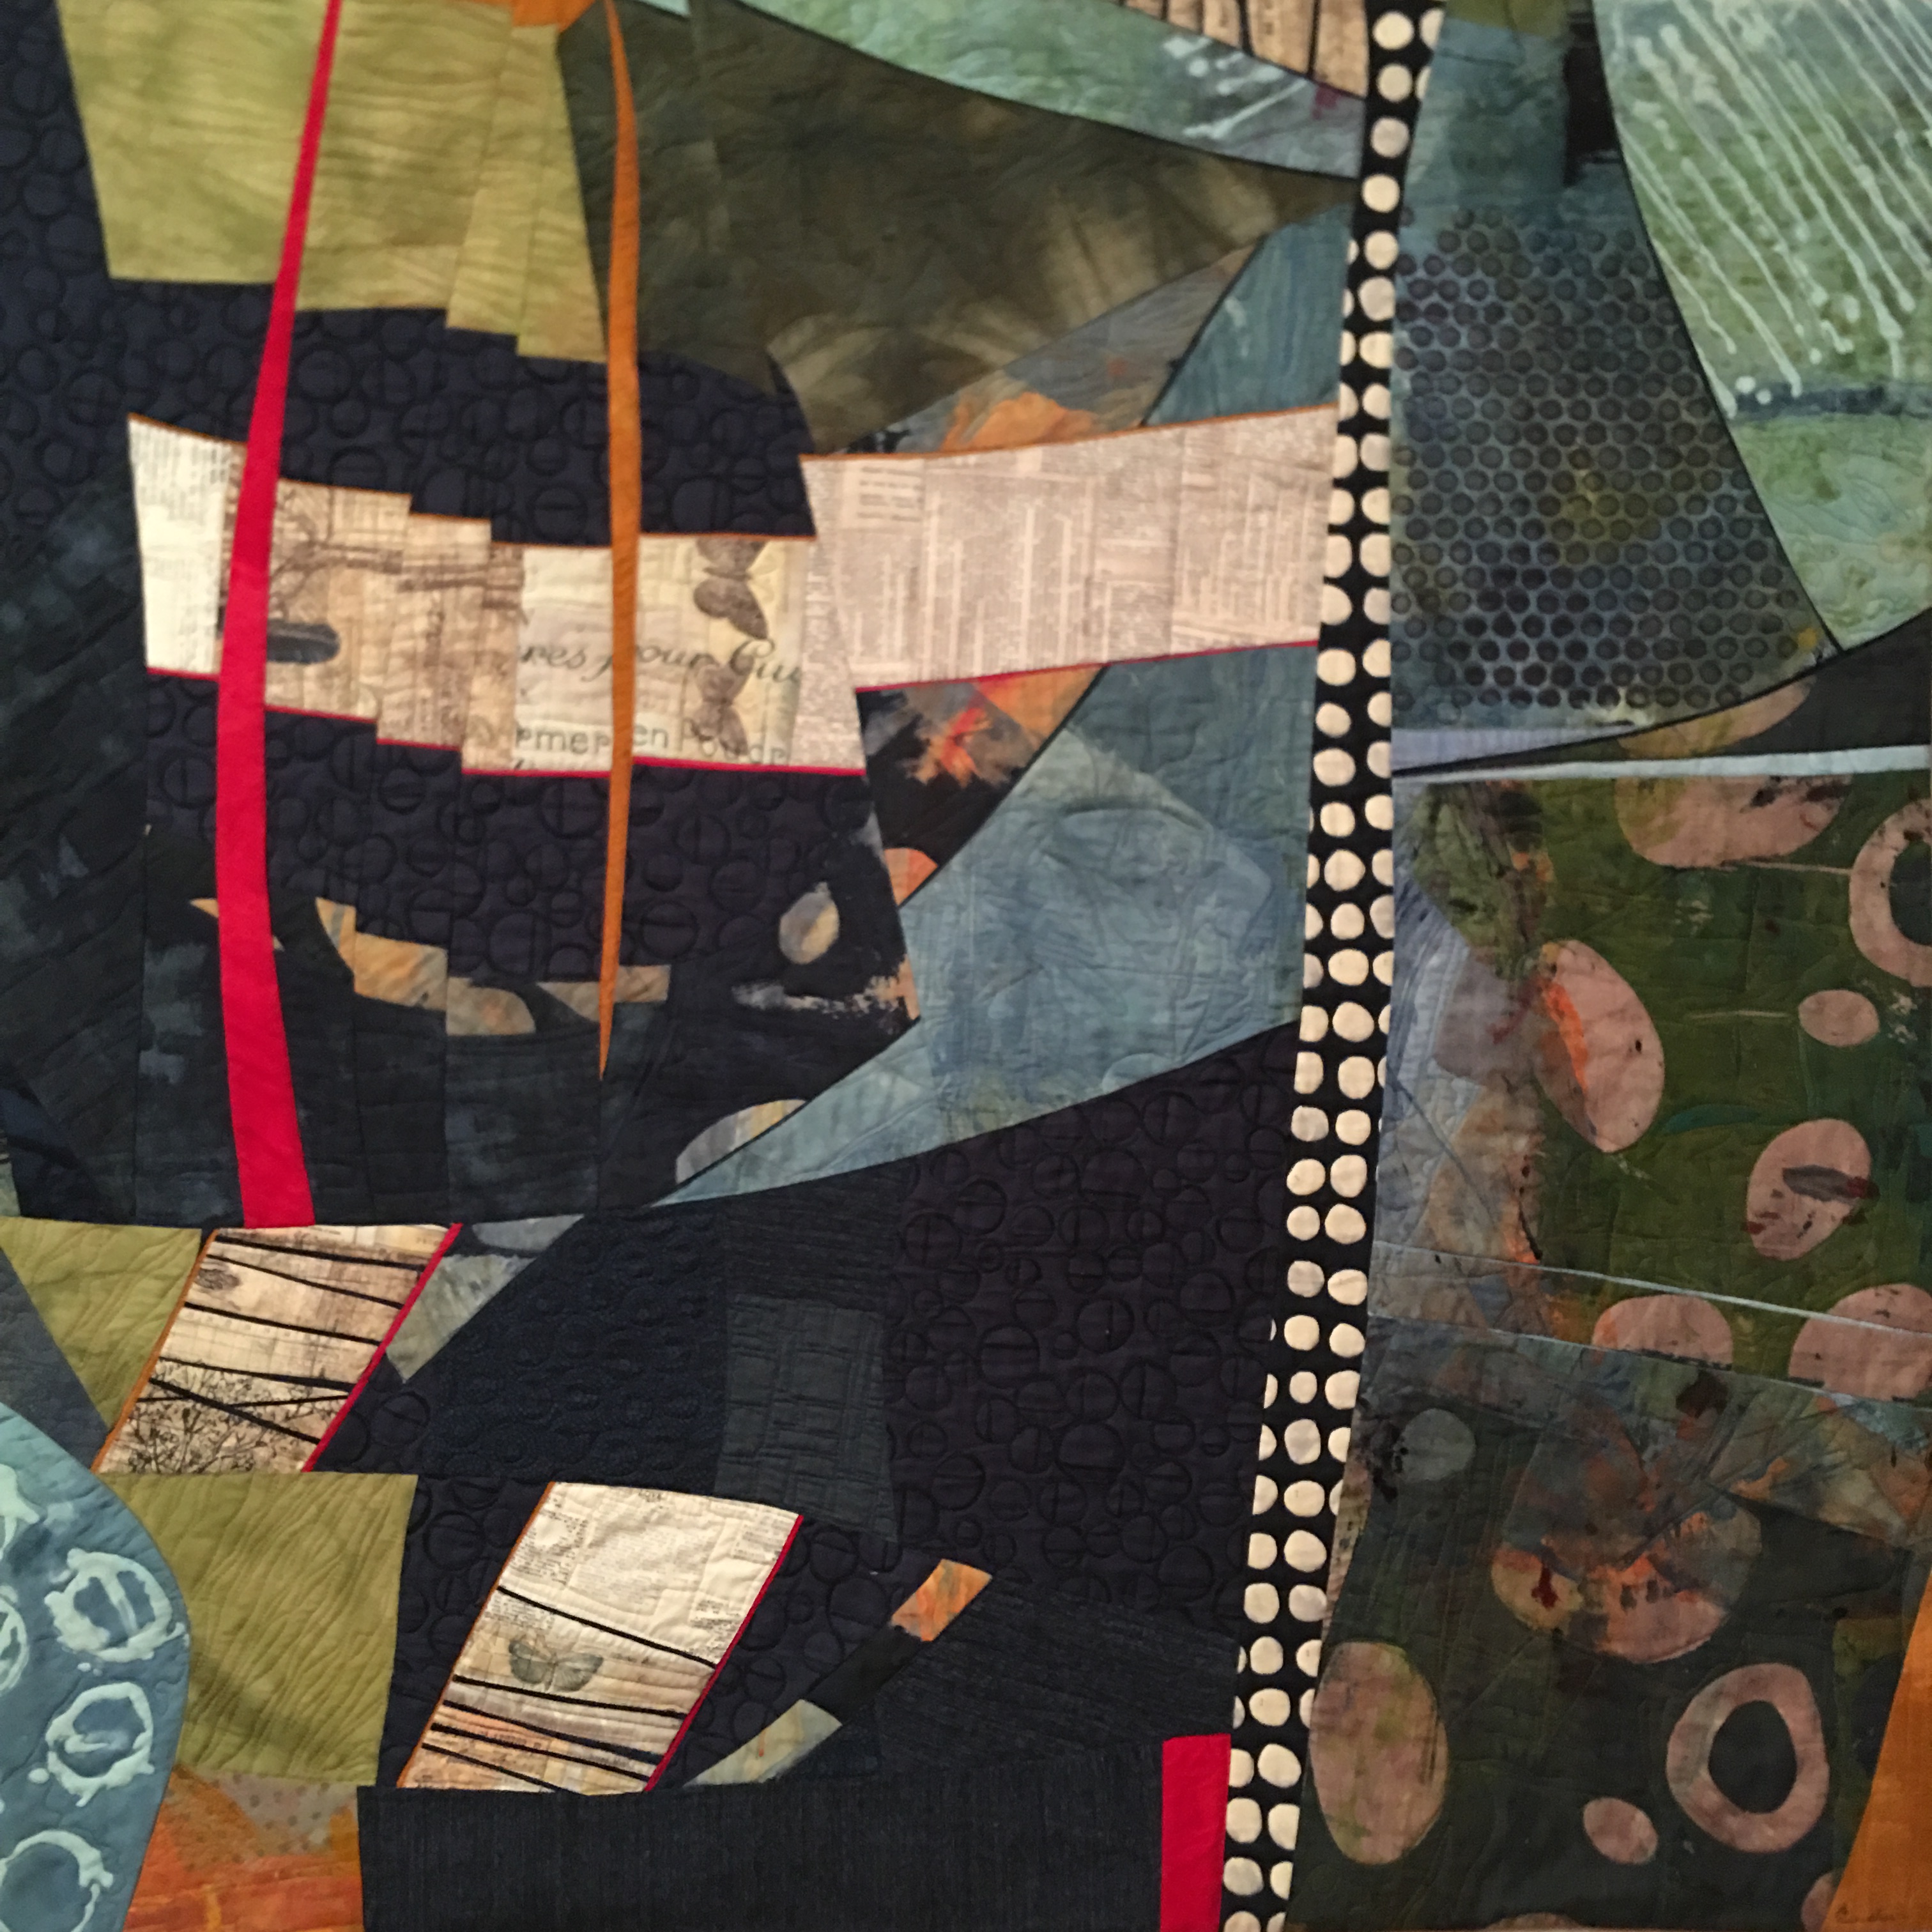
This first is titled: Wandering Through the Past and was inspired by the International Folk Art Museum in Santa Fe, New Mexico where I went for one of Sue Spargo’s fabulous workshops put on by Madeline Island School of the Arts. As I wandered through the museum much of the work felt oddly familiar. I remembered that my grandparents had honeymooned in Santa Fe & much of the furniture in their Colorado home came from that part of the world. As I designed this quilt, I began adding things from my childhood spent in Northern California with parents who collected modern & primitive art. Wandering Through the Past was thus born using wool, cotton, velvet & silk, & embellished with a wide variety of threads and stitches.
Wandering Through the Past
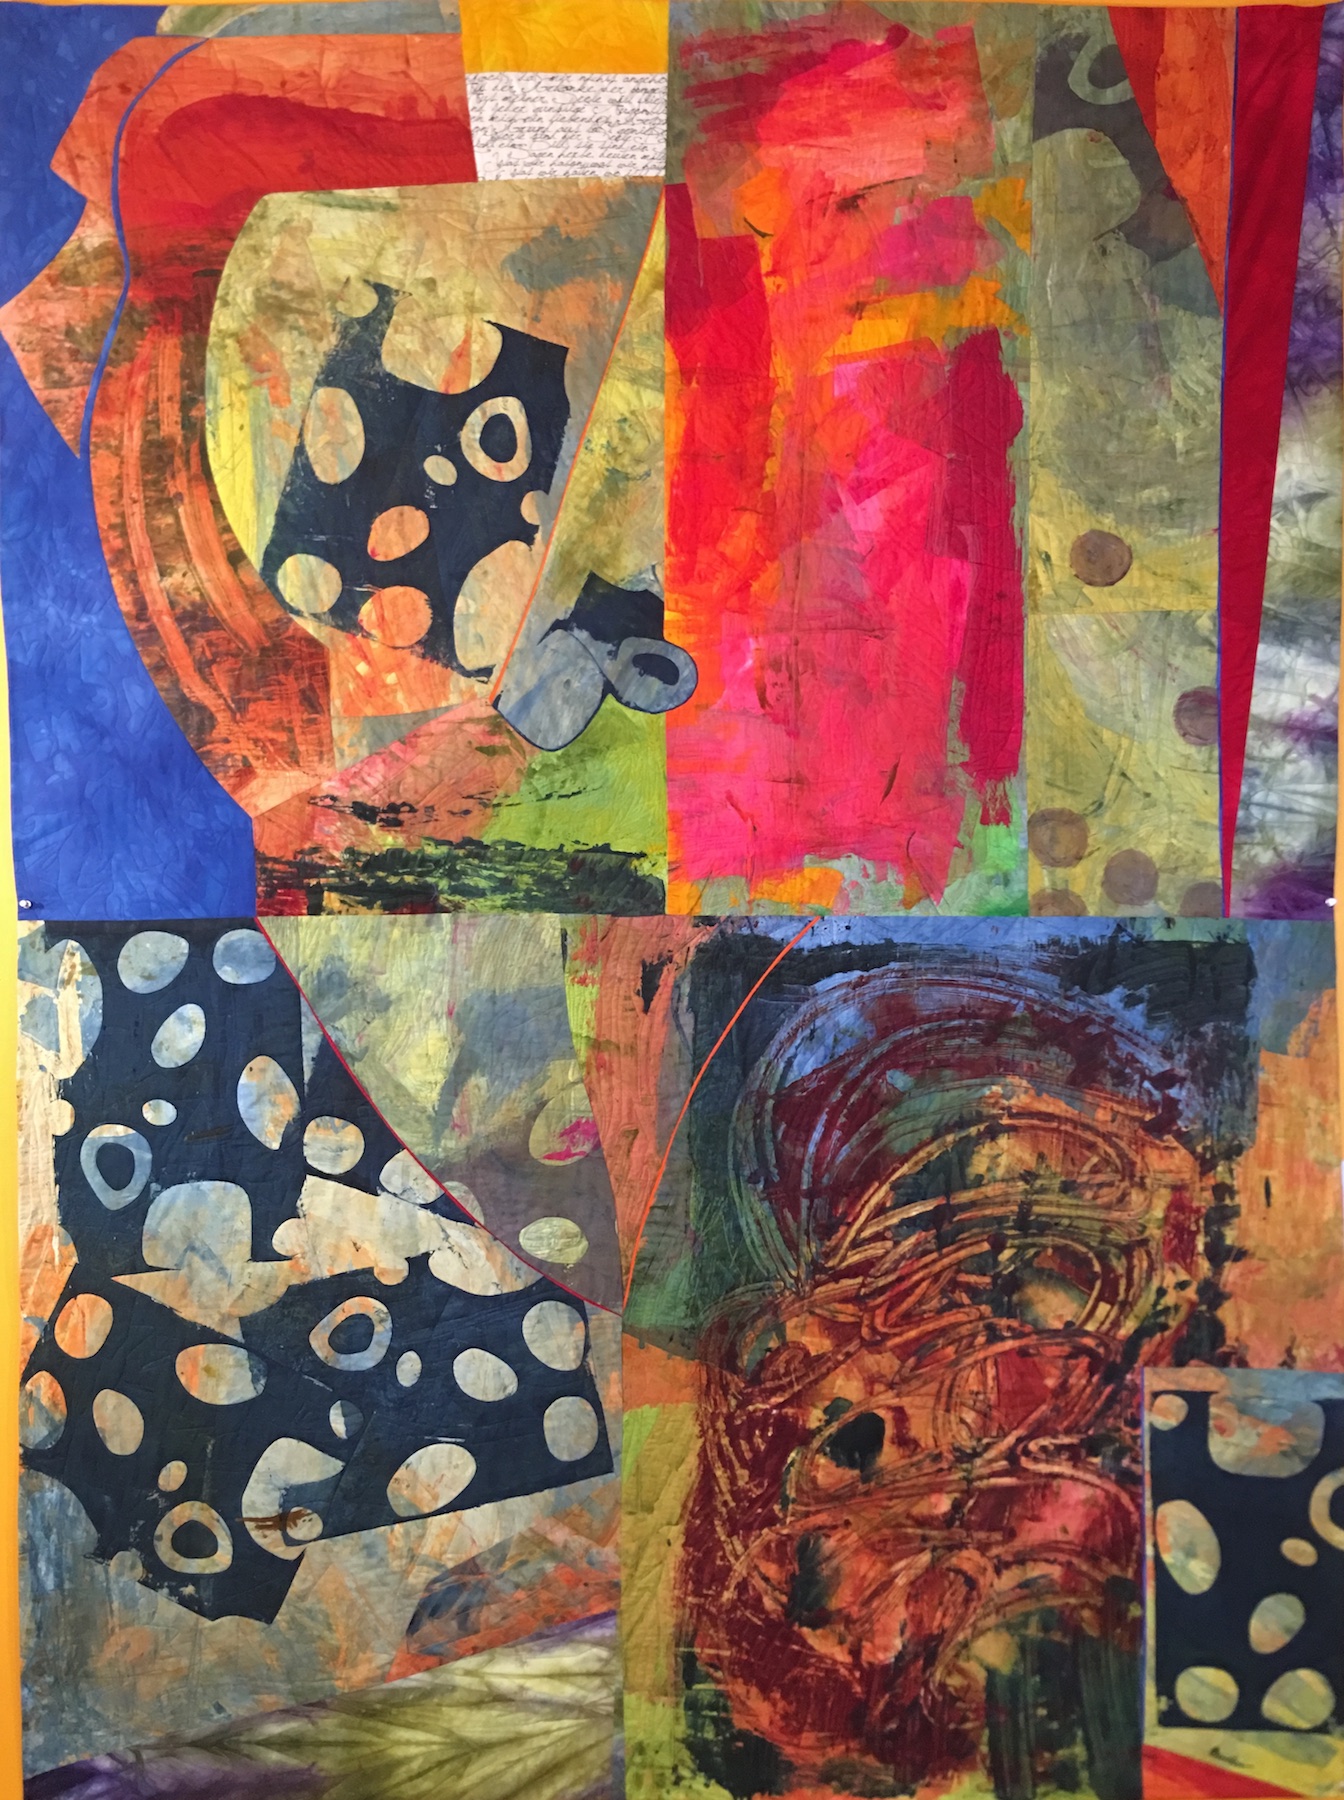
The next one is a complete departure from the one above in that most of the fabrics were hand dyed, hand painted, using stencils, screen printing and mono printing, and is not representational. All techniques I learned from the talented Pat Pauly in a workshop I took last April at the Pro Chem studio. It was the first time I’d ever tried my hand at improvisational piecing. I free motion quilted it following the general shapes and paint strokes.
Reflections
And this last one I began designing with the idea that I would use an old skirt from my mother. After a few weeks of struggle, I pulled out some of my hand dyed, Shibori, stencil printed, wax resist, silk screen & low immersion dyed fabrics. The fabric from the old skirt was pushed aside to make way for my hand dyed fabrics, which I then began piecing together with a few commercial prints. “Hope” was very bossy right from the start; demanding I use this or that fabric, slashing & piecing, reconfiguring… Mostly I just had to get out of the way & listen to its demands.
Dyeing fabrics is an obsession. I began with cottons as directed in the Elizabeth Barton class, Dyeing to Design, that I took over at Academy of Quilting. I had little interest in dyeing or so I thought, and only took the class because Elizabeth was teaching it and I wanted to take a class with her and it was the first class closest to the date when I started researching her classes. I had no idea I’d fall so completely in love with dyeing. But I did. After her class ended, I took her other dyeing Class – Basic Dyeing for Quiltmakers where we learned to over dye and dye just about any color we wanted. It was thrilling to see a color, figure out what primary colors went into it and then create it! But as is my way, I wasn’t content to dye just cottons.
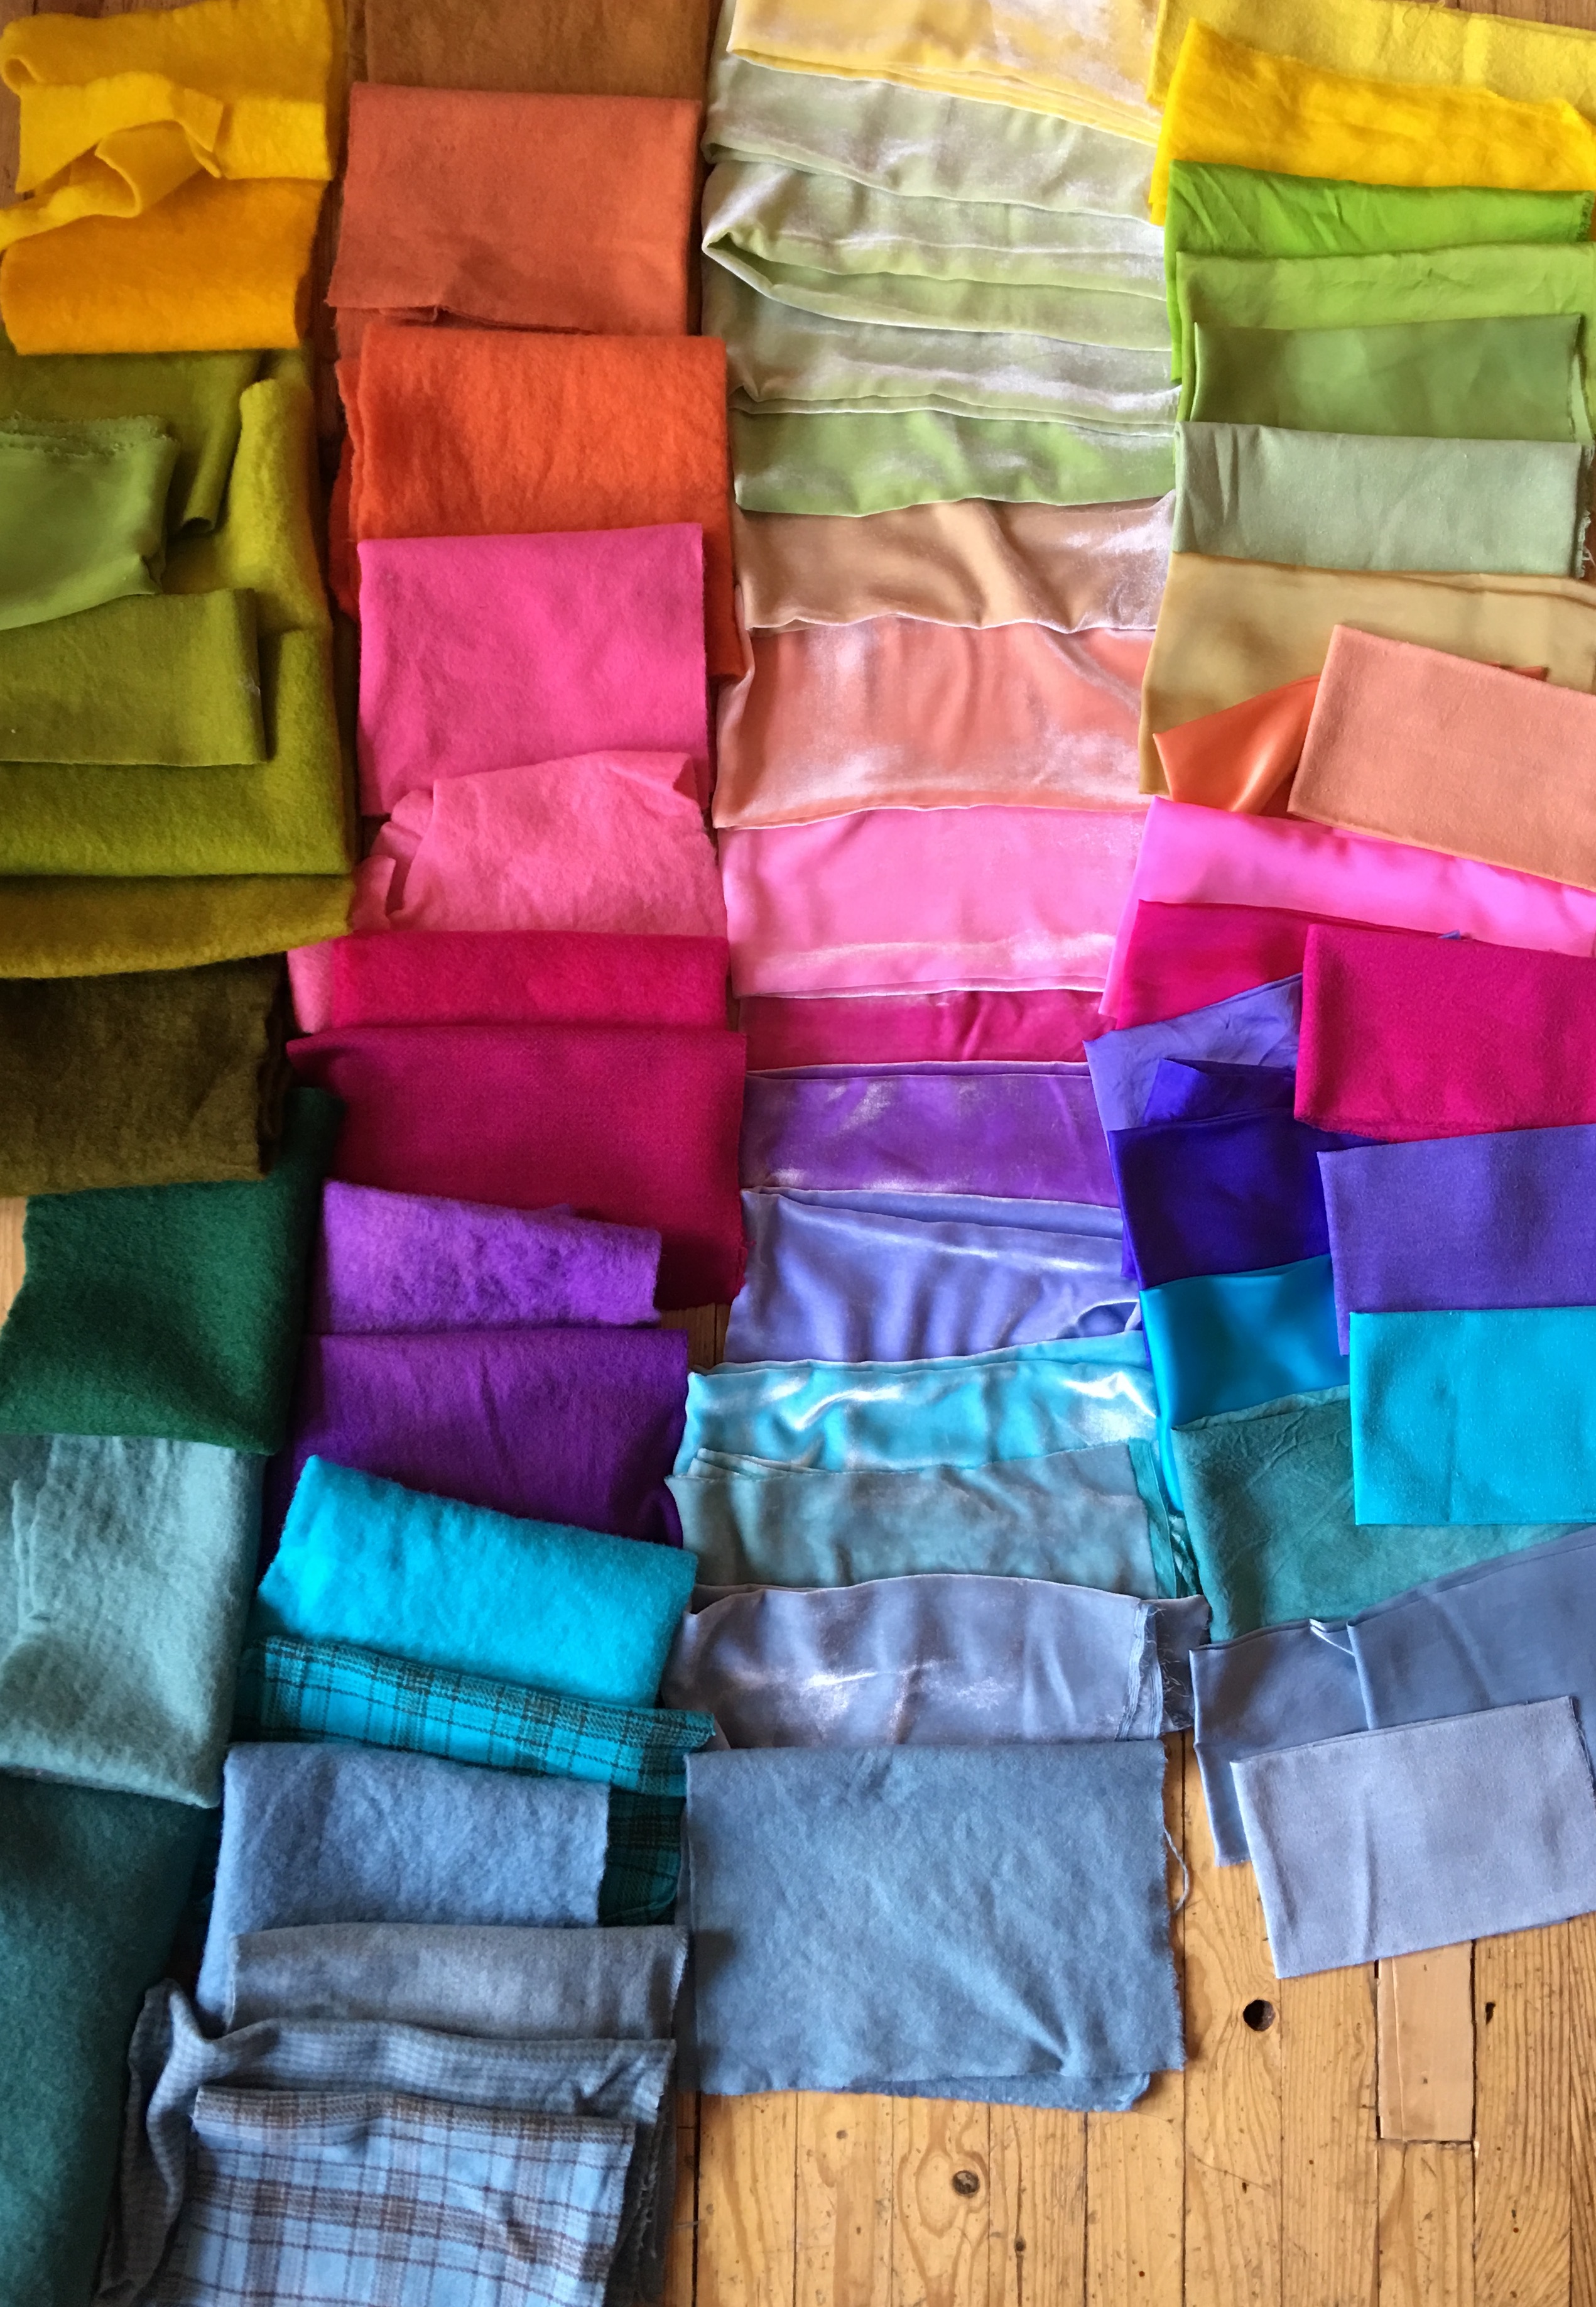
I decided I had to learn how to dye wool, which is a different process entirely, so I could finish my block of the month designs (more on that in another post). So I went over to Dharma Trading, a great company that sells dyes and everything related to dyeing. I sourced wool fabric, also not as easy as one might think, and then purchased a small amount of wools, silks, raw silks and silk/wools from a couple of different places. I even found some lovely silk velvet at Dharma, perfect to use on my wool appliqué pieces that I began designing a few months ago. And I began dyeing.
Aren’t they beautiful?
Here are all the cotton fabrics I dyed in Elizabeth’s class, including some of my silk screens and shibori dyed cottons…
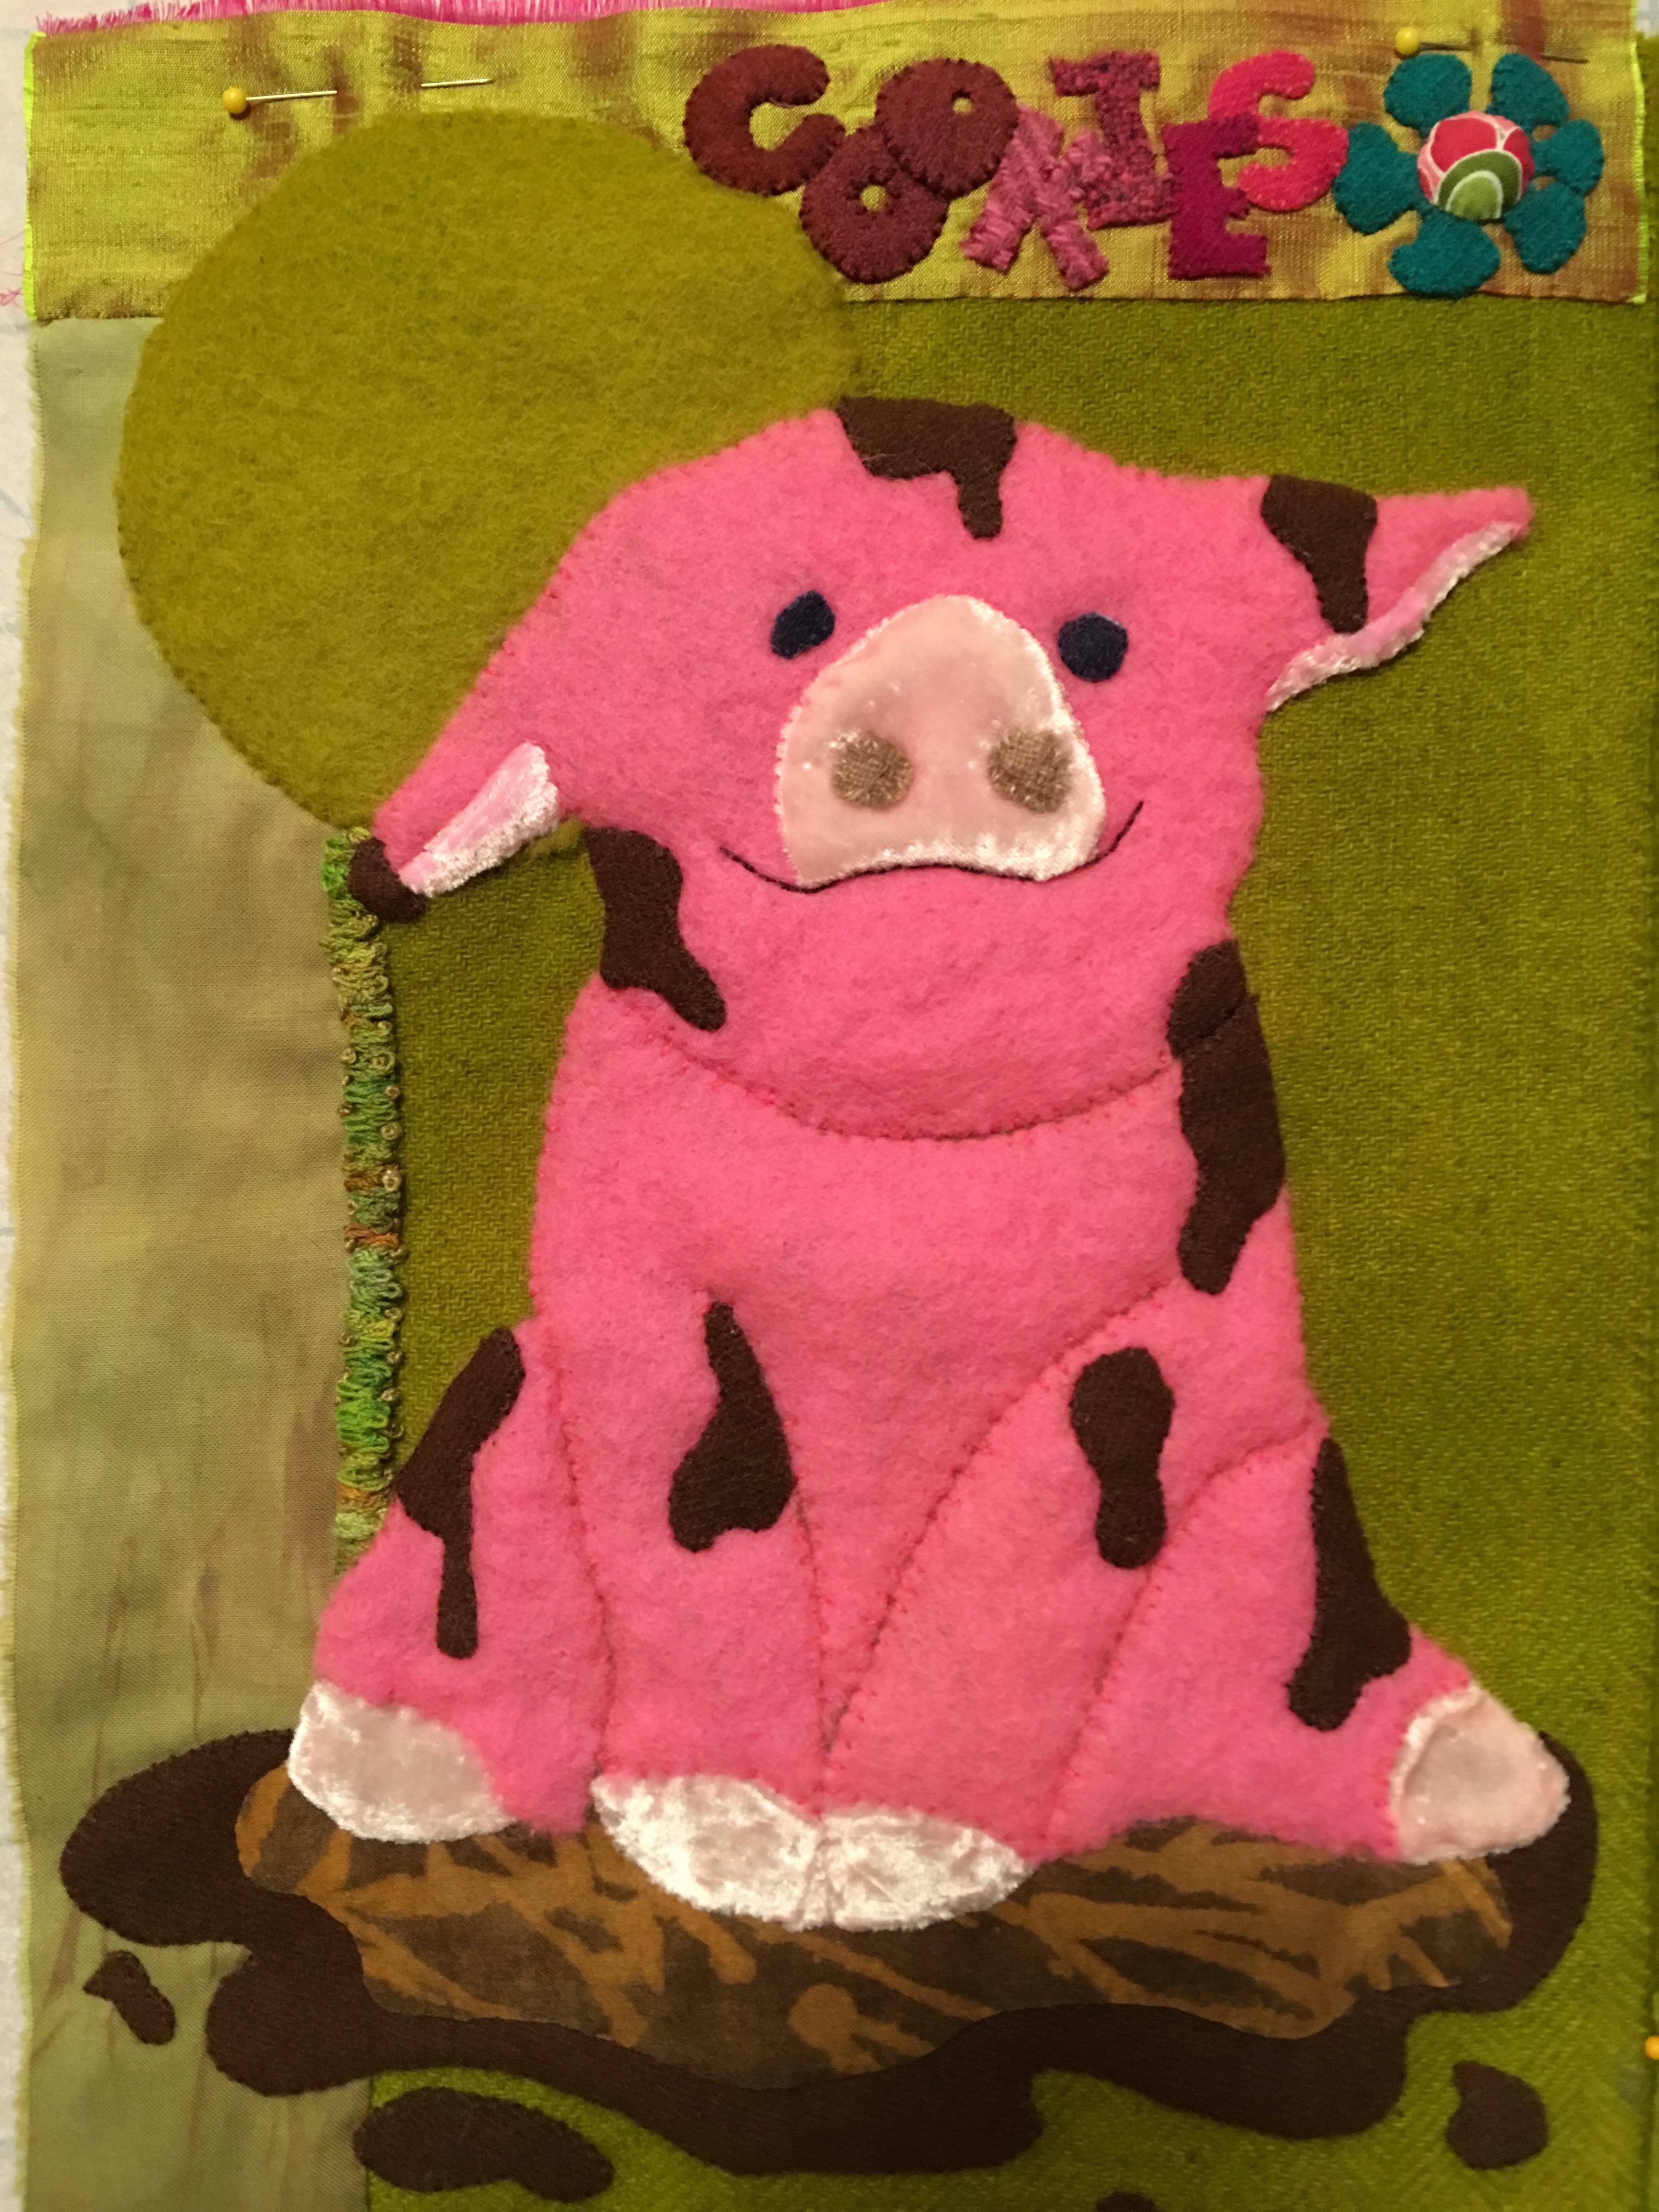
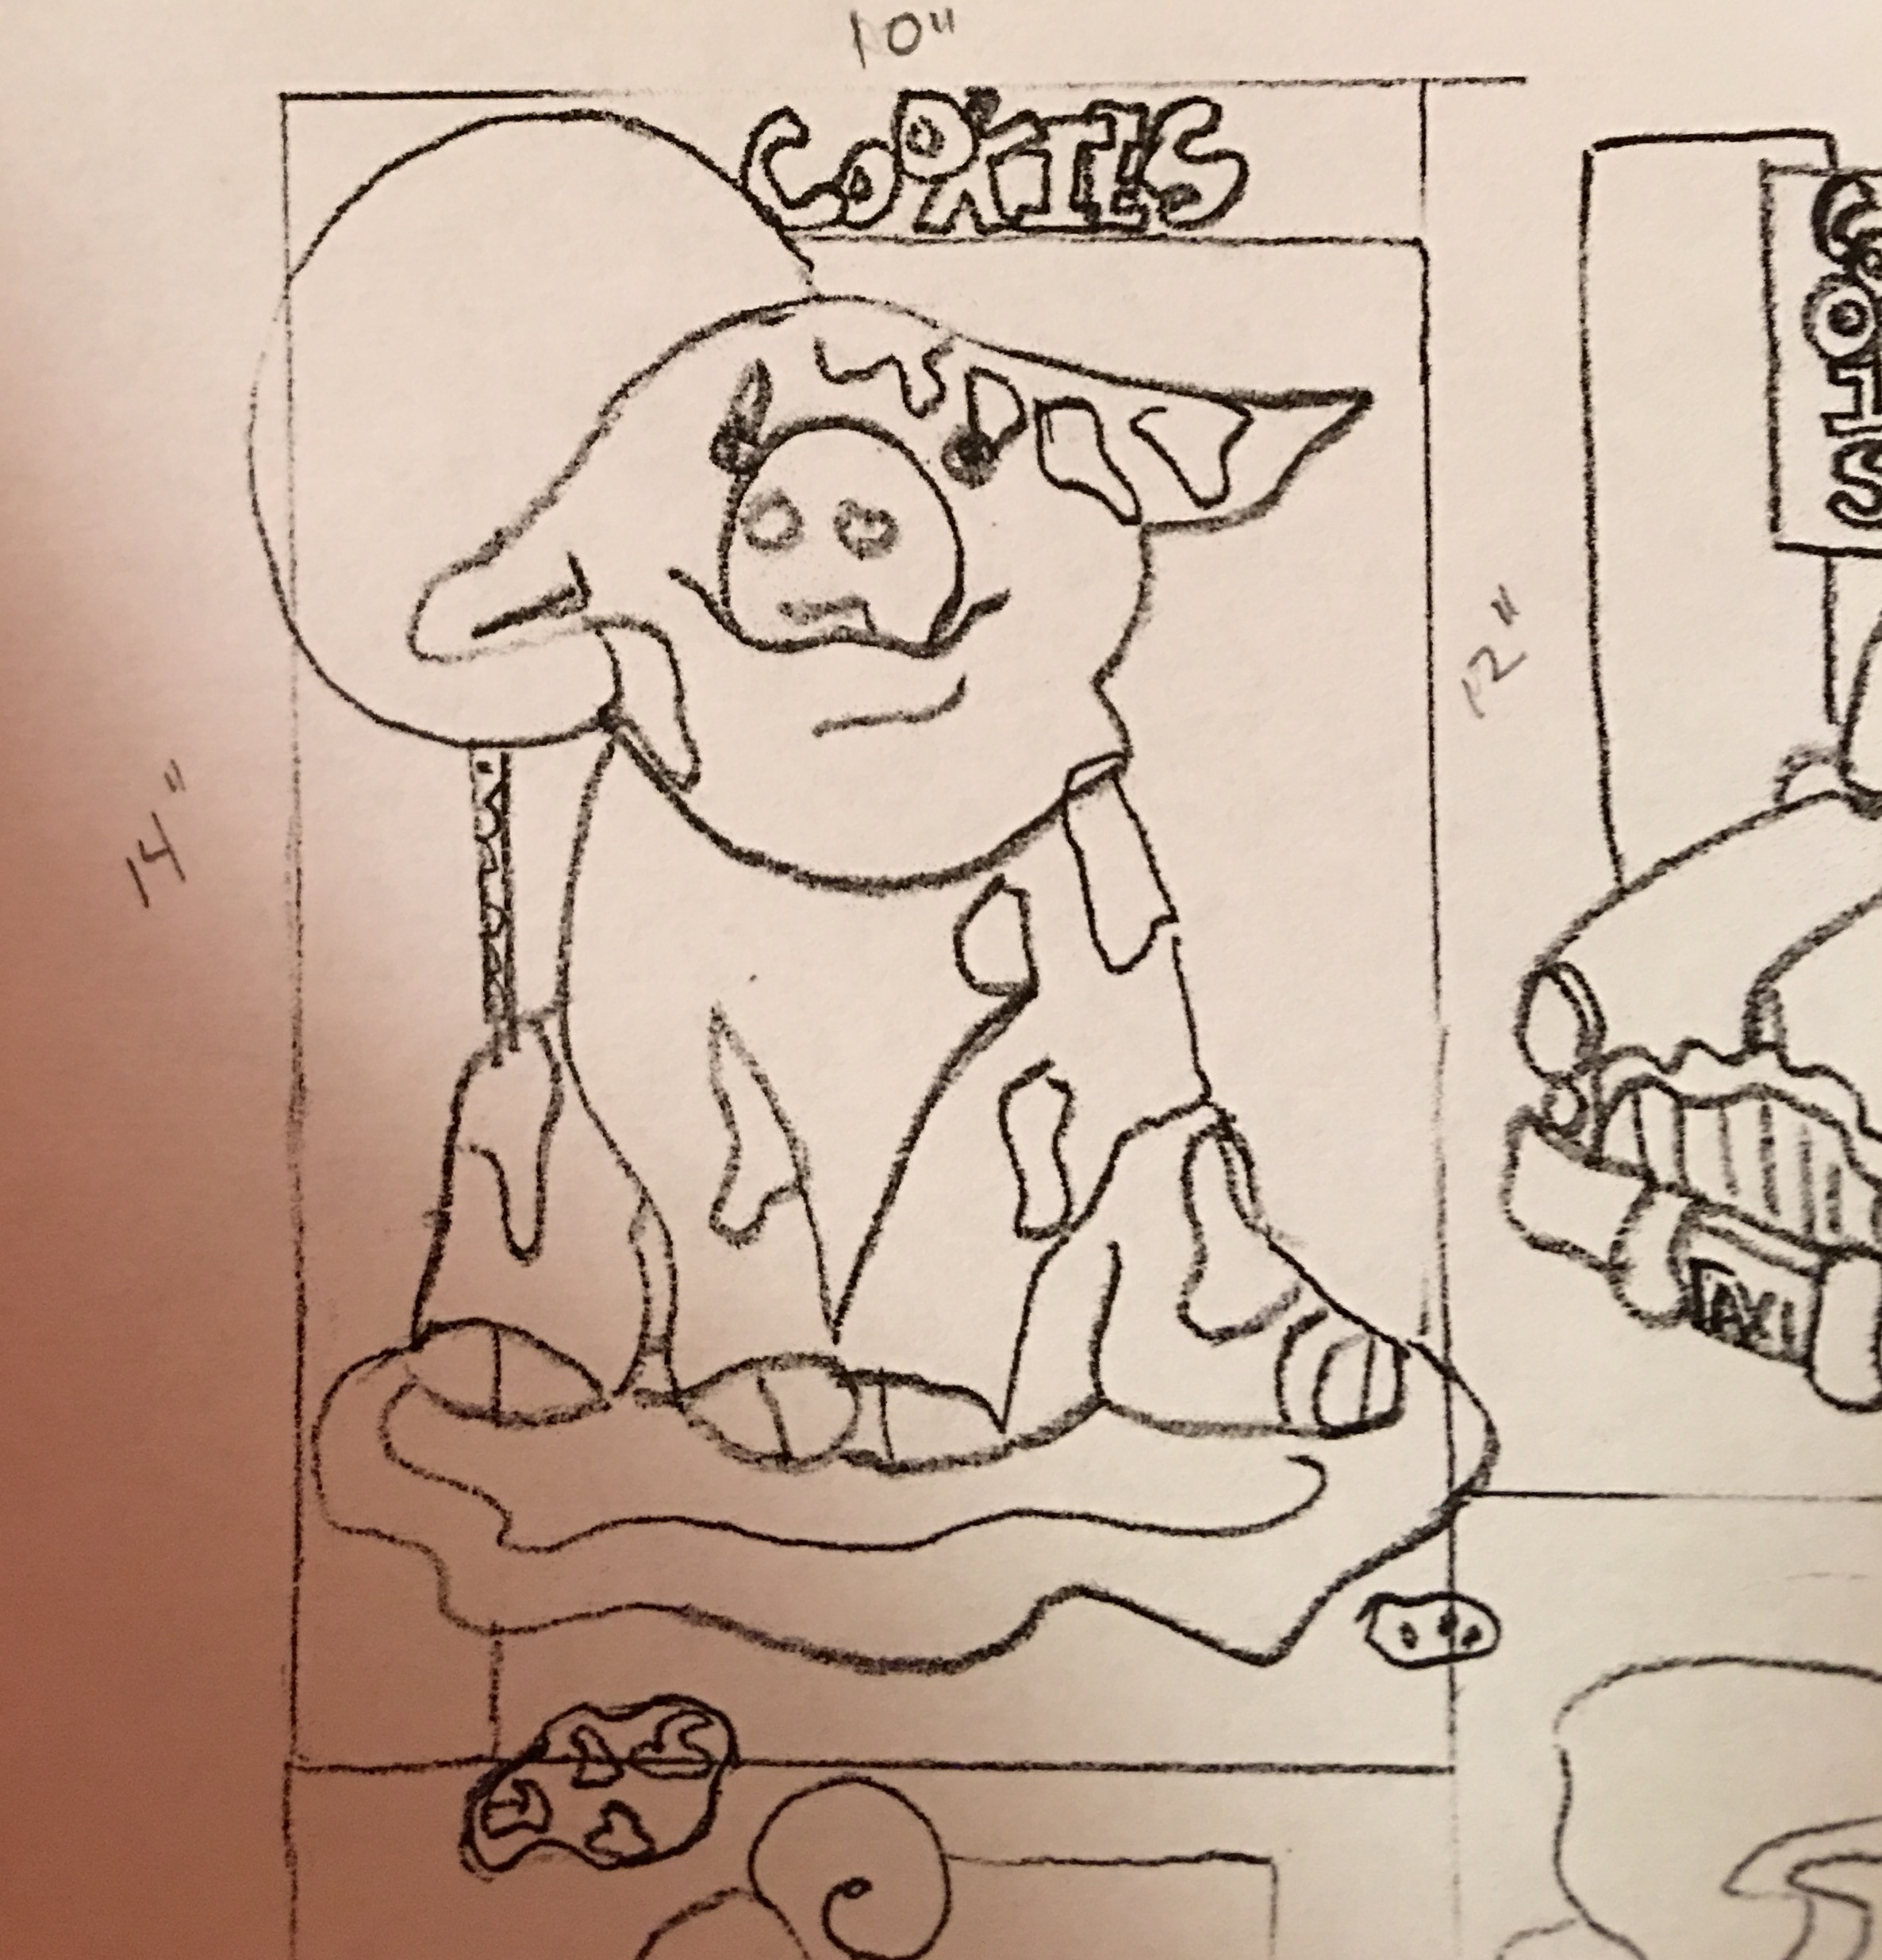
Now I’m back to designing so I can use all of these lovely fabrics. This is the beginning of Mr. Pig. He still needs to be embellished and is one of twelve blocks for my Block Of the Month project featuring cookie jars that I’m in the midst of creating patterns and, hopefully, kits for, that will come with many of my hand-dyed fabrics as well as everything you’ll need to make each block.
Notice the cotton fabric to the far left? That is one of my shibori dyed cottons and the green wools and pink wool and velvet are all my hand-dyed fabrics too!
Yay, I finished it!! My first large quilt. I began it in January and finished yesterday.
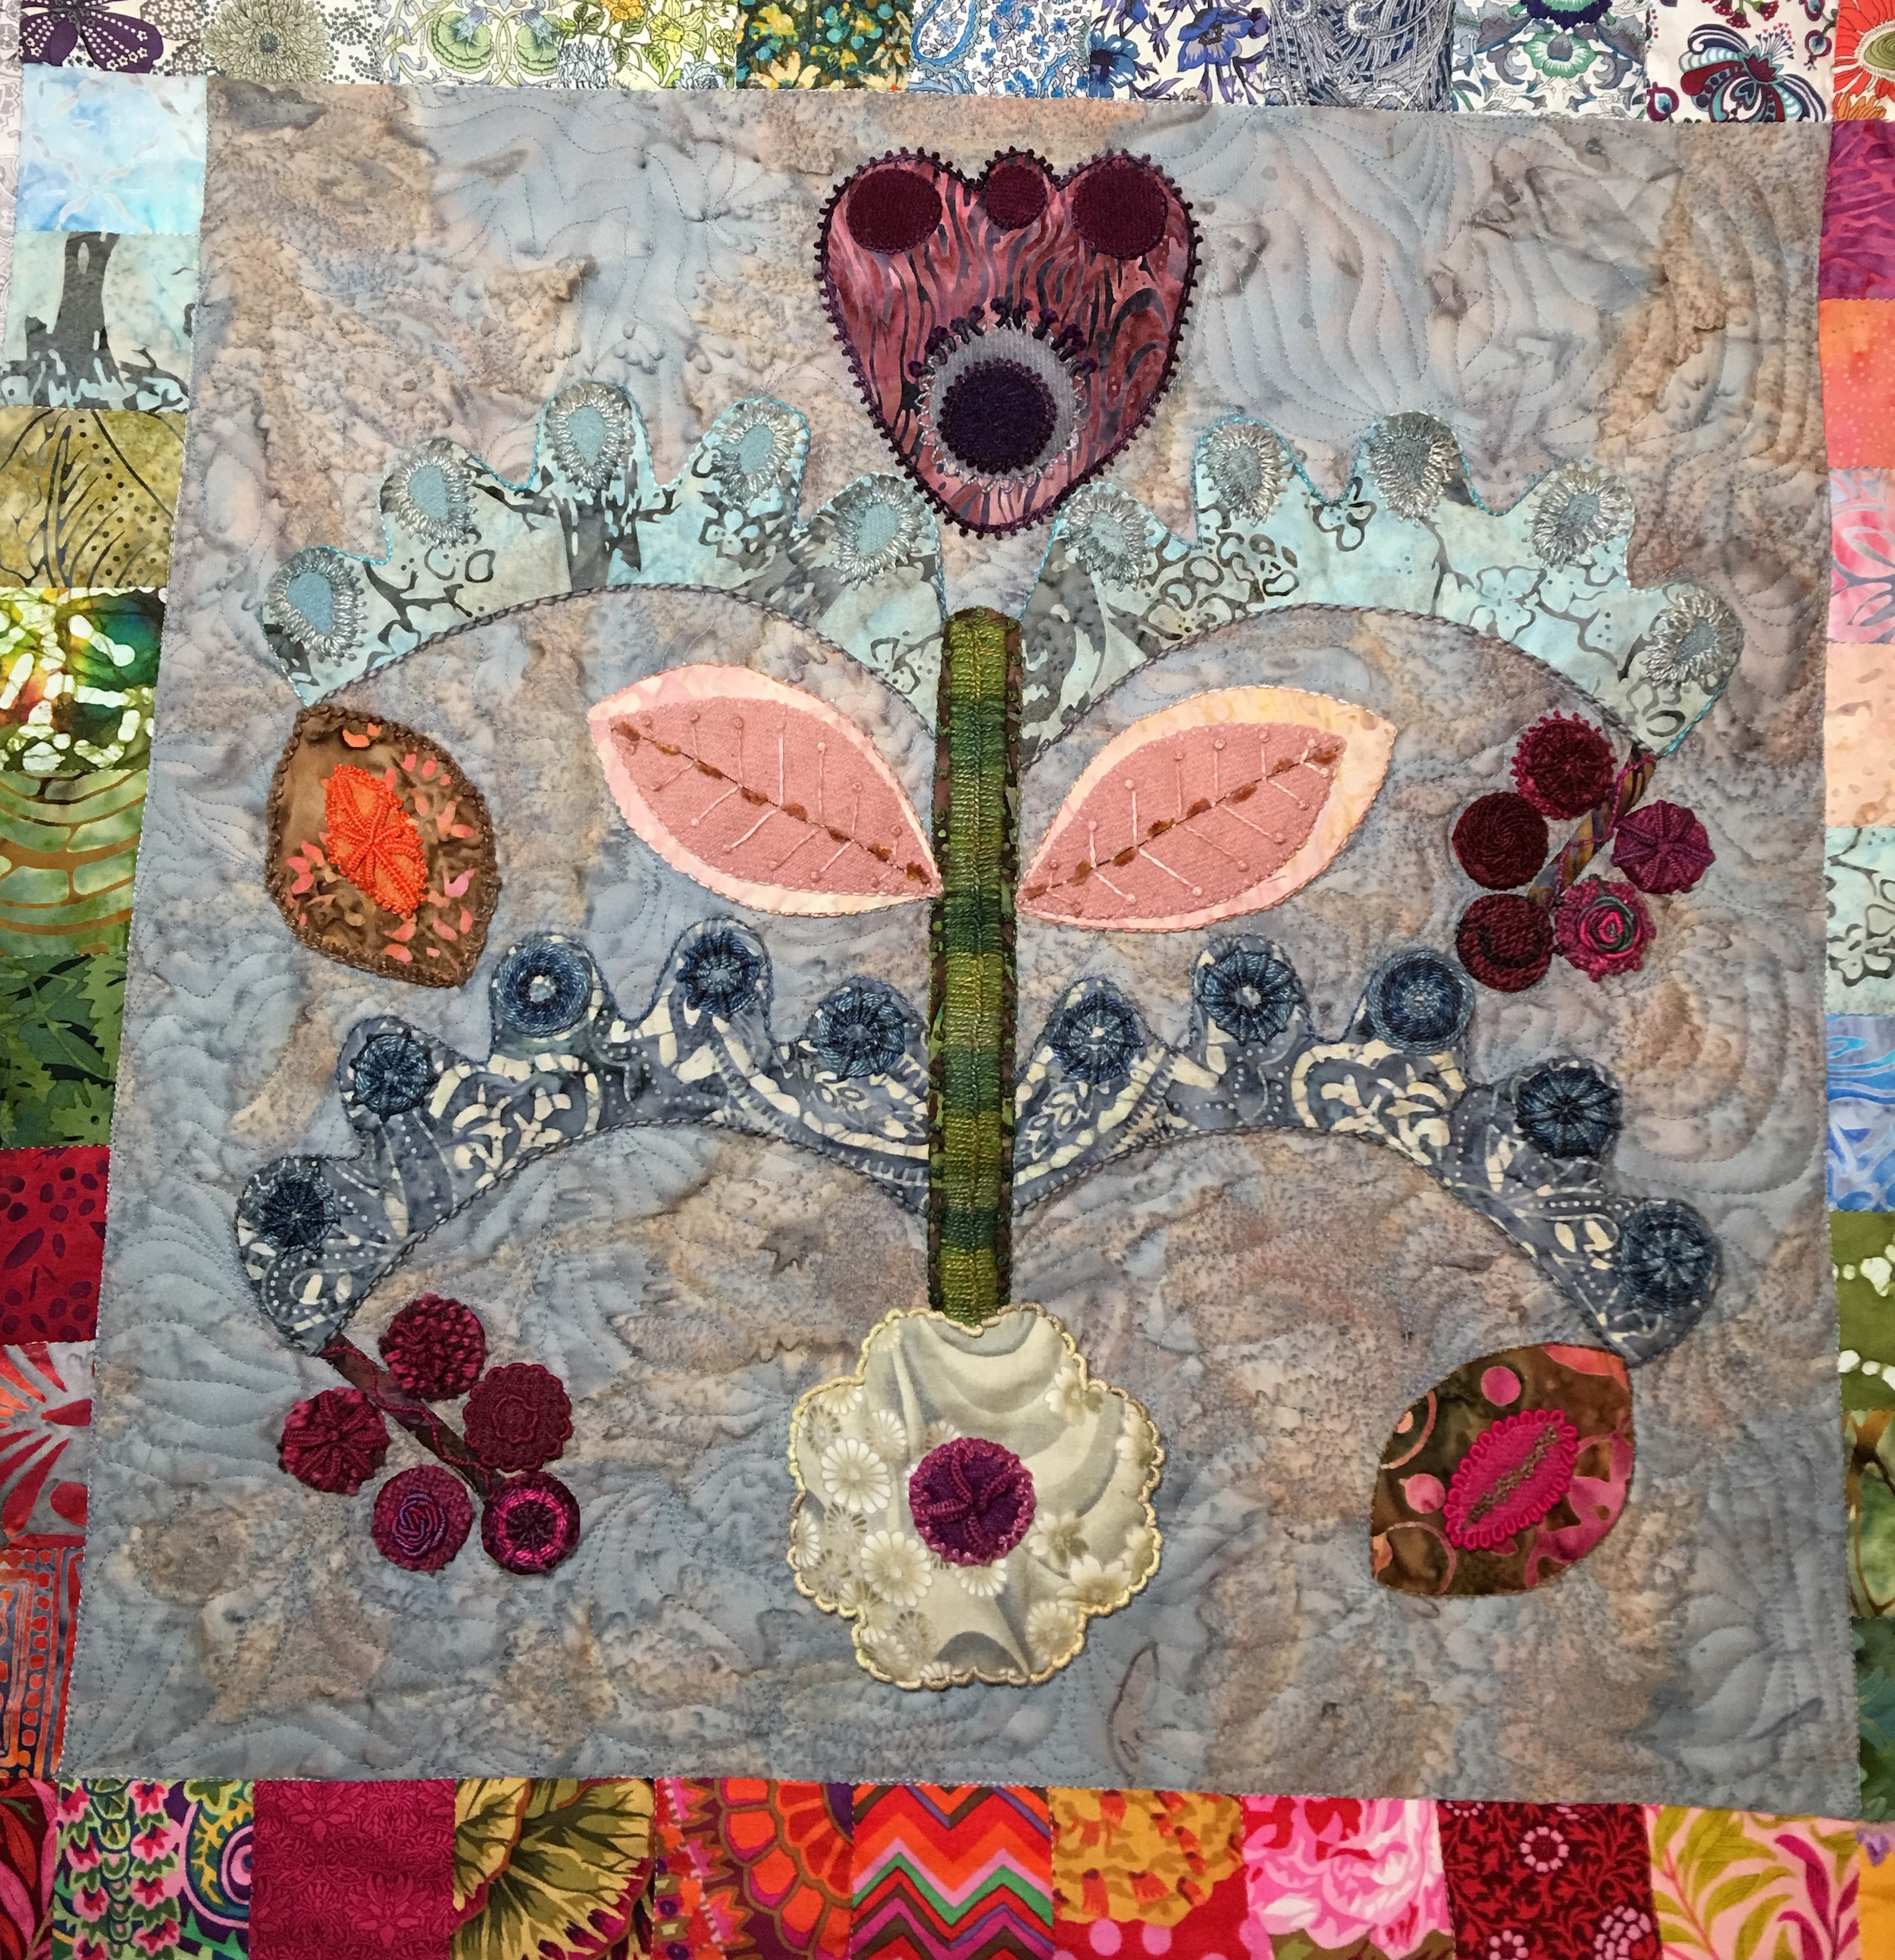
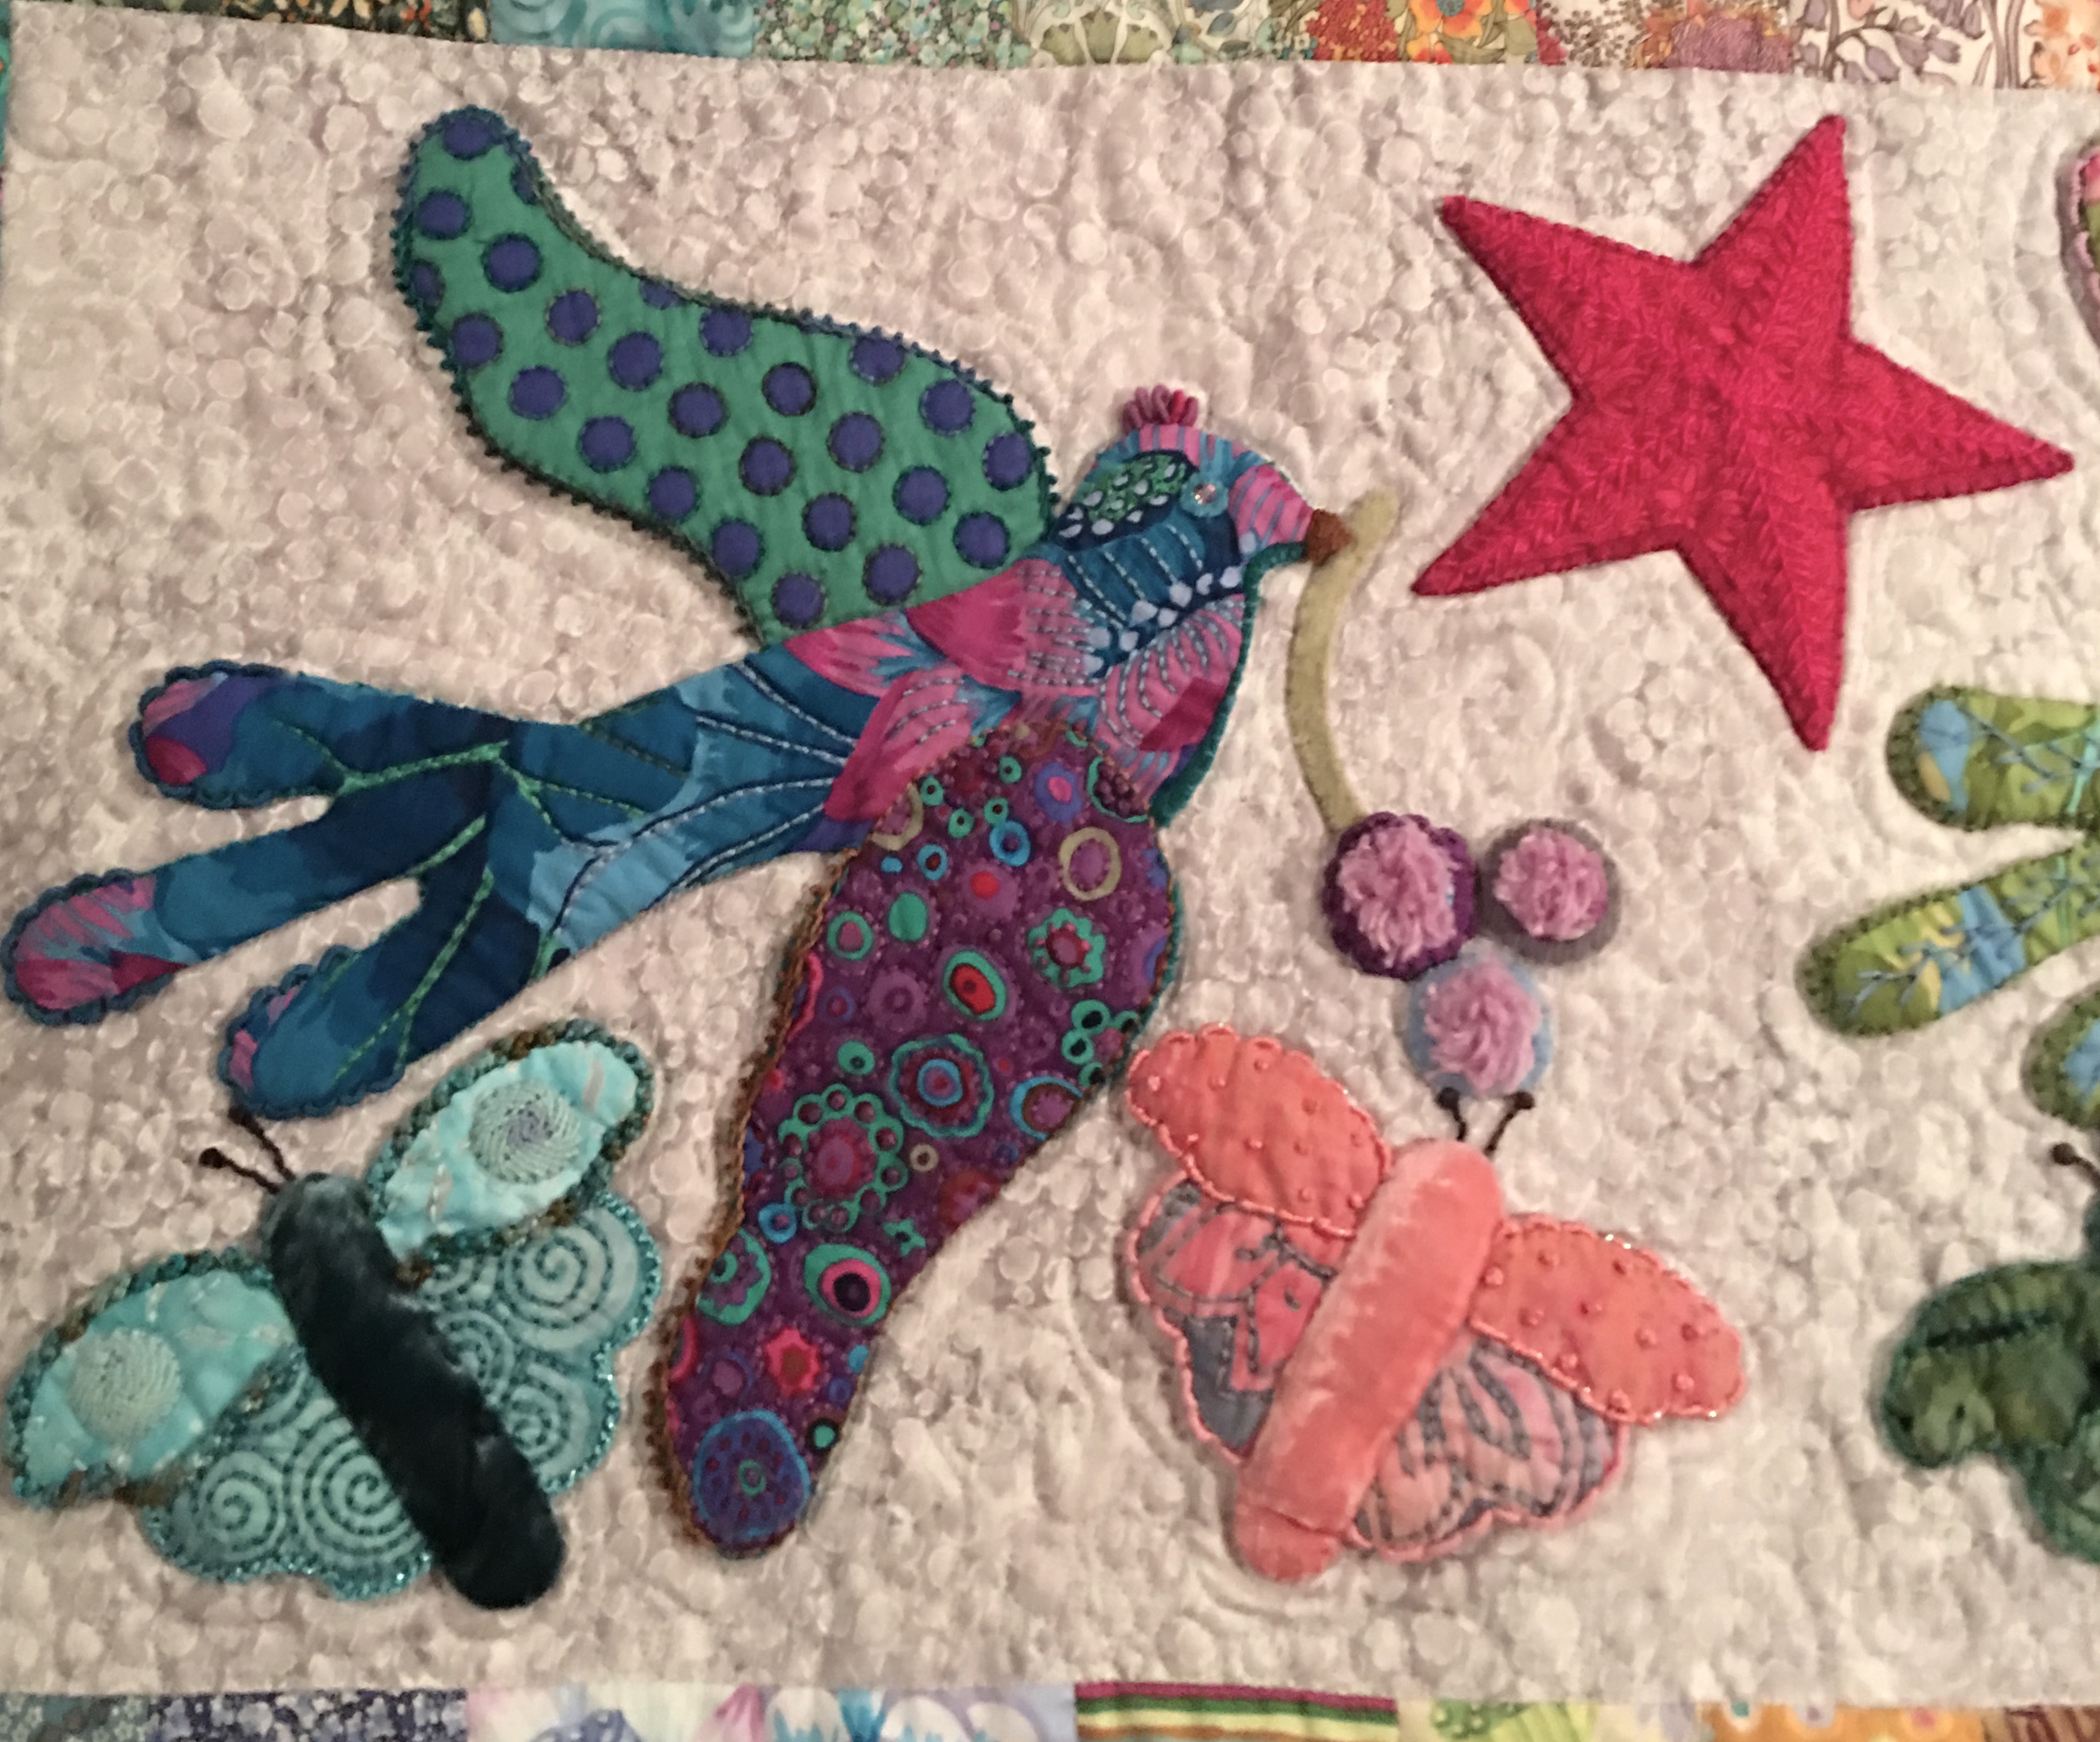
This is the queen-sized quilt that I have written about ‘here‘, ‘here‘, ‘here‘ and ‘here‘. In a nutshell this quilt was my starter quilt. I wanted to learn how to make a quilt start to finish. This quilt was designed by Kim McLean and is called Flower Pots. I took a class where we followed the pattern, learned to appliqué, and got to use all the things I had learned from Sue Spargo – layering, using different fabrics such as wool and velvet and then perle cotton and other threads and a multitude of stitches to enhance the shapes. I hand stitched all the appliqué and machine stitched the panels together with the sashing and border. I then used a wool batting and learned how to free motion quilt. I used a red batik for the binding, cut on the bias and hand stitched the back. Finally I made and applied a quilted label.
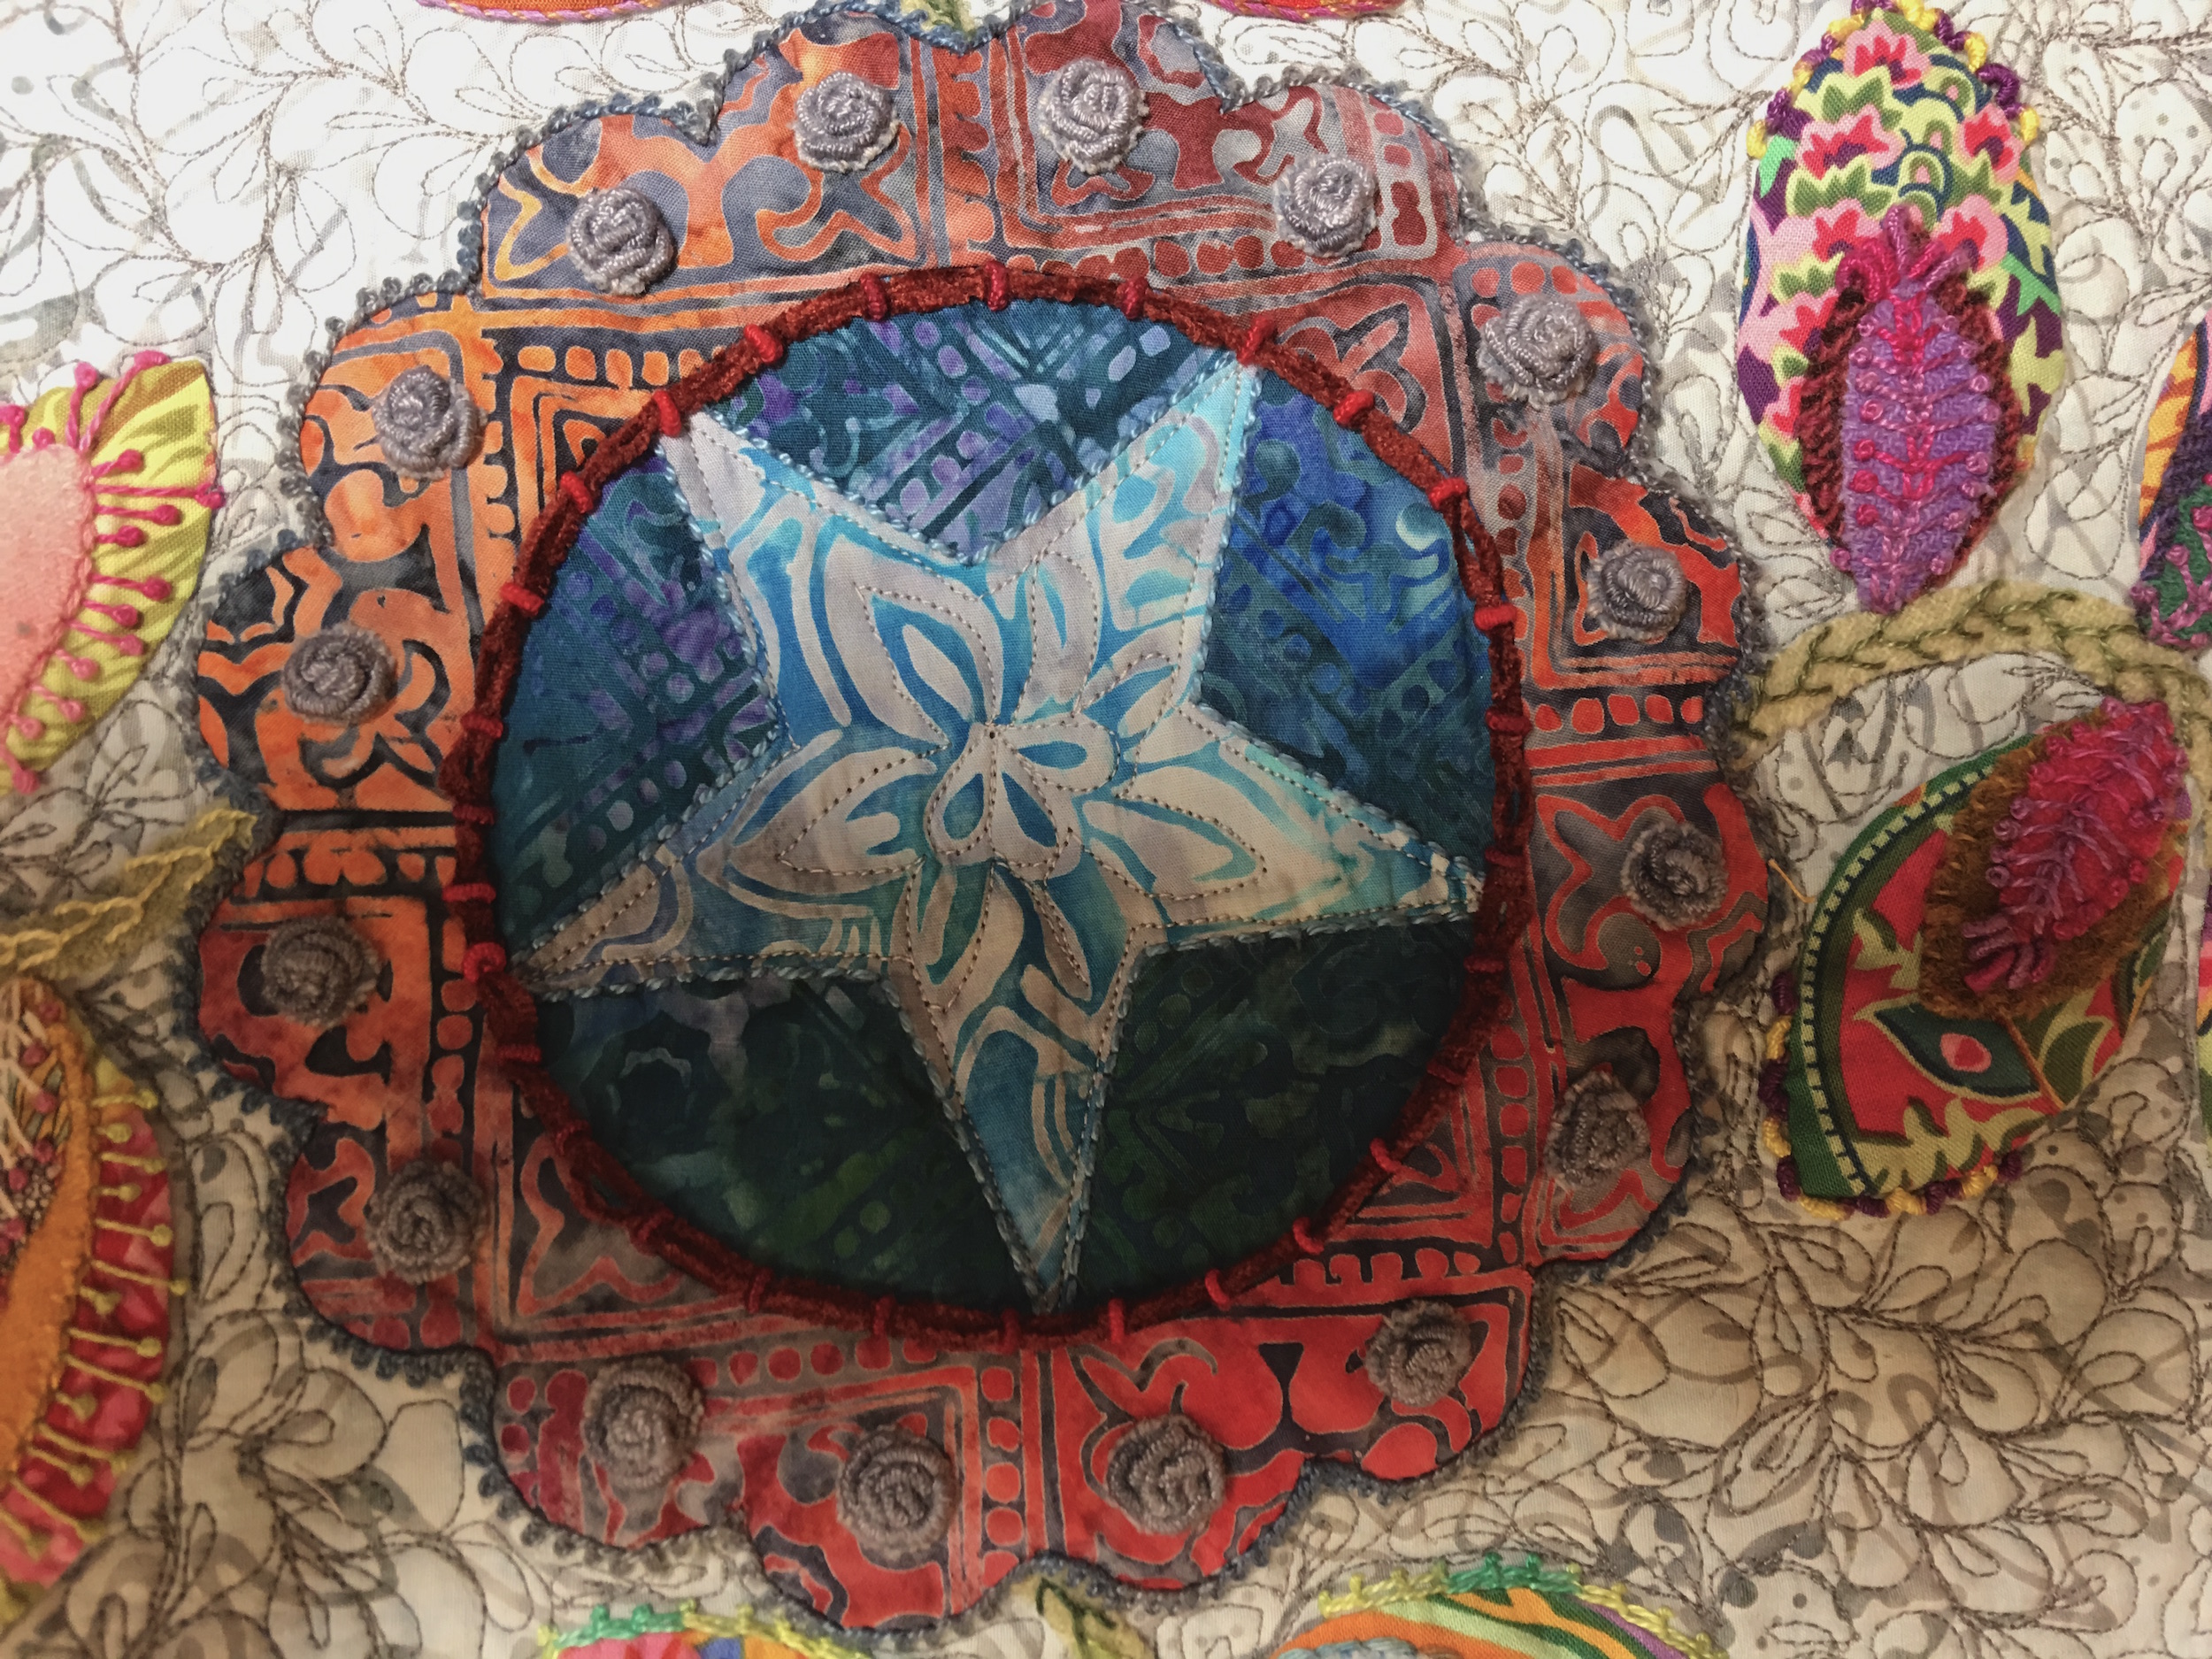
This first picture is of the lower center panel where I decided to try an emerging pattern of double leaf free motion quilting shape. I used a slightly darker grey thread.
Center Star Panel
For the upper center panel I wanted to try my hand at McTavishing, which is named after a woman who created a specific way to free motion quilt. After a few times, I went off and did my own thing, echoing, but also playing with flame shapes.
Top Center Panel
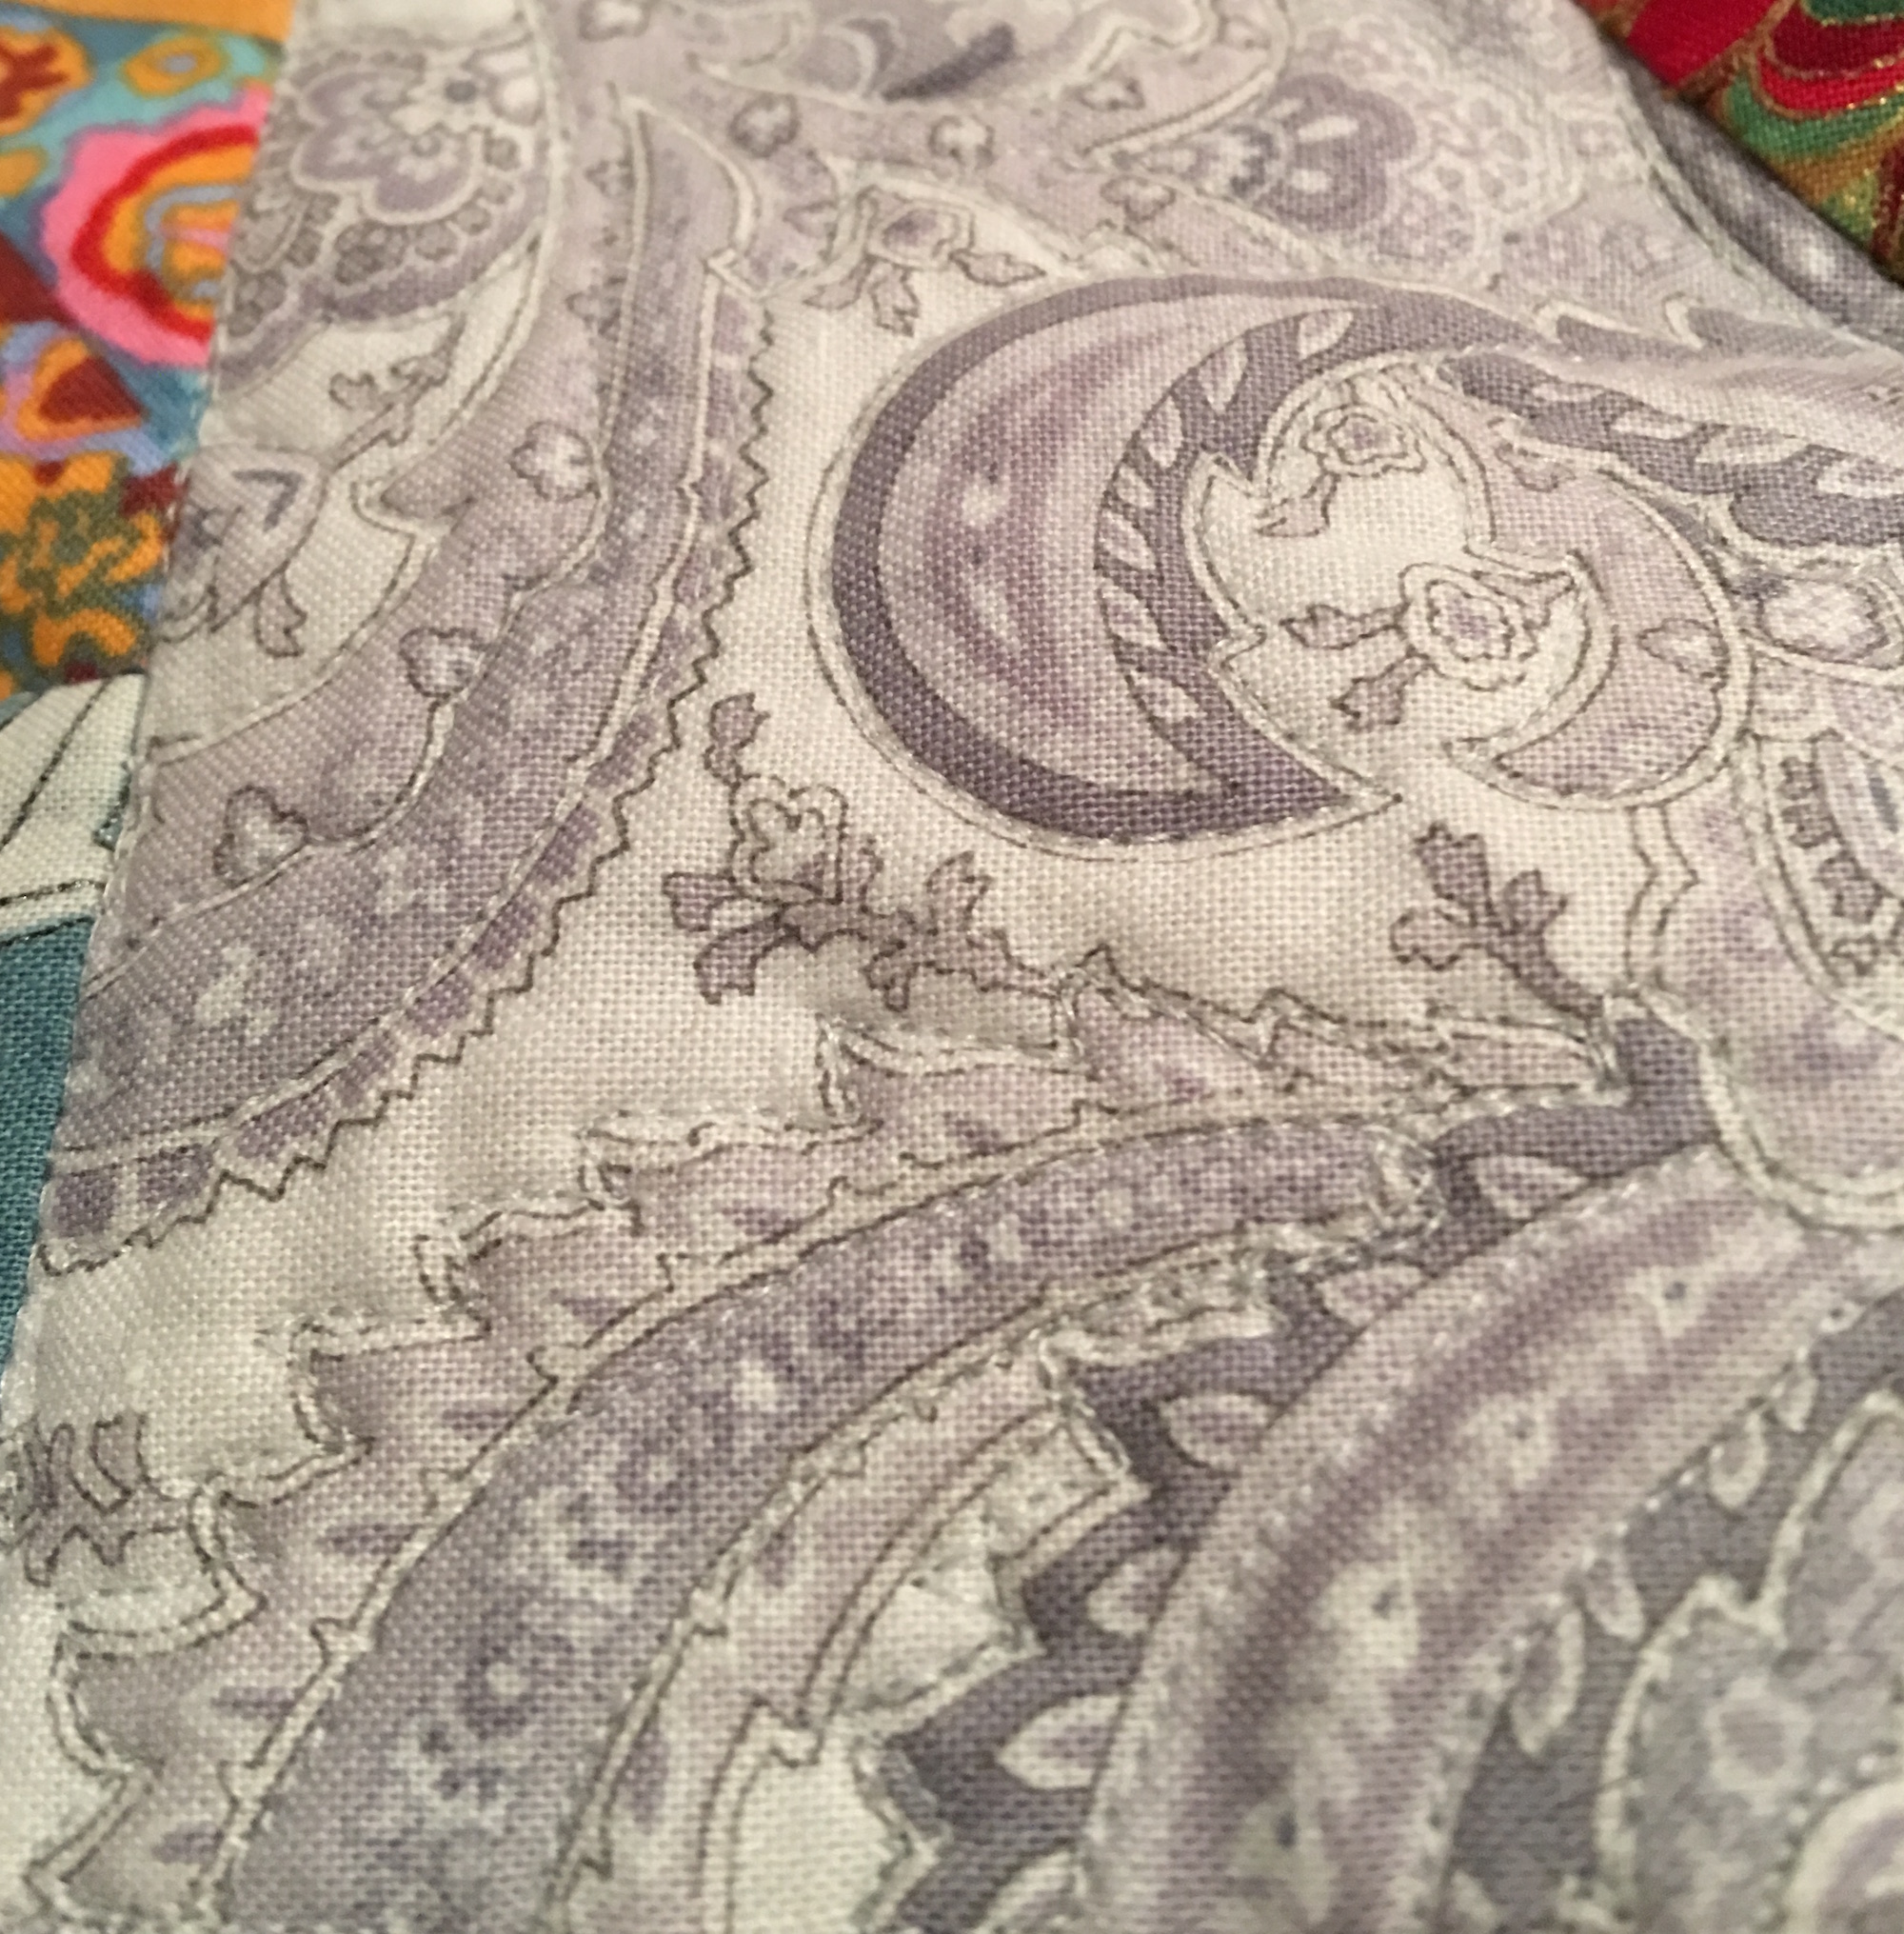
On this long side panel I decided that the paisley fabric was so cool I would just use it as a quilting guideline. I really loved how this turned out, though it’s hard to really see, I did add a close up below.
Side Panel
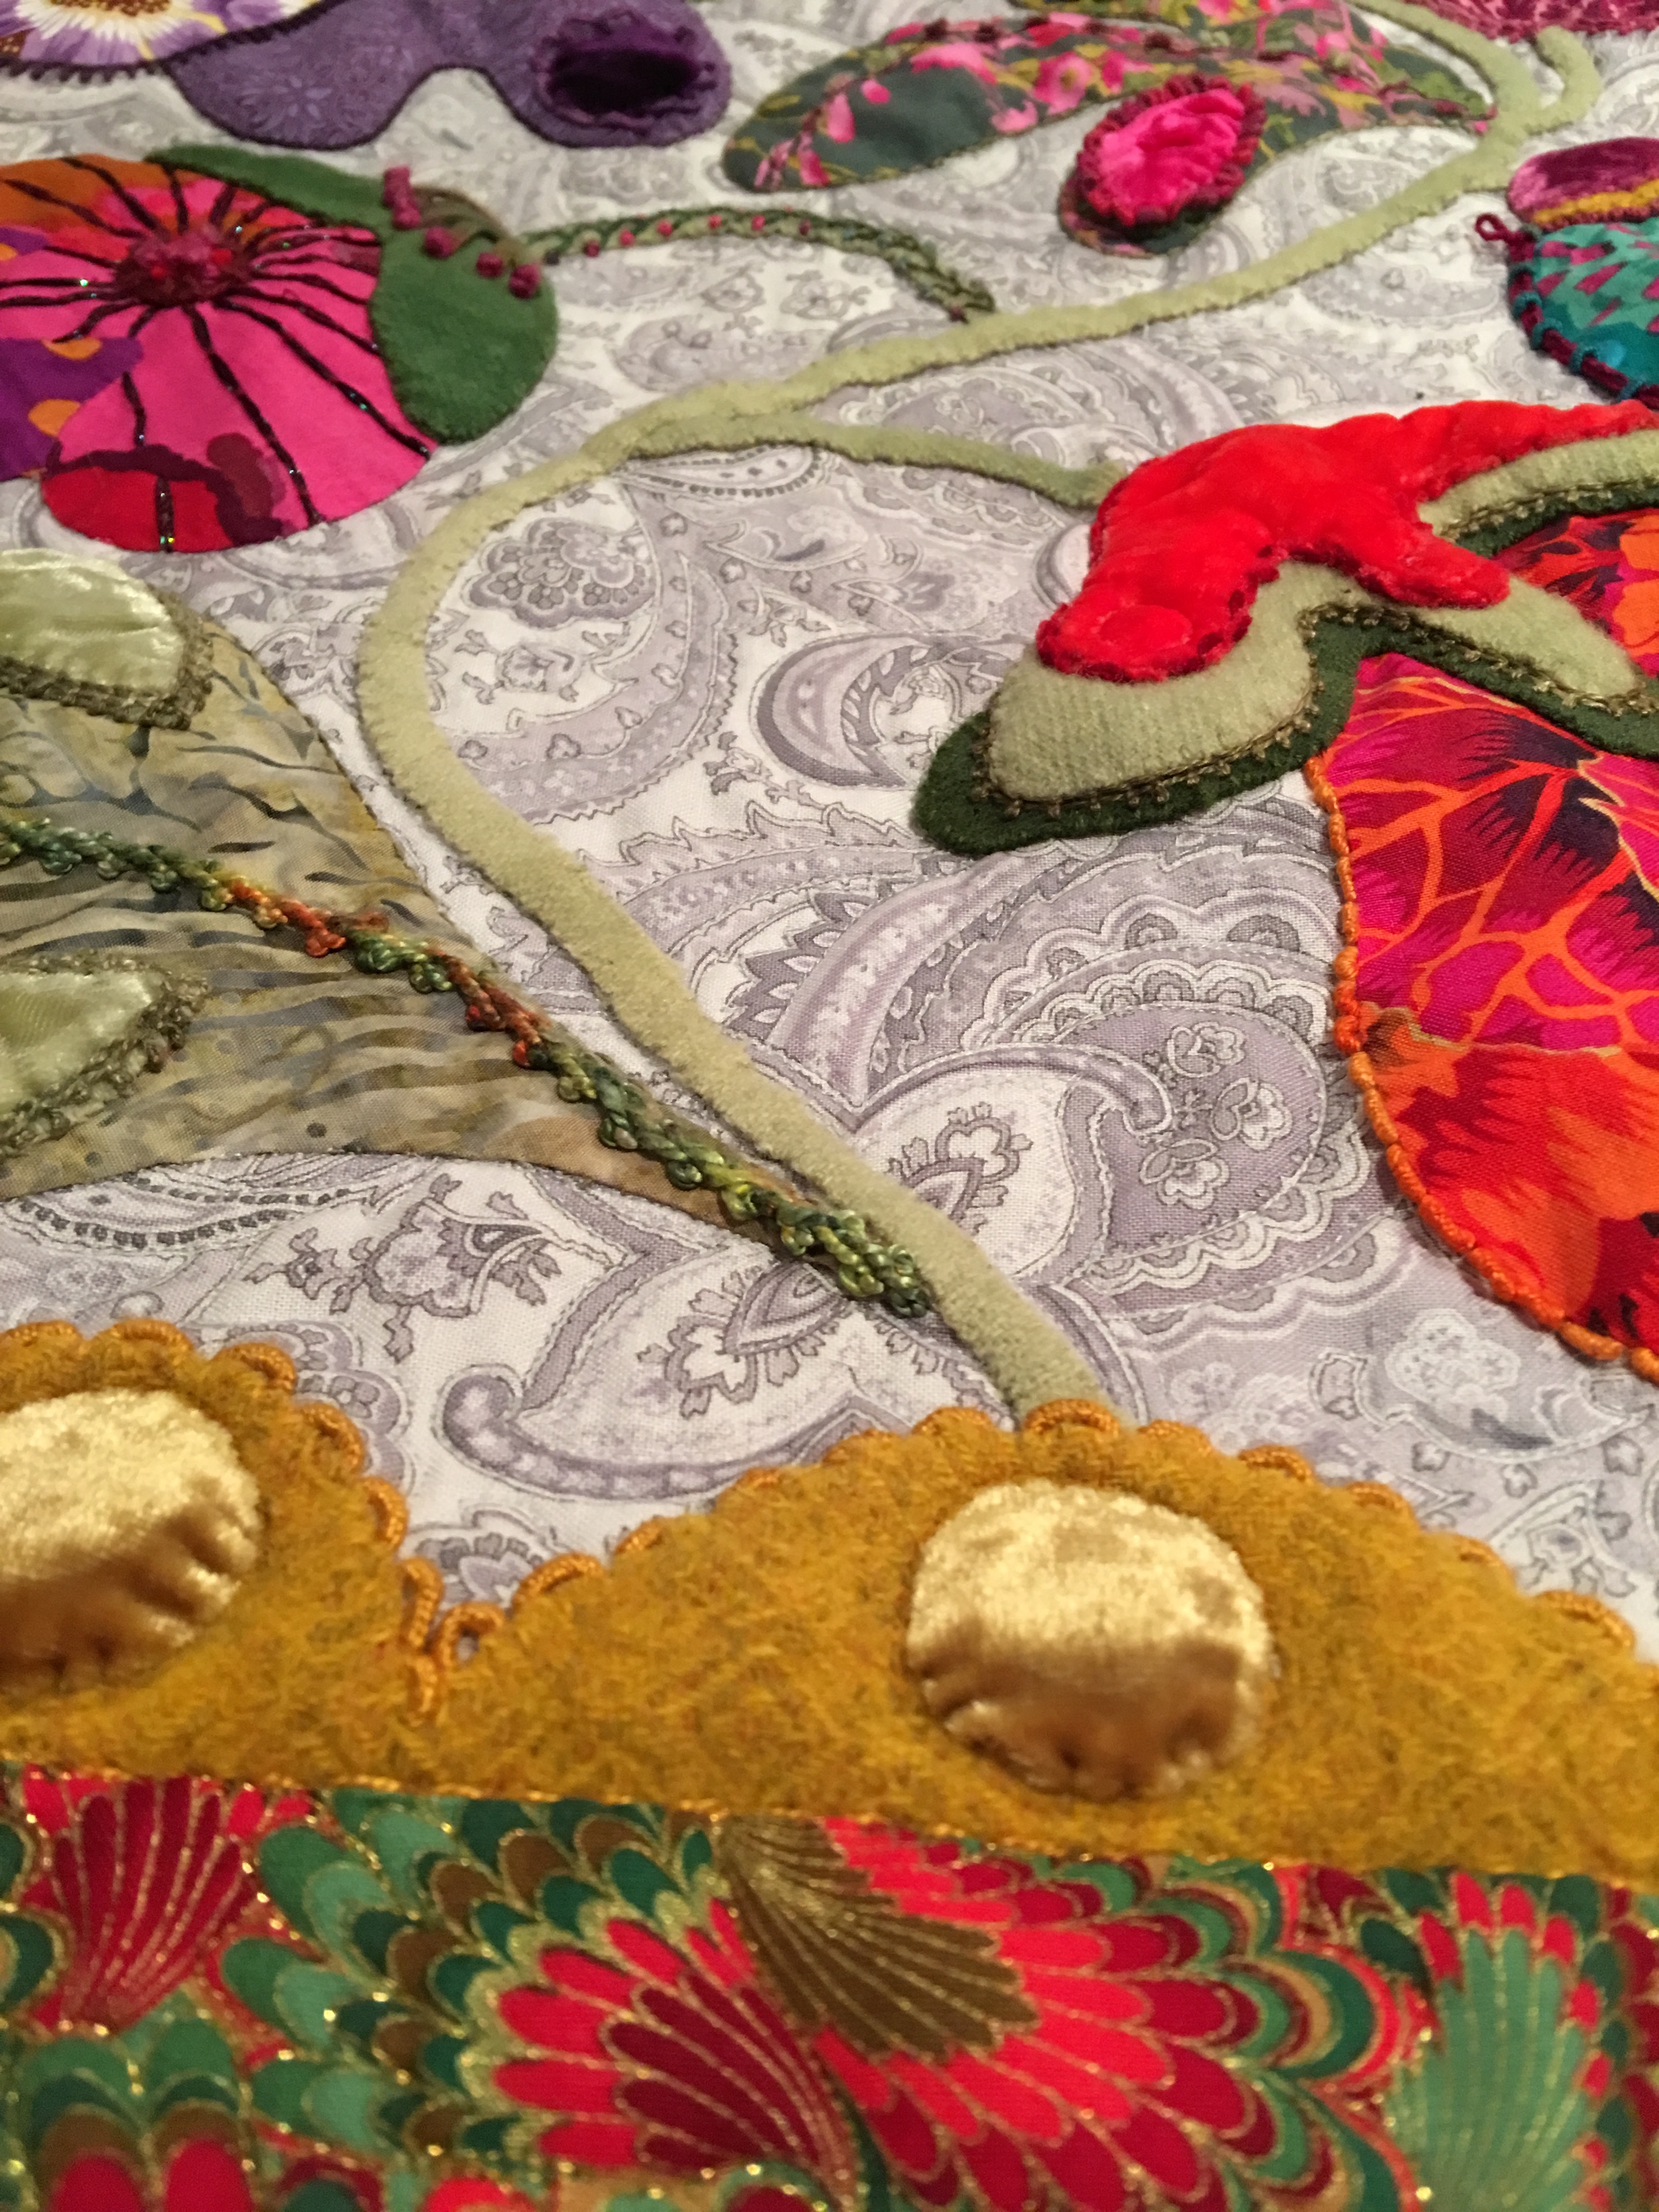
Detail of the free motion quilting on the side panel
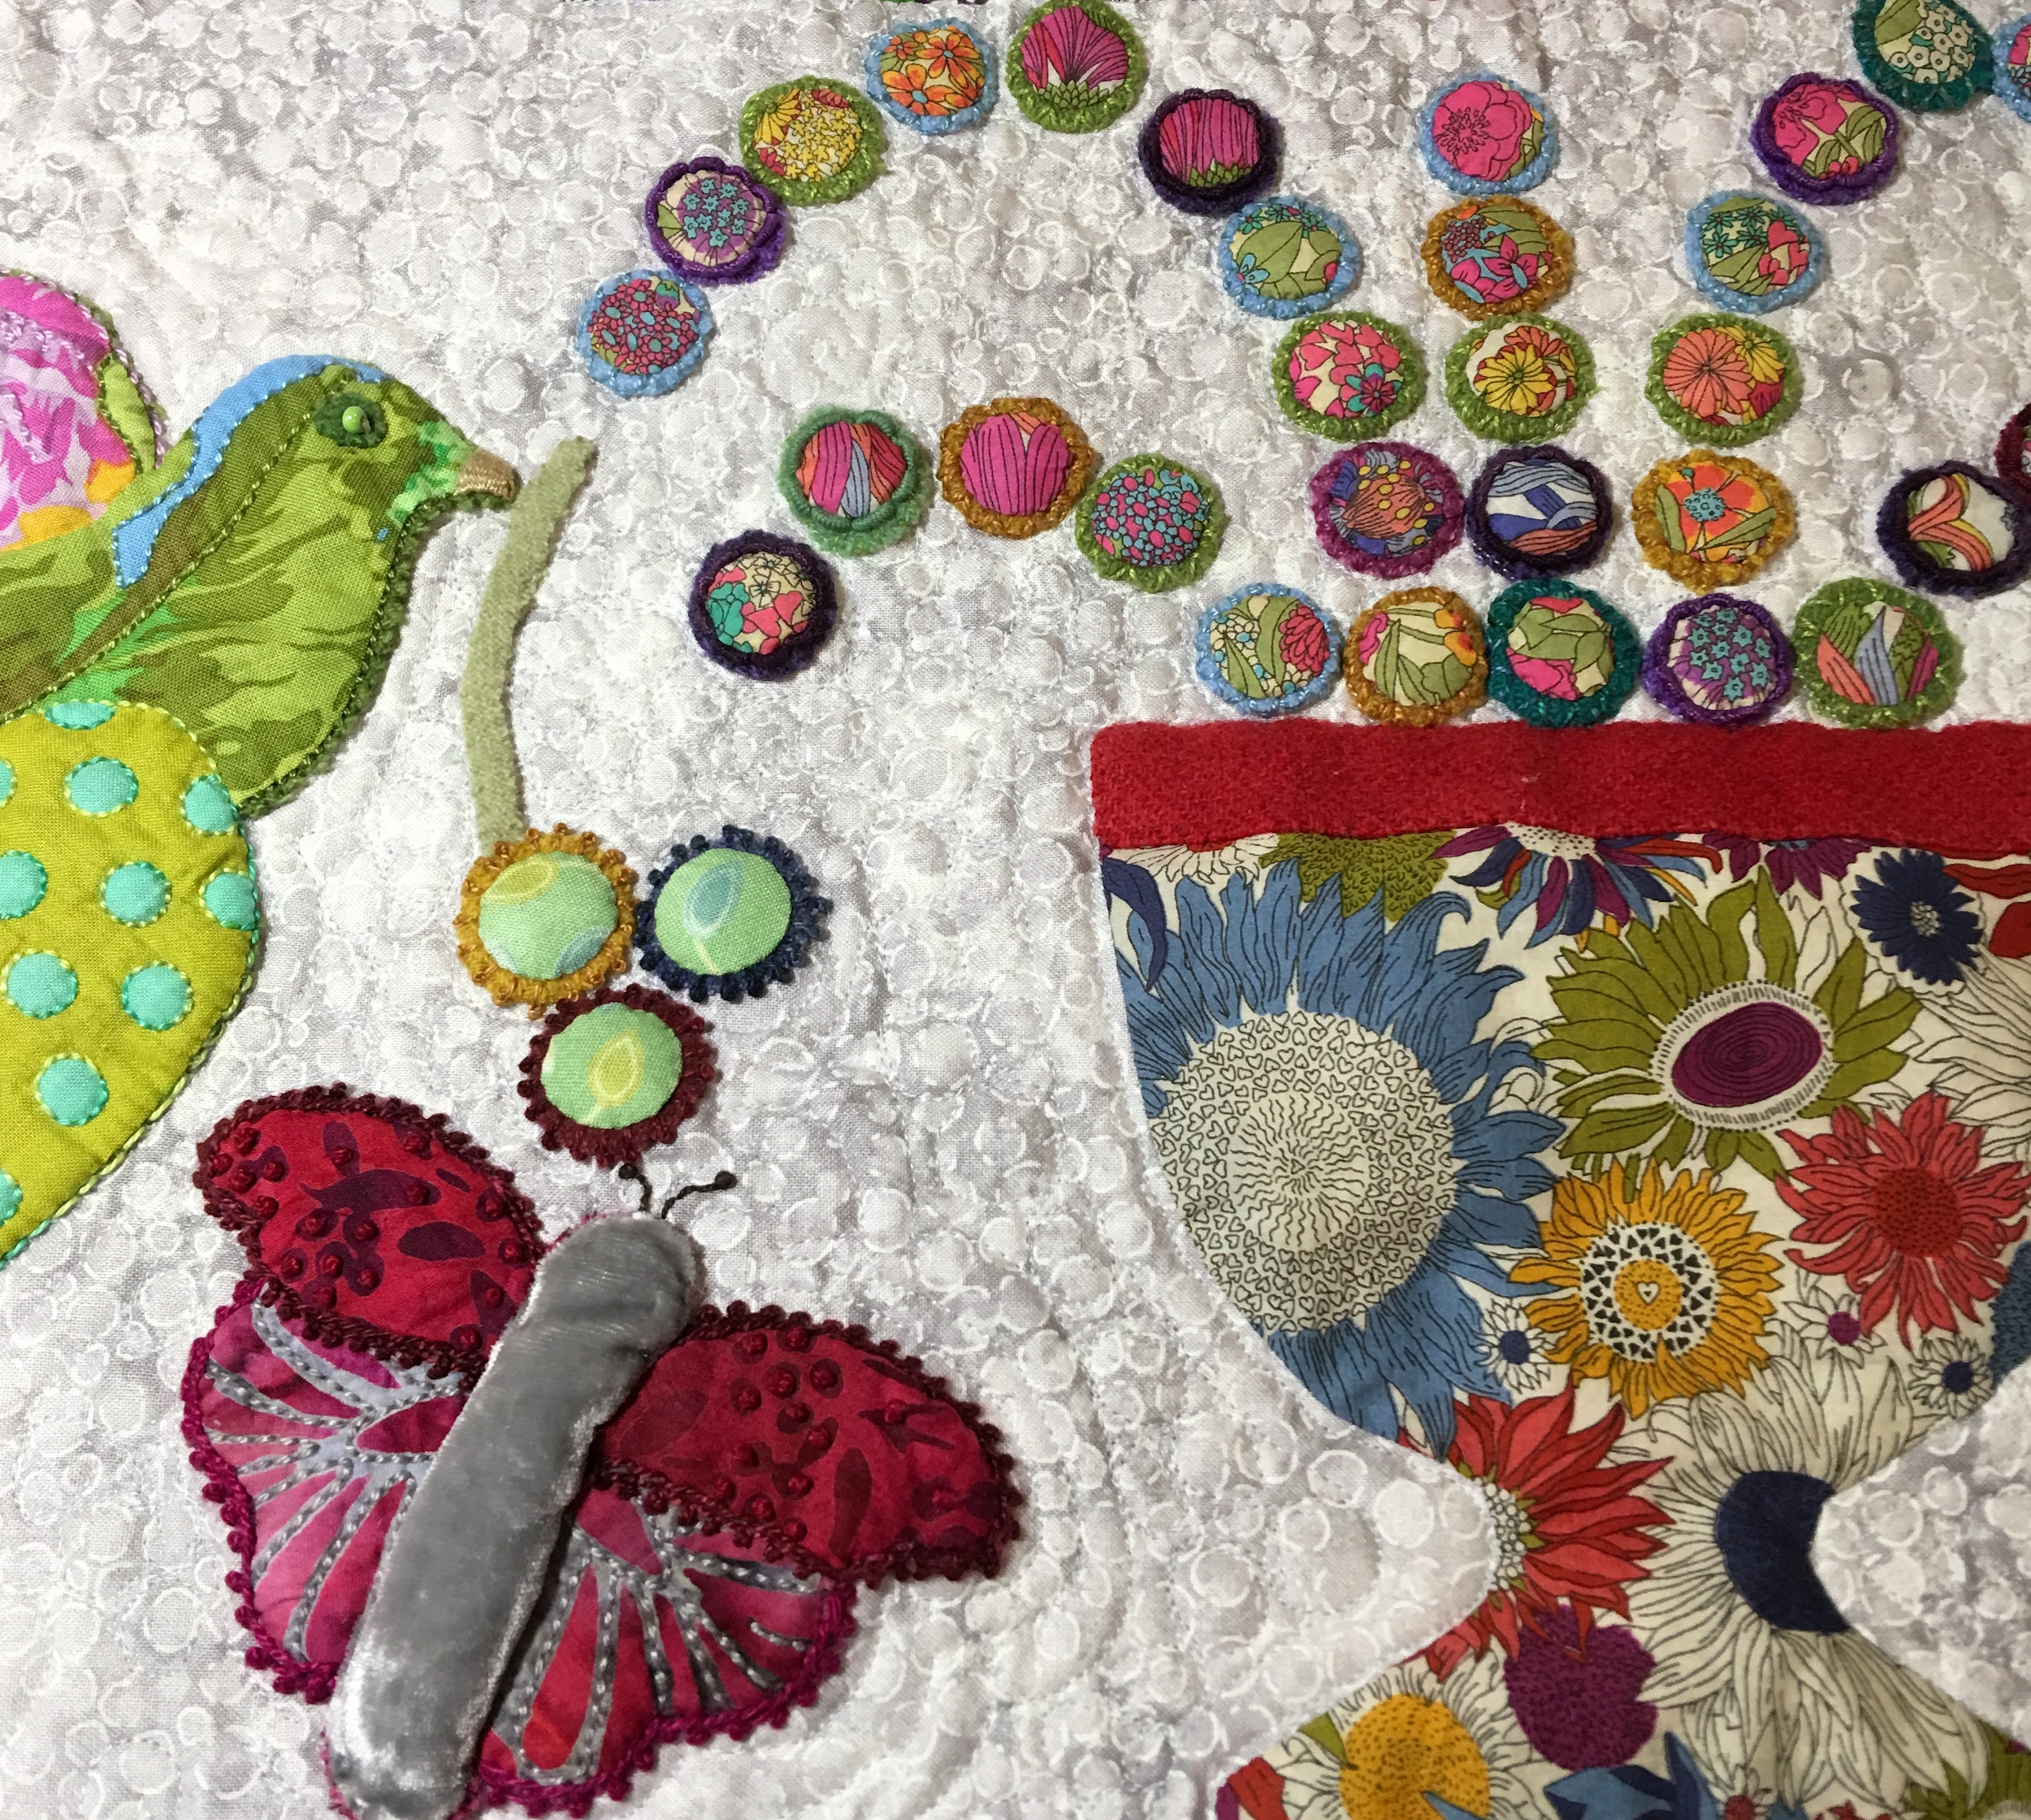
This is the bottom panel and I included pebbles, echoing and swirls, which I did again on the top panel.
Bottom Panel
More of the center panel
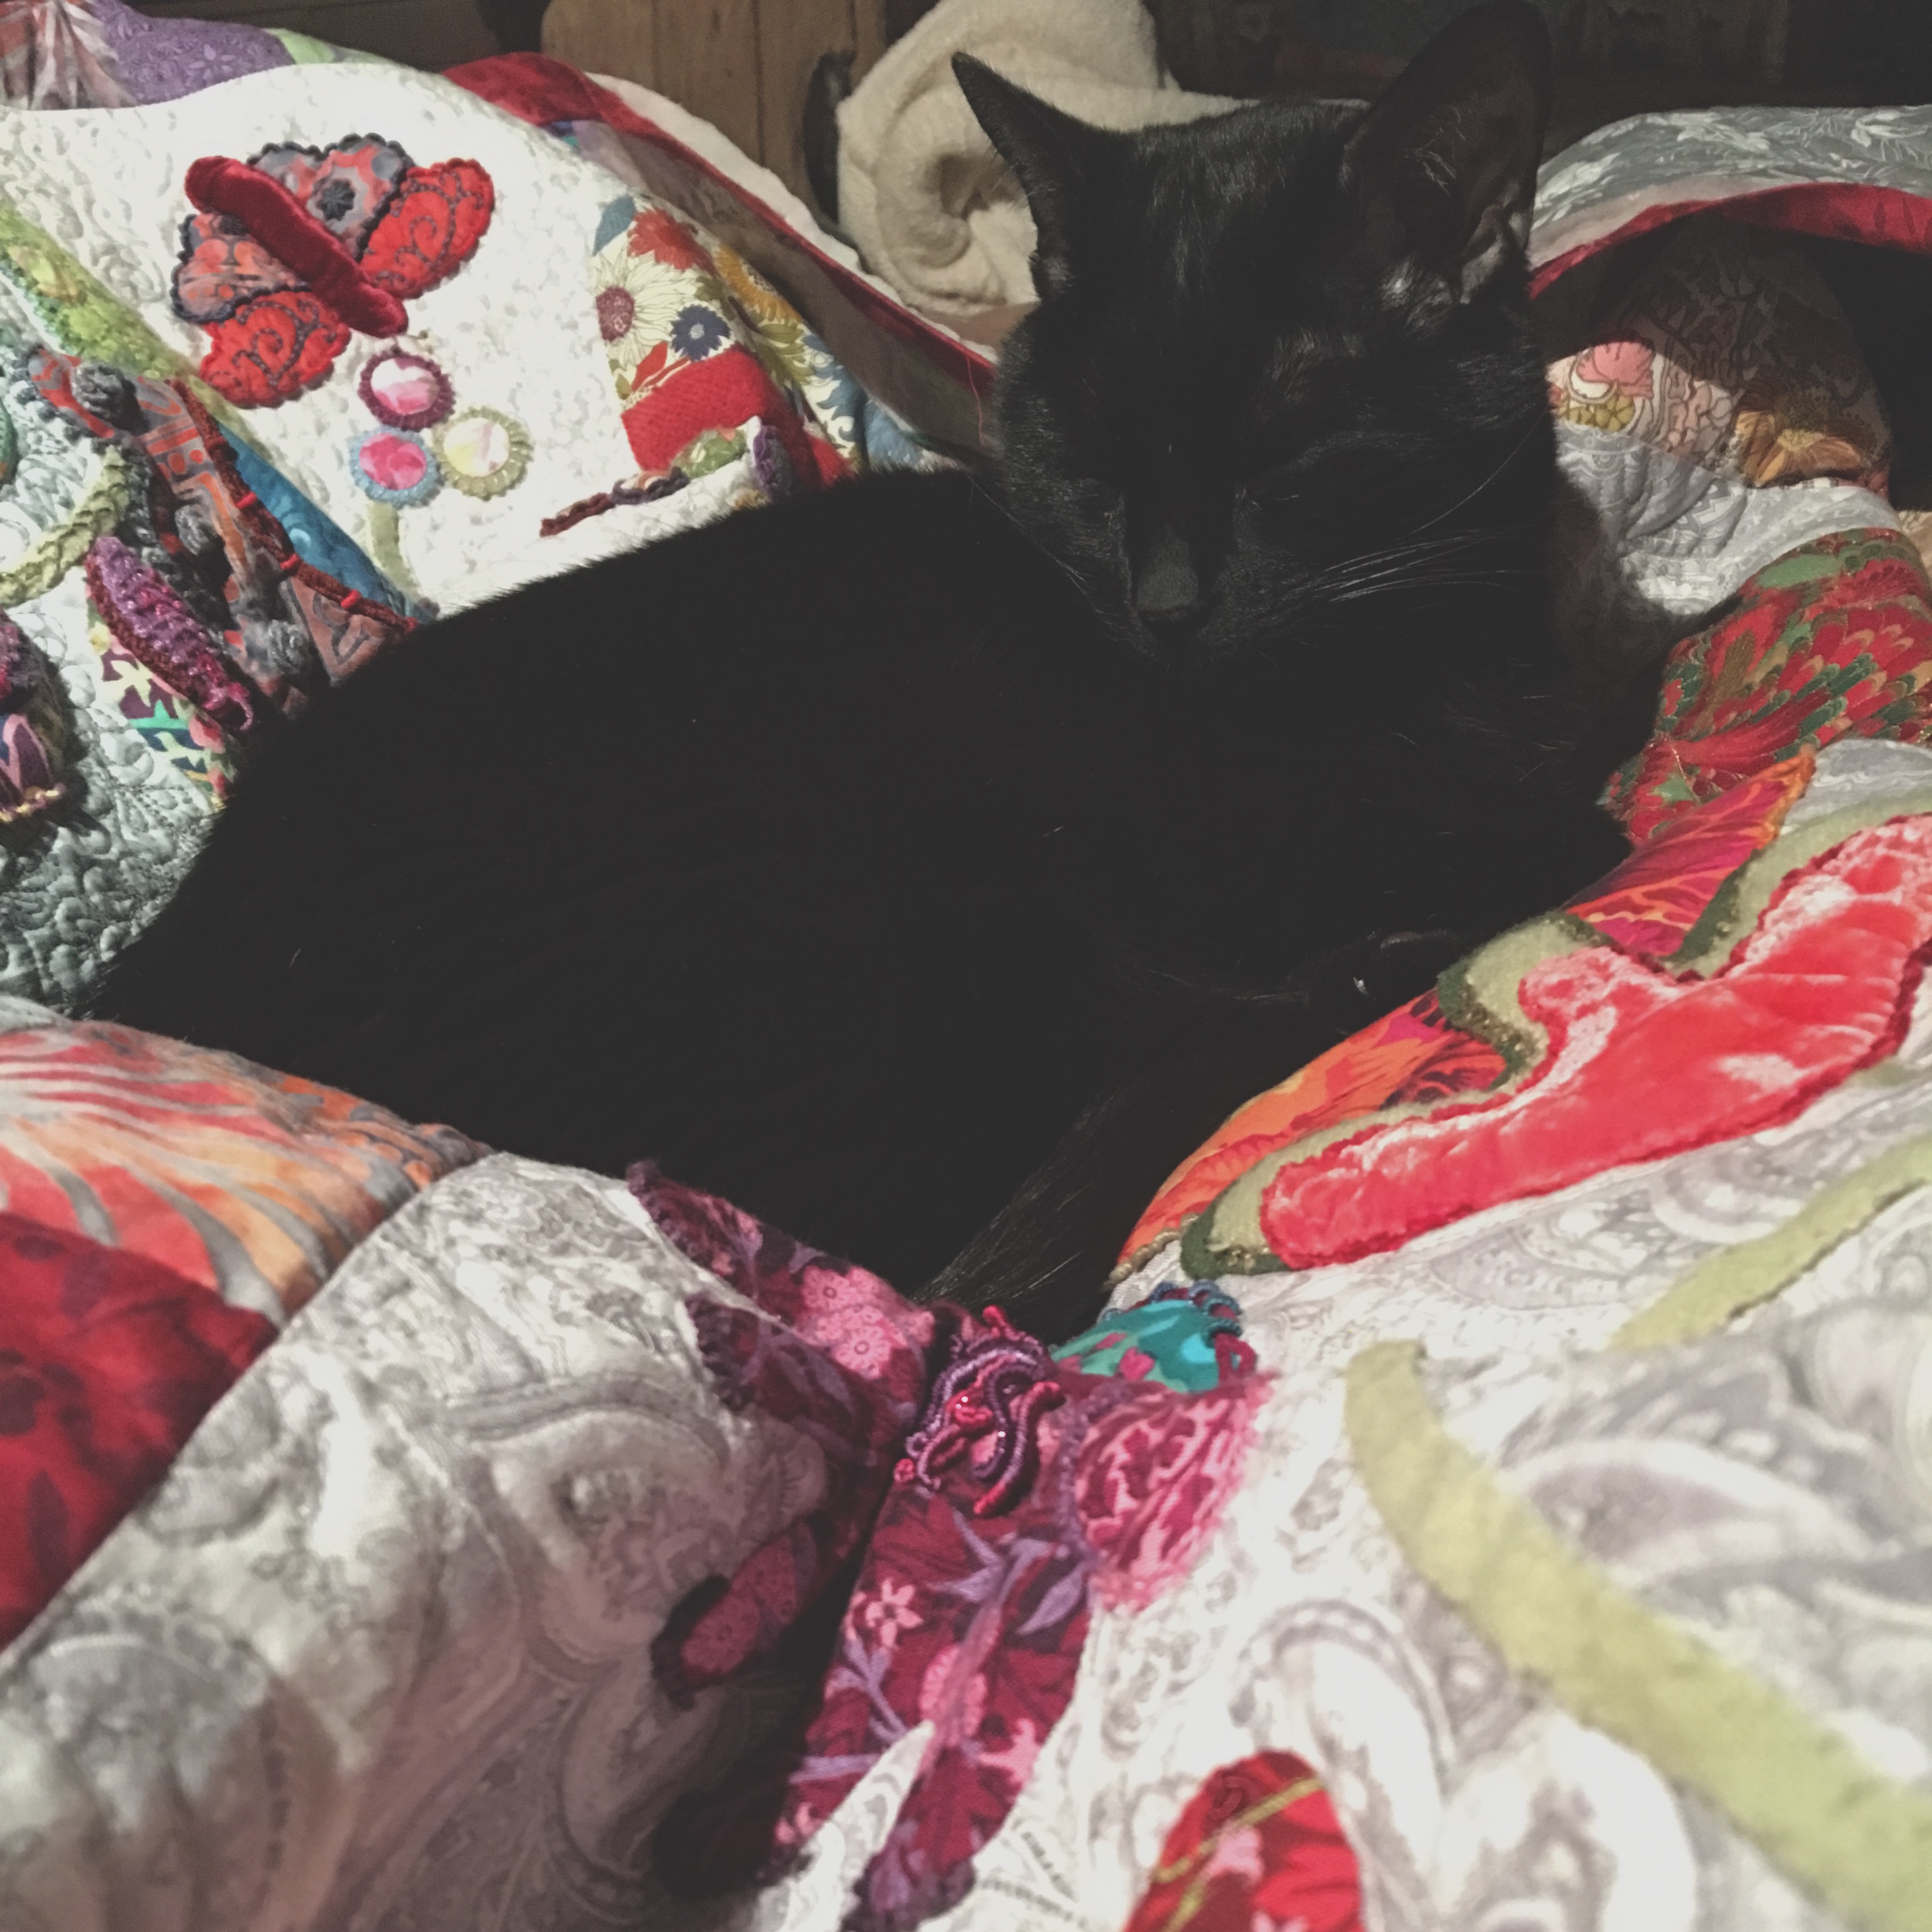
Merlin naps as I work
Merlin was constantly coming over to nap or pretend to nap while secretly inspecting my work. He loved snuggling up amongst the folds as I worked, making for some interesting adjustments on my part as I hated to disturb him!
The border
The entire border I did in a pebble stitch, which I love. It’s so reminiscent of shapes I used for my jewelry collection, The Lotus Collection. And now that I think of it, the swirls in the bottom and top panels remind me of my Samadhi Collection.
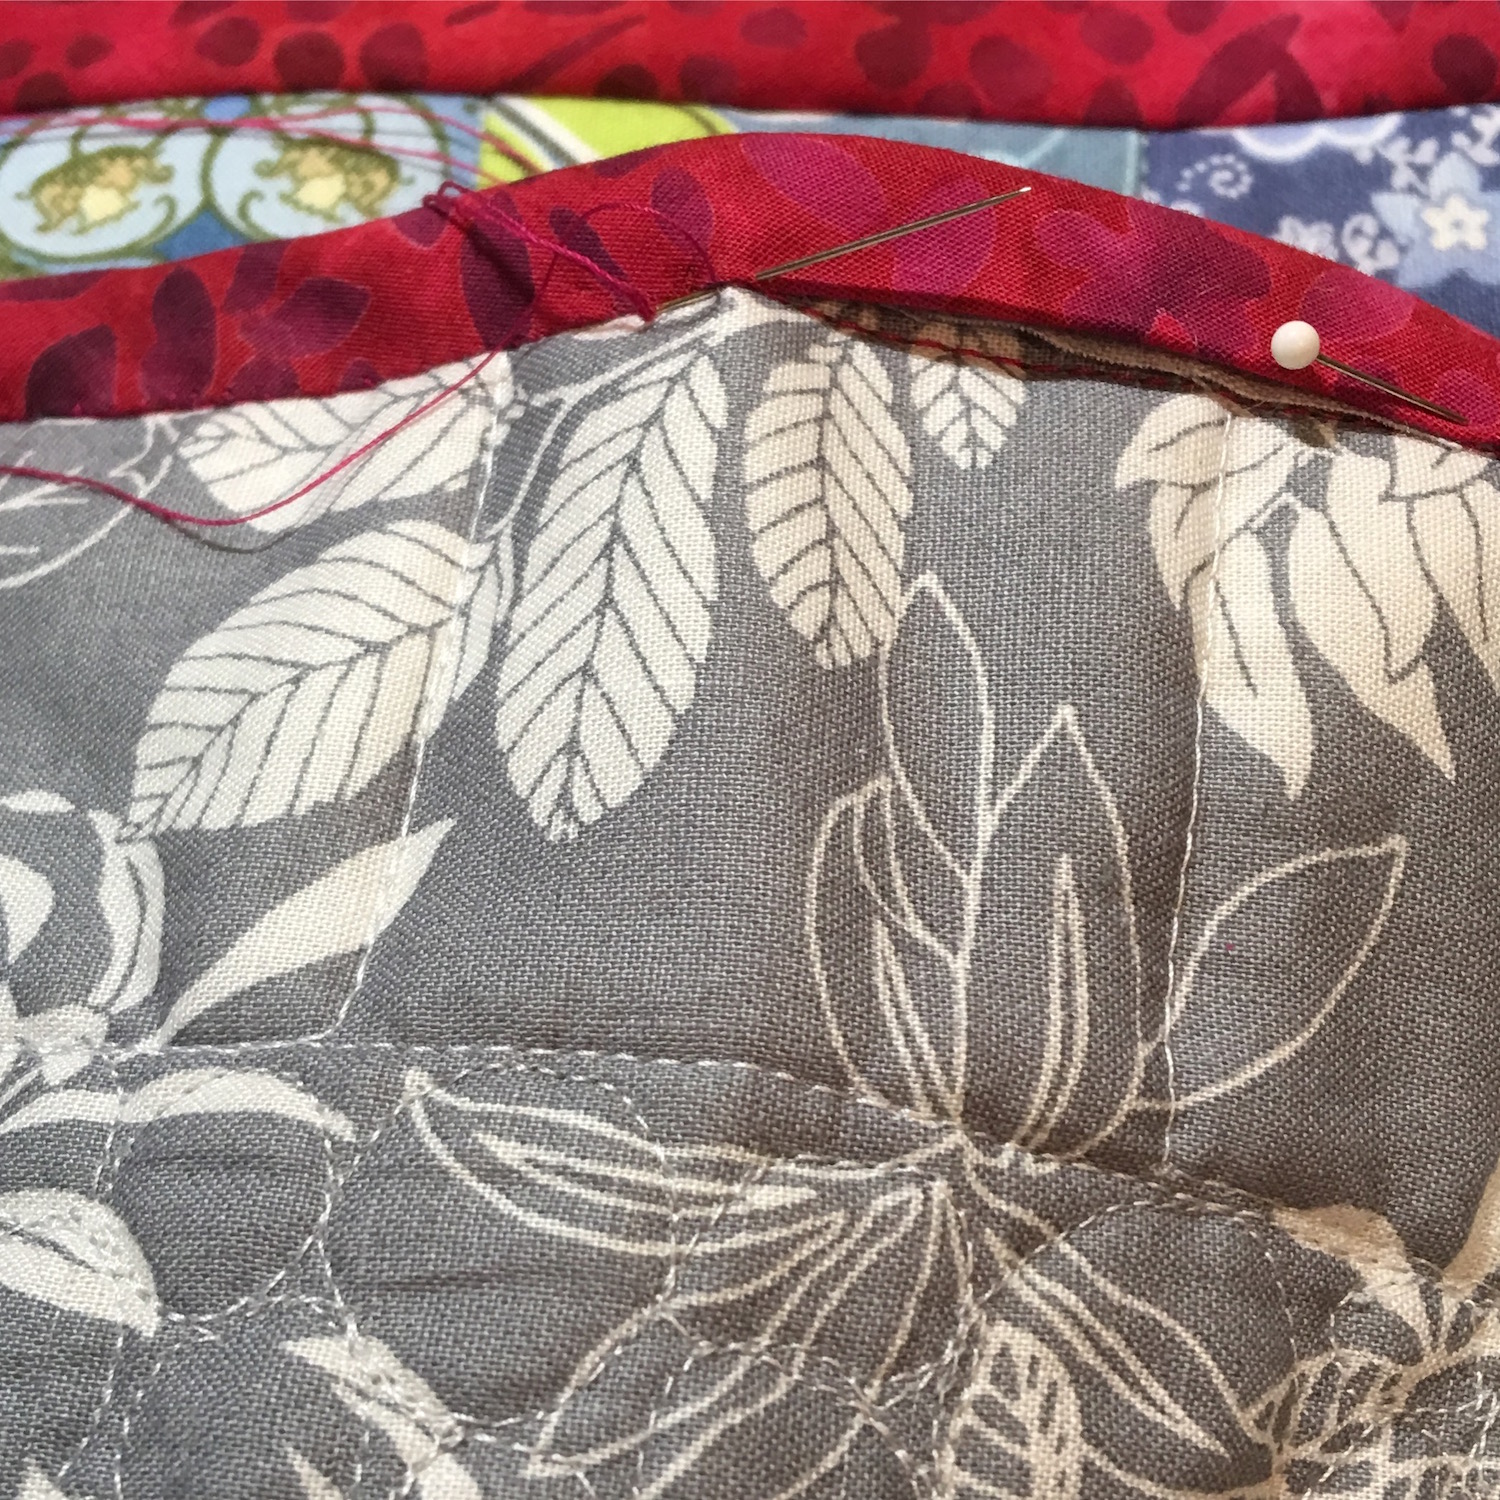
Hand Sewing the binding
Finally I had to learn how to make and add a binding. After a number of different ideas regarding what fabric to use, I decided, with my FH’s (fabulous husband’s) help, to go with a red batik. Batik tends to be pretty densely woven, and as the binding can get more wear and tear than the rest of the quilt, I thought it was a good choice, plus, I love the red. I cut it on the bias, mitered the corners, and hand stitched the back.
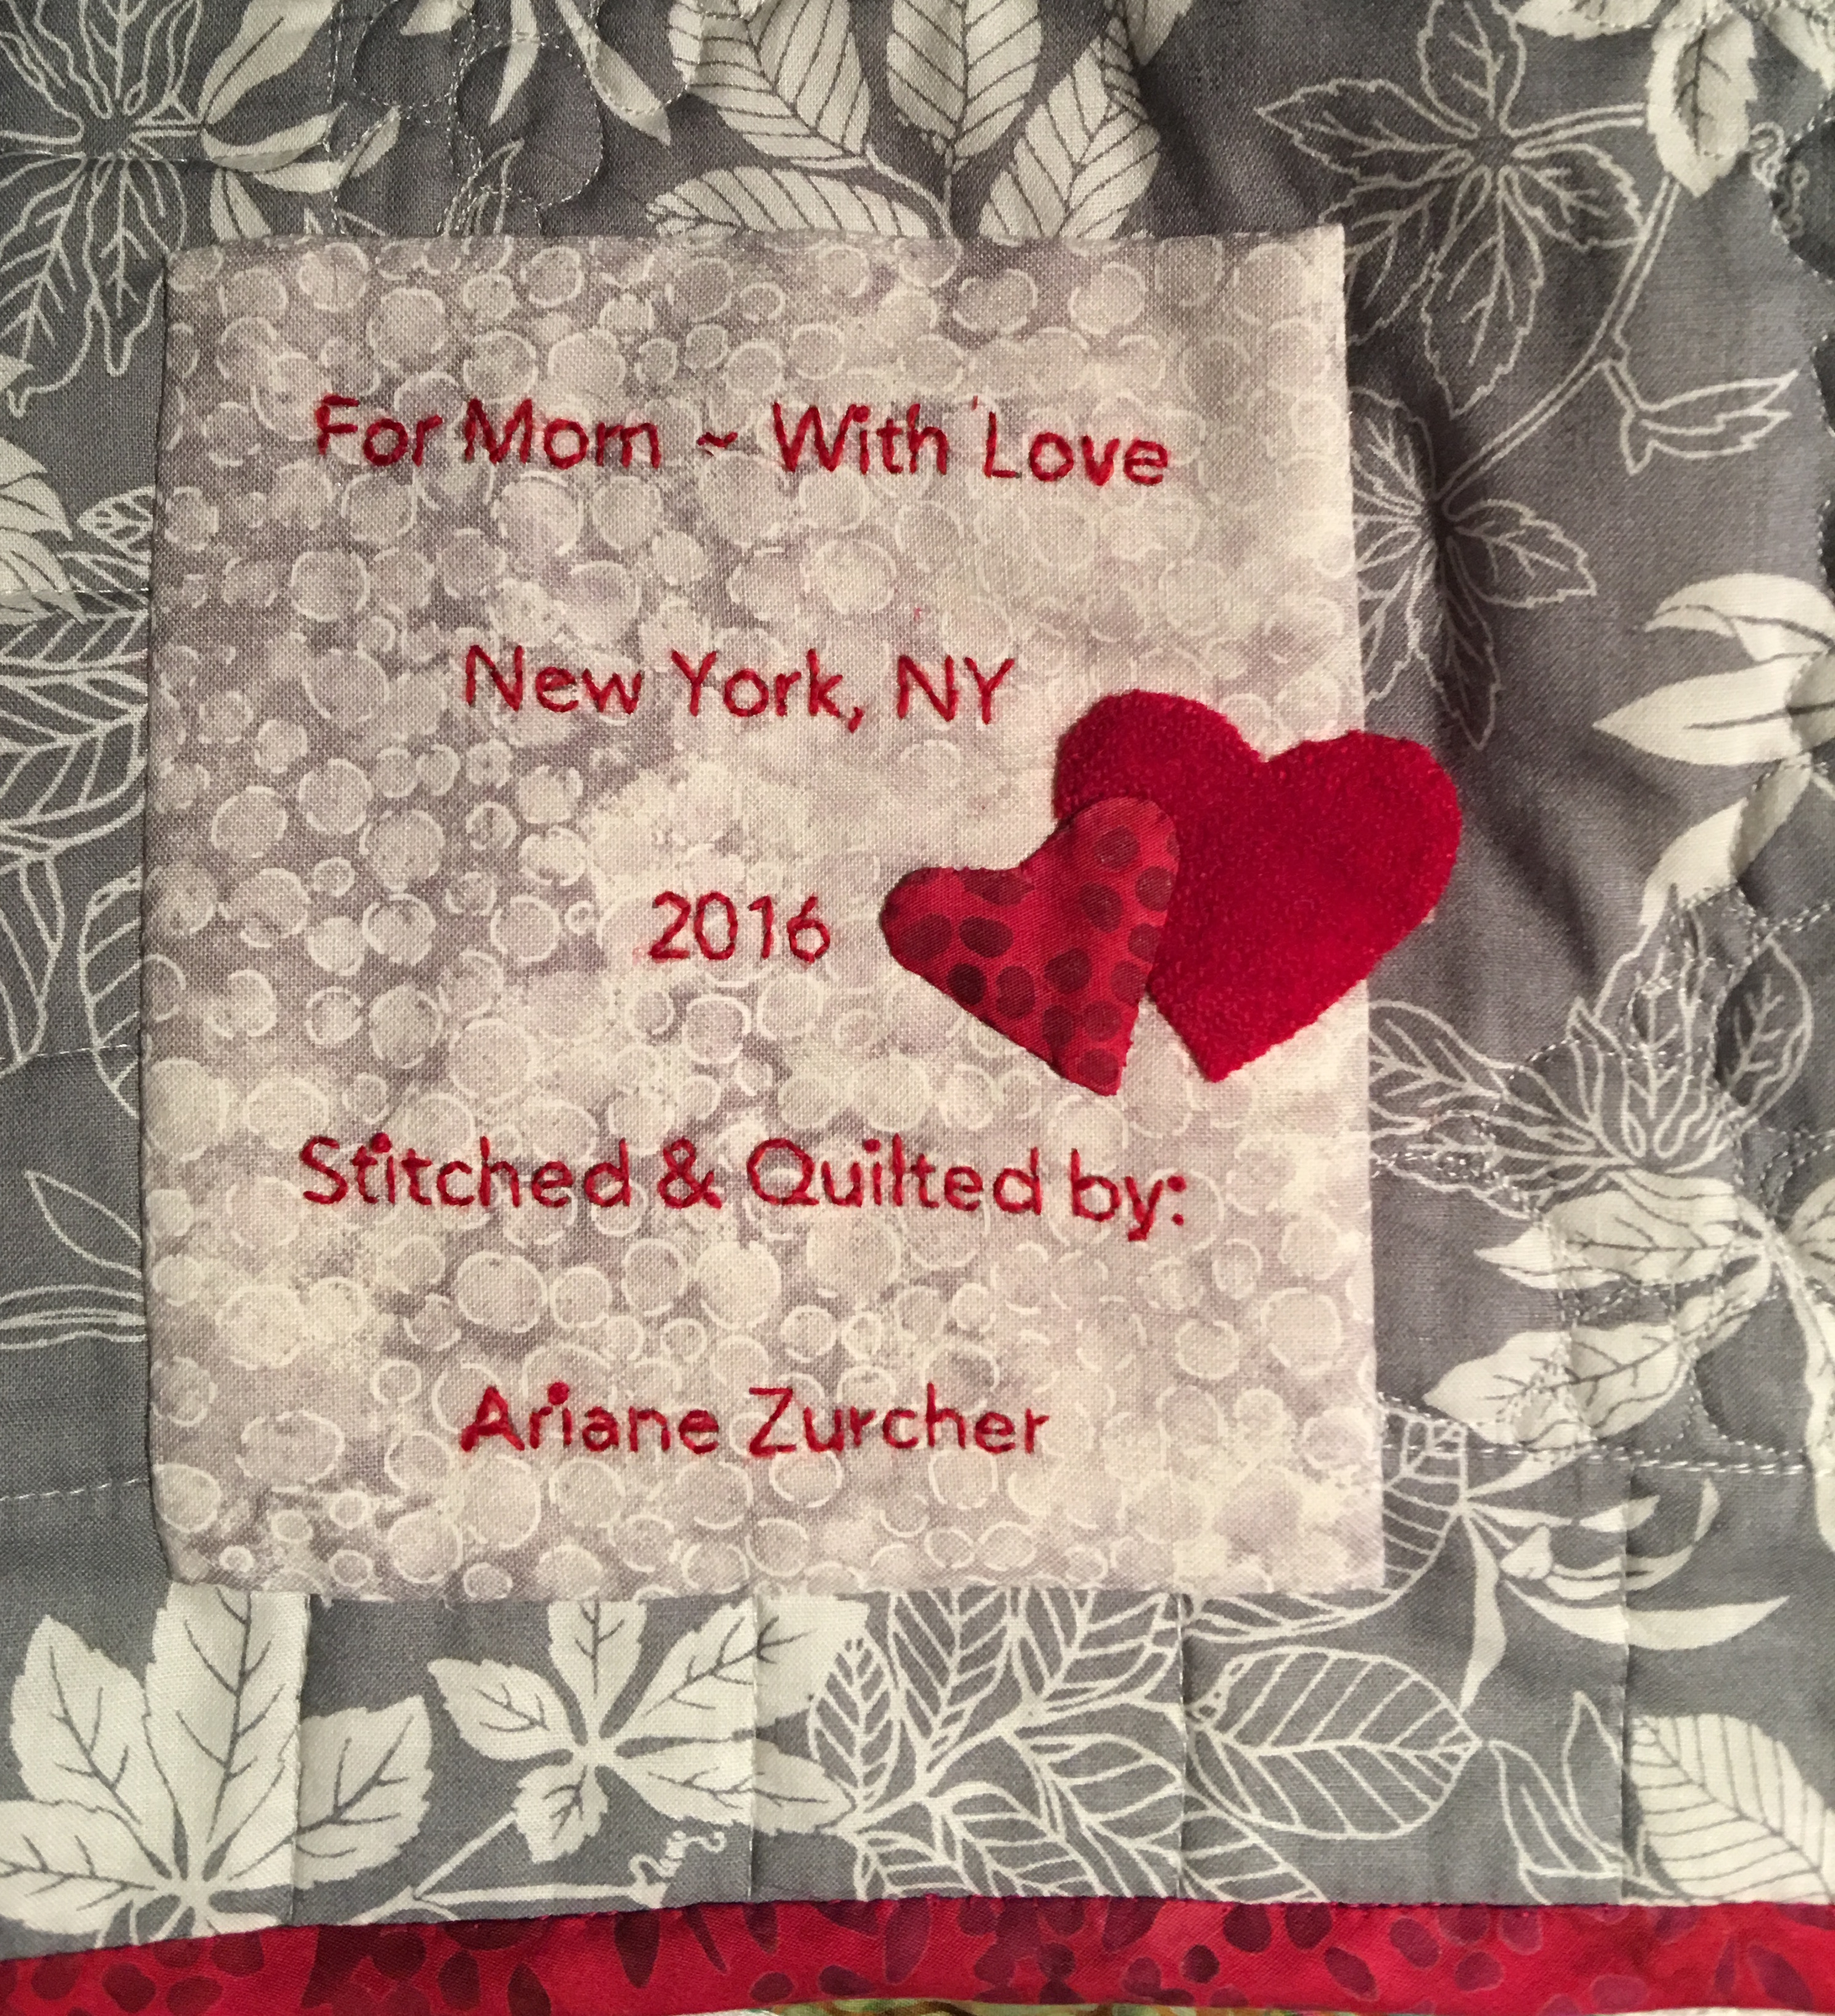
For my beautiful mom ~ Merry Christmas
And then I had to learn how to make a label for my quilt. There are wonderful ideas on Pinterest. Are you on Pinterest? I LOVE, LOVE, LOVE pinterest. I made a label using word documents and then used a freezer paper and cut a piece of fabric that I adhered the freezer paper to and copied the printed label onto the fabric, lightening the tone so it was just readable, but wouldn’t show too much. I then removed the freezer paper, sandwiched the printed material with a cotton batting and muslin and then used red wool thread and stitched the text. I added the little wool red heart and cut out another smaller heart in the same fabric as the binding because I figured I can’t add enough hearts to a quilt made specifically for my mom.
So Mom, if you’re reading this, the cats out of the bag. Merry Christmas!! This quilt was made for you. I thought of you the entire time I was making it. I hope it will keep you wonderfully warm during those cold winter months and I’m told wool batting breathes and should be perfect for the summer months as well. I love you.
What’s next? A twin-sized quilt that I will design, stitch and quilt!! I’ve got my sketch book and am playing with some ideas… I’ll keep you posted! Heh-heh, a little pun to end this post.
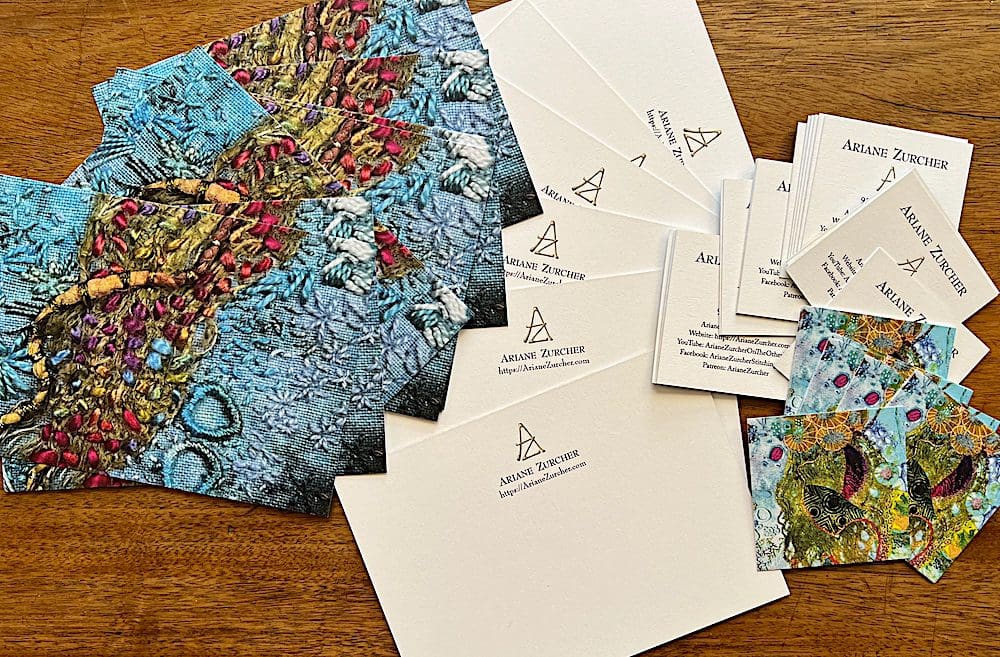
Welcome to my store!
Please browse and look at our patterns available. We also offer Workshops! ~Ariane


Recent comments