![The Quilt is Finished!]()
by Ariane Zurcher | Oct 11, 2016 | Art, Free Motion Quilting |
Yay, I finished it!! My first large quilt. I began it in January and finished yesterday.
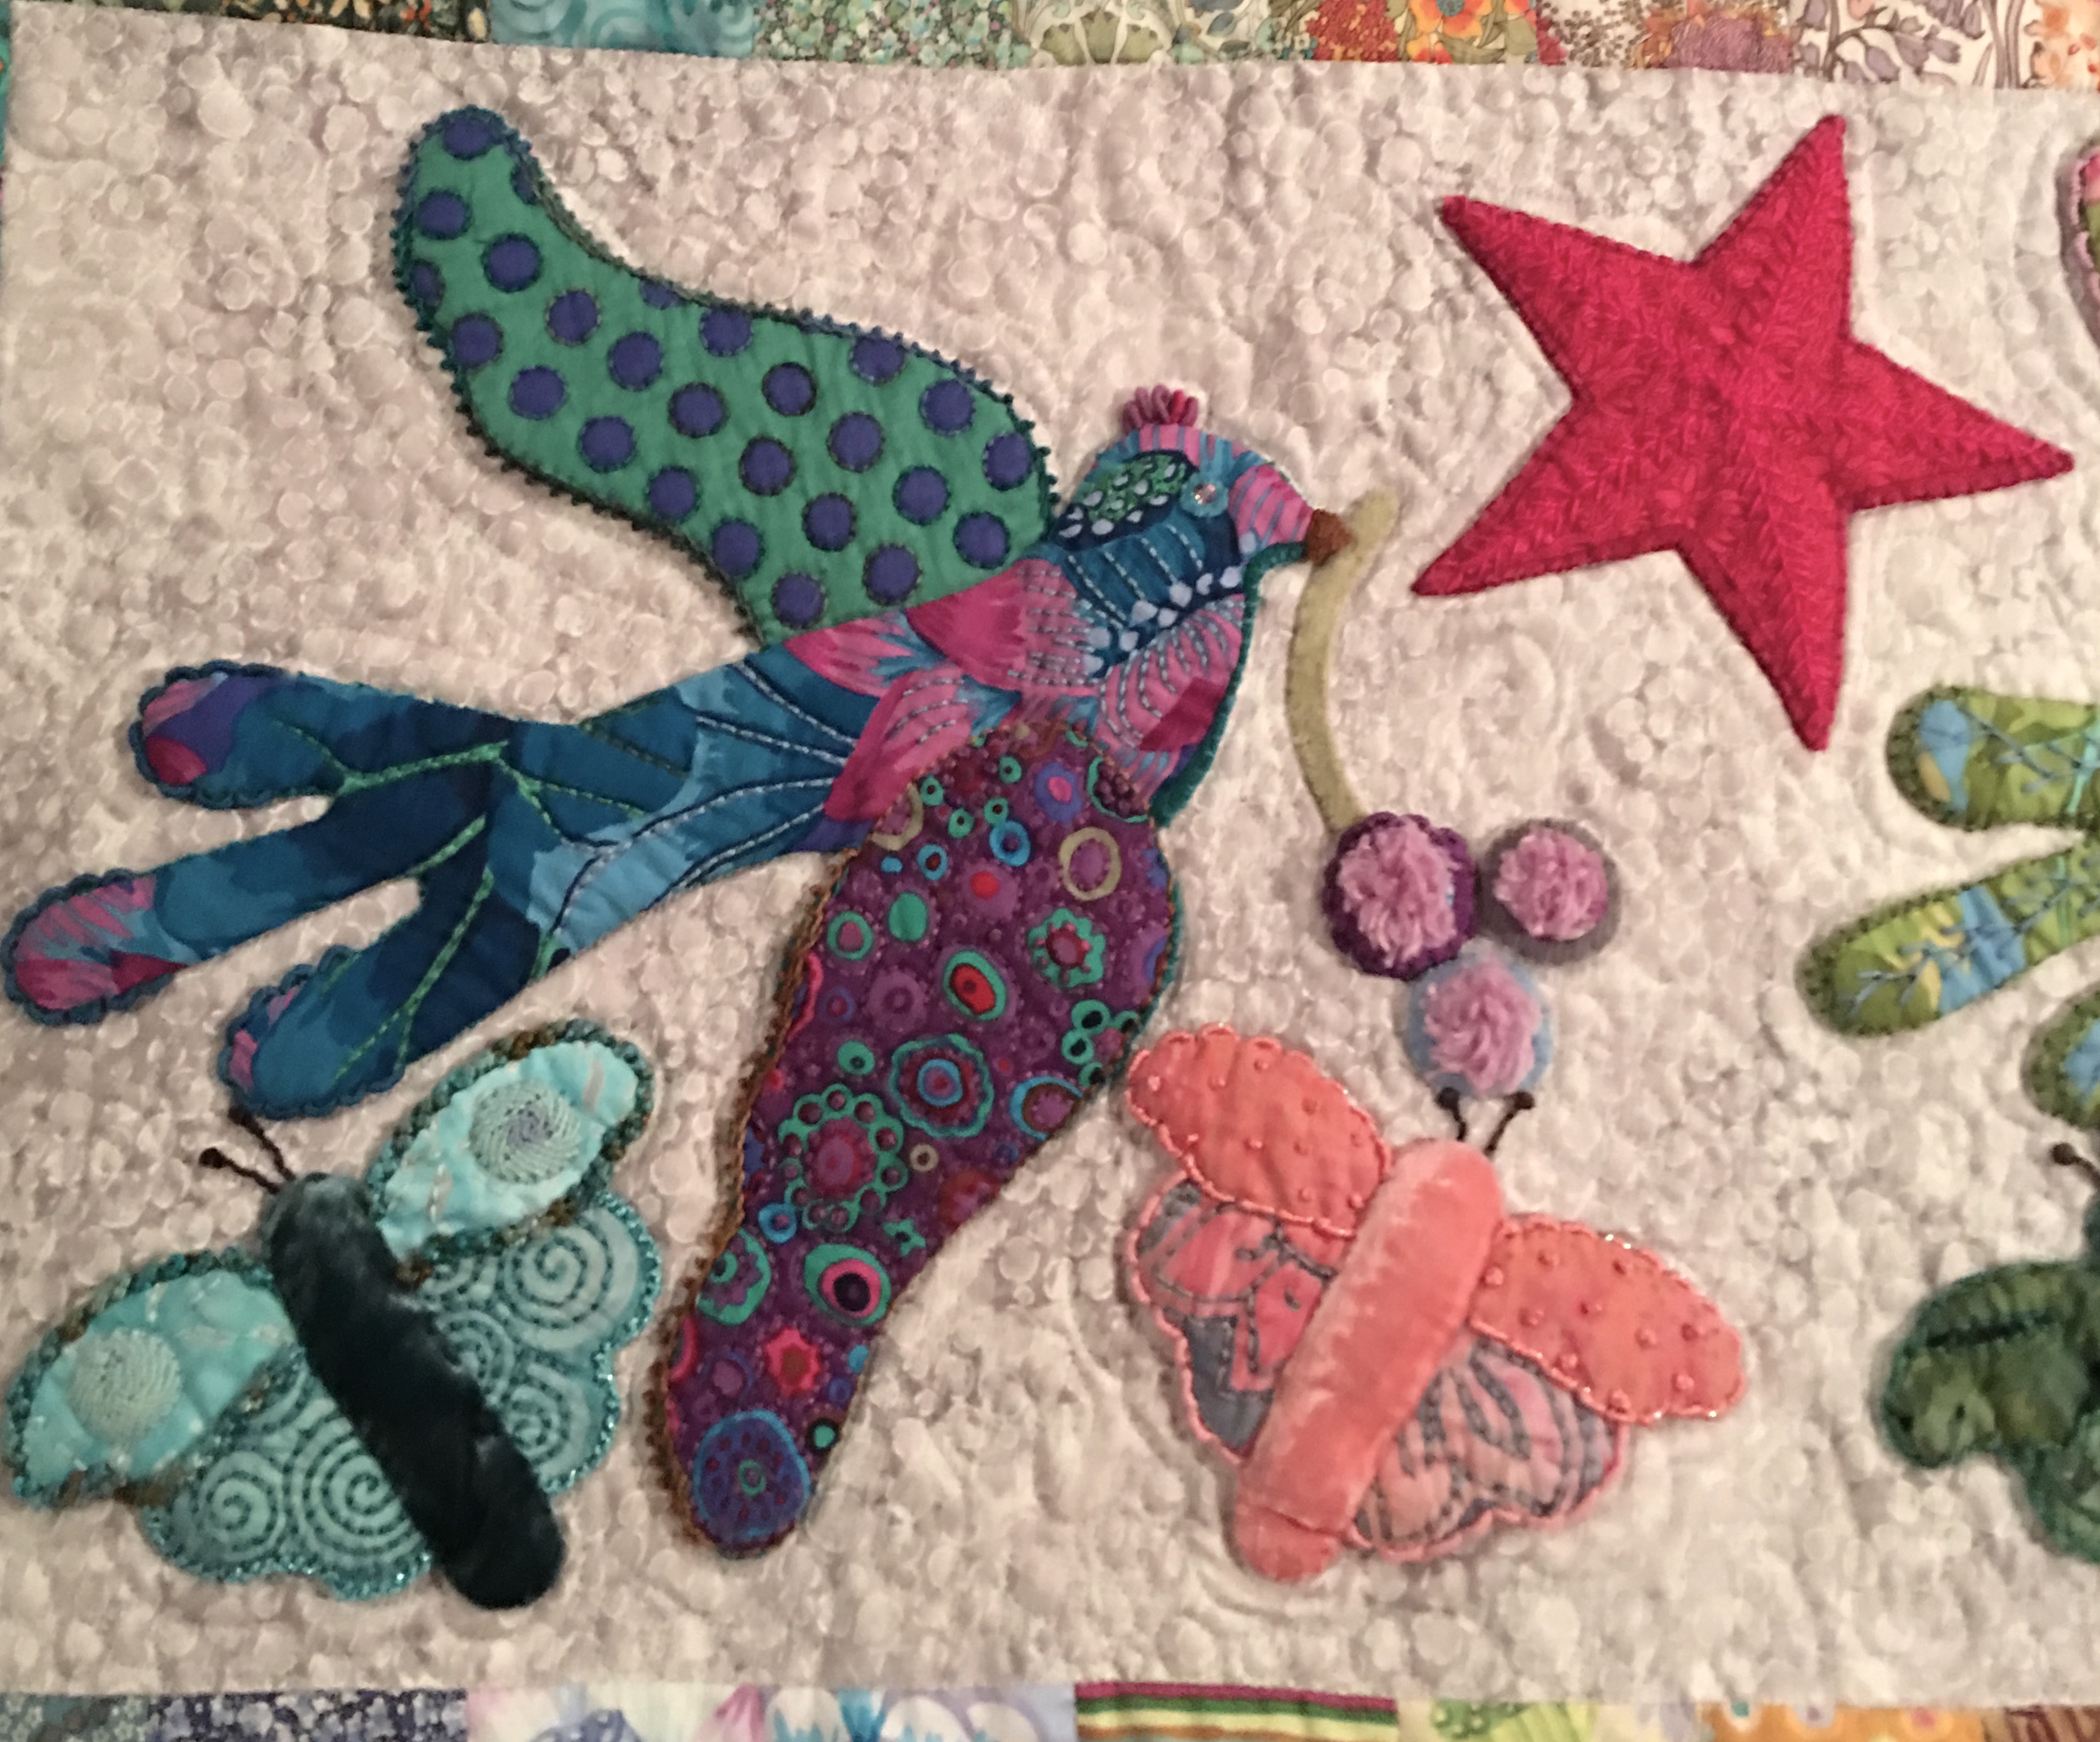
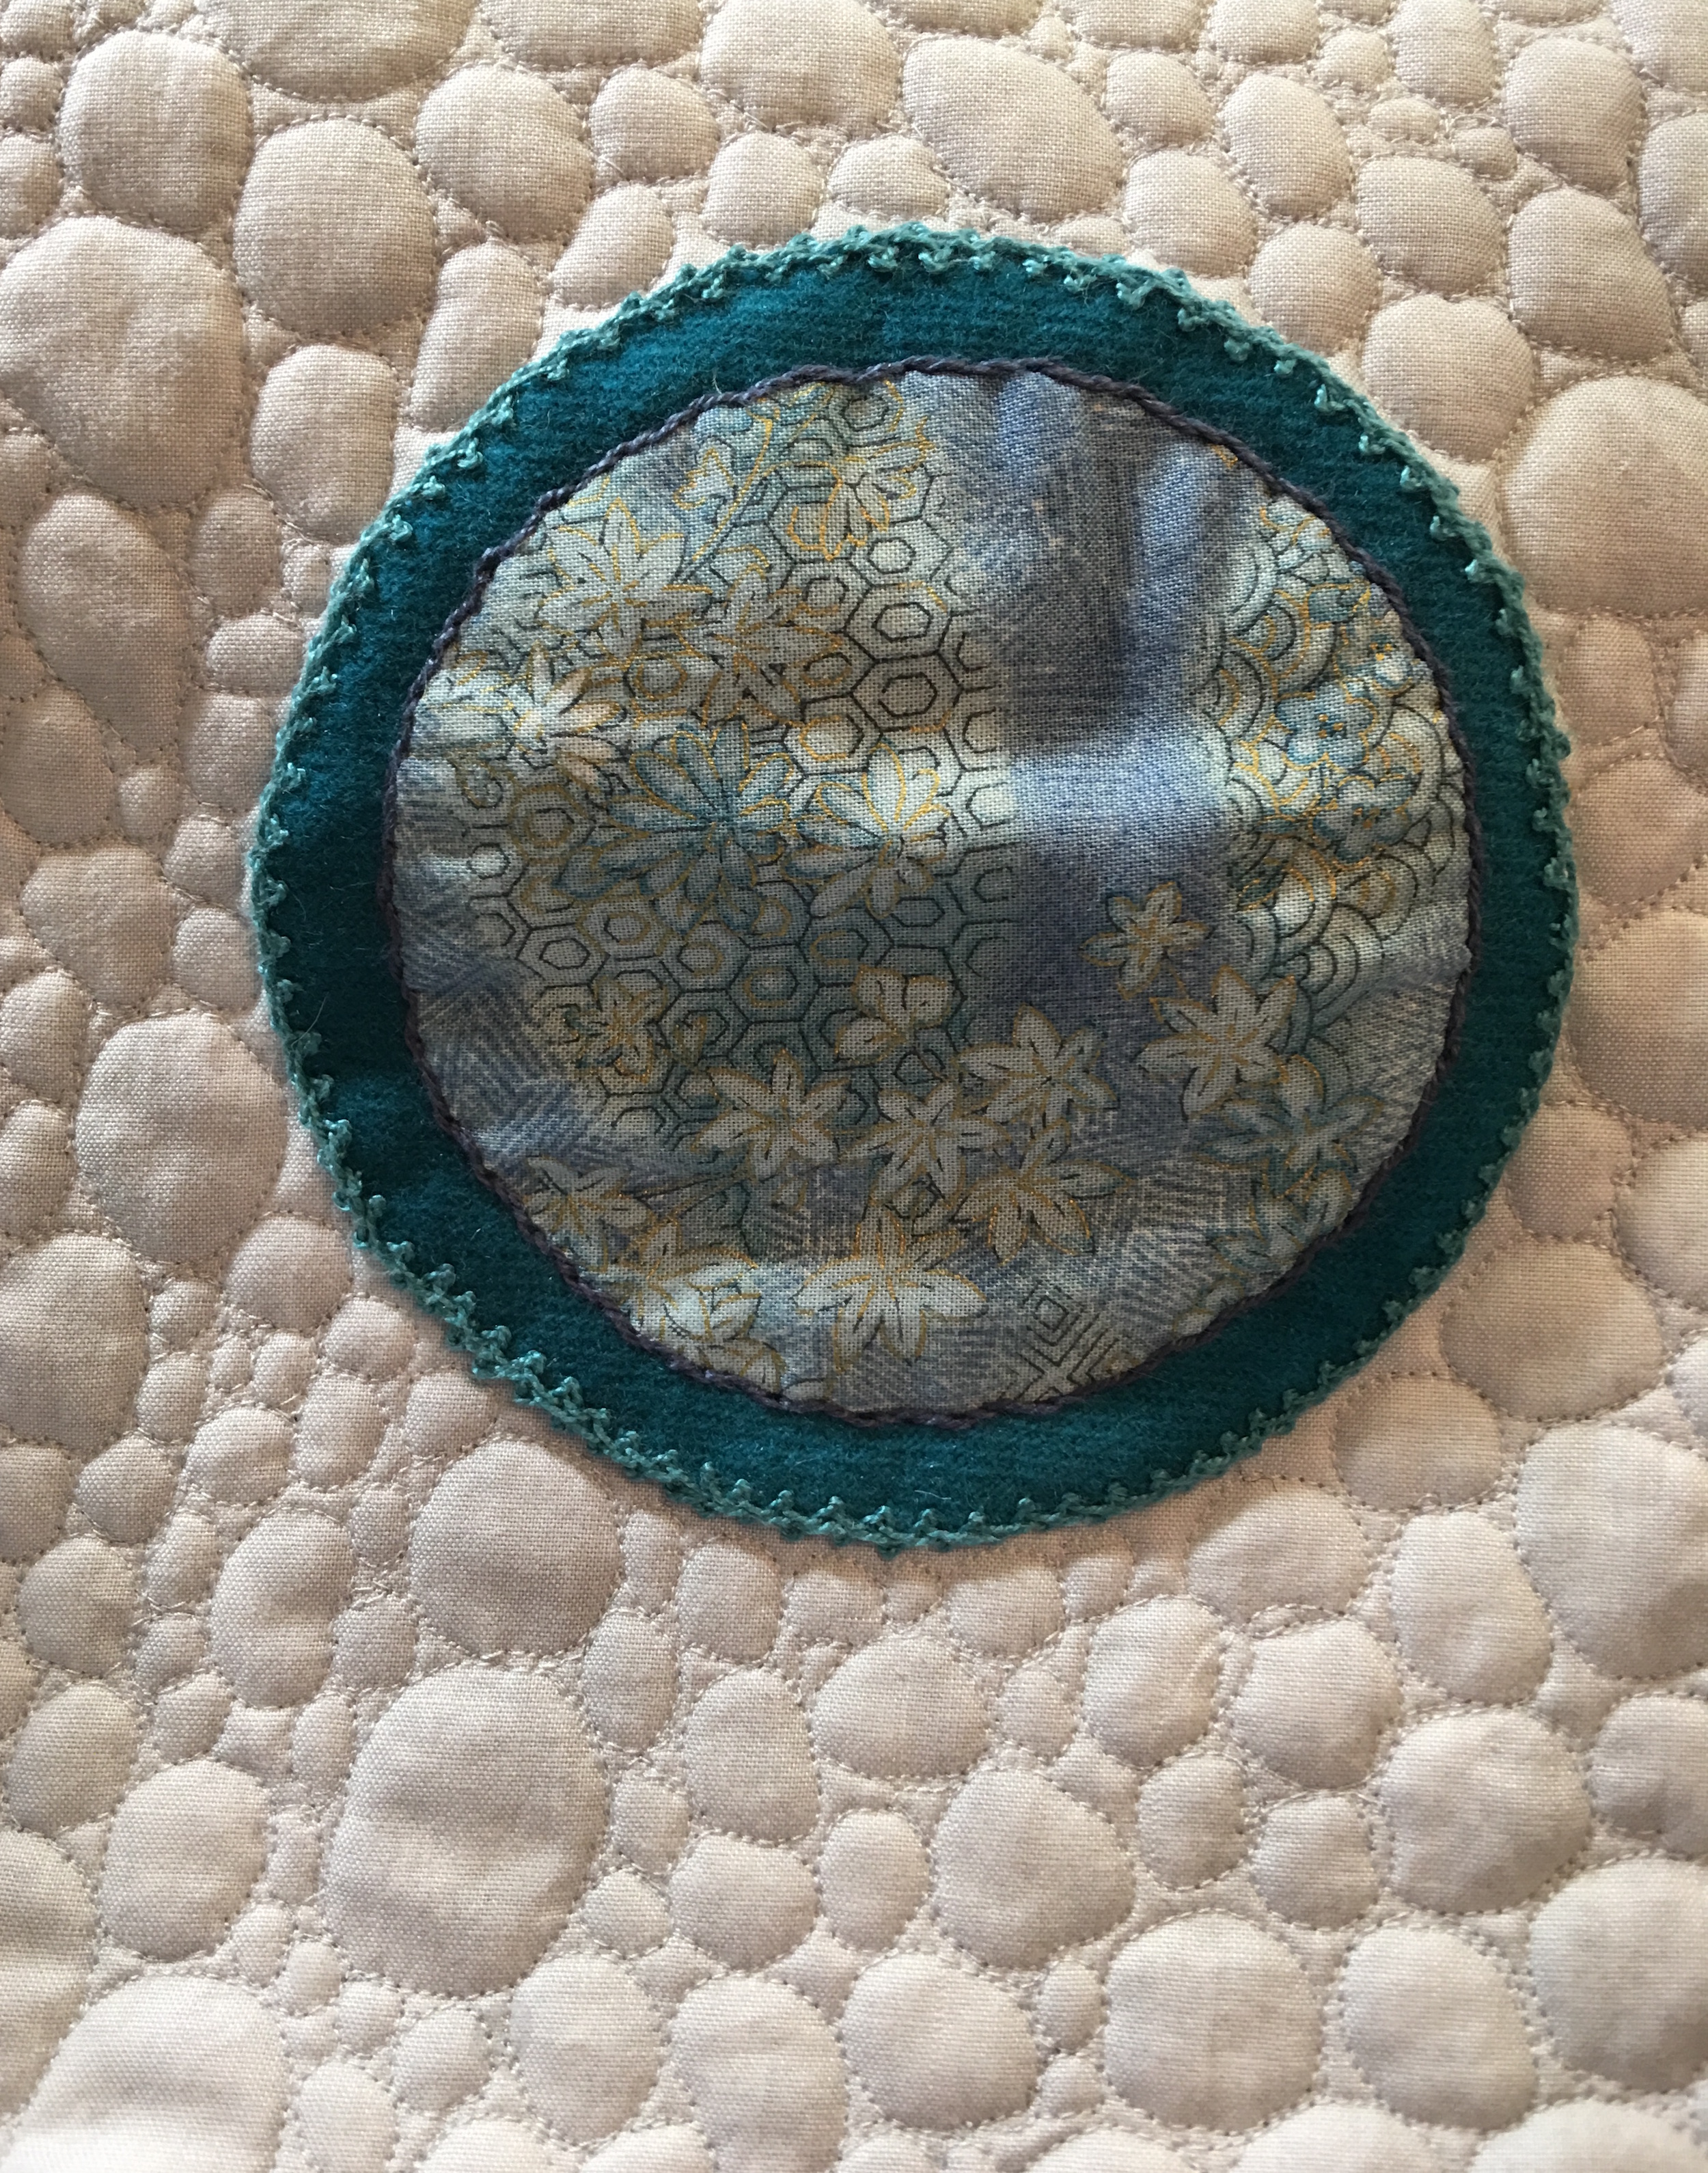
This is the queen-sized quilt that I have written about ‘here‘, ‘here‘, ‘here‘ and ‘here‘. In a nutshell this quilt was my starter quilt. I wanted to learn how to make a quilt start to finish. This quilt was designed by Kim McLean and is called Flower Pots. I took a class where we followed the pattern, learned to appliqué, and got to use all the things I had learned from Sue Spargo – layering, using different fabrics such as wool and velvet and then perle cotton and other threads and a multitude of stitches to enhance the shapes. I hand stitched all the appliqué and machine stitched the panels together with the sashing and border. I then used a wool batting and learned how to free motion quilt. I used a red batik for the binding, cut on the bias and hand stitched the back. Finally I made and applied a quilted label.
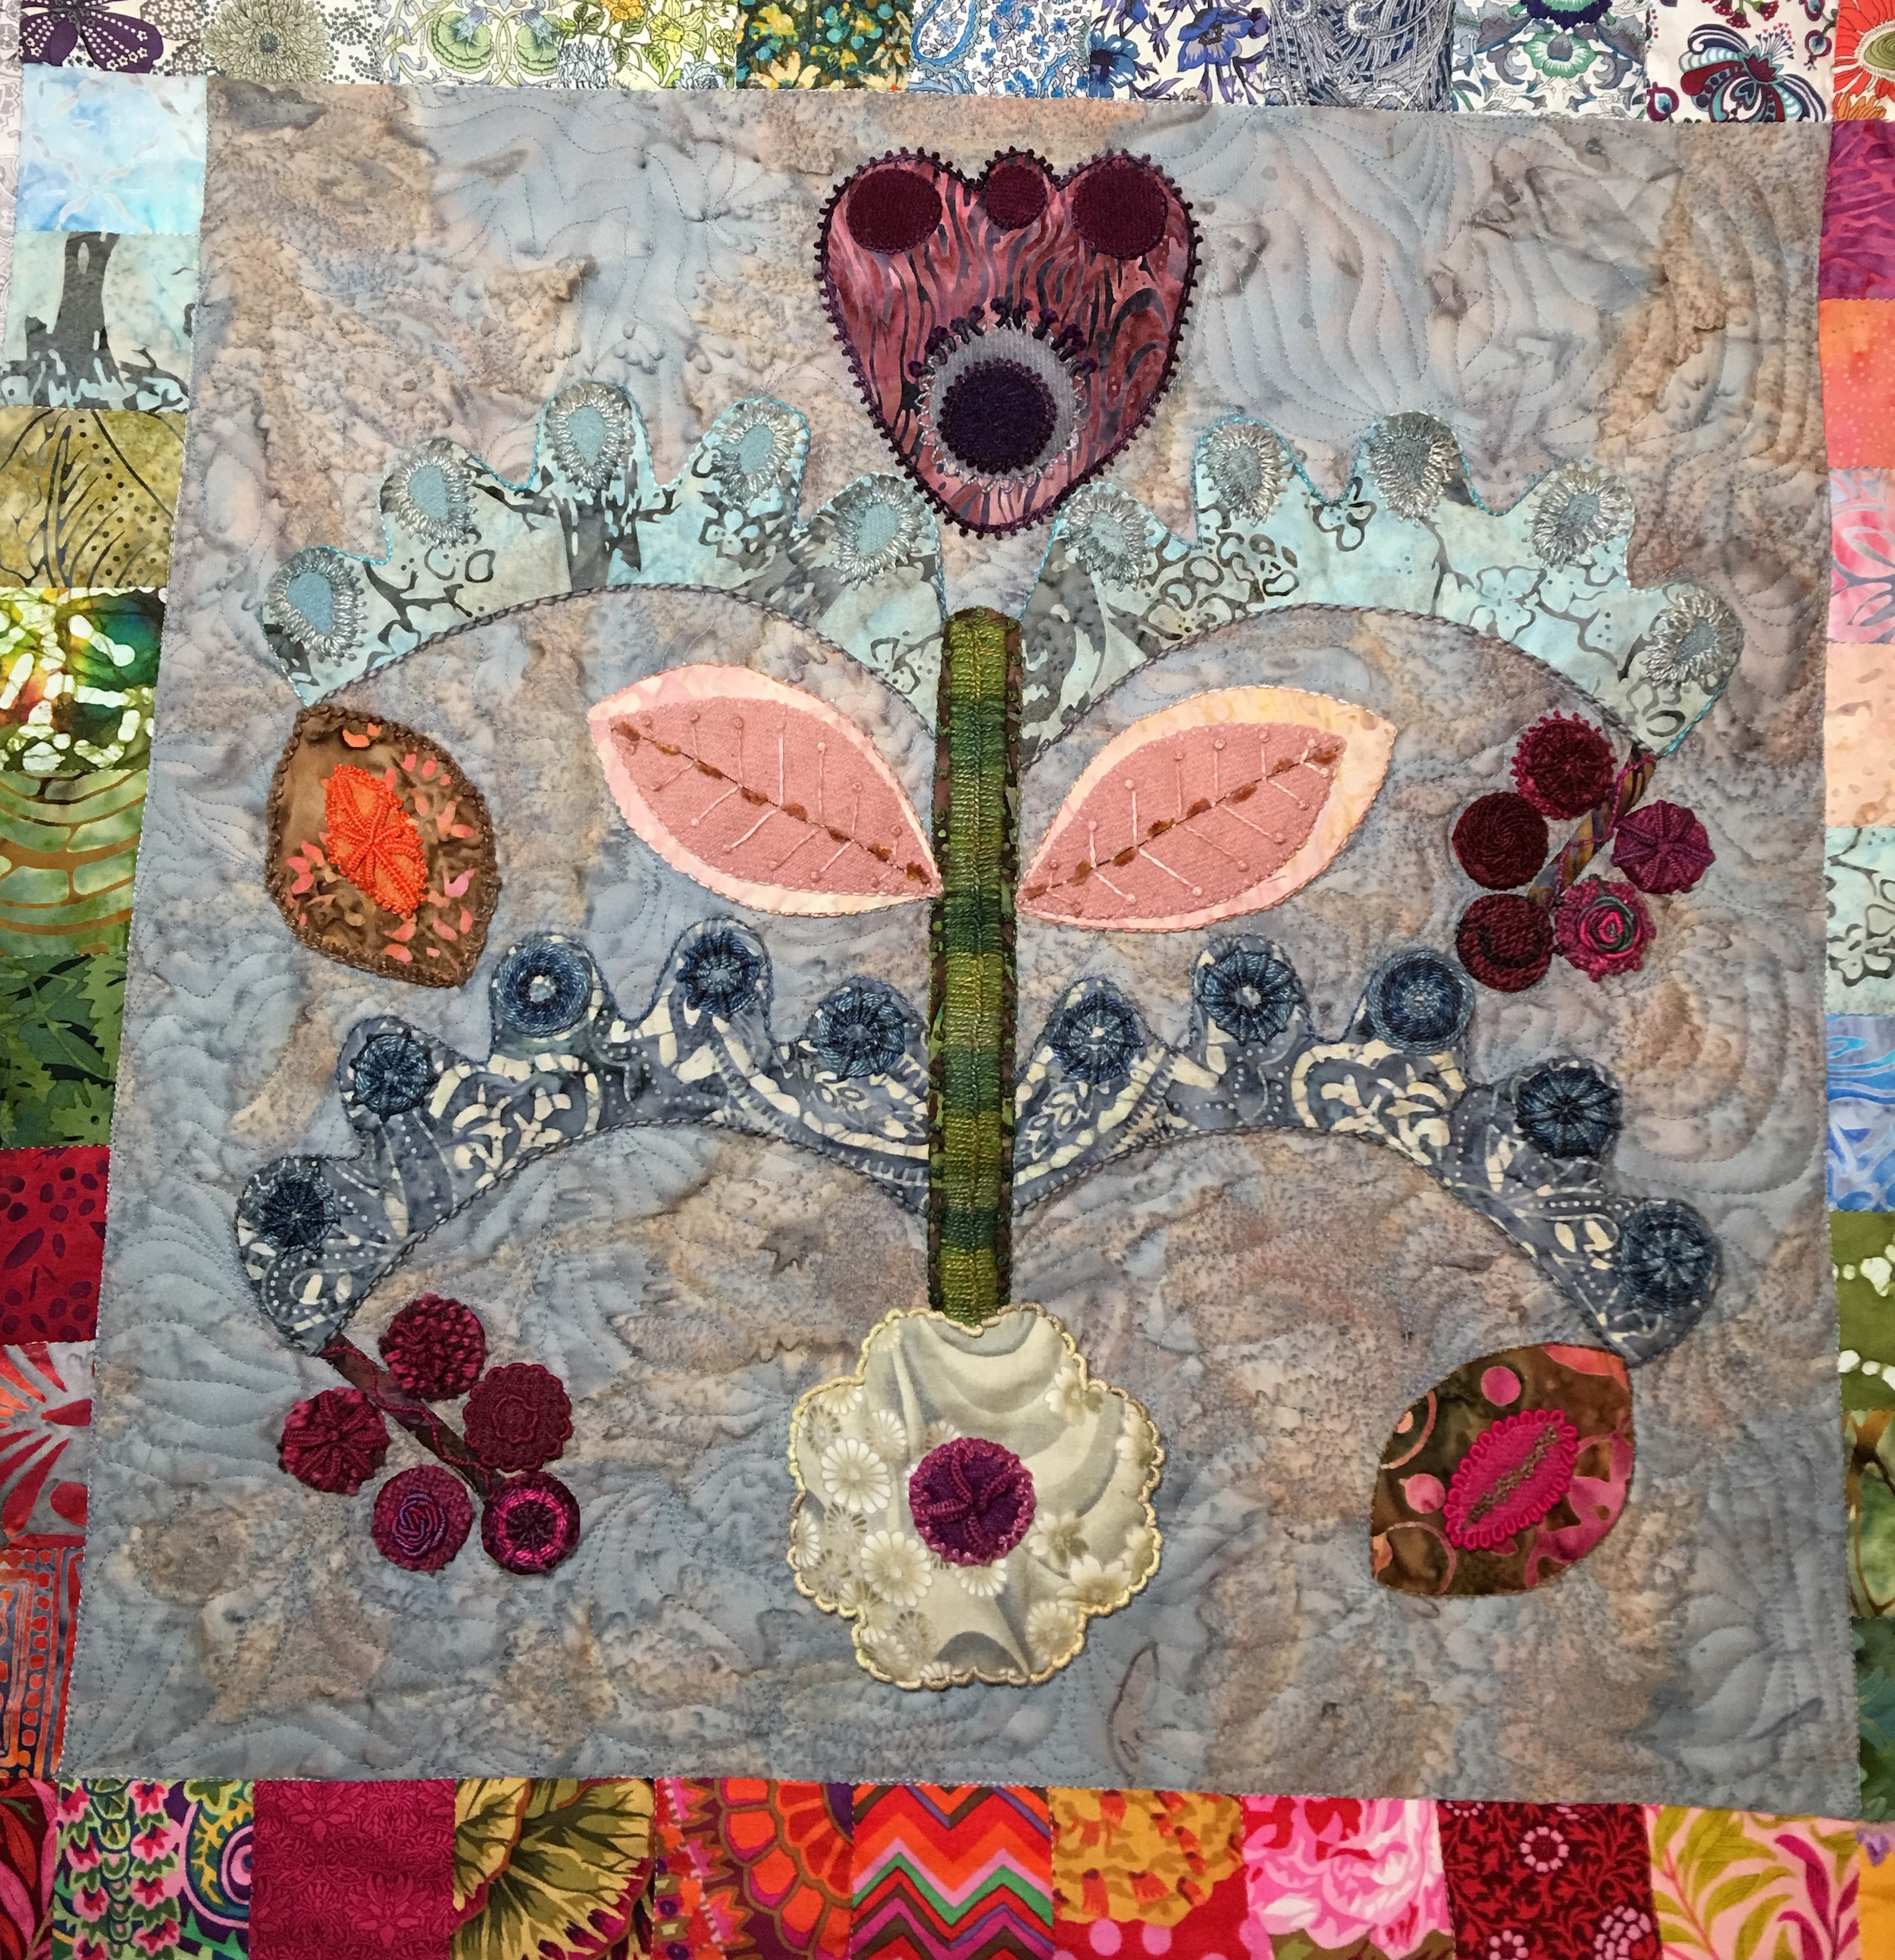
This first picture is of the lower center panel where I decided to try an emerging pattern of double leaf free motion quilting shape. I used a slightly darker grey thread.

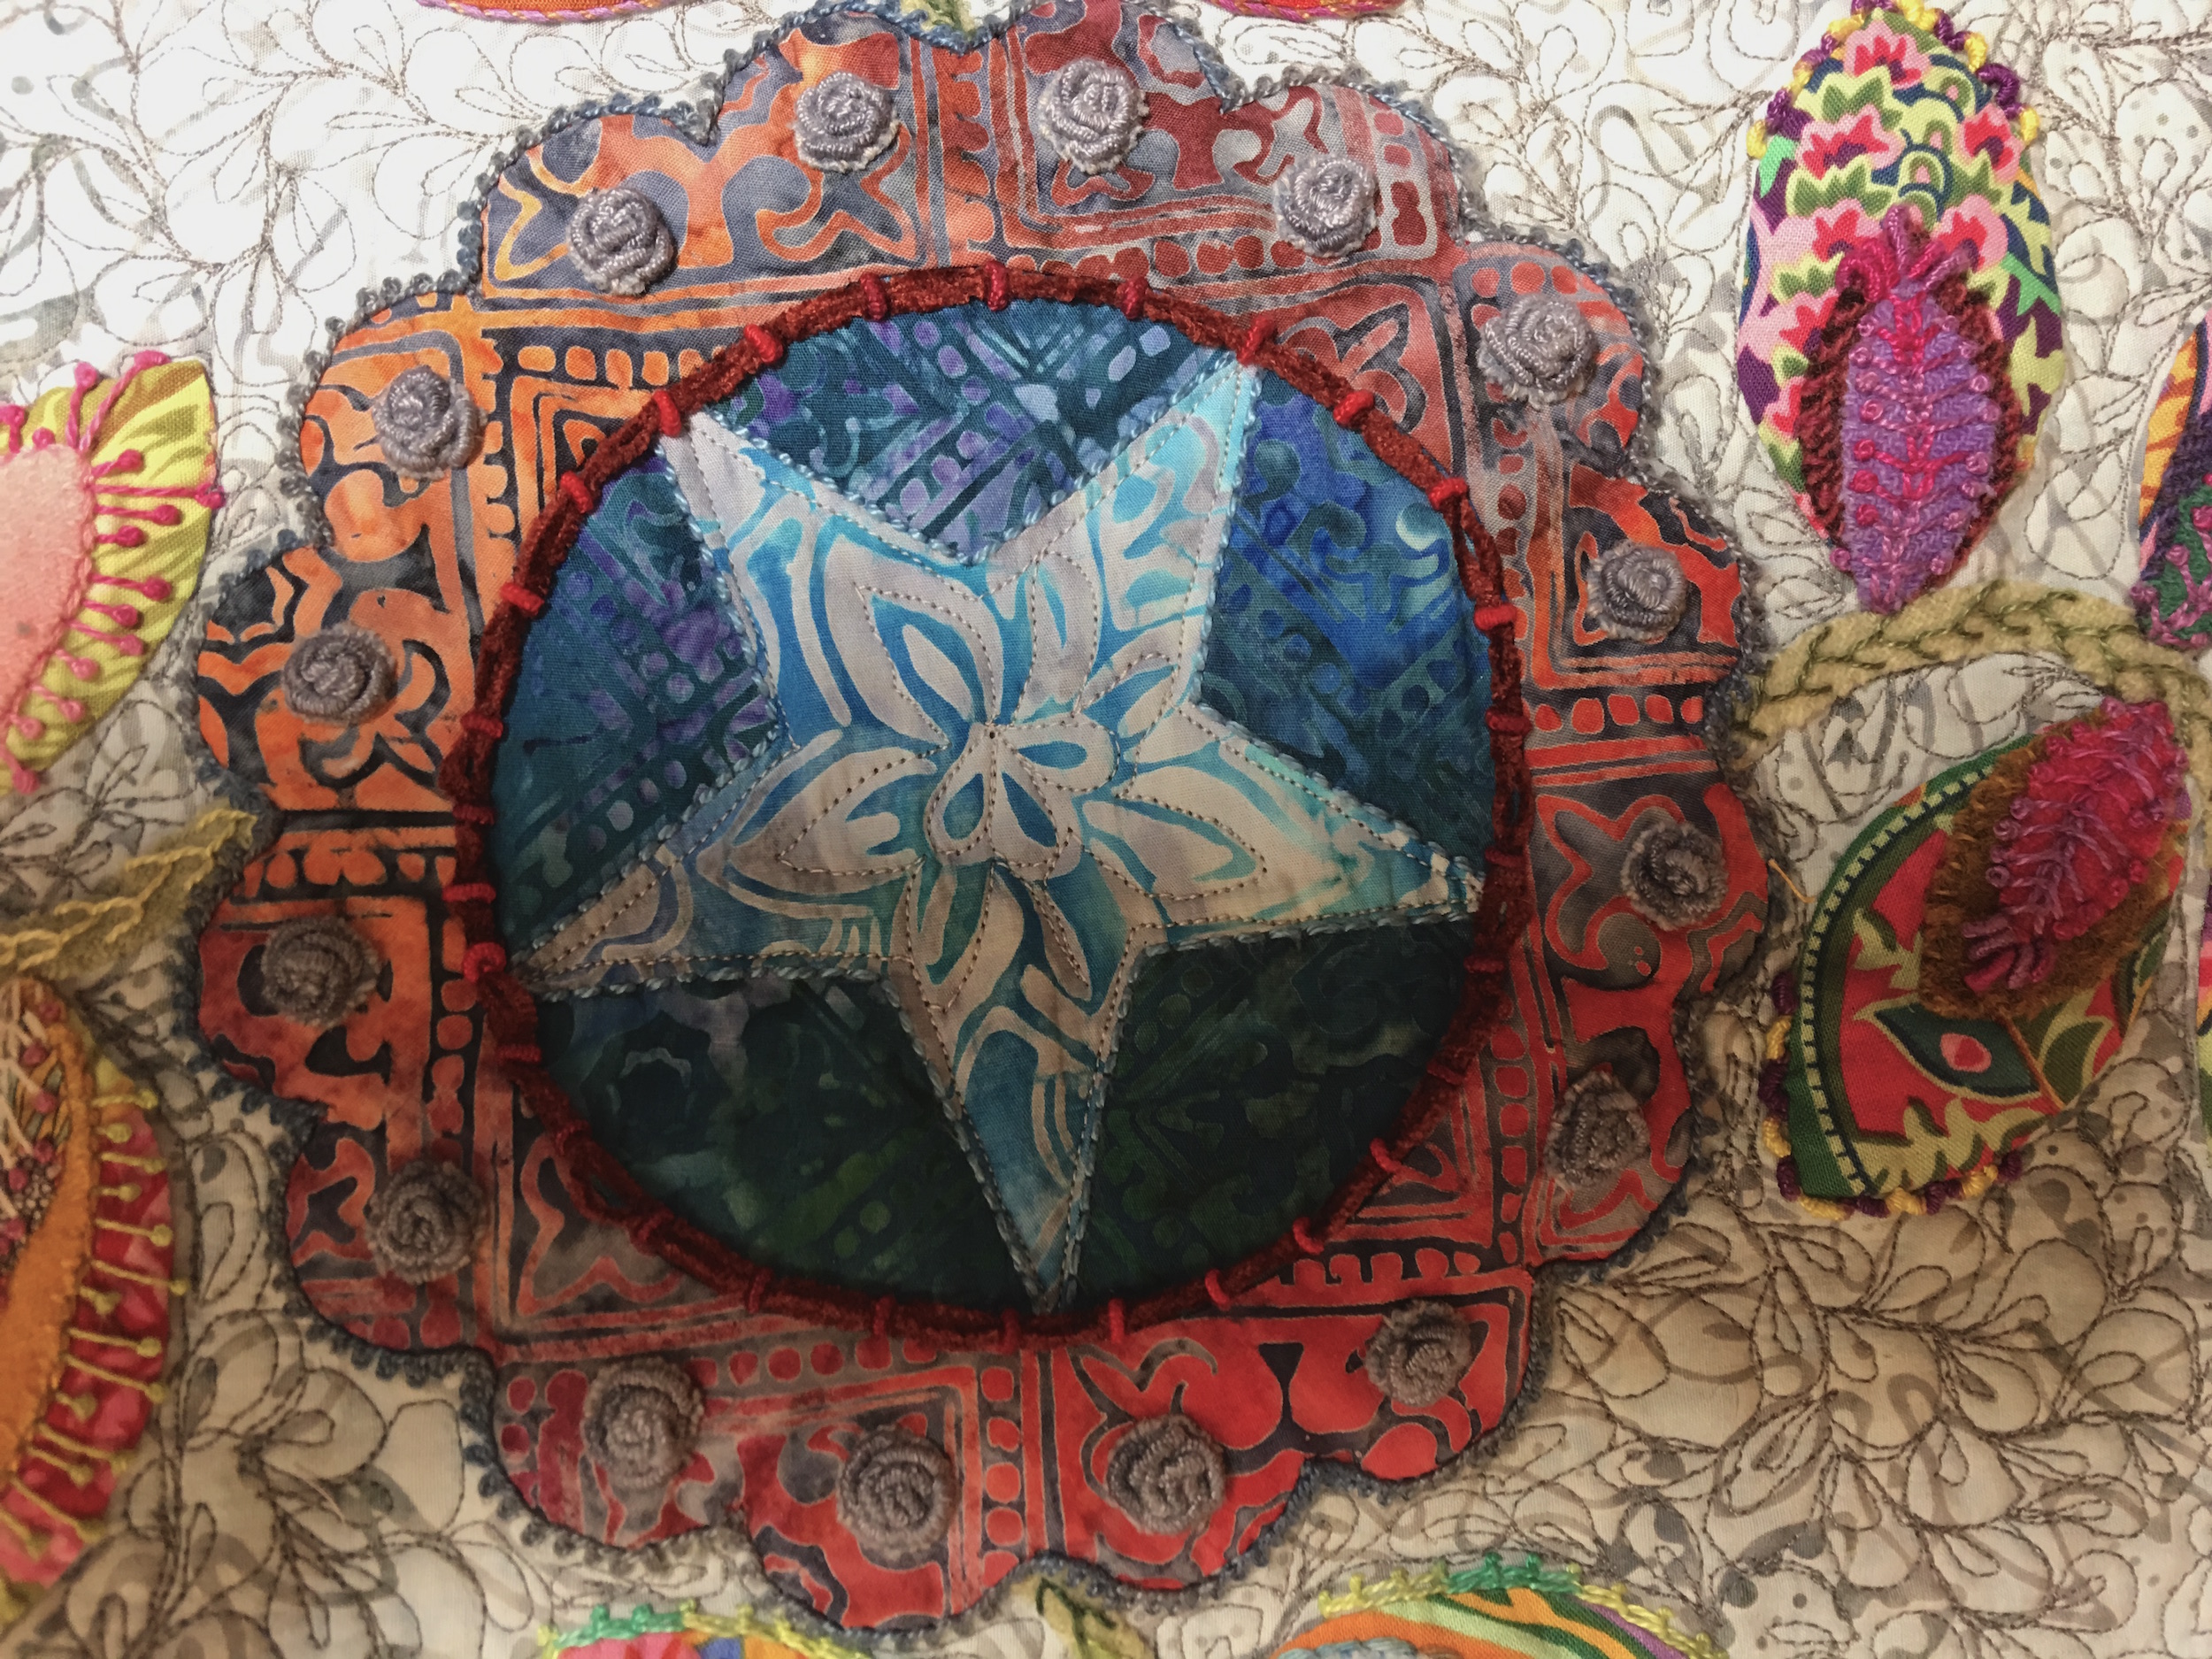
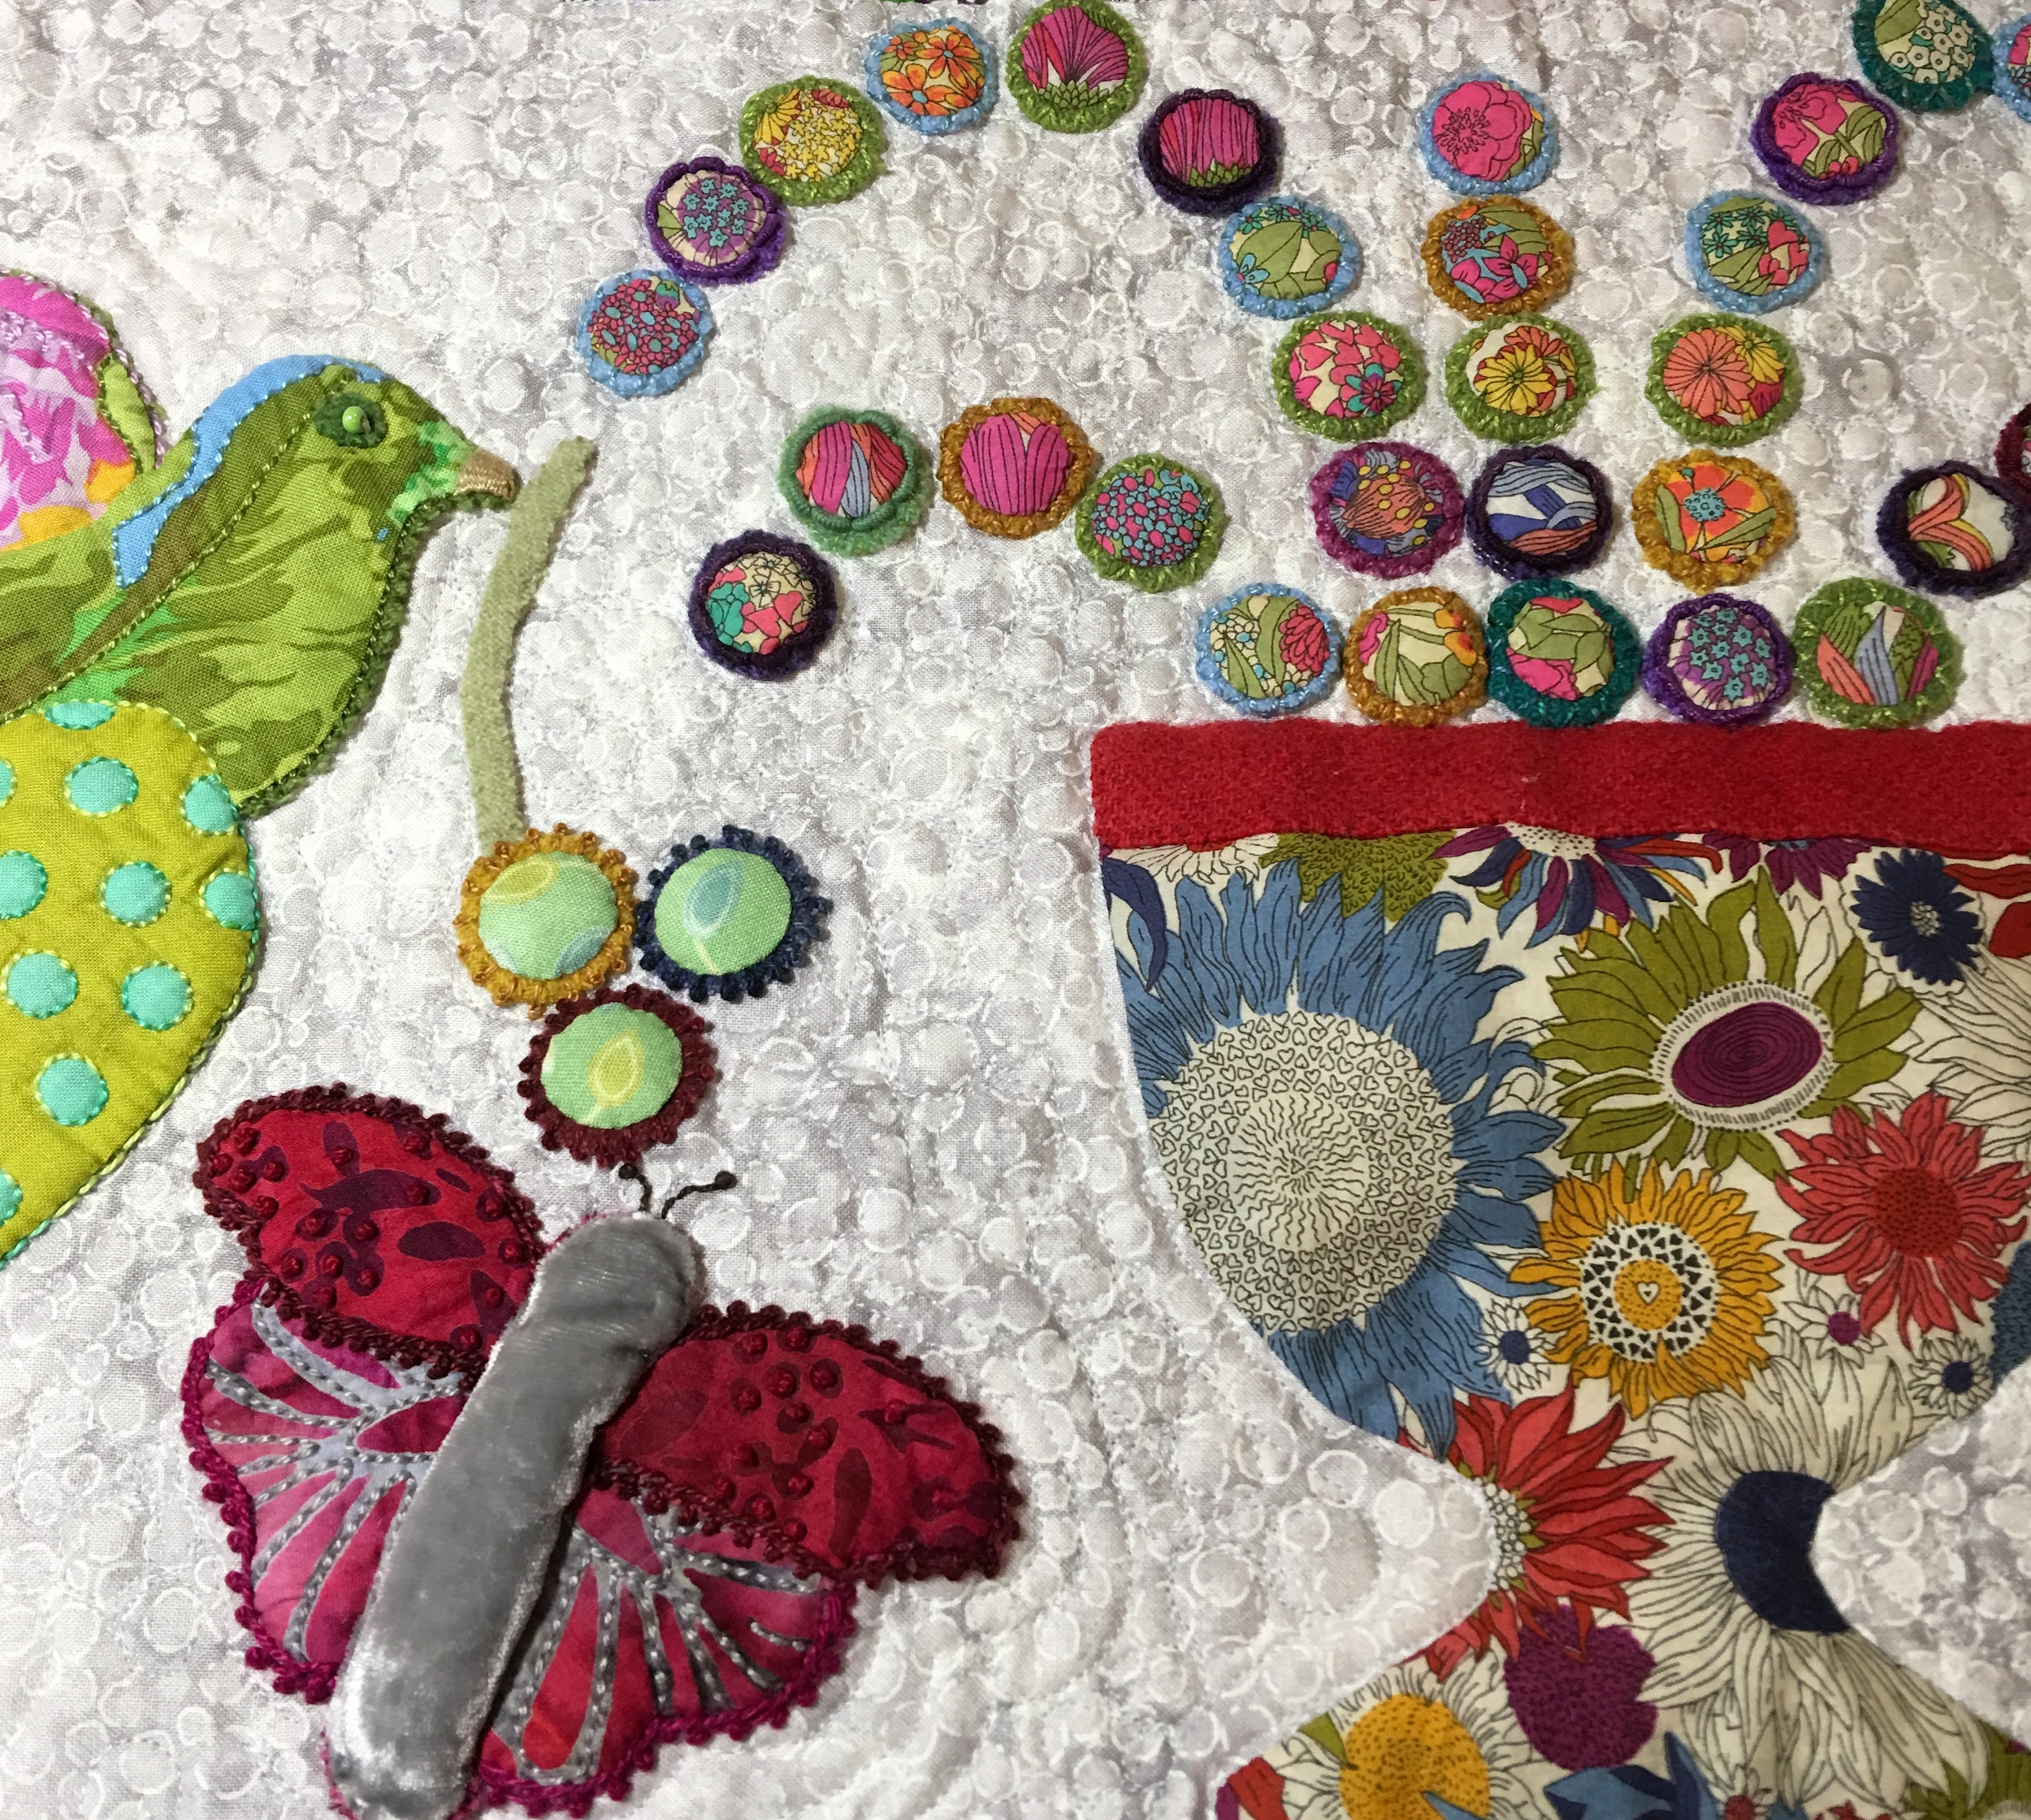
Center Star Panel
For the upper center panel I wanted to try my hand at McTavishing, which is named after a woman who created a specific way to free motion quilt. After a few times, I went off and did my own thing, echoing, but also playing with flame shapes.
Top Center Panel
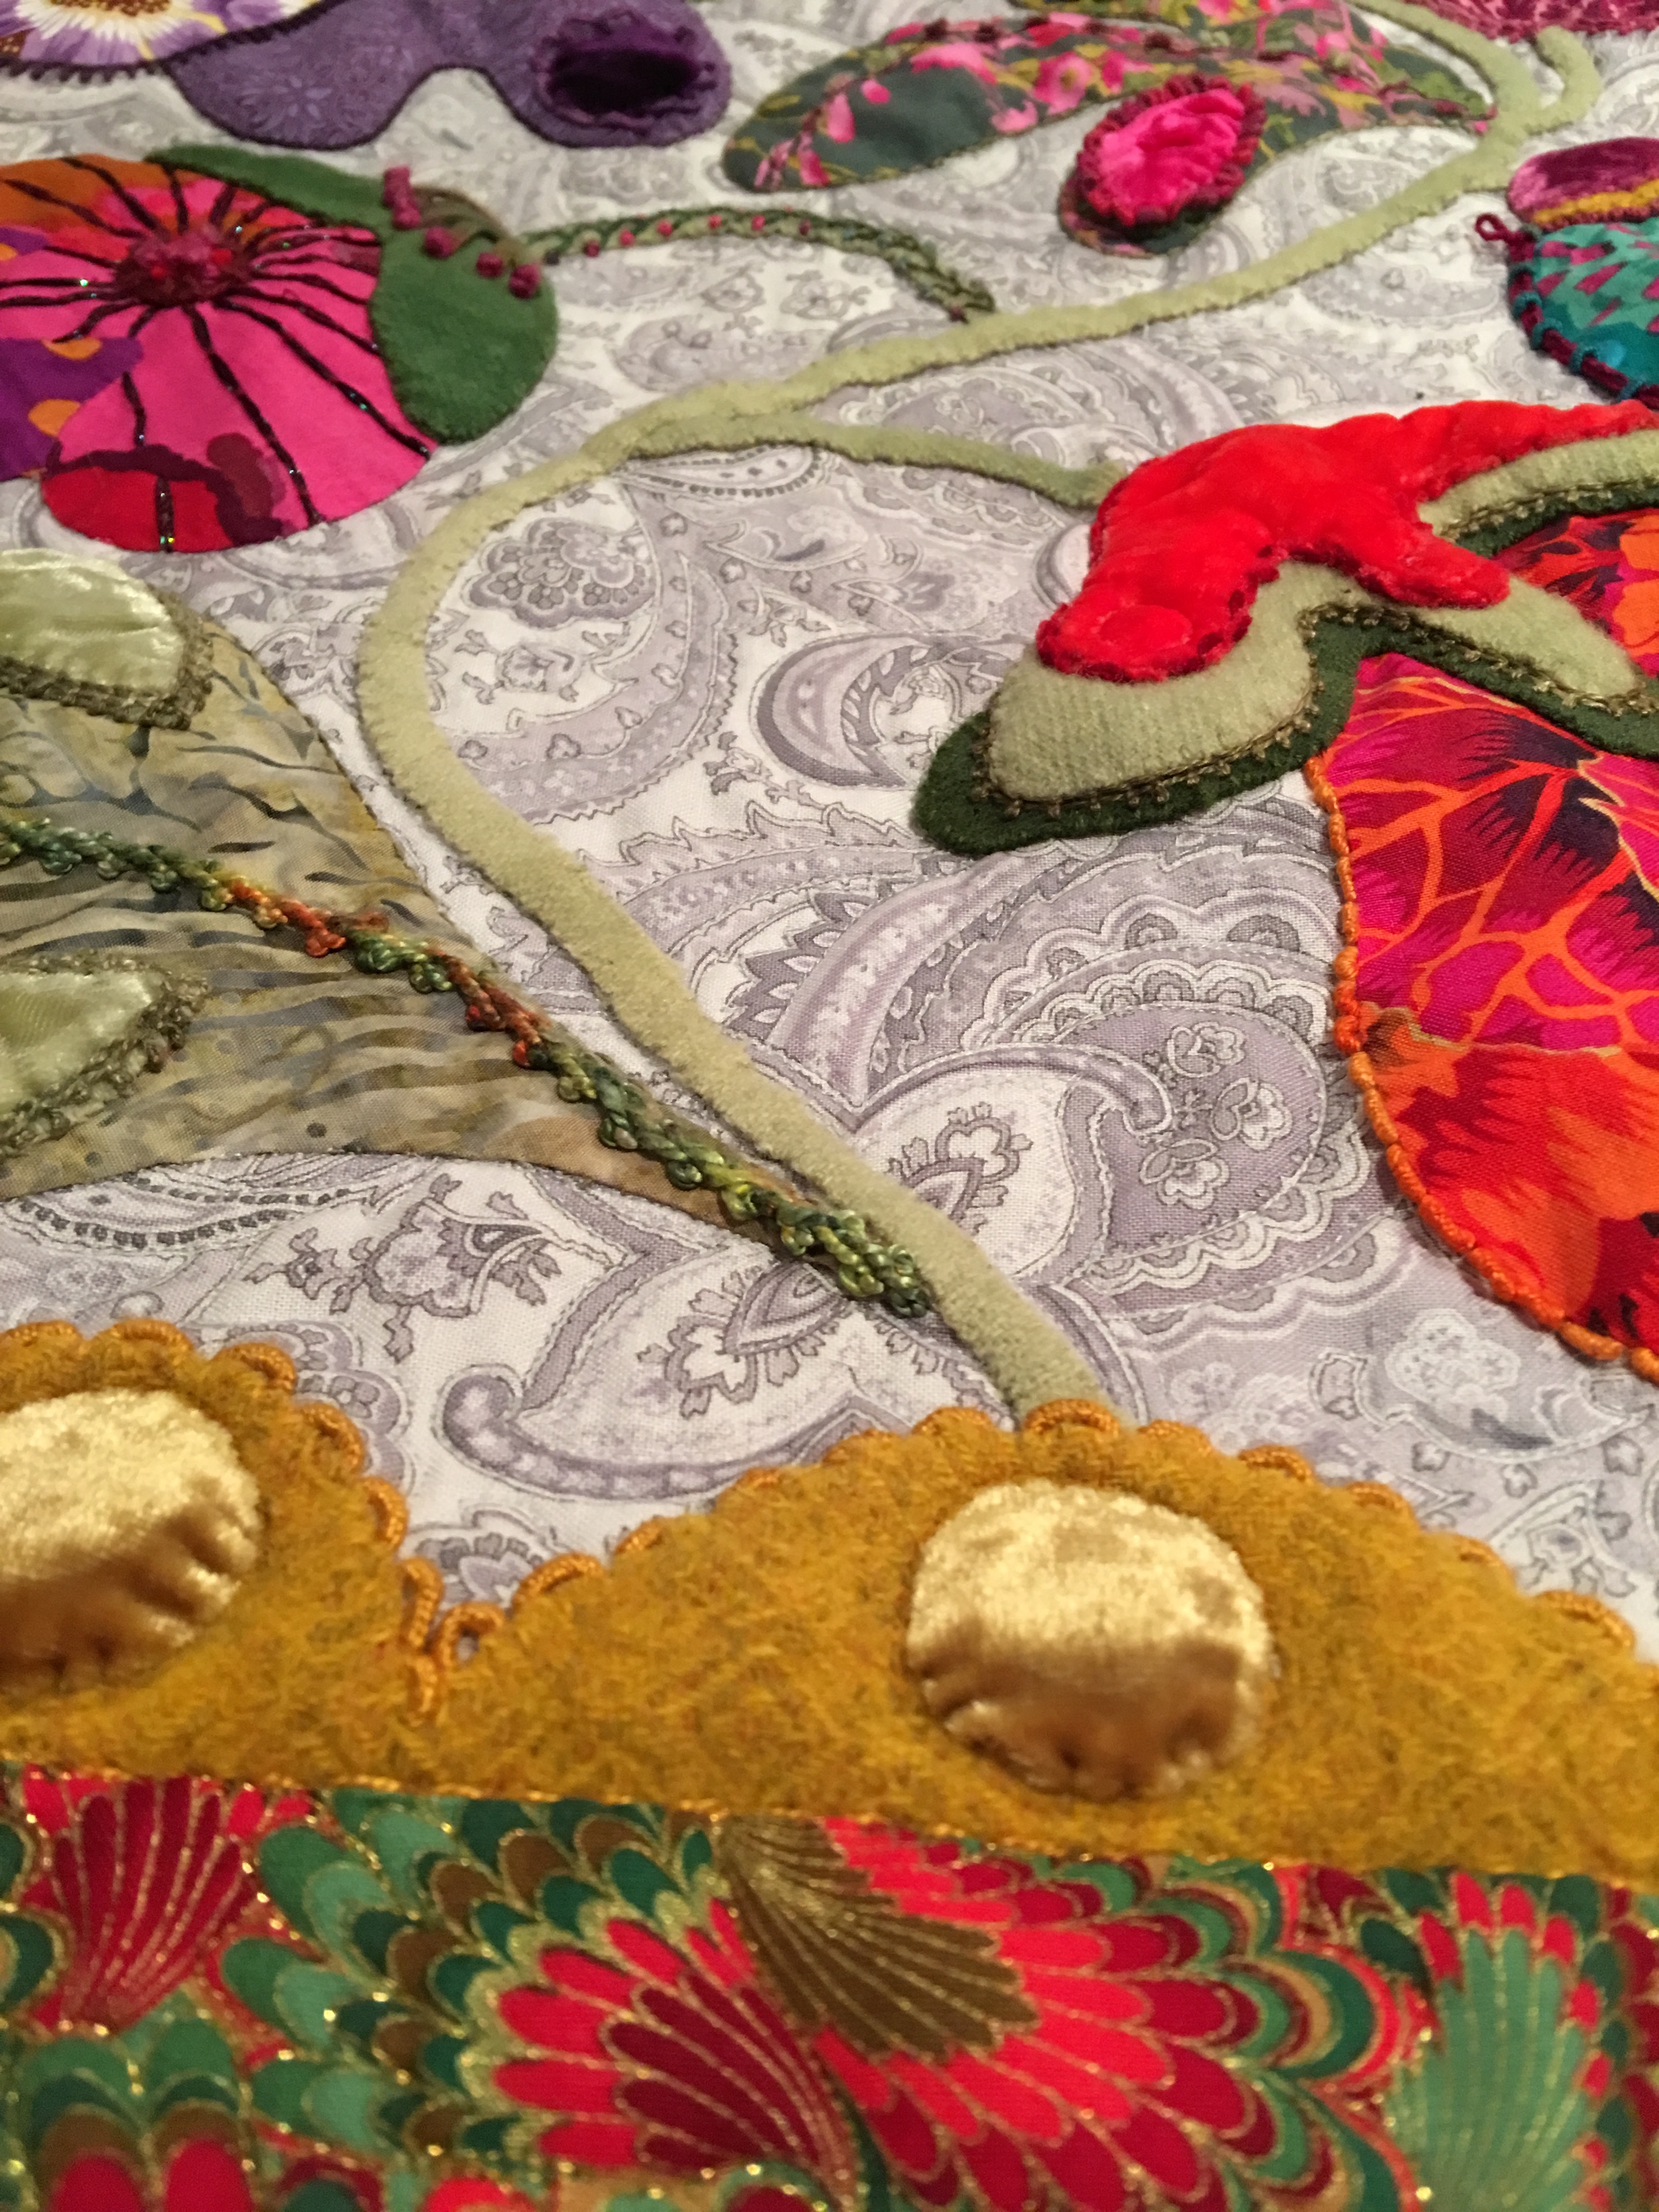
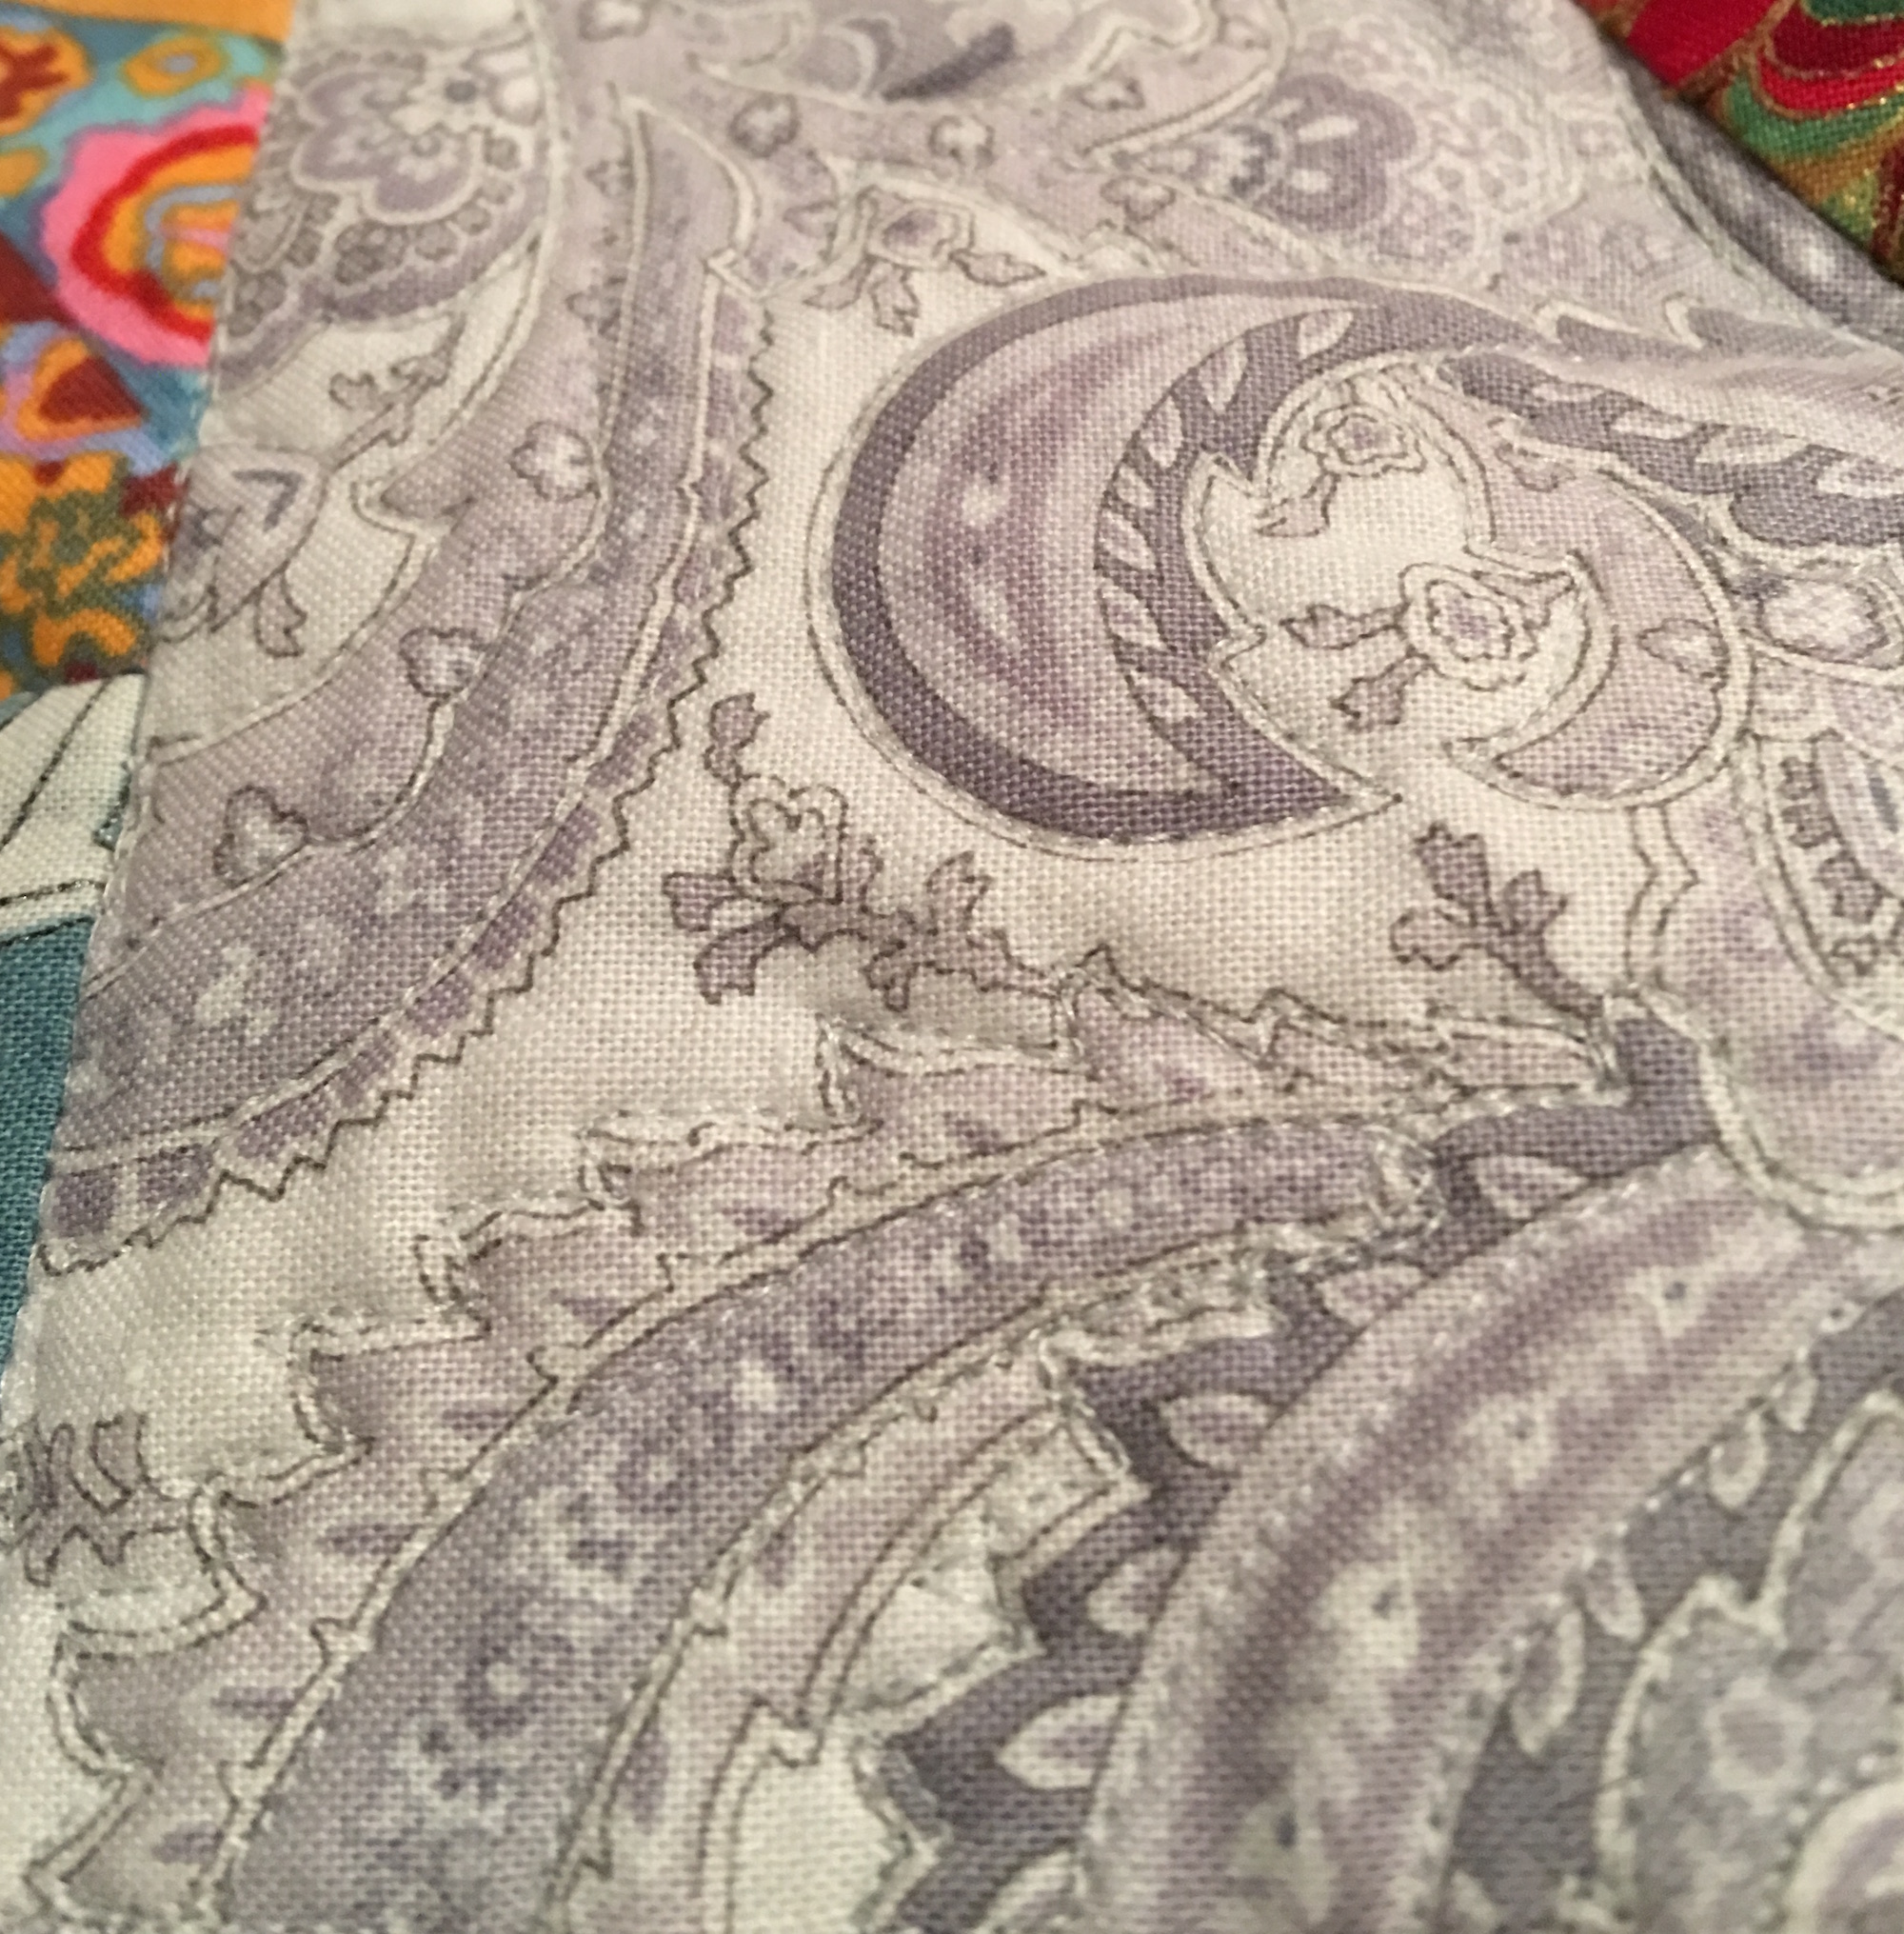
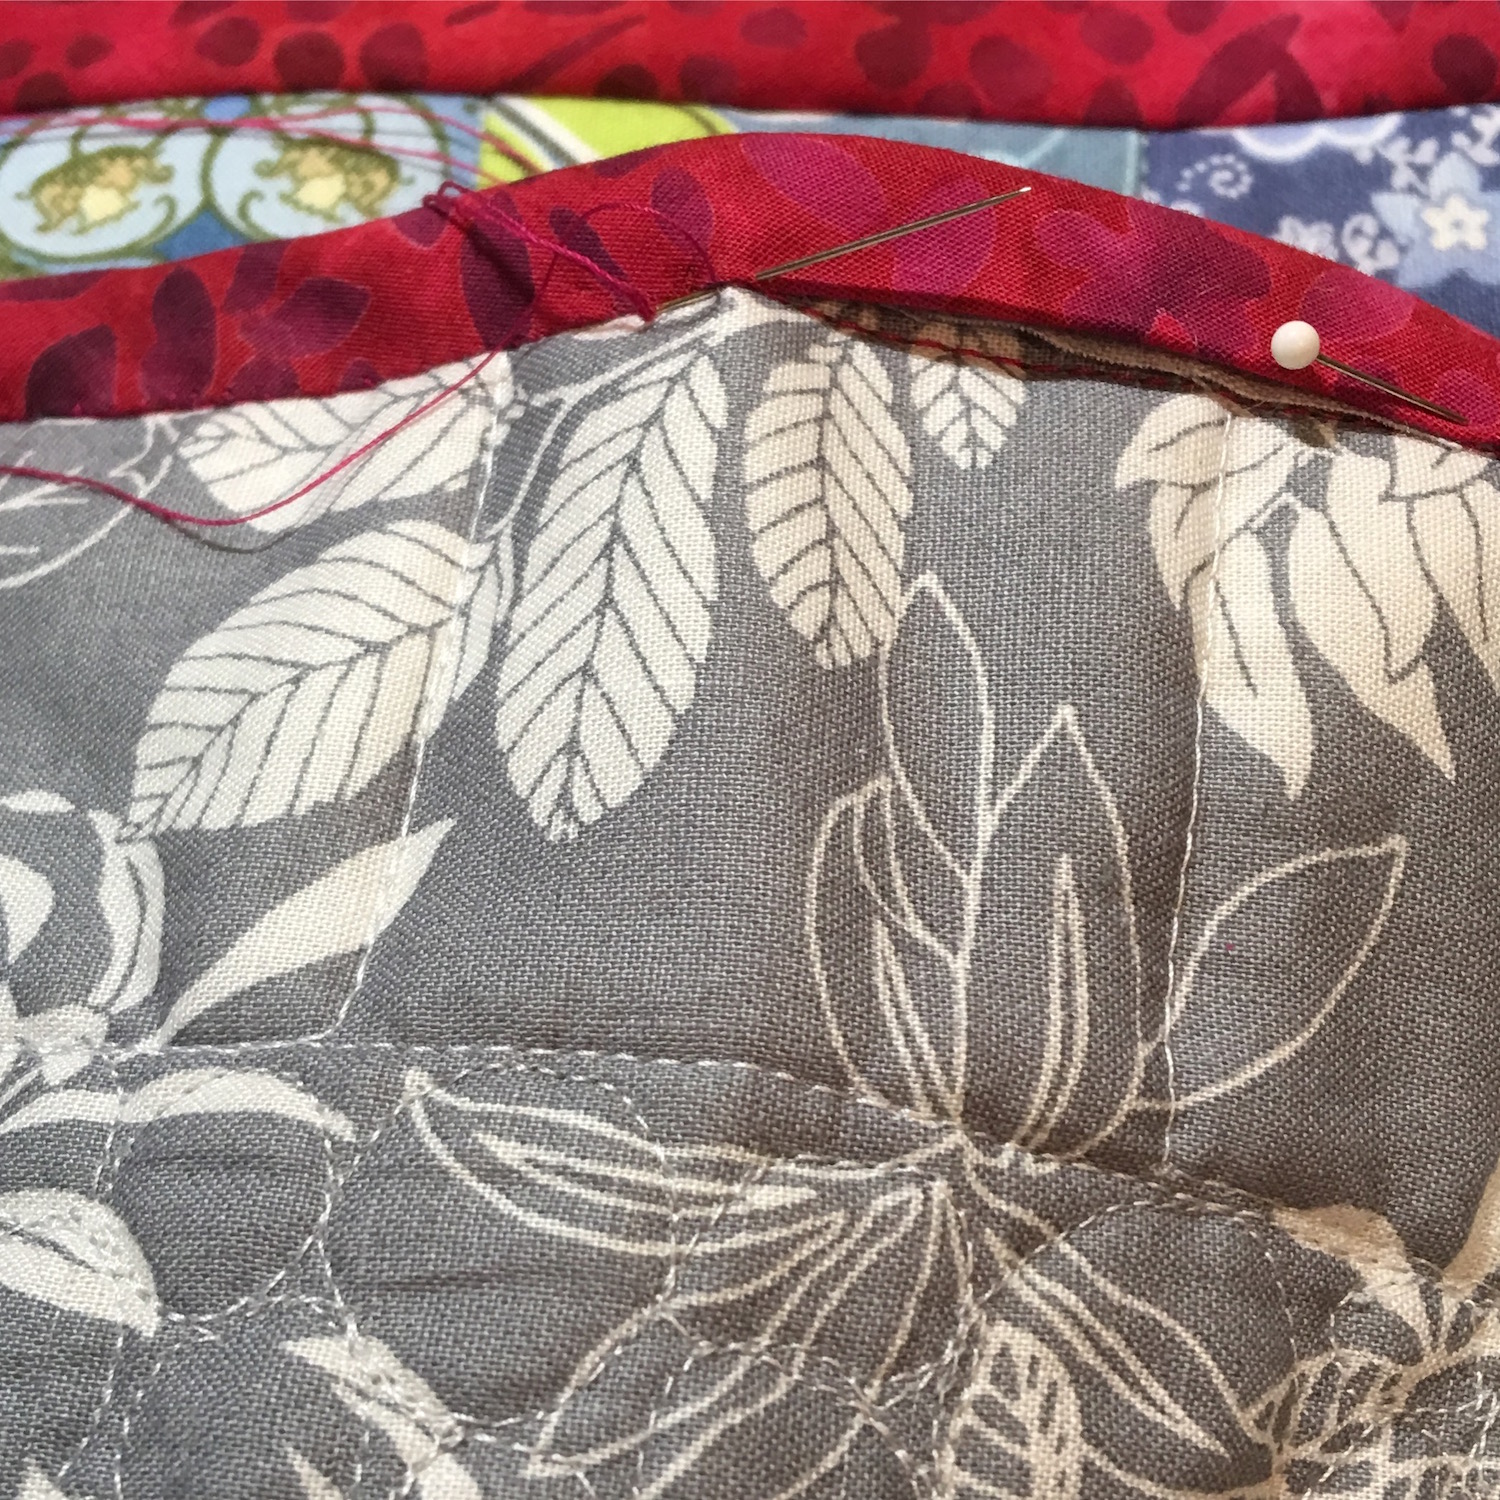
On this long side panel I decided that the paisley fabric was so cool I would just use it as a quilting guideline. I really loved how this turned out, though it’s hard to really see, I did add a close up below.
Side Panel
Detail of the free motion quilting on the side panel
This is the bottom panel and I included pebbles, echoing and swirls, which I did again on the top panel.
Bottom Panel
More of the center panel
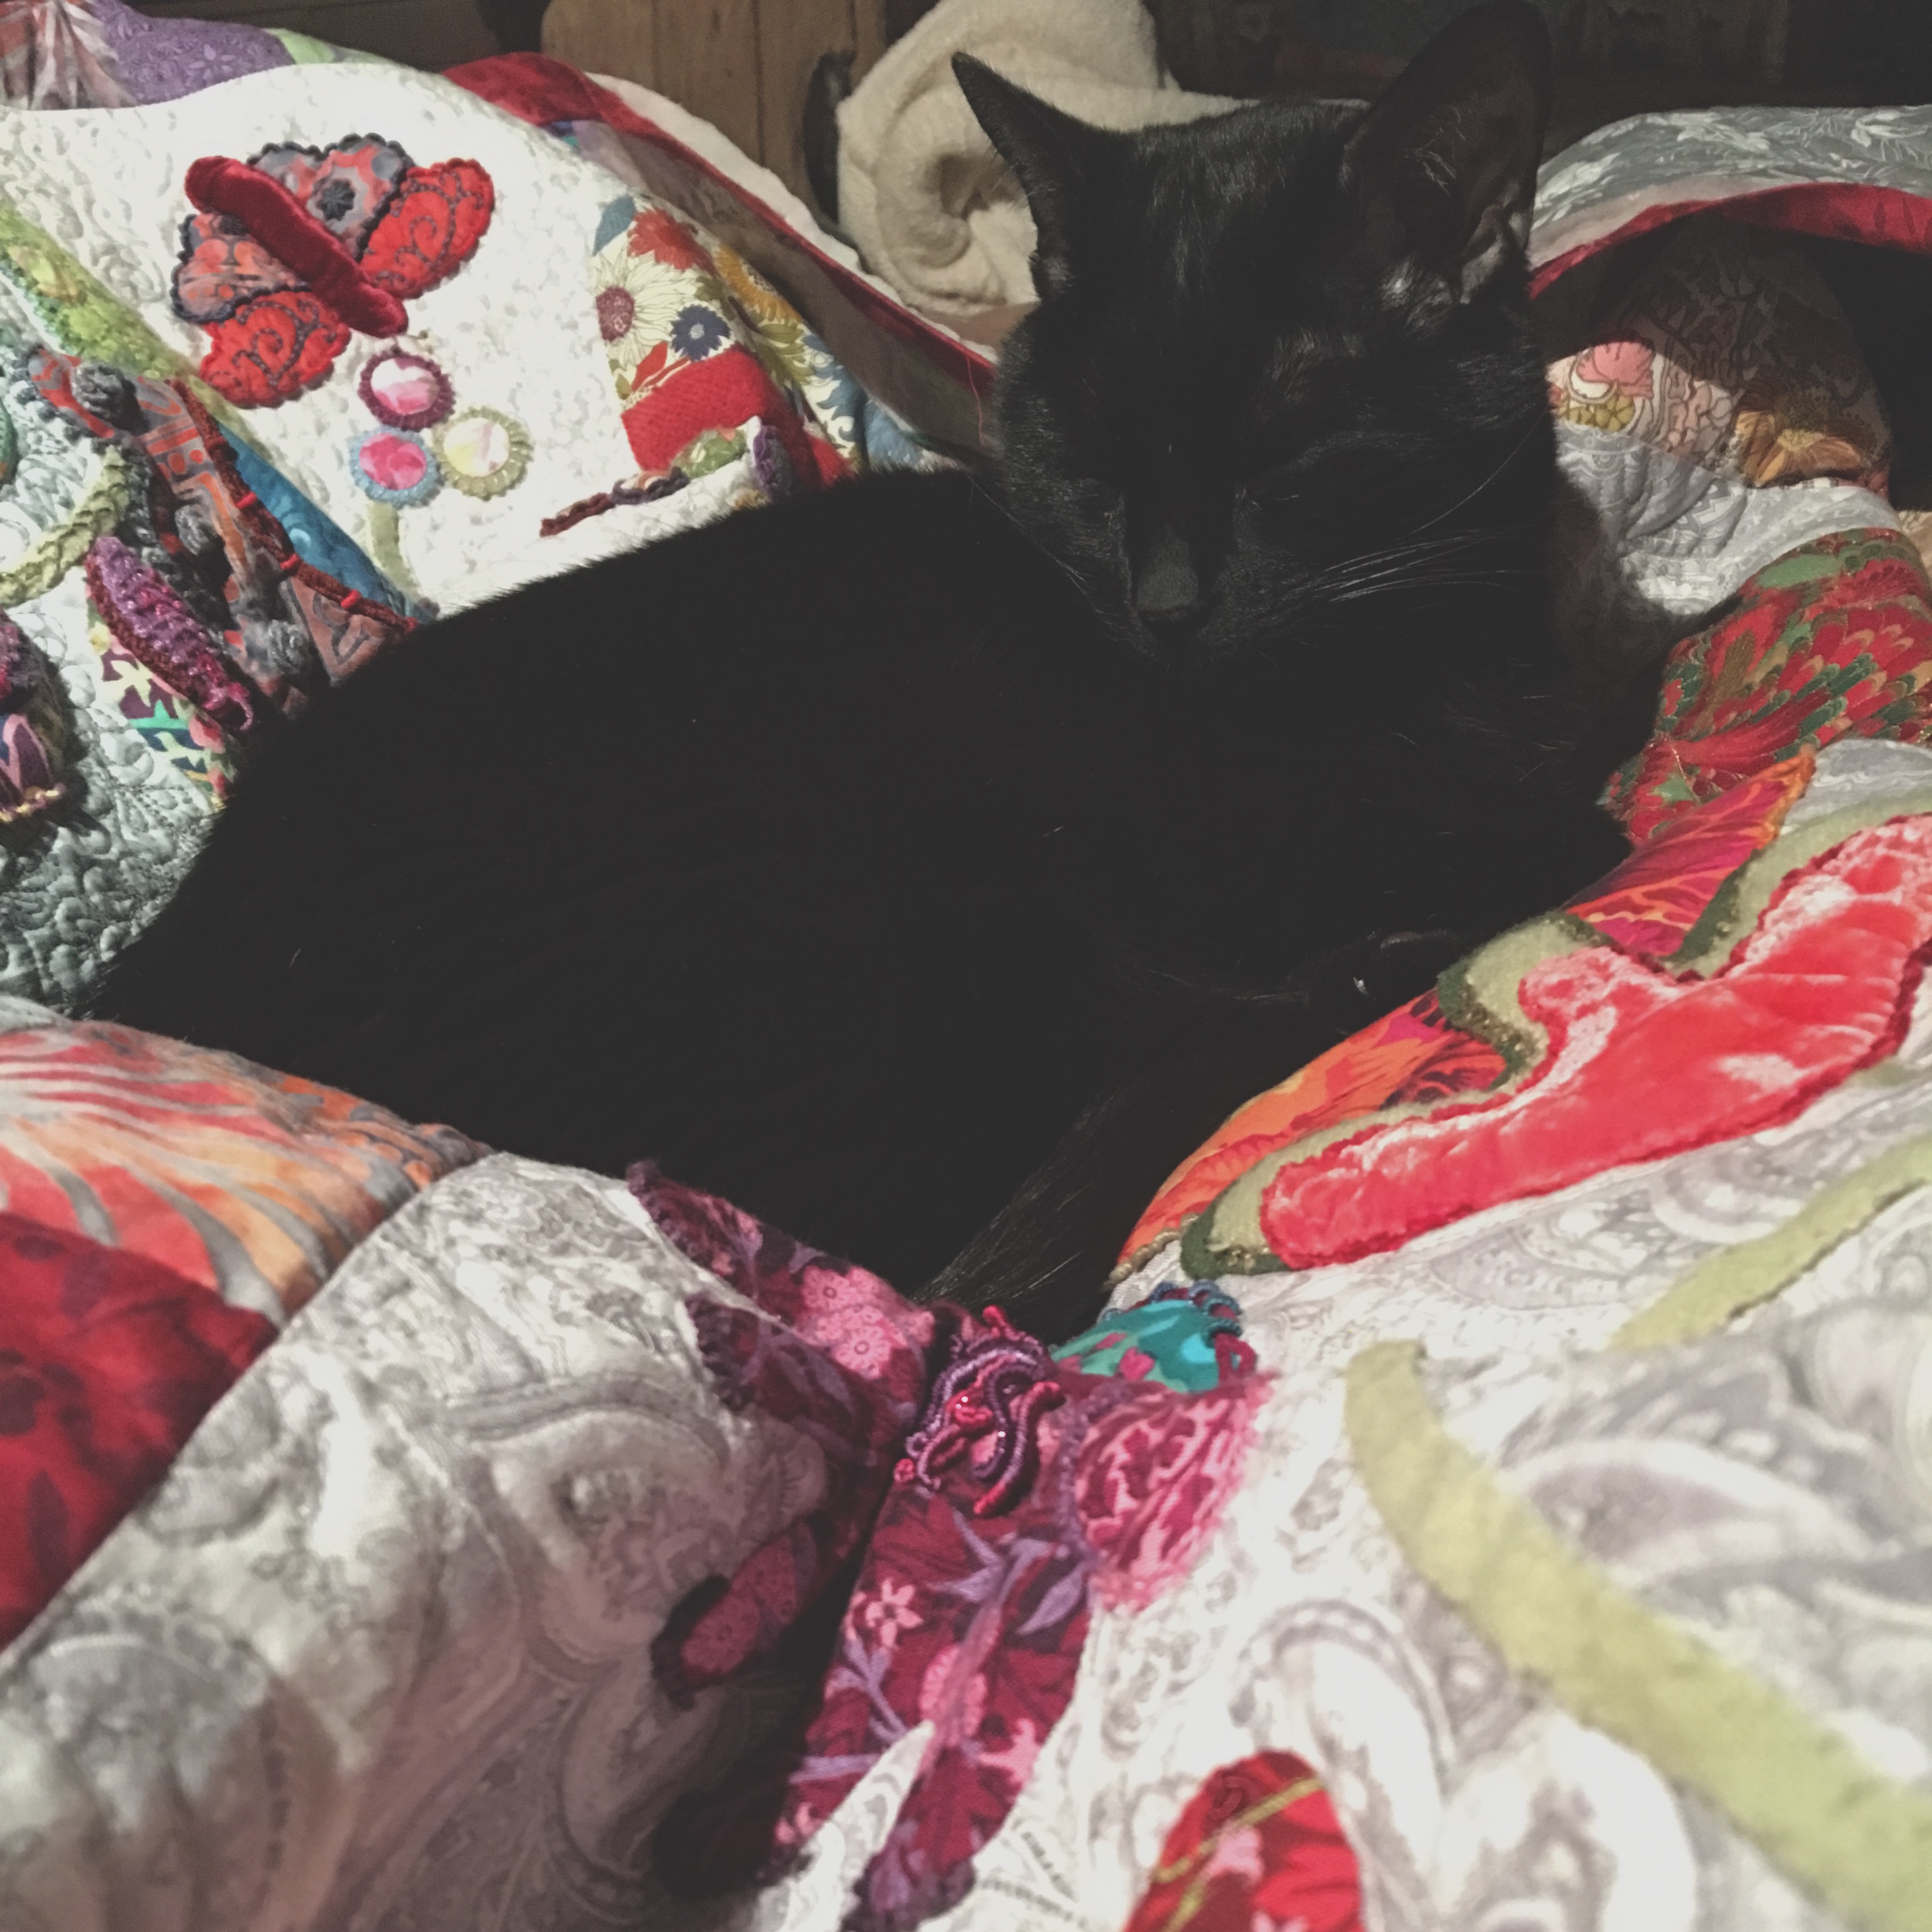
Merlin naps as I work
Merlin was constantly coming over to nap or pretend to nap while secretly inspecting my work. He loved snuggling up amongst the folds as I worked, making for some interesting adjustments on my part as I hated to disturb him!
The border
The entire border I did in a pebble stitch, which I love. It’s so reminiscent of shapes I used for my jewelry collection, The Lotus Collection. And now that I think of it, the swirls in the bottom and top panels remind me of my Samadhi Collection.
Hand Sewing the binding
Finally I had to learn how to make and add a binding. After a number of different ideas regarding what fabric to use, I decided, with my FH’s (fabulous husband’s) help, to go with a red batik. Batik tends to be pretty densely woven, and as the binding can get more wear and tear than the rest of the quilt, I thought it was a good choice, plus, I love the red. I cut it on the bias, mitered the corners, and hand stitched the back.
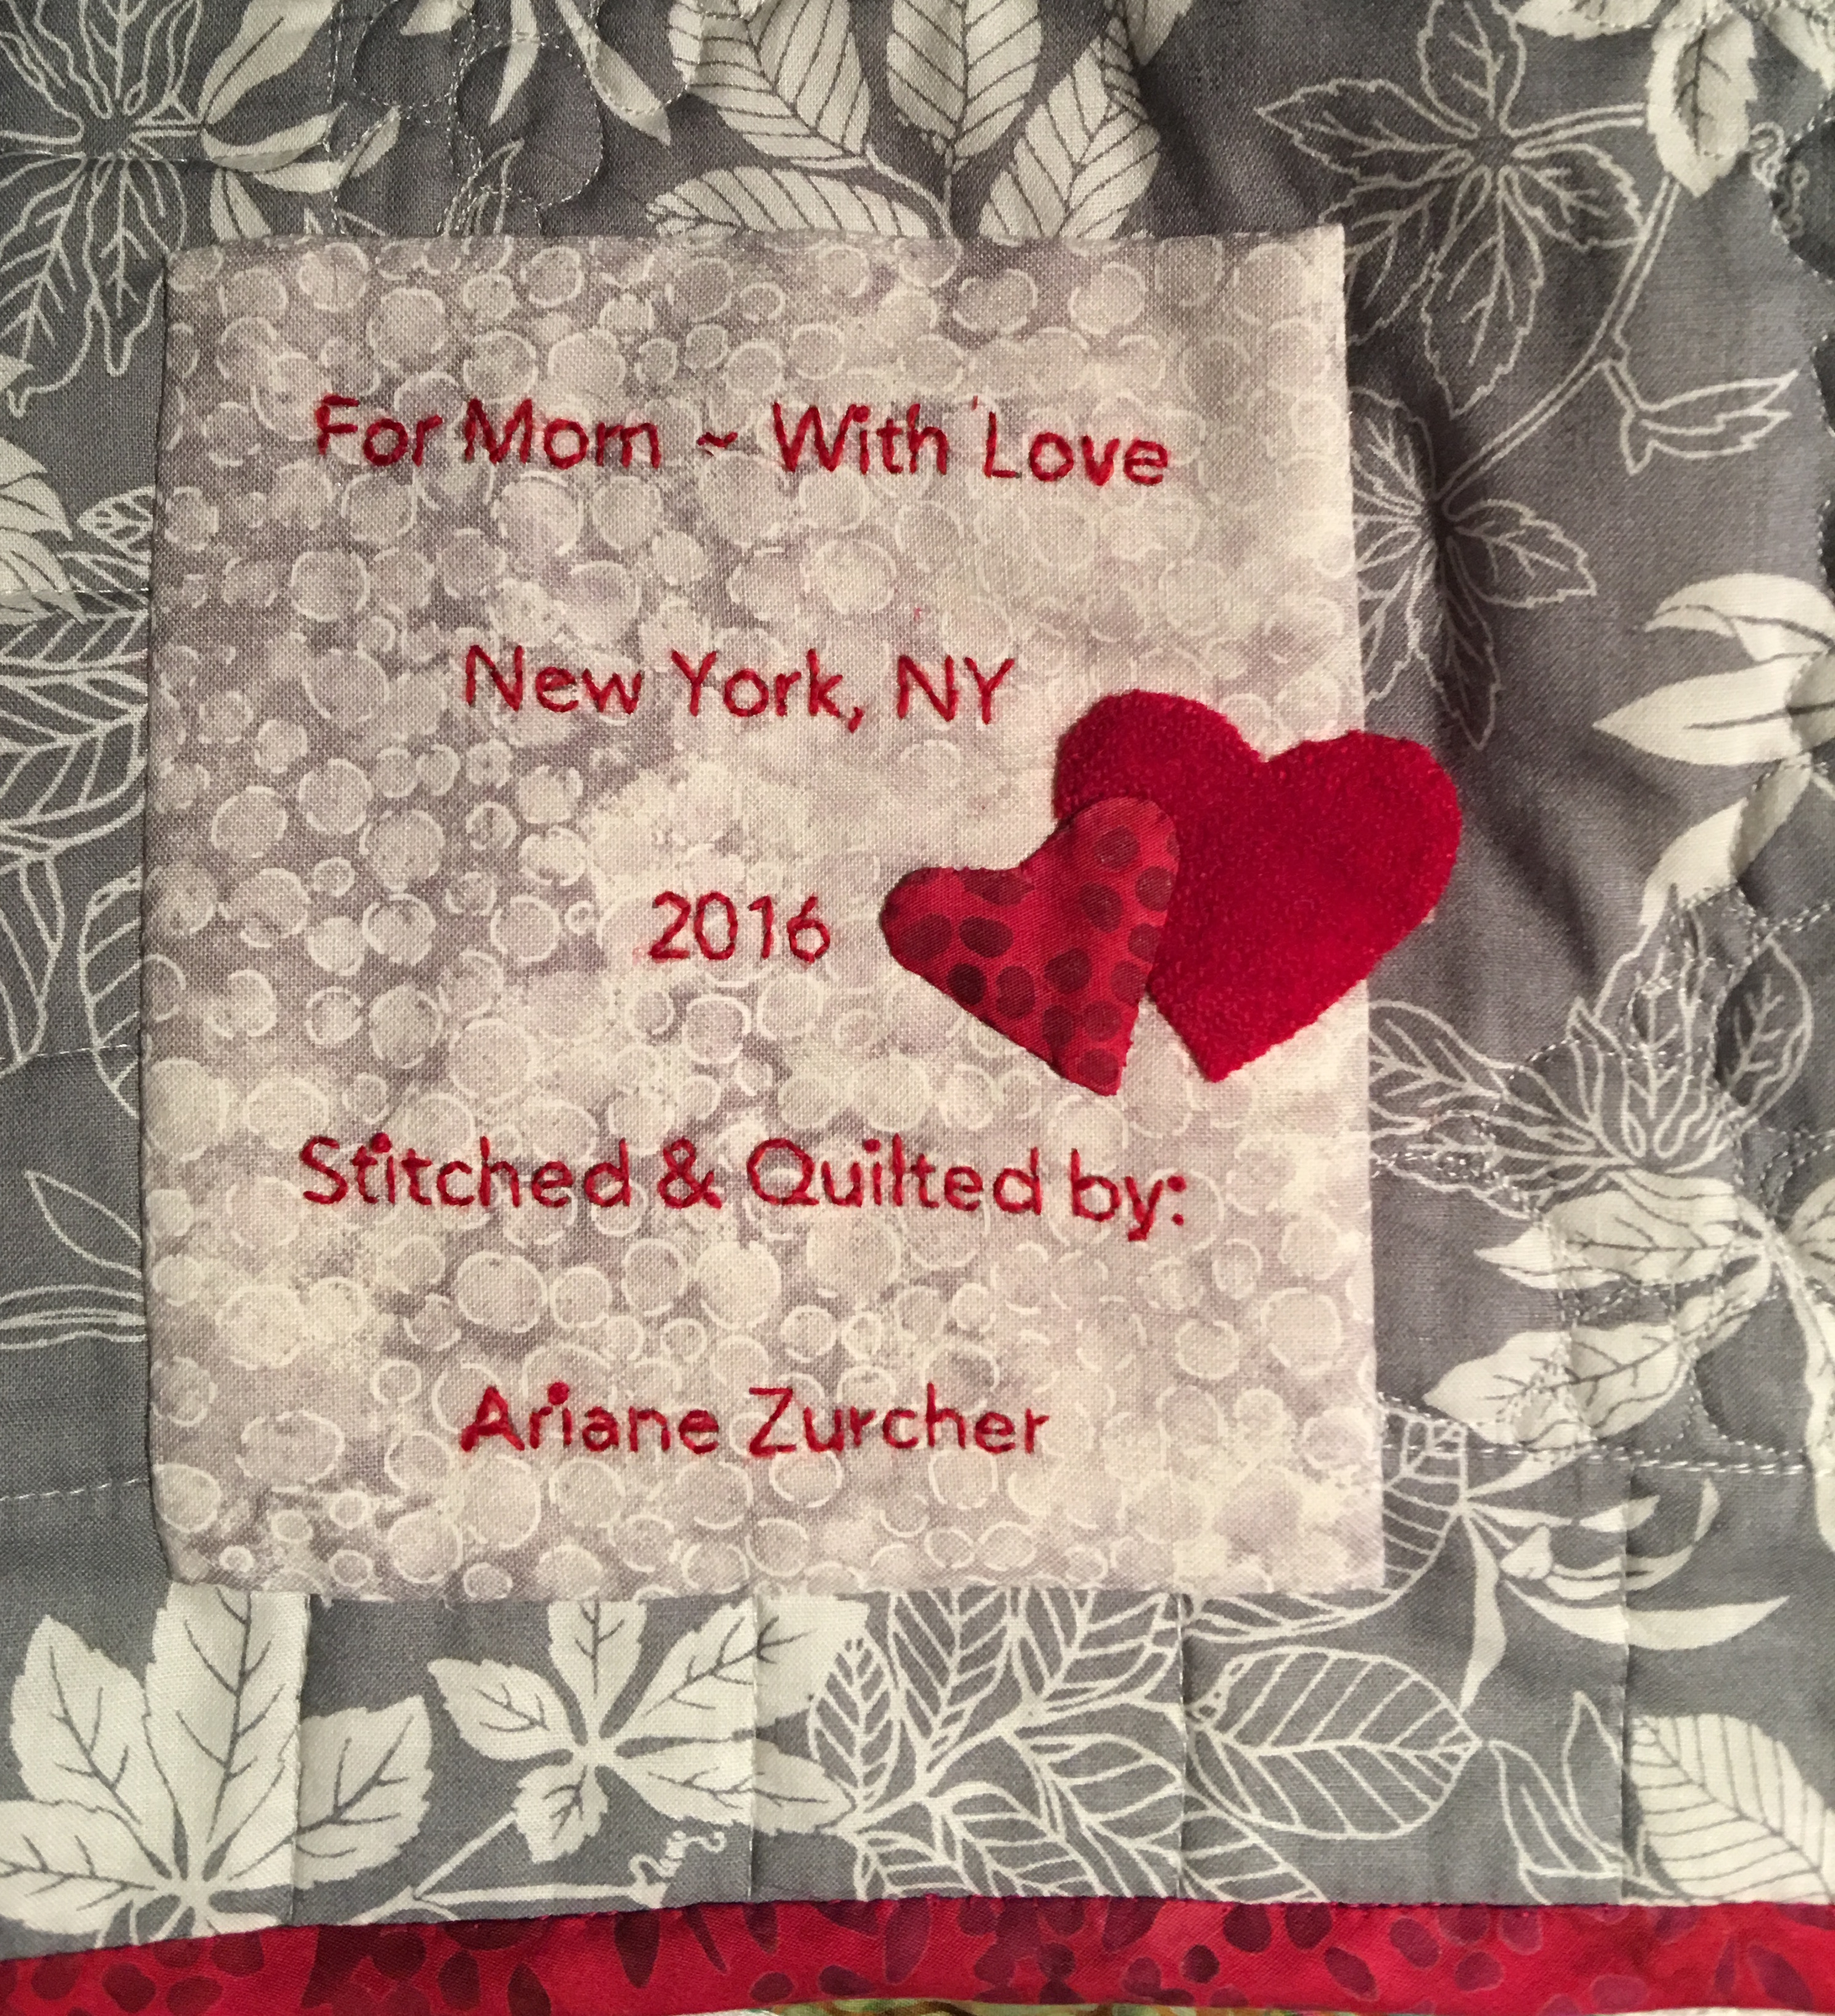
For my beautiful mom ~ Merry Christmas
And then I had to learn how to make a label for my quilt. There are wonderful ideas on Pinterest. Are you on Pinterest? I LOVE, LOVE, LOVE pinterest. I made a label using word documents and then used a freezer paper and cut a piece of fabric that I adhered the freezer paper to and copied the printed label onto the fabric, lightening the tone so it was just readable, but wouldn’t show too much. I then removed the freezer paper, sandwiched the printed material with a cotton batting and muslin and then used red wool thread and stitched the text. I added the little wool red heart and cut out another smaller heart in the same fabric as the binding because I figured I can’t add enough hearts to a quilt made specifically for my mom.
So Mom, if you’re reading this, the cats out of the bag. Merry Christmas!! This quilt was made for you. I thought of you the entire time I was making it. I hope it will keep you wonderfully warm during those cold winter months and I’m told wool batting breathes and should be perfect for the summer months as well. I love you.
What’s next? A twin-sized quilt that I will design, stitch and quilt!! I’ve got my sketch book and am playing with some ideas… I’ll keep you posted! Heh-heh, a little pun to end this post.
![The Quilt is Finished!]()
by Ariane Zurcher | Jul 31, 2016 | Art, Design, Quilting by the Lake |
I just returned from a two week long artist’s workshop, where I studied with the fabulous and fabulously talented artist, Rosalie Dace for five days, followed by five days with another fabulous and extremely talented artist, Lorie McCown. The workshops are part of the Schweinfurth Art Center‘s yearly summer program – Quilting by the Lake, also known as QBL. Though there is now no lake, there was one at the place they first began doing these workshops more than thirty years ago, and not everything produced is quilted, though it depends on the workshop you signed up for.
Here’s a run down of my time at QBL.
Day 1 of Rosalie Dace’s Workshop entitled Skin Deep: Panic! and the realization that perfectionism is creativity’s executioner.
By the end of the first day I have a couple of ideas, but am definitely struggling.
Day 2: I begin repeating something Rosalie had written on one of the large boards propped up on one of two easels in front of the class. “DON’T PANIC!” This becomes my mantra for the rest of my time at QBL.
Day 3: I hate everything I’ve created thus far and have the rude awakening that my expectations are a killjoy. Around the middle of day 2 and into day 3 Rosalie encourages me to use machine stitching, which definitely pushes me out of my comfort zone. I proudly show Rosalie the machine stitching I’ve done (and am devising ways I will hide it after showing her) she applauds my efforts and then drops a bomb by suggesting I add two more lines of machine stitching so for every one line there are now THREE and a little part of me dies inside.
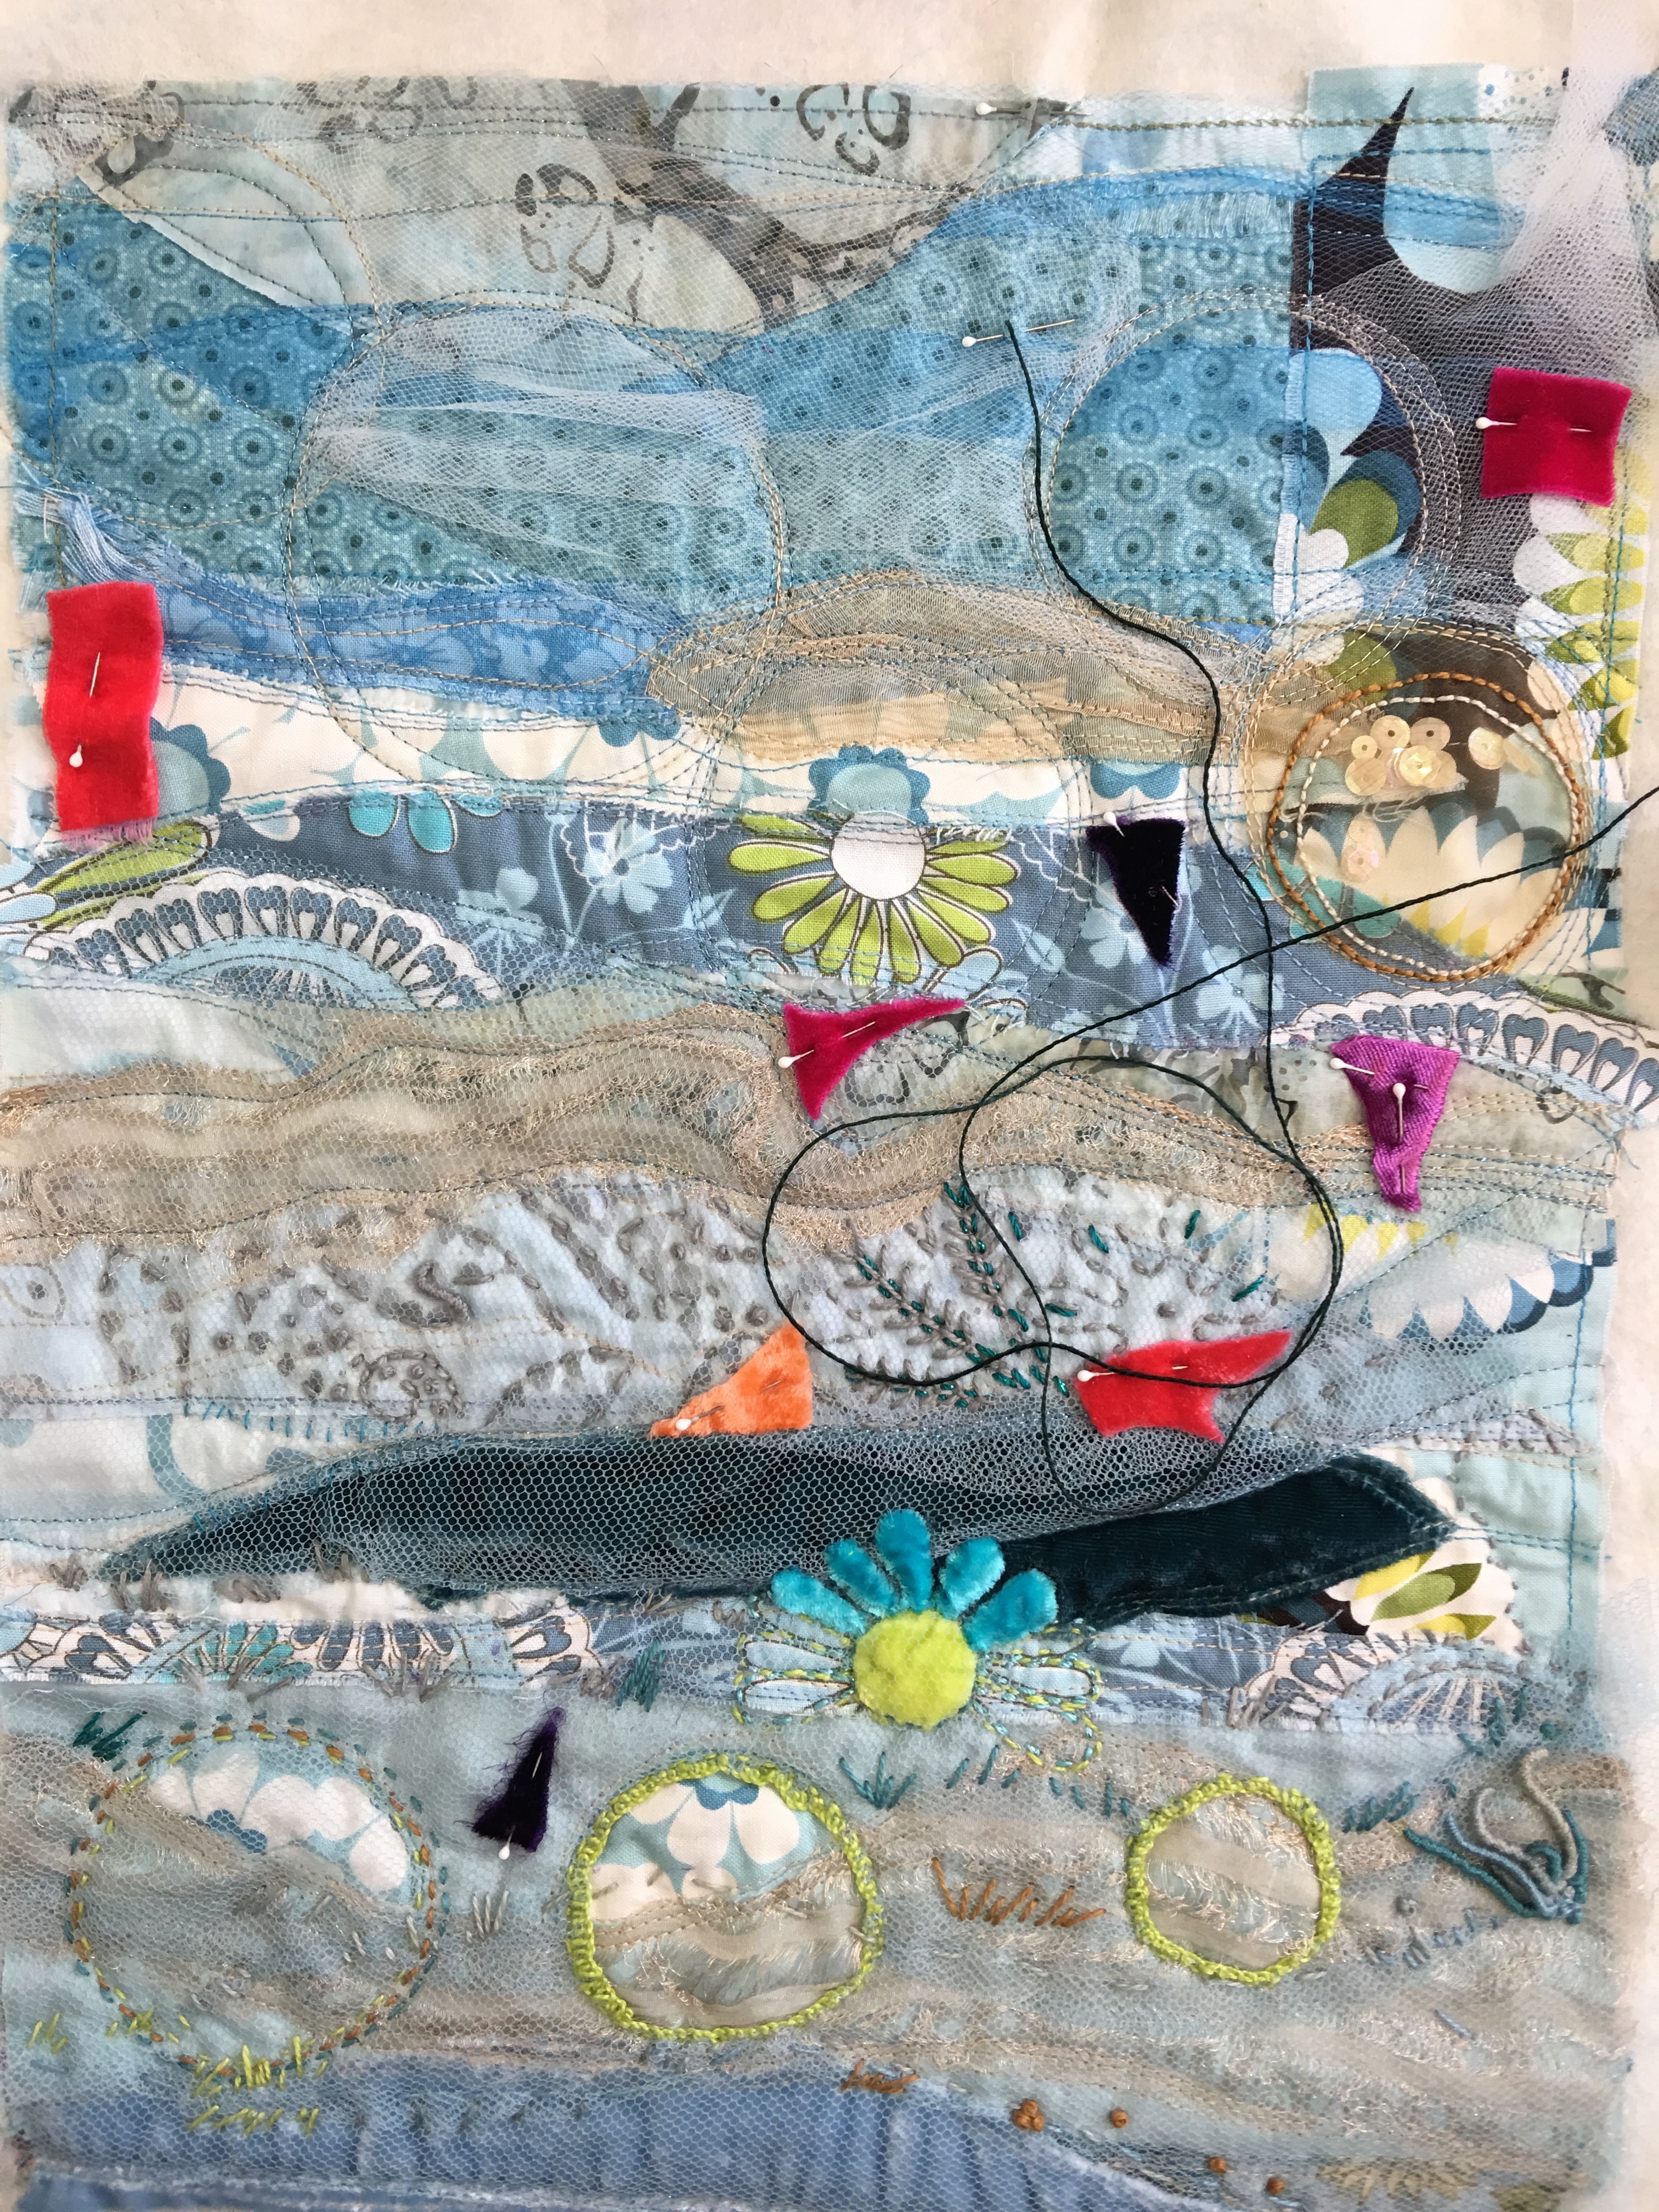
This was what I had done by the end of Day 3, beginning of Day 4. People would wander by and remark, “Ohh, pretty” or “oh the beach! I love the beach” or just, “water!” It was around this time that I came up with the title: “It’s deeper than you think” and then proceeded to muddy those serene waters by incorporating many of Rosalie’s great suggestions.
Day 4: Go with the flow. I’m a fiend and machine stitch everything I can get my hands on. I am one with my Bernina and life is good.
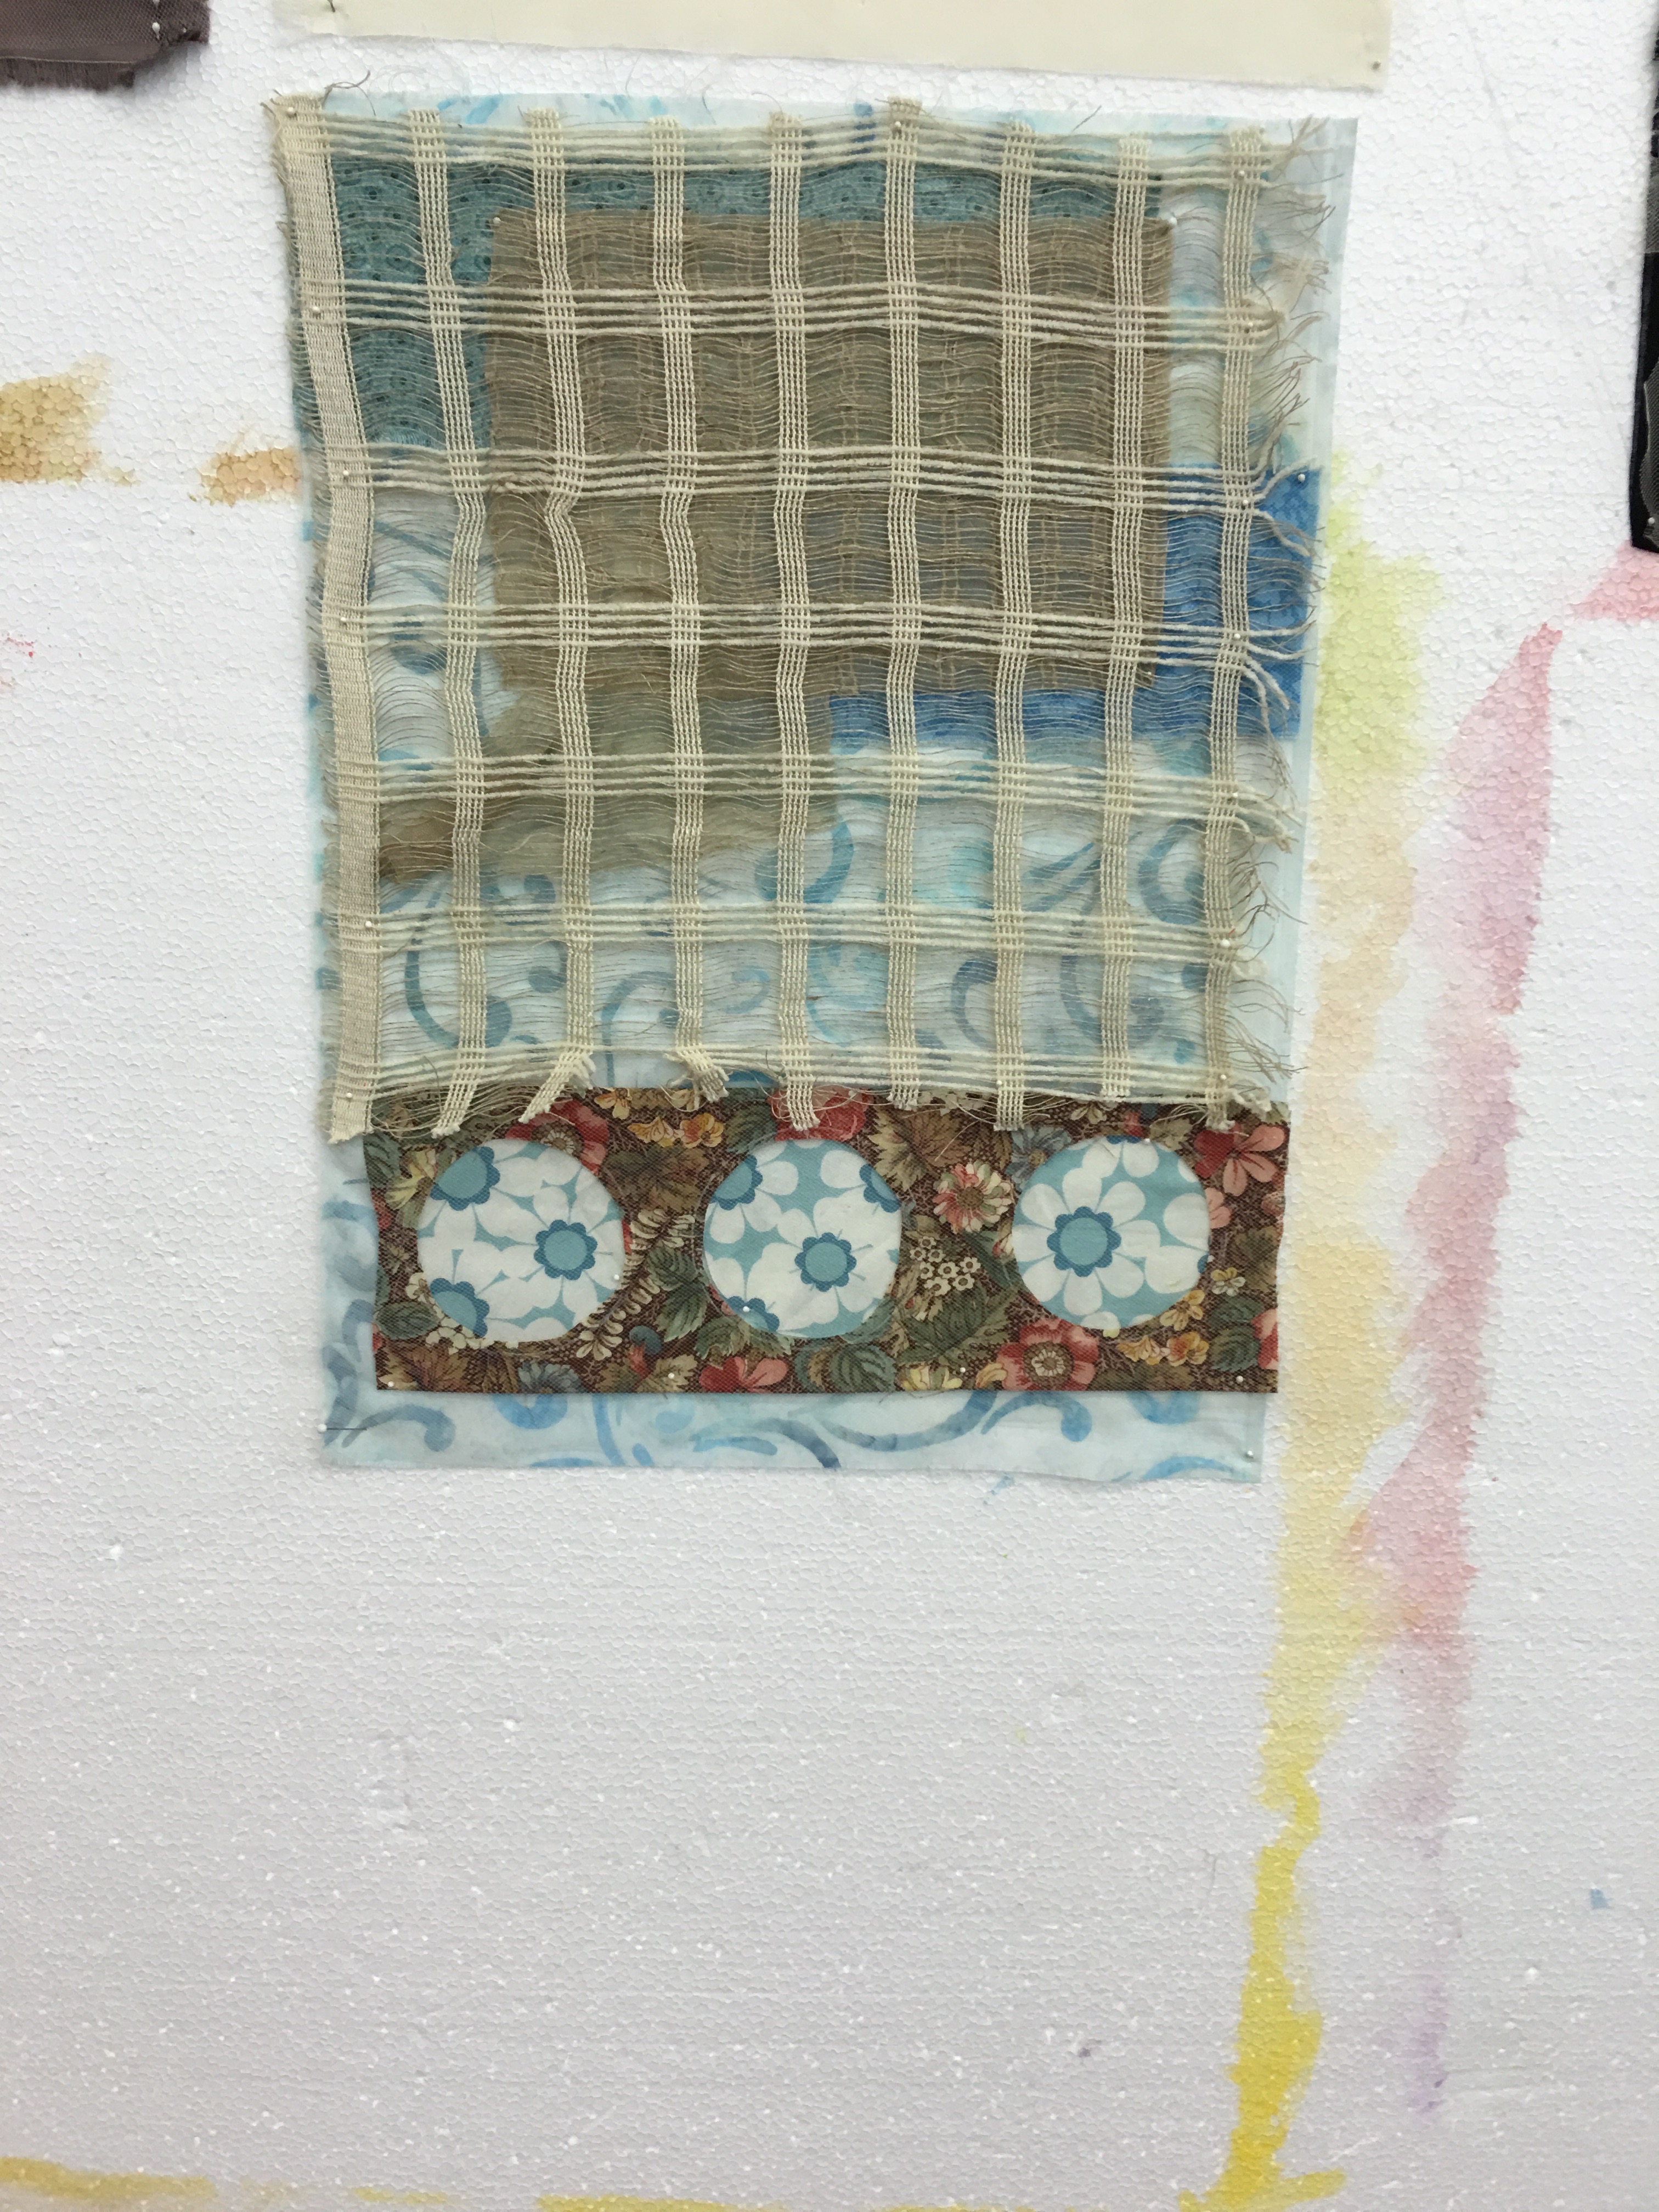
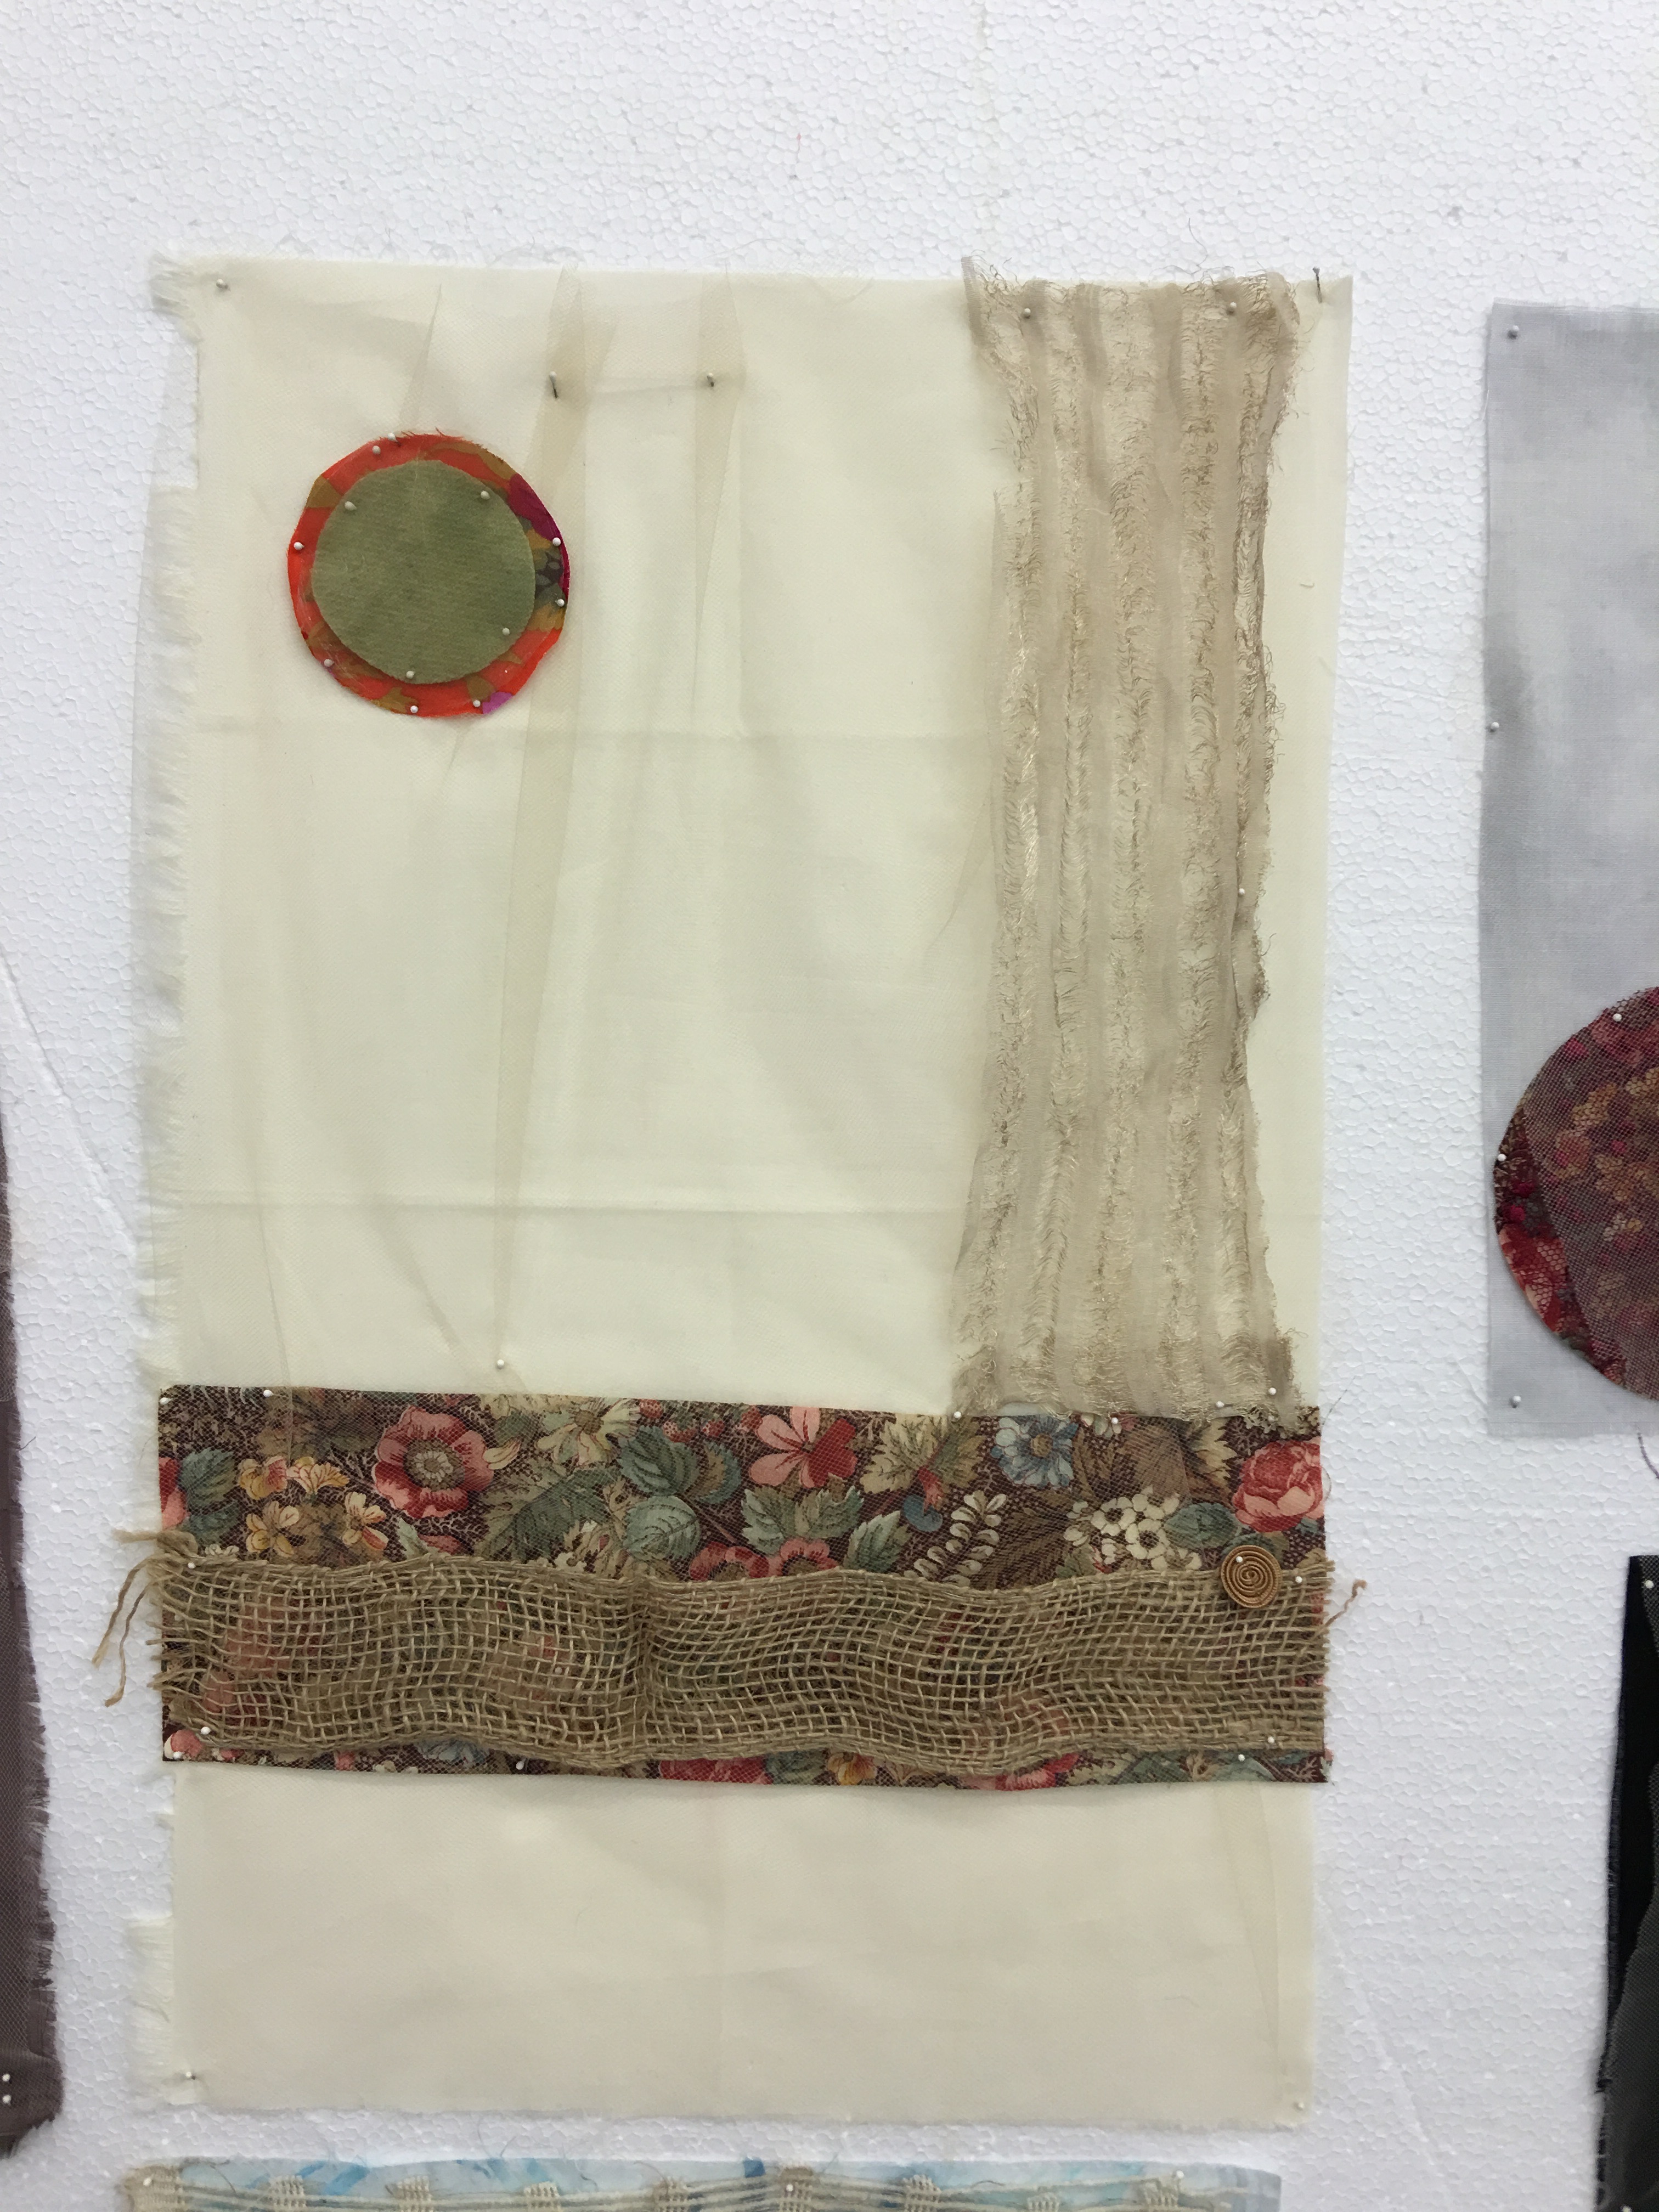
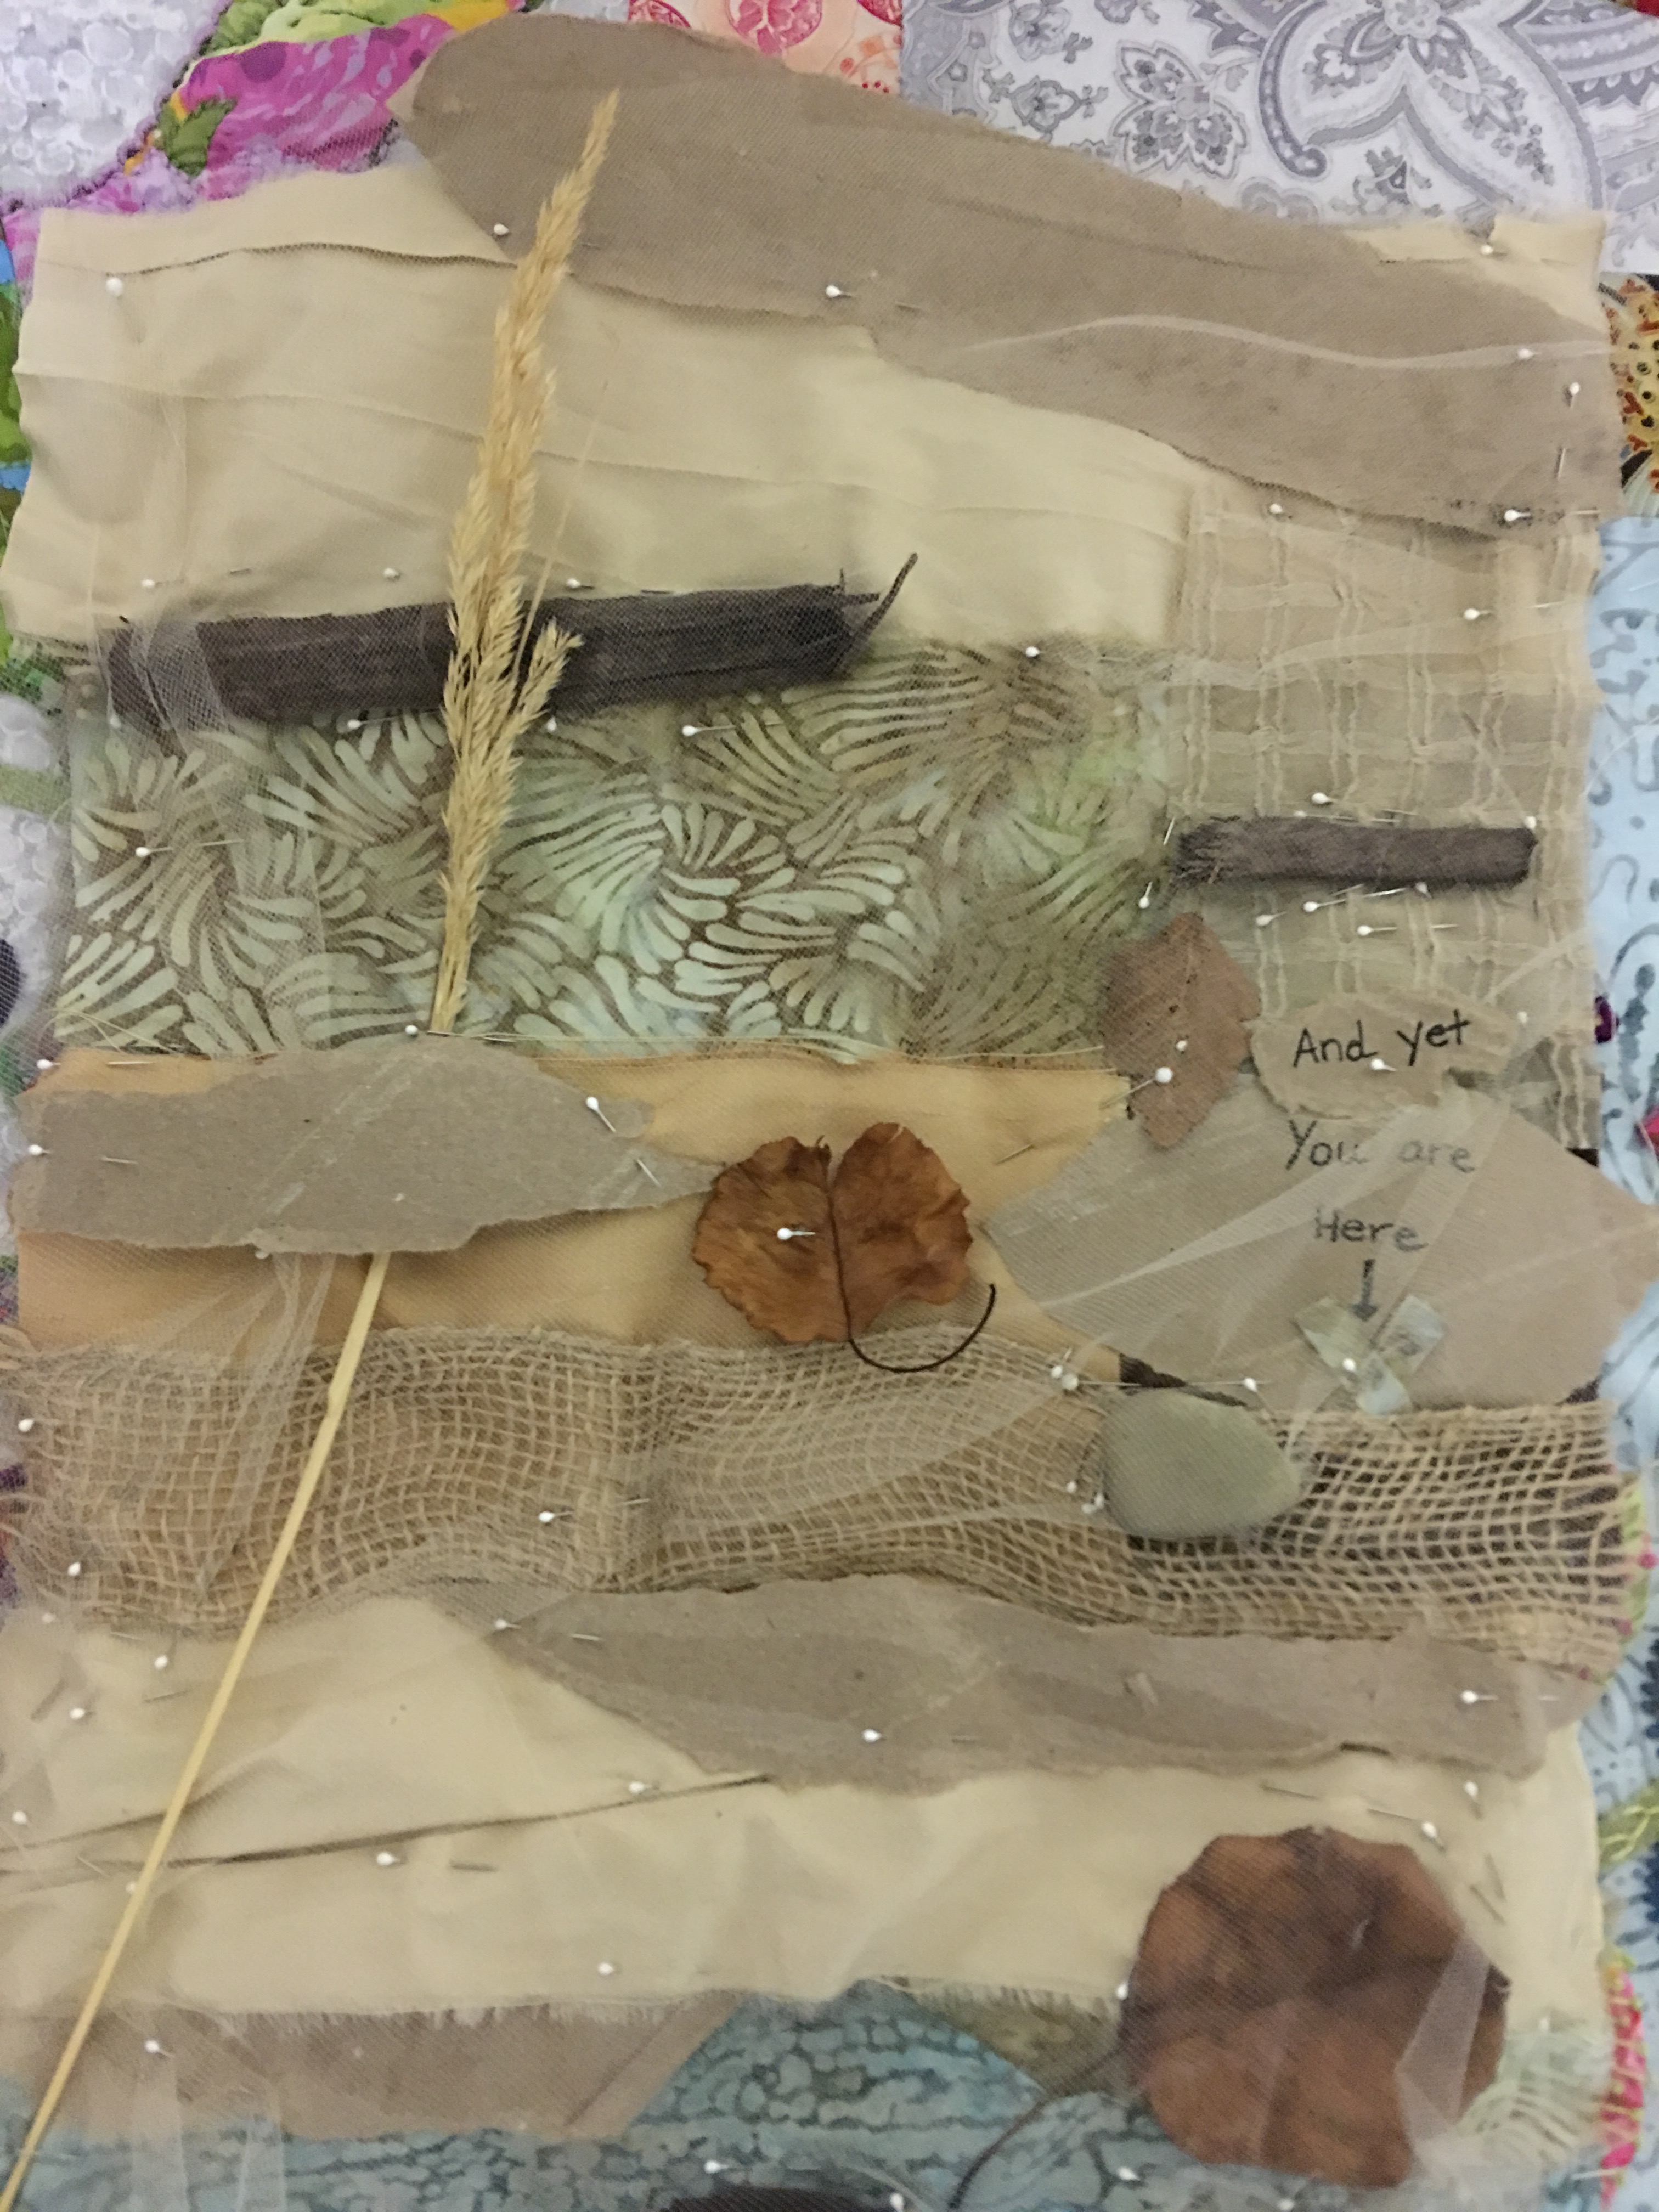
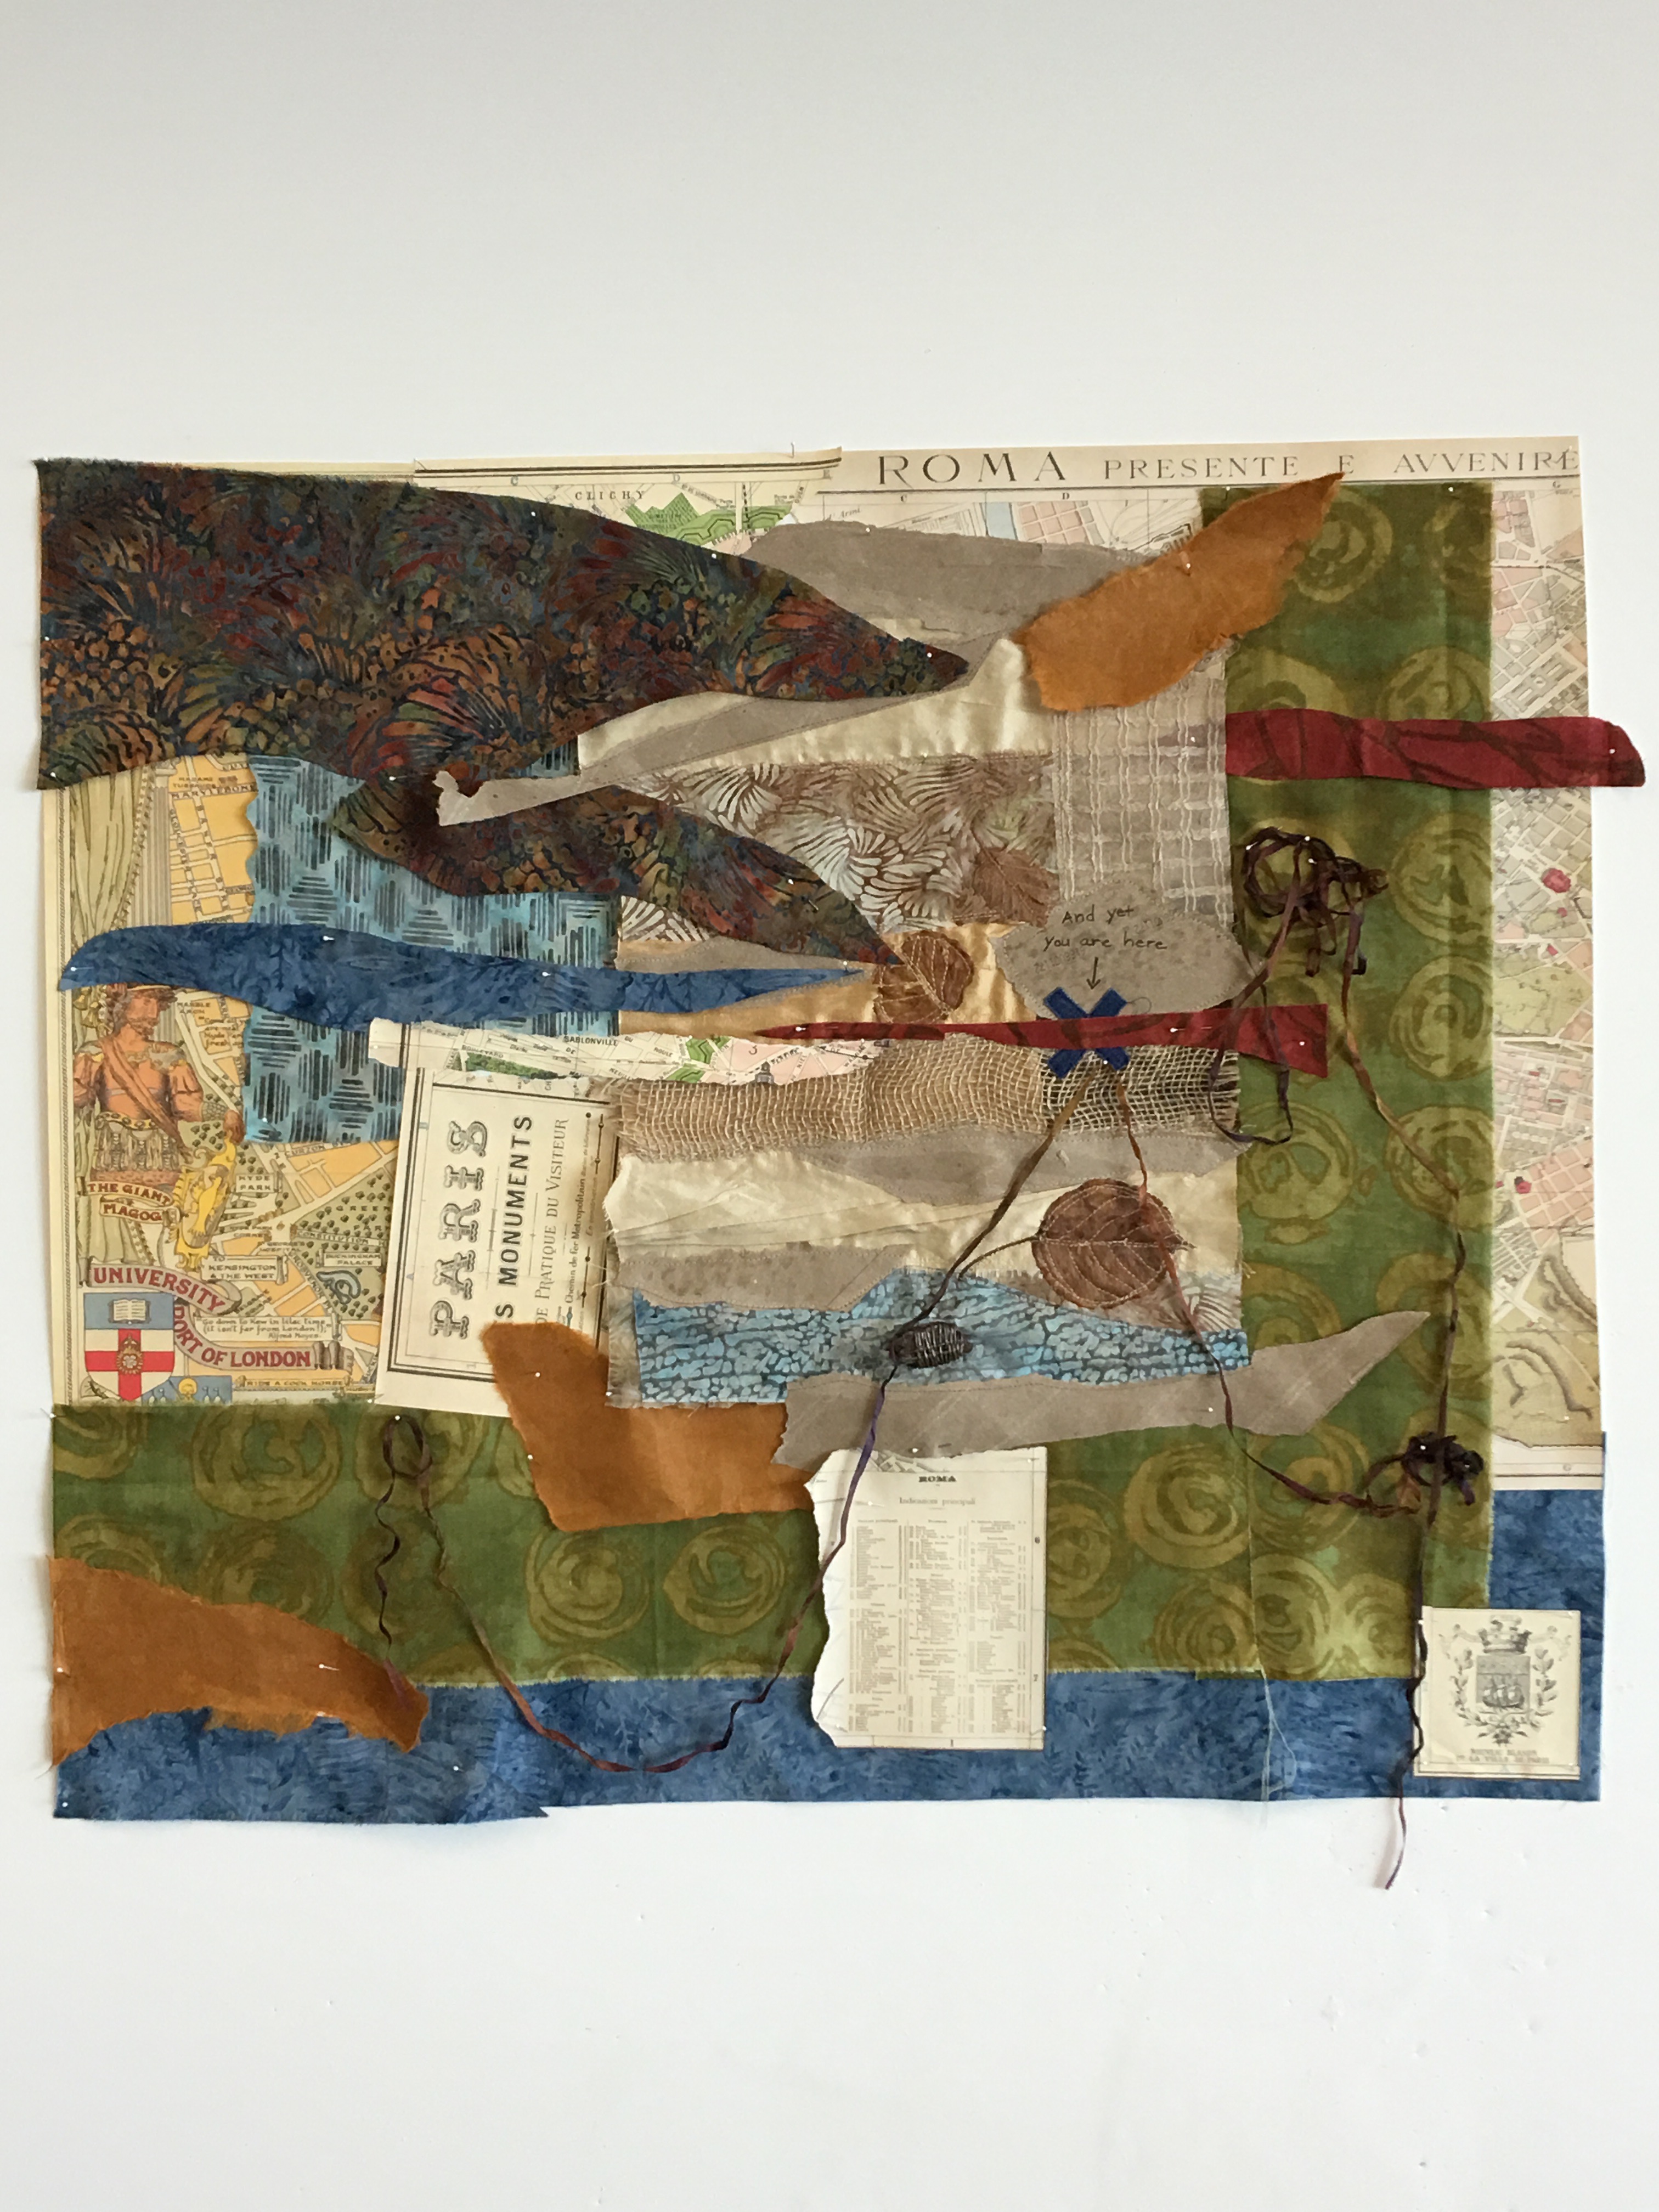
While working on the “It’s Deeper than You Think” piece I begin playing with the other study, which began with a cream colored background. I decide I have to lose the brown fabric, it’s a sink hole and is bringing everything down, including me. It morphs into this, with sticks and stones and leaves that I found on my way to class that morning. I entitle it, “And Yet, You Are Here” (I will refrain from explaining the title as I trust all of you to come up with your own interpretations!)
Day 5: I finish the “It’s Deeper Than You Think” piece and reflect on all that I learned, not just technique, but about art and the making of it, and was reminded of the often painful process and cycle of creating. Whatever genius idea I have, usually showing up in my mind at some absurd hour in the middle of the night, loses it’s luster by daylight. By afternoon I’ve decided it’s the worst idea I ever had and by evening I’m questioning the meaning of everything. Needless to say this usually spirals down into a kind of personal horror, like a set list with all the songs you’ve ever hated that randomly play loudly on a loop. Relief comes in the middle of the night with yet another stroke of genius and the cycle begins again. But, as Rosalie reminded me more than once, “It’s okay. Don’t panic.” And with that mantra in mind, I can sit with the discomfort and “keep swimming.”
It’s Deeper Than You Think
Rosalie is a force, brilliant, funny, kind, welcoming, encouraging and oh so very talented. It was an honor to be in her class.
I had the weekend to play before I began Lorie McCown’s class called “Connections.”
A brief summary of Lorie’s fantastic 5-day workshop.
Day 1: I got this. I’m an old pro at this point and nothing is going to phase me. Lorie mentions that machines are optional and encourages us to use hand stitching (I promptly ignore her), immediately decide I’m going to resurrect (with Lorie’s okay) the other piece I started in Rosalie’s class, “And Yet, You are Here” and machine stitch the whole thing. Lorie encourages us to think out of the box, explore materials we otherwise might not have thought of. I’m open to this idea, particularly as I’ve already given my inner rebel some freedom. She shows us examples of her work that are powerful, emotionally laden and visually compelling. I decide I’m going to use paper and maps and whatever else I can get my hands on that evoke the title – “And yet, you are here.” Remember I am now one with my Bernina. All is well.
Day 2: I’m not going through the angst I experienced the week before, so things are coming along nicely. Lorie is terrific, gives lots of encouragement and suggestions and wonders aloud whether I might “go bigger” and then asks, “What do you think?” I’m totally on to her, but do “go bigger,” because, well, why NOT go bigger? and anyway I’ve already demonstrated my anarchistic streak by ignoring her whole hand stitching thing.
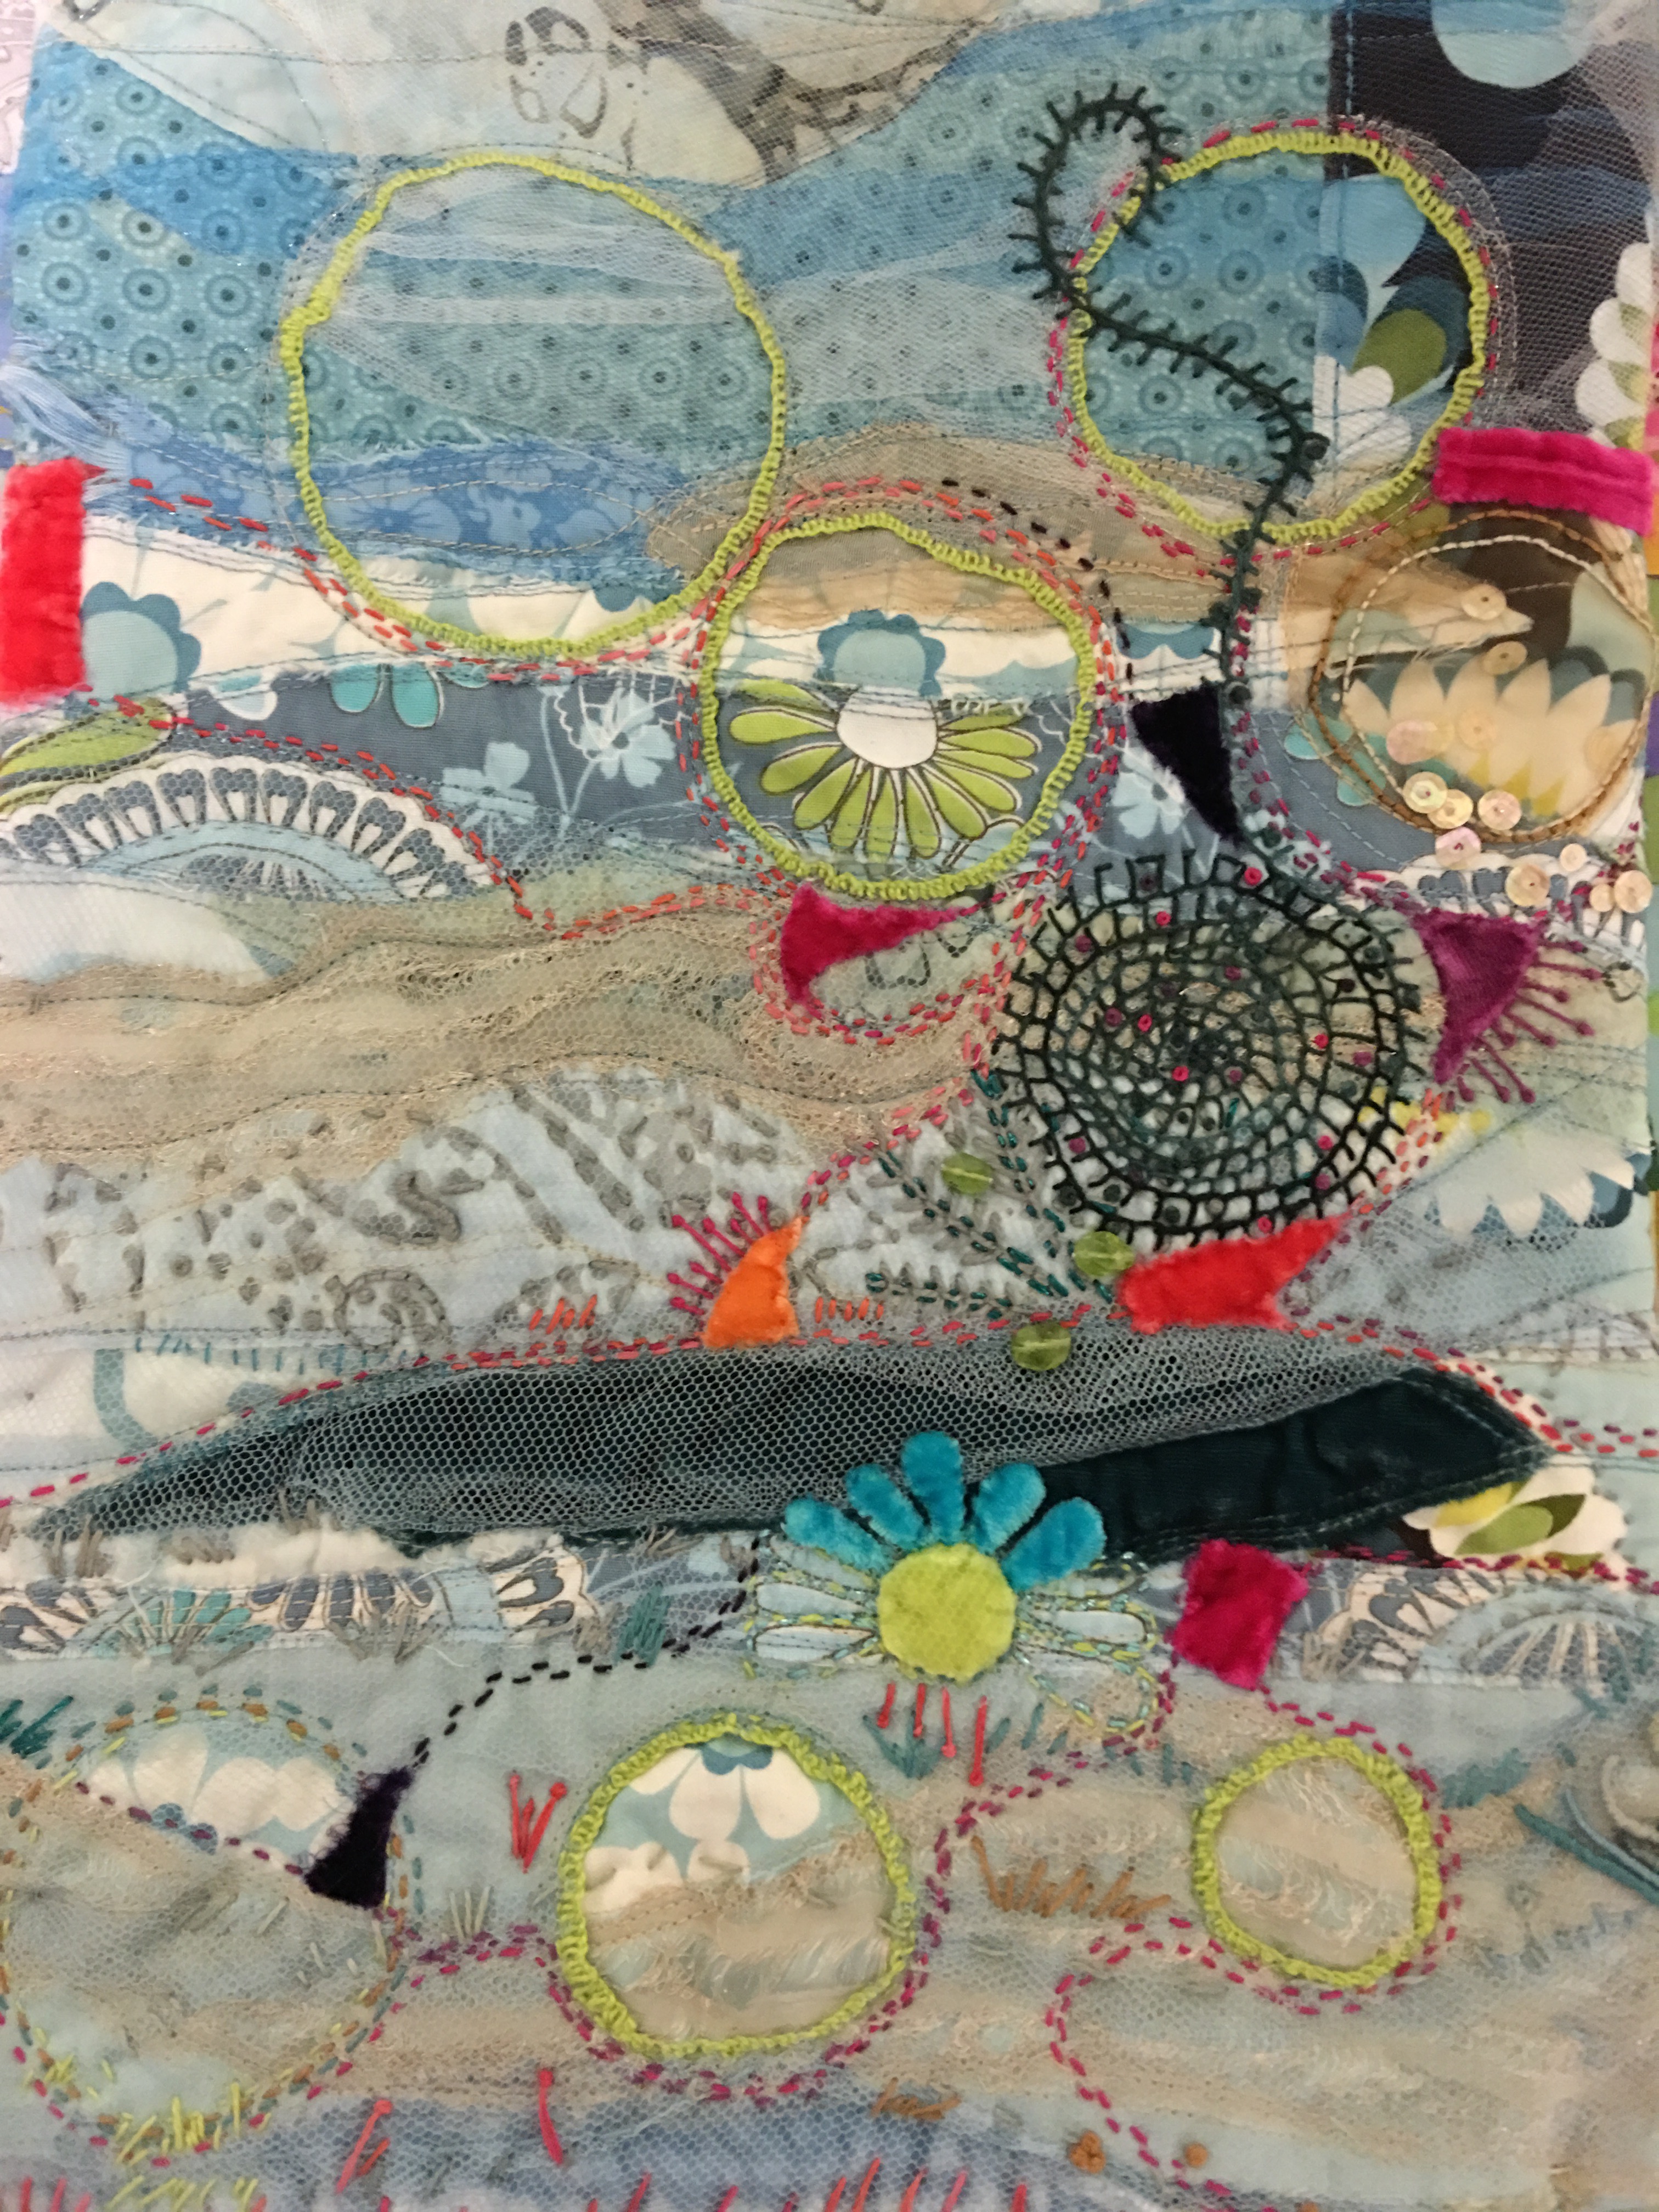
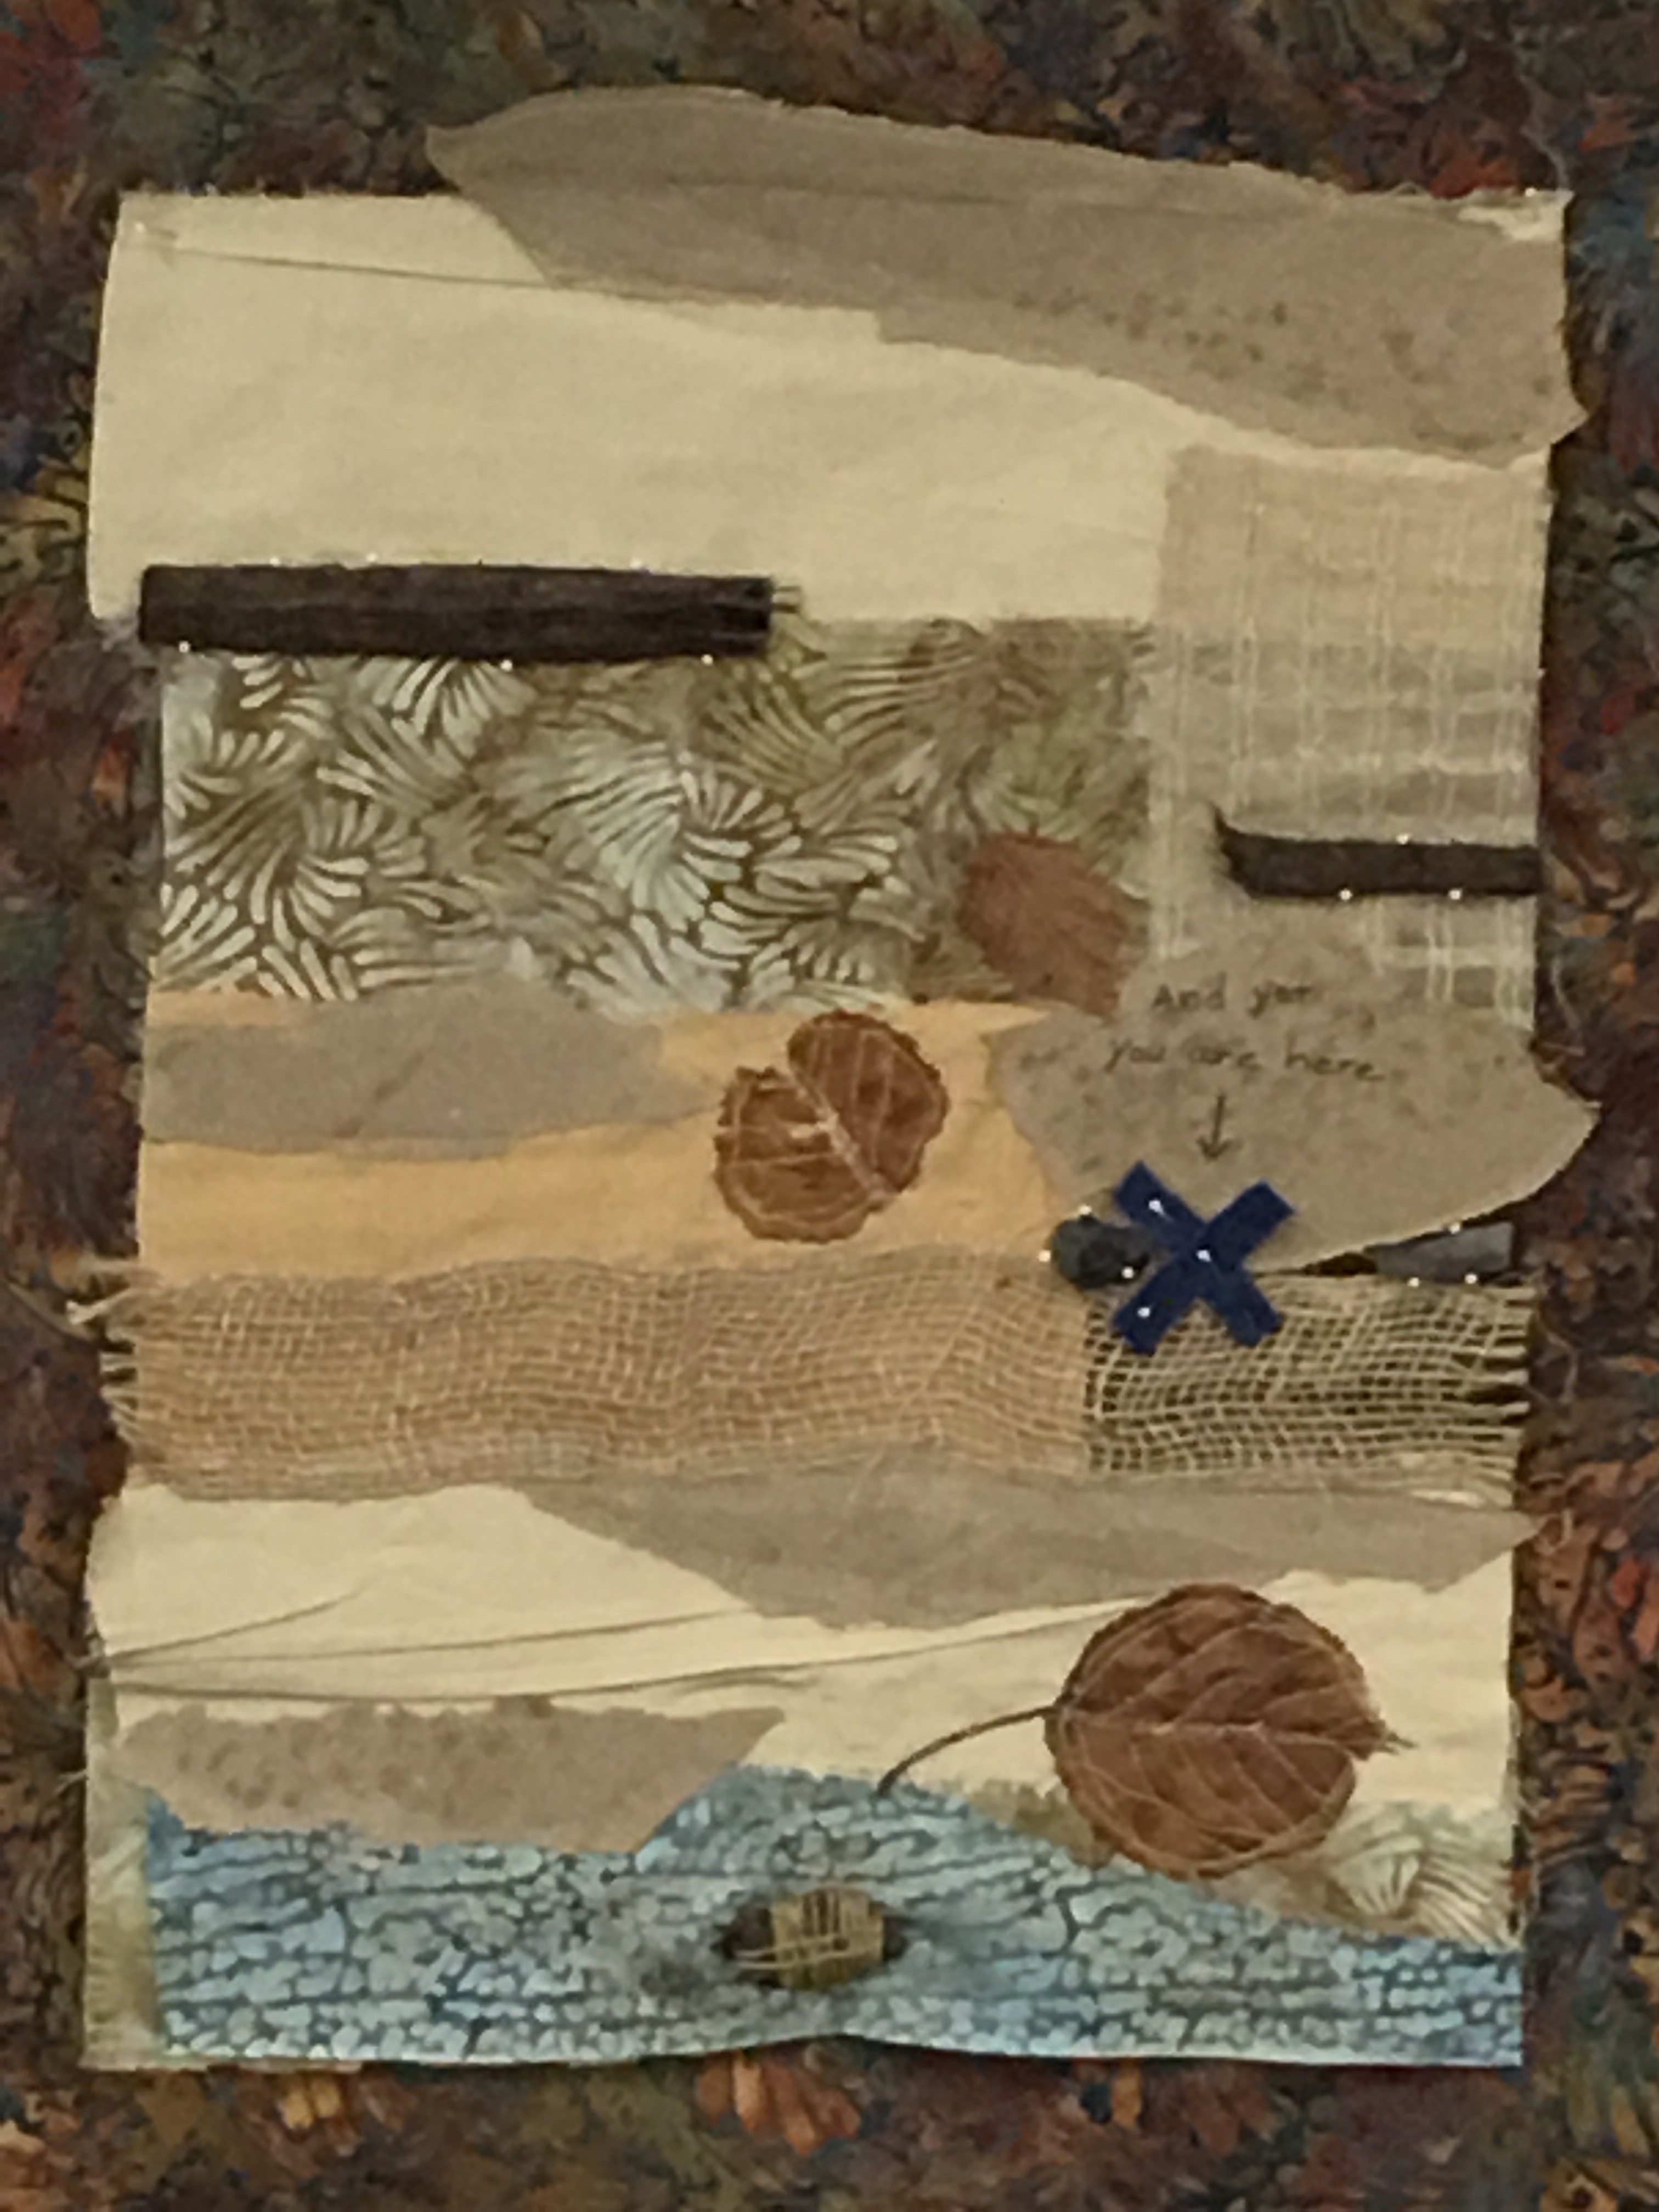
Day 3: I announce that I’m thinking of using silk ribbon and Lorie suggests I use it as a way to tie in the idea of “And yet, you are here” by tacking it down in various places and then bringing all the various ribbons to the “X” so they converge. I love this idea and dive into my silk ribbon stash.
Lorie discusses various backing options. I decide, since I don’t have the canvas I’d prefer, I’ll back my piece in wool, which I have a great deal of. Still very little hand stitching, almost everything is machine stitched because I’m clinging to my whole – I’m a rebel – schtick.
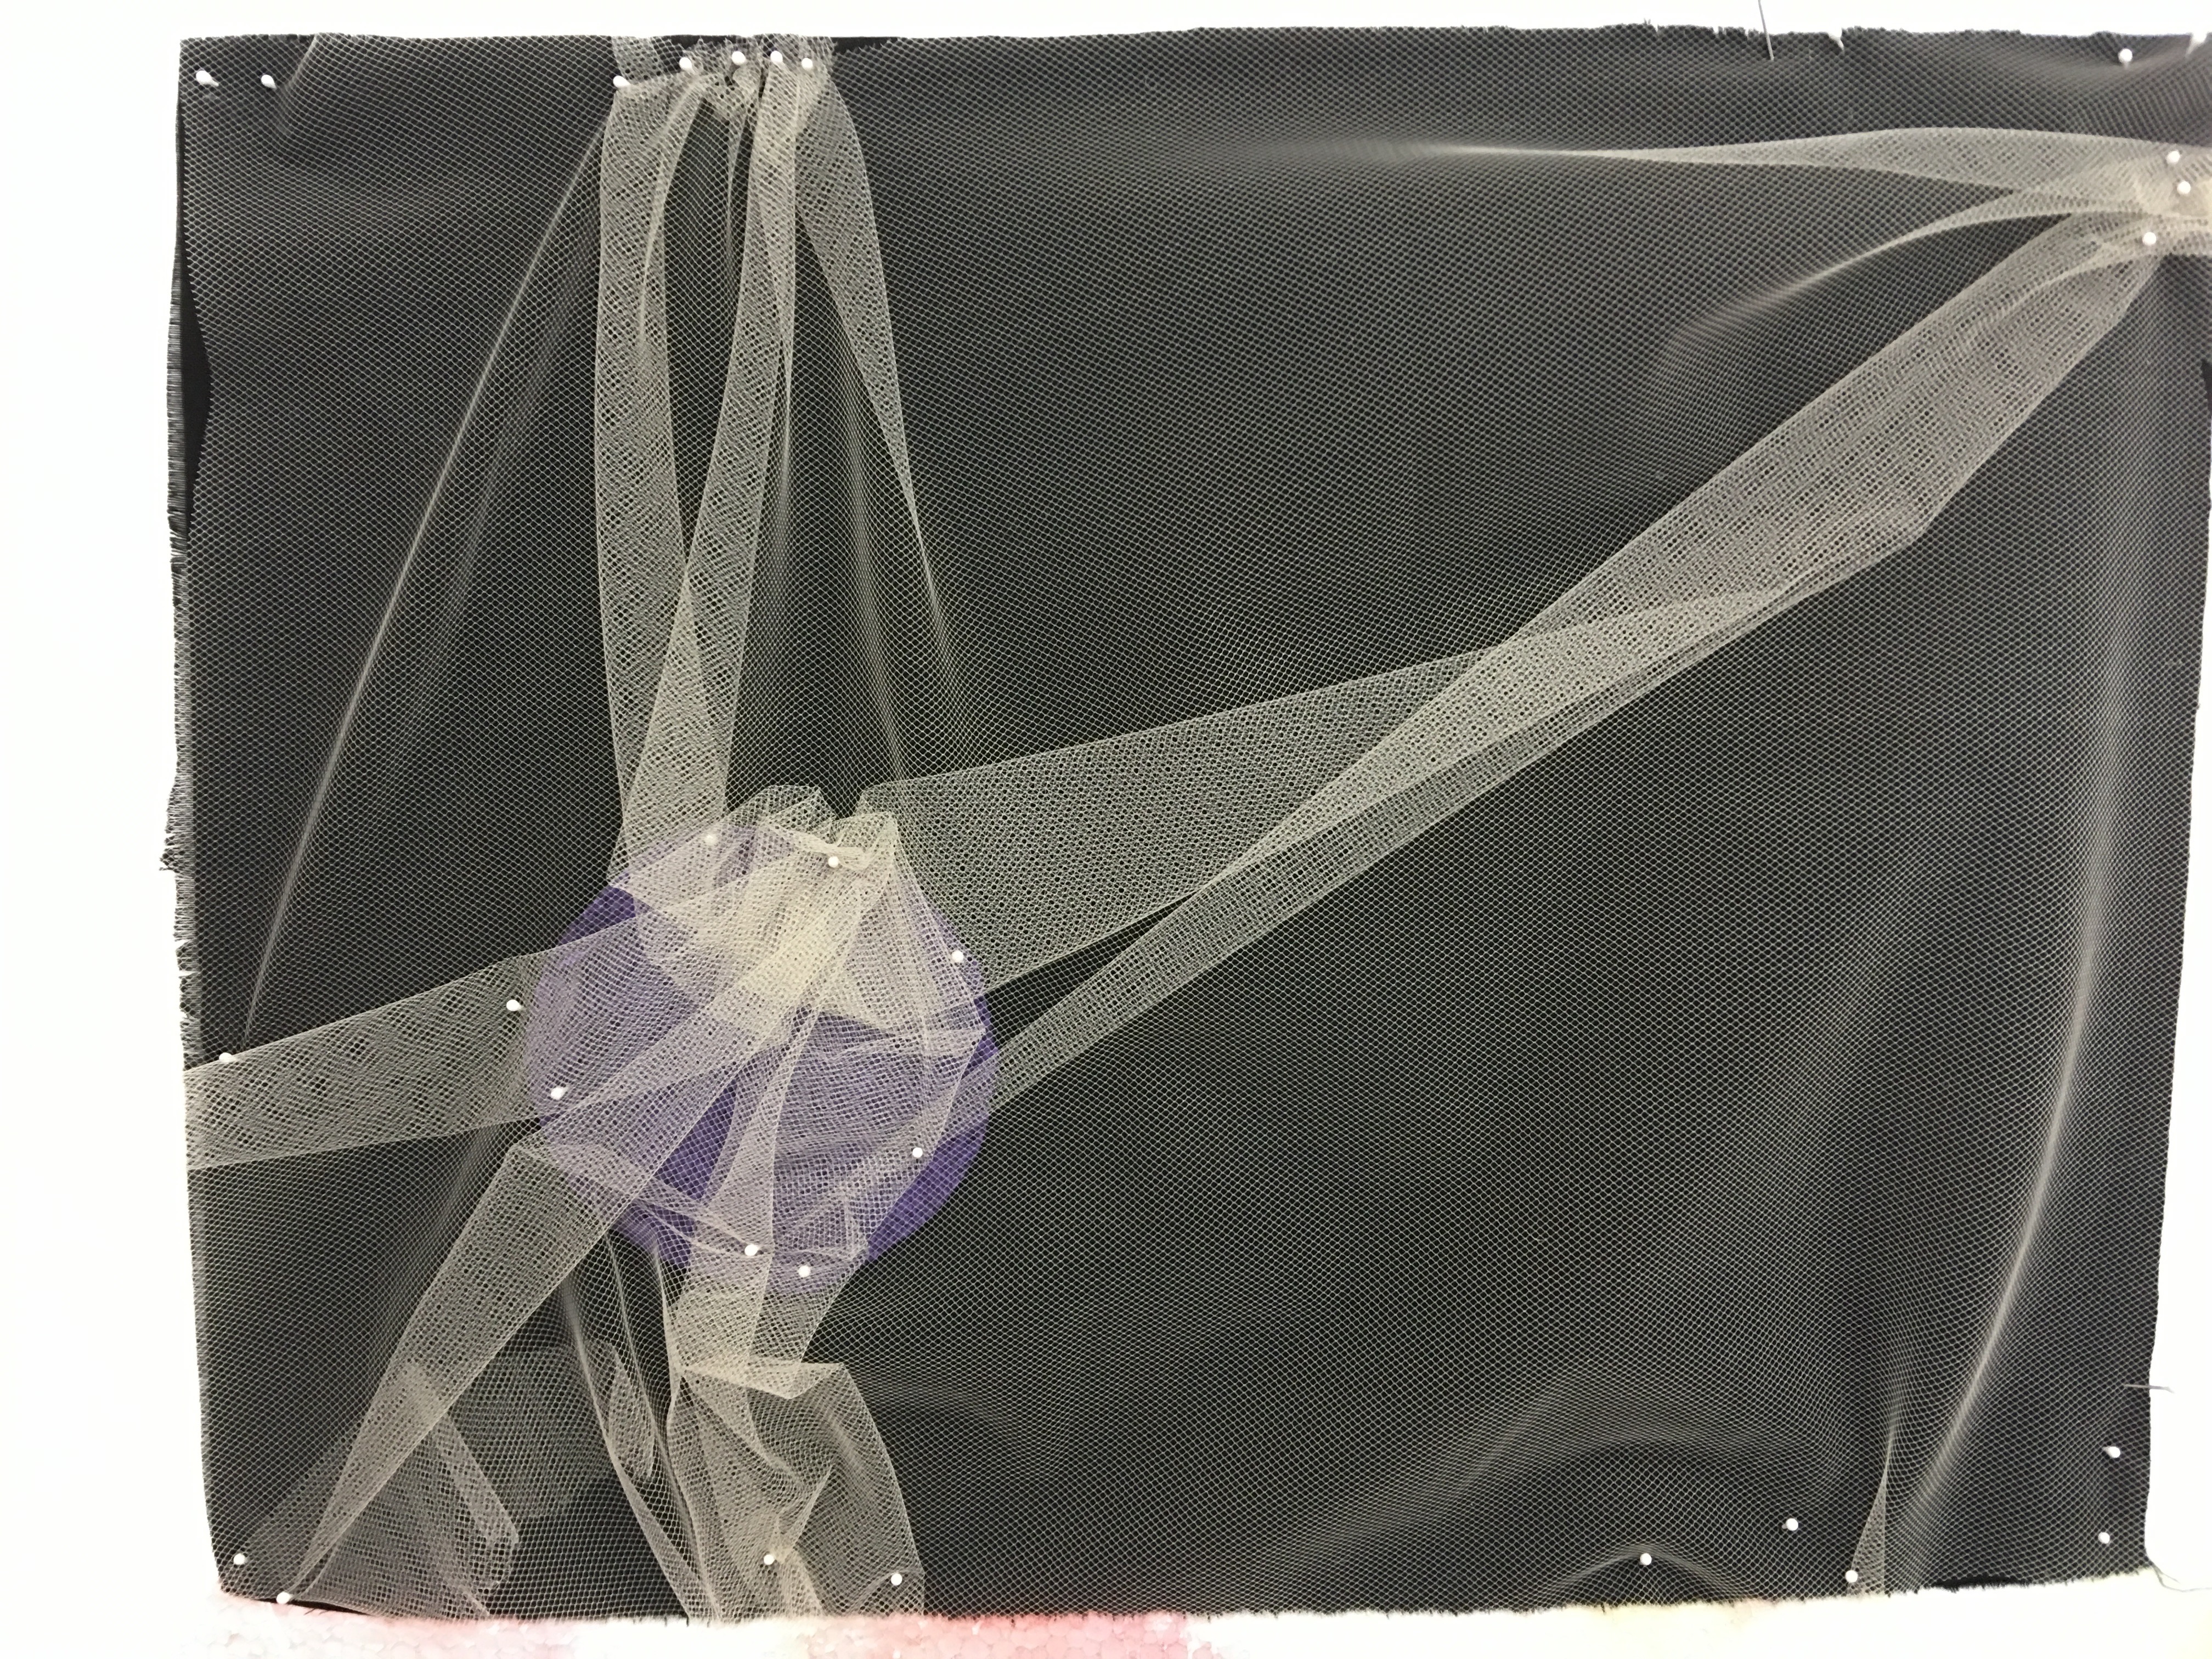
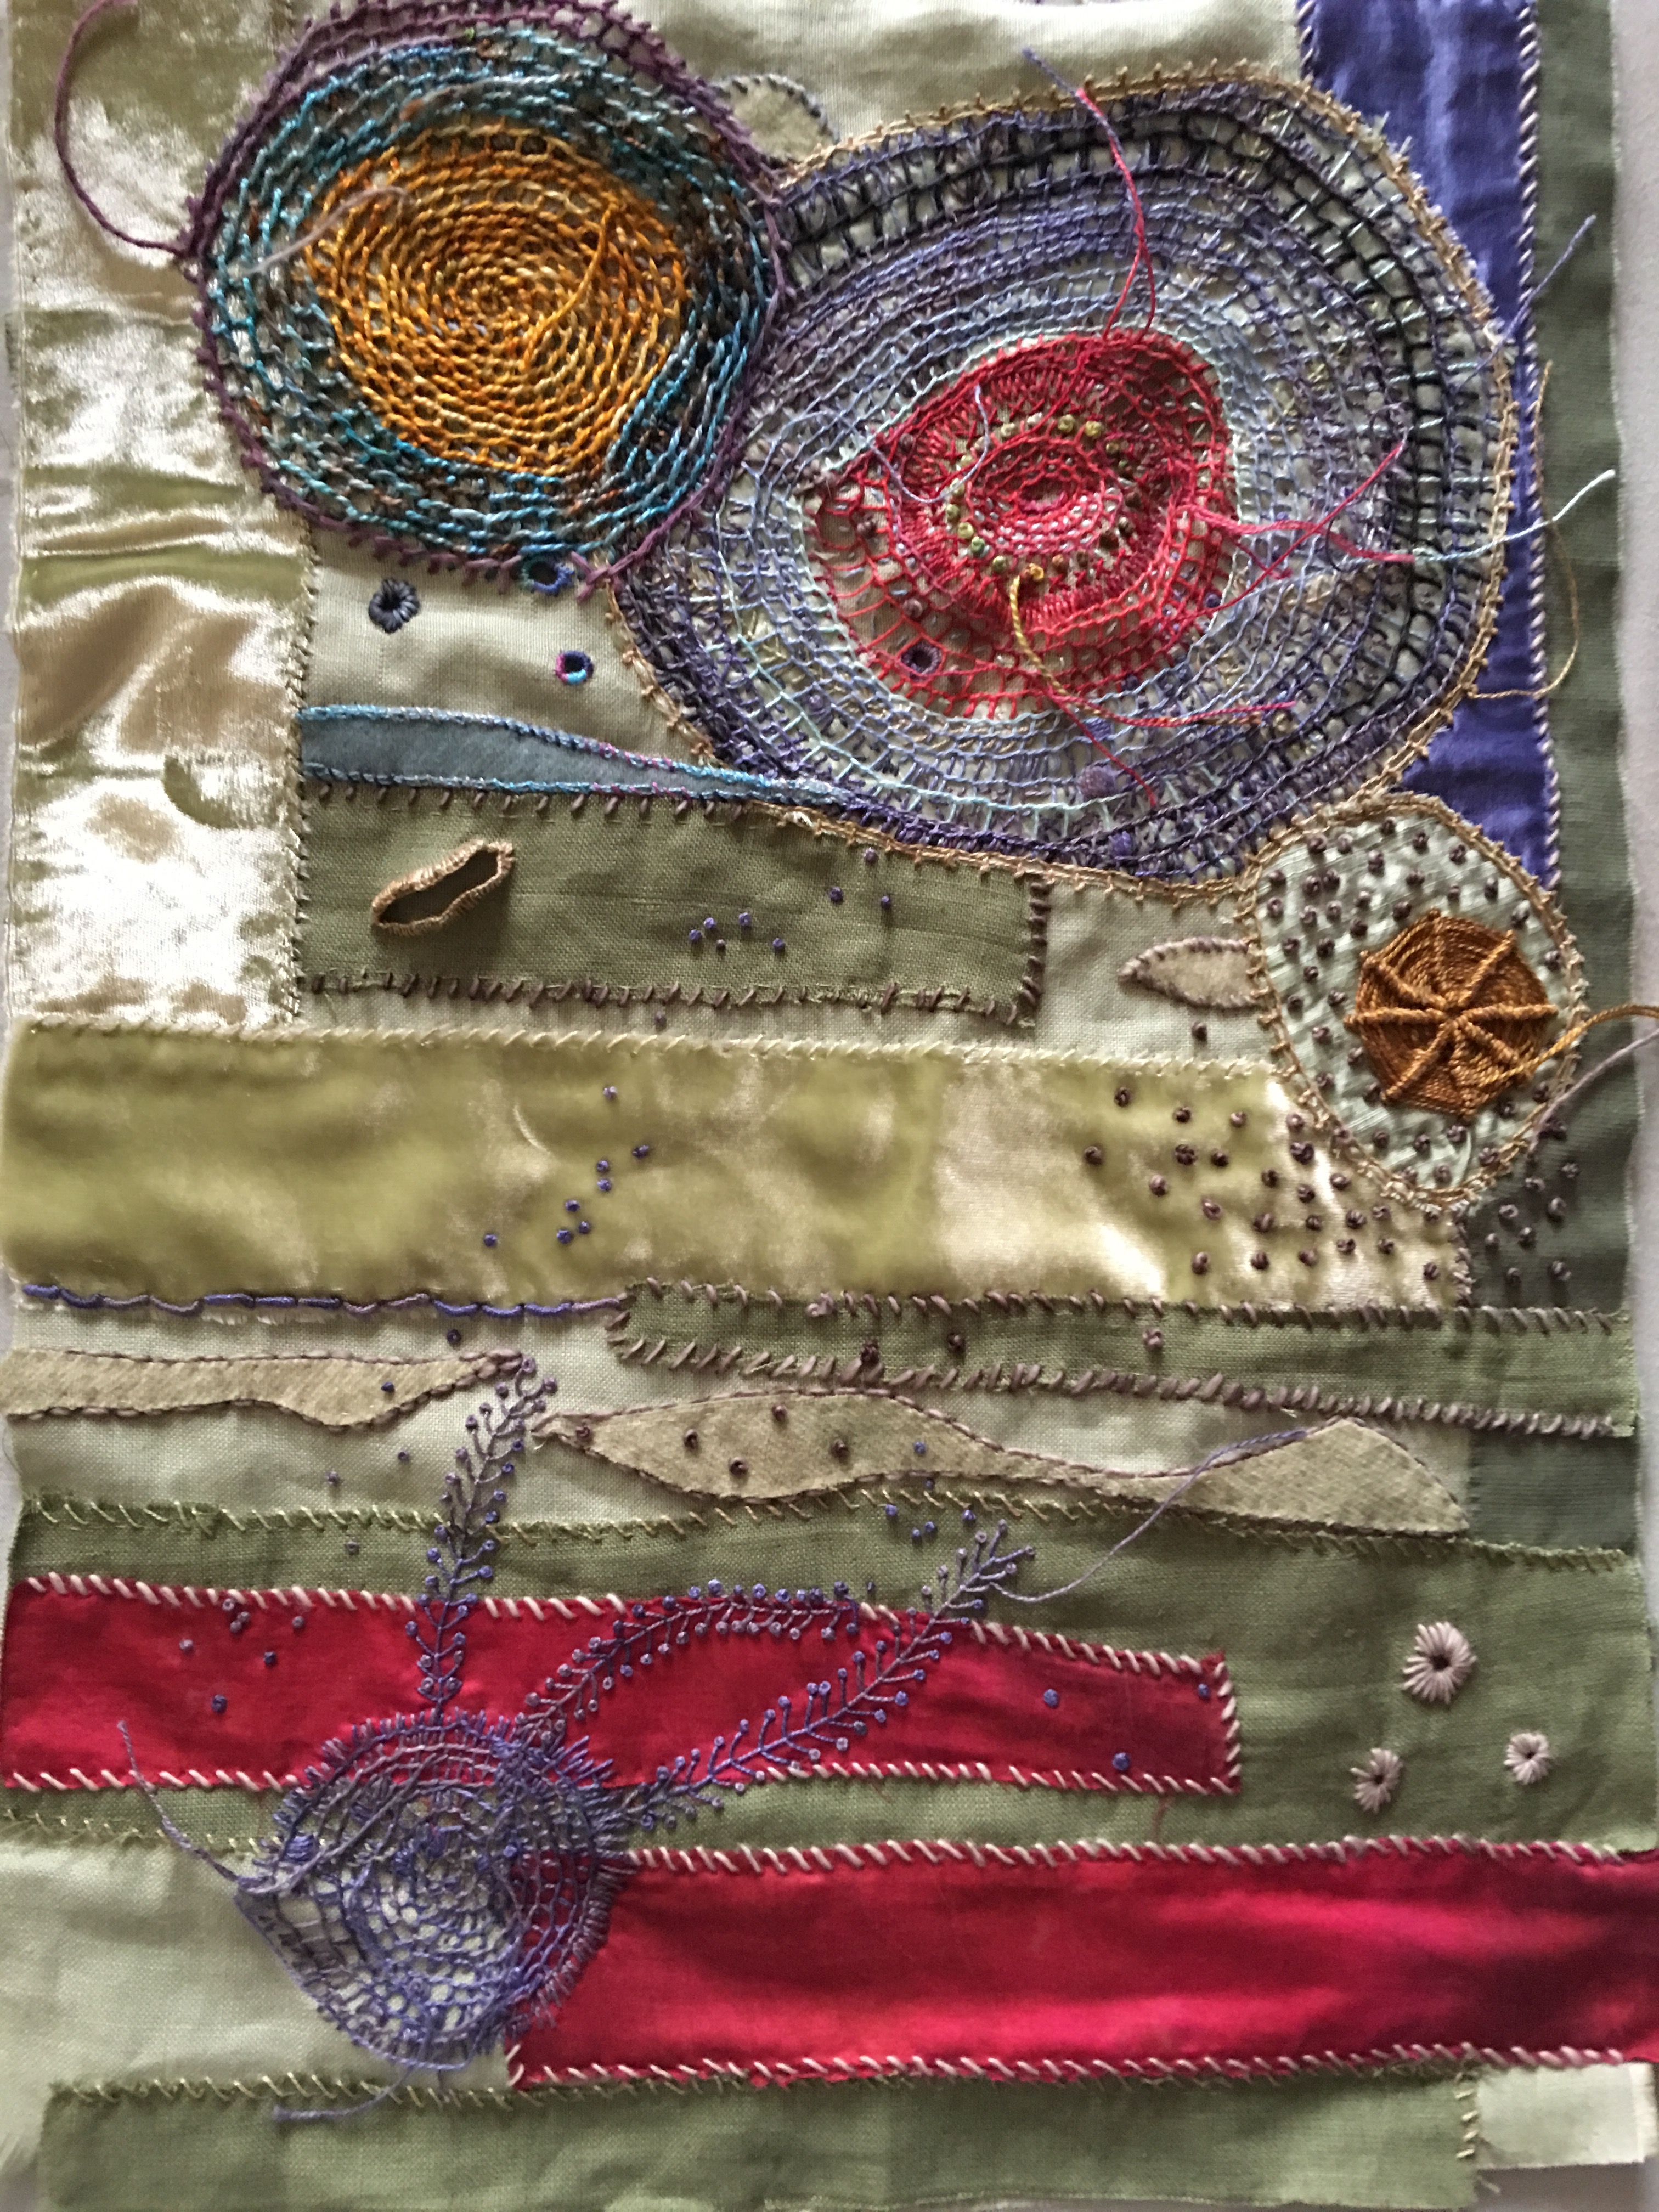
Day 4: I’m letting “And Yet You Are Here” simmer for a few days and decide to begin working on a version of another idea I had in Rosalie’s class.
This is what it looked like in Rosalie’s class.
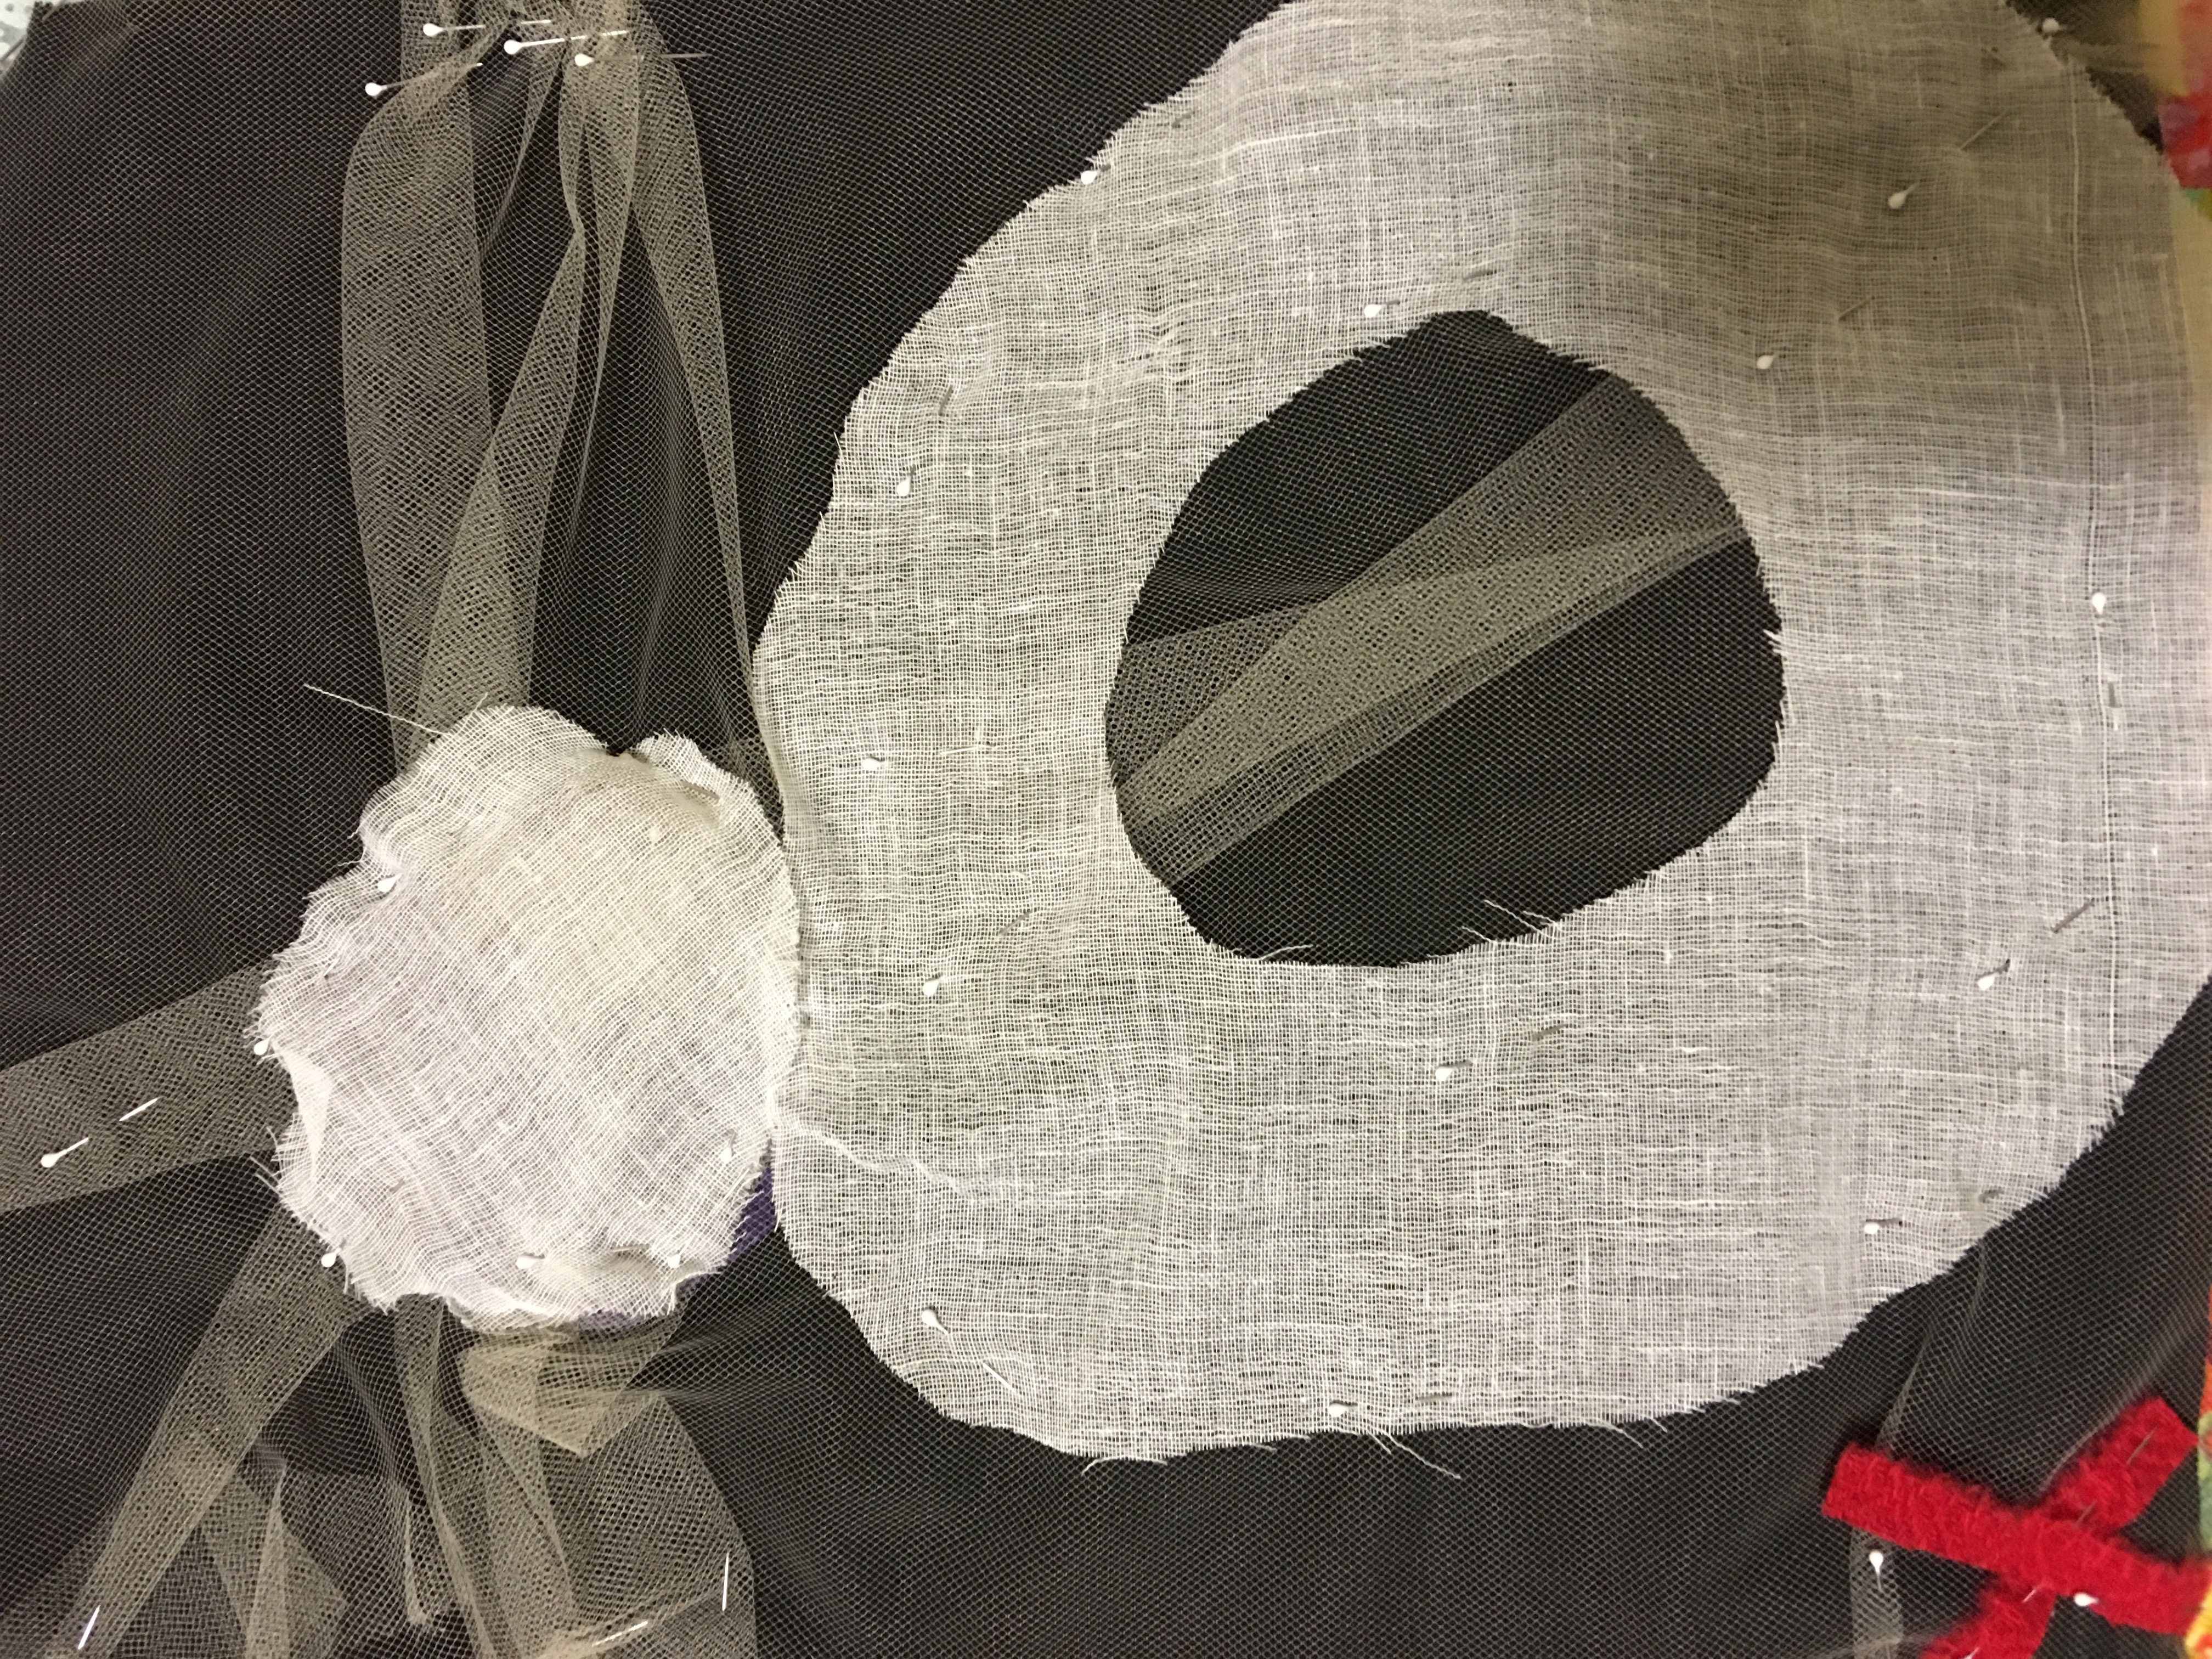
And then I added to it.
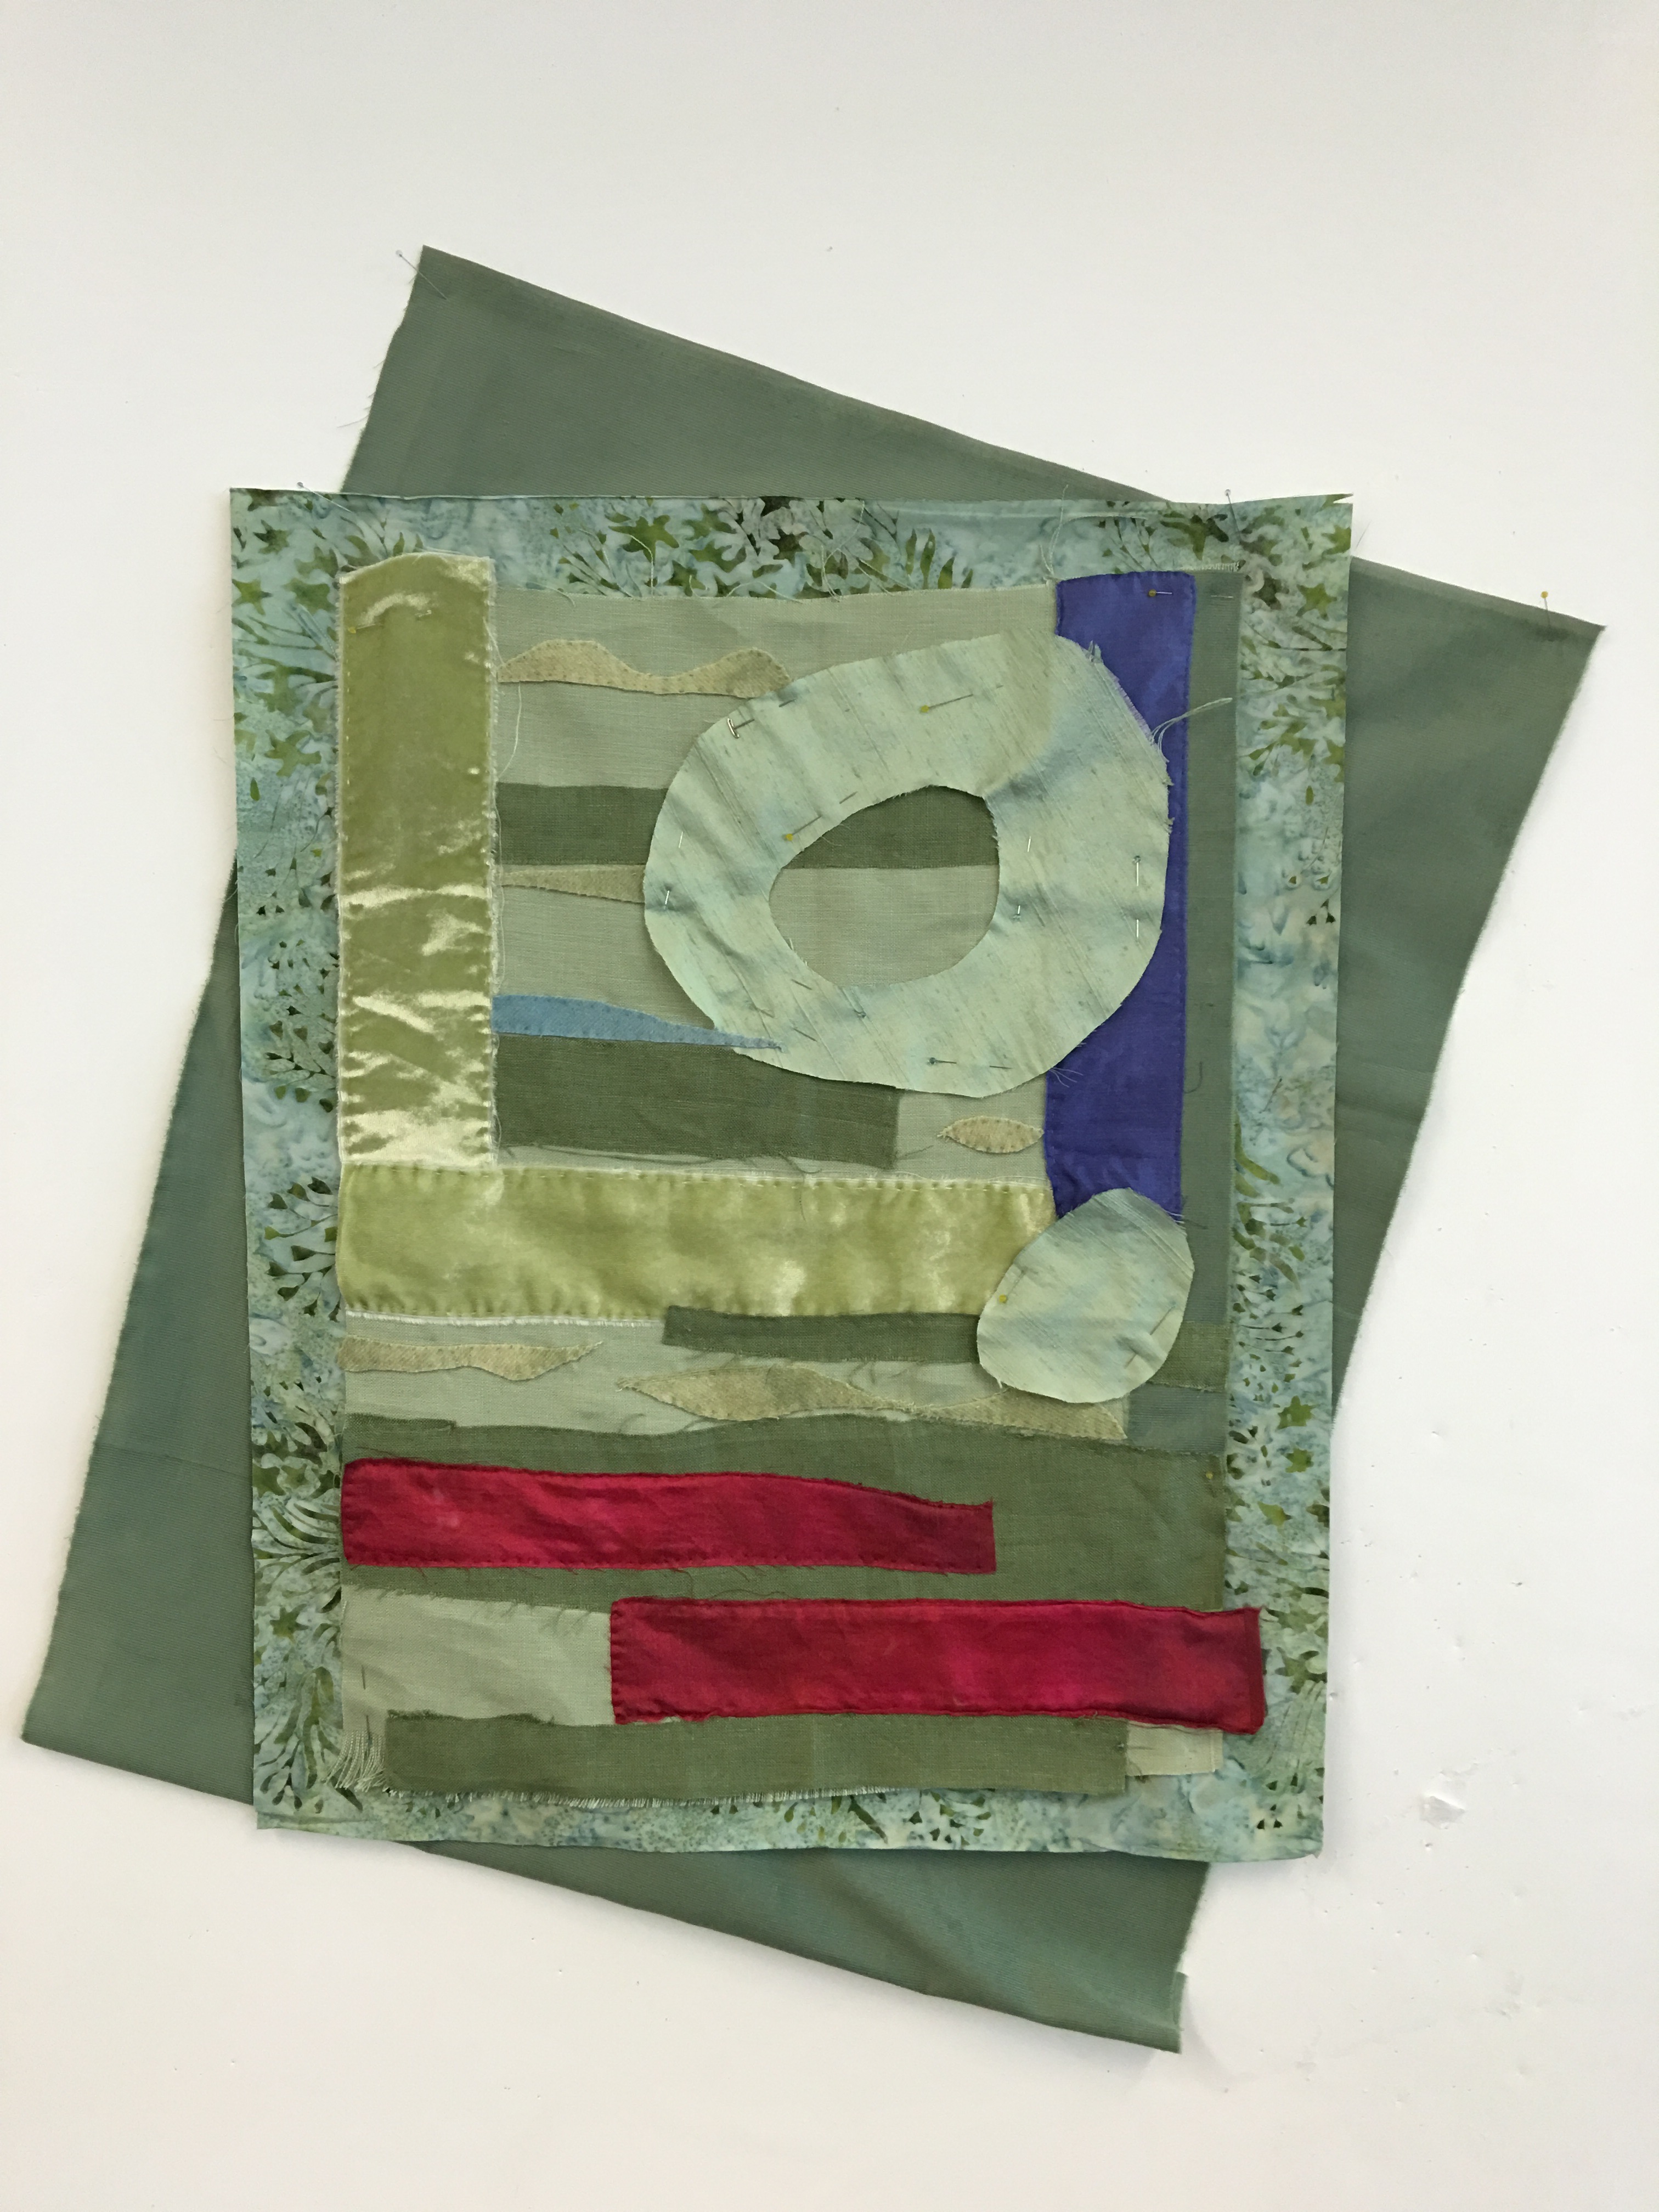
In Lorie’s class I took this concept and did this.
Which then became this
Day 5: I can be a rebel with hand stitching too! The night before, I worked until 10PM and was in class by 7:30AM. I’m determined to work in some of my ideas for this piece – holes and slashes with stitching around them. The piece now looks like this… it’s still a work in progress, I intend to do much more stitching on it and you’ll notice I hand stitched everything on this piece. I’m calling it – “Life #1” and am thinking of making a series. Lorie’s all over the “series” idea, which you can see if you visit her website, and I encourage you to!
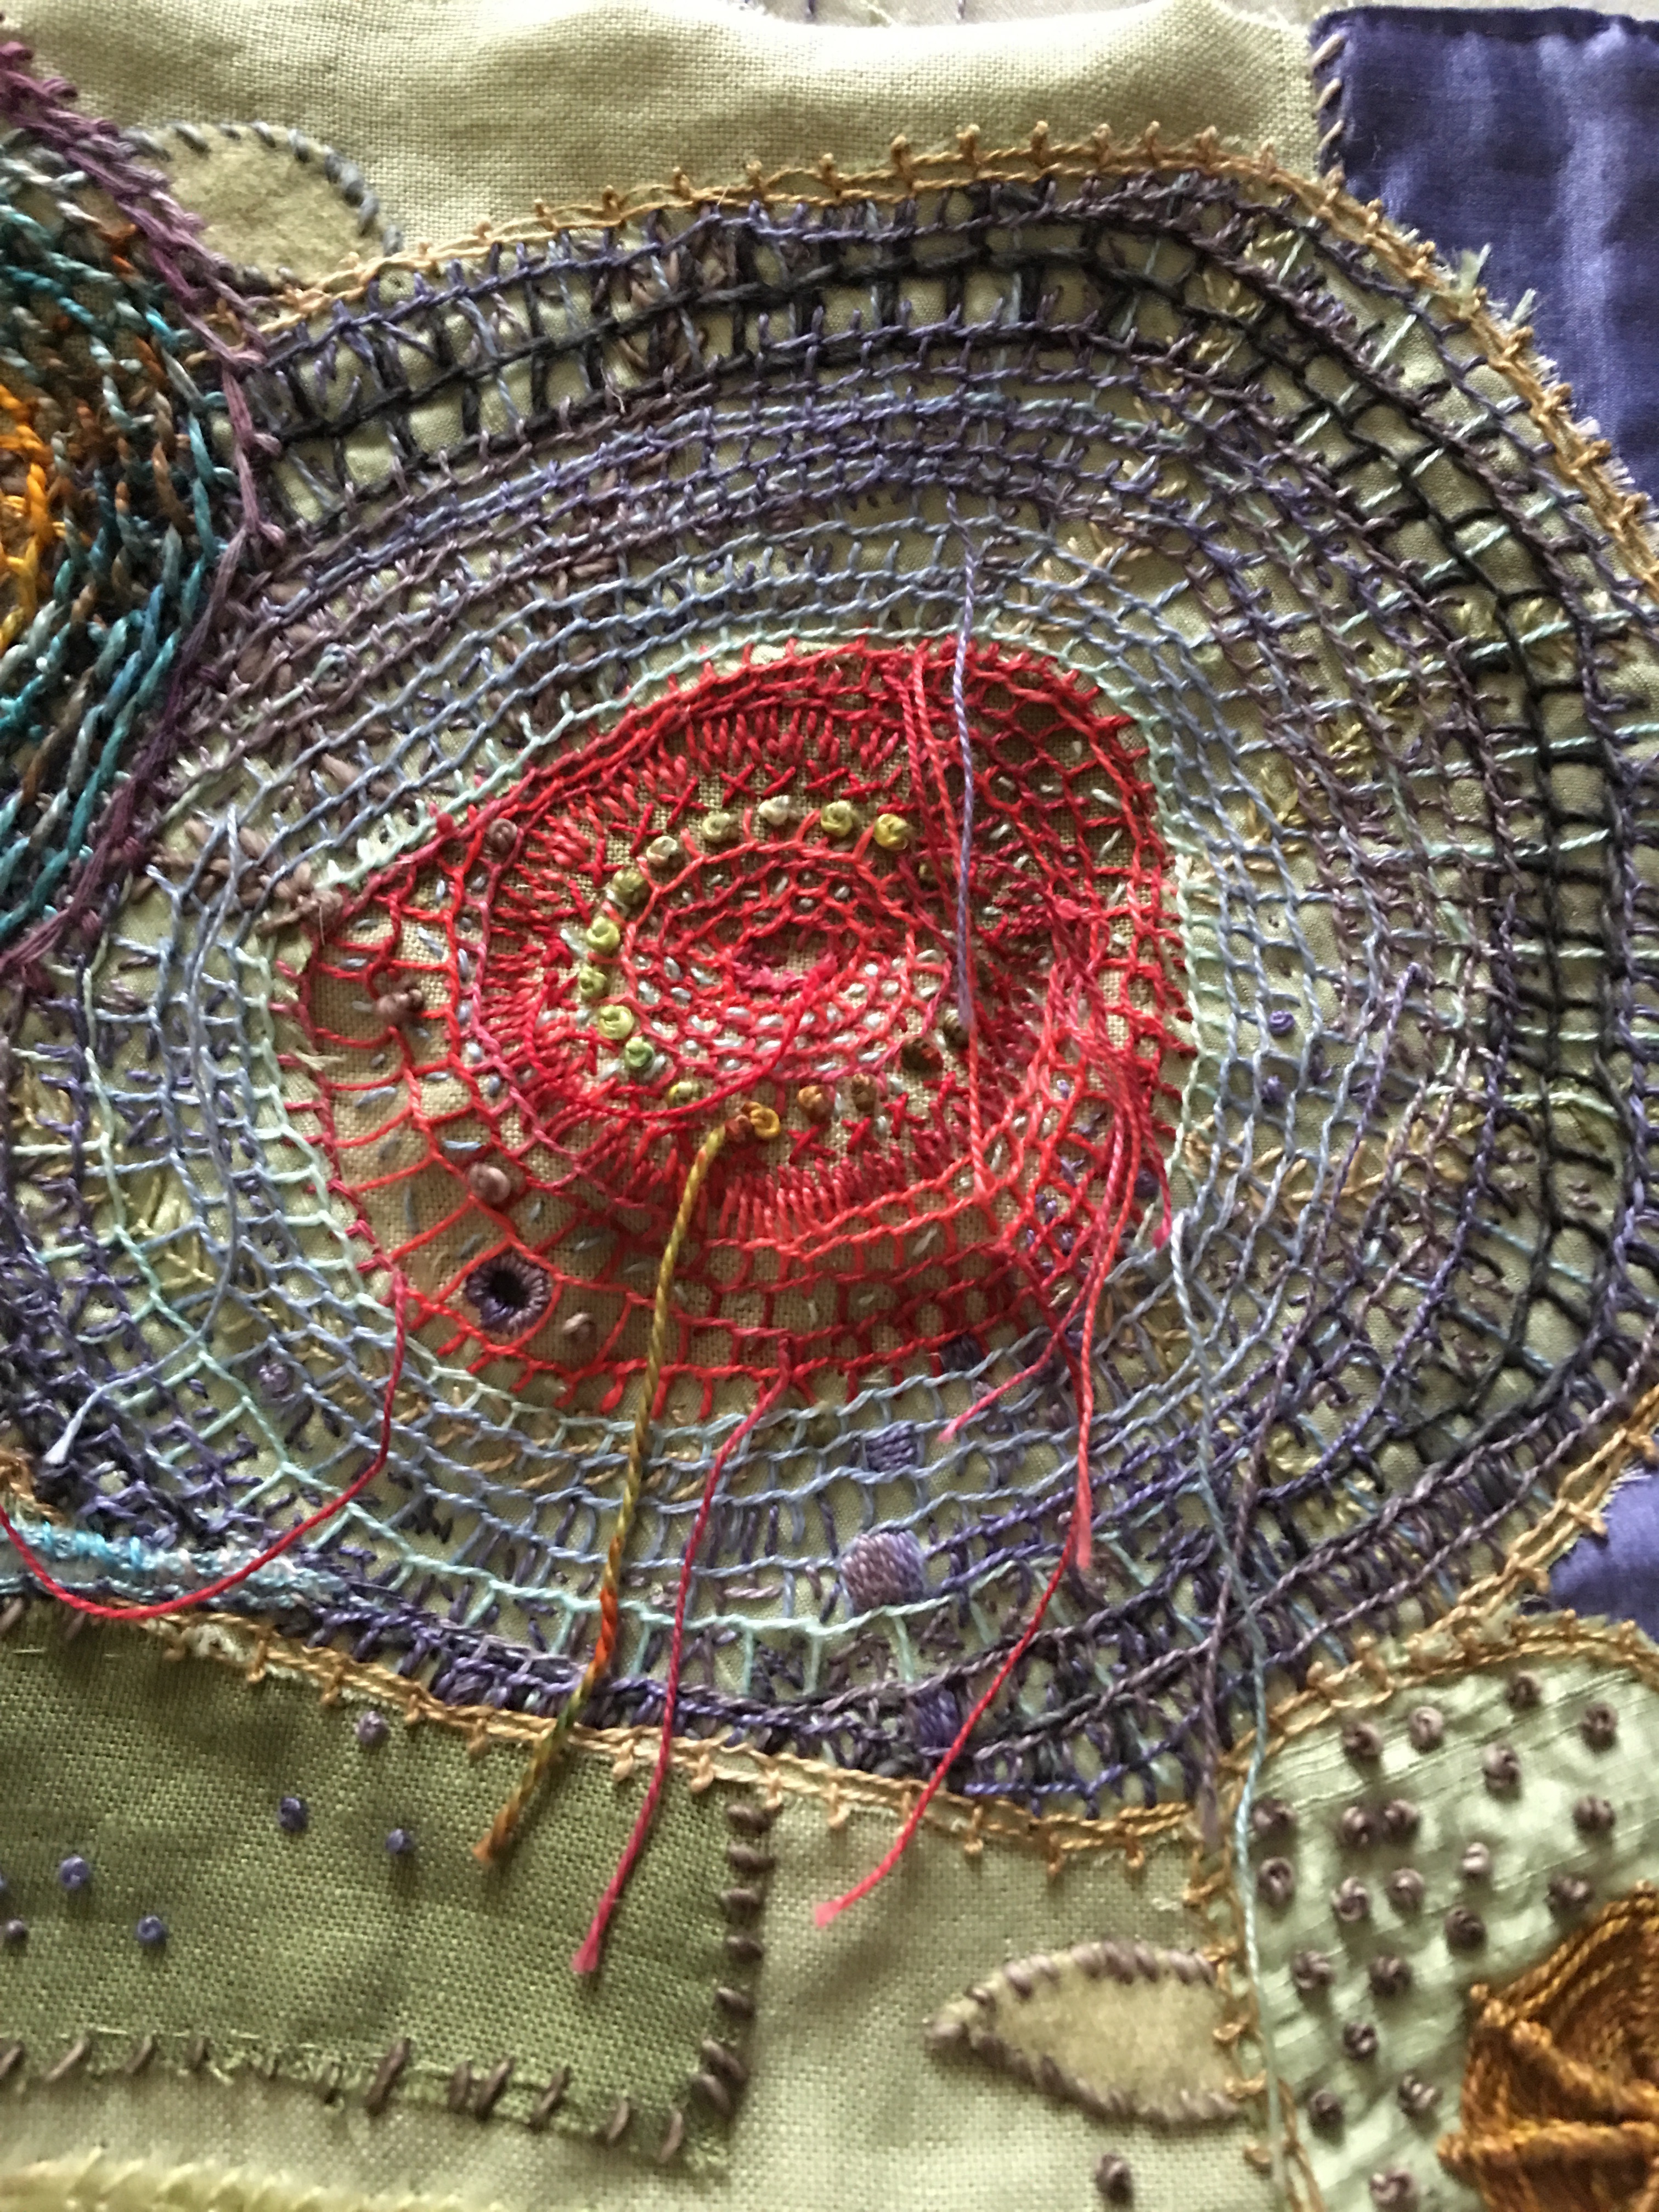
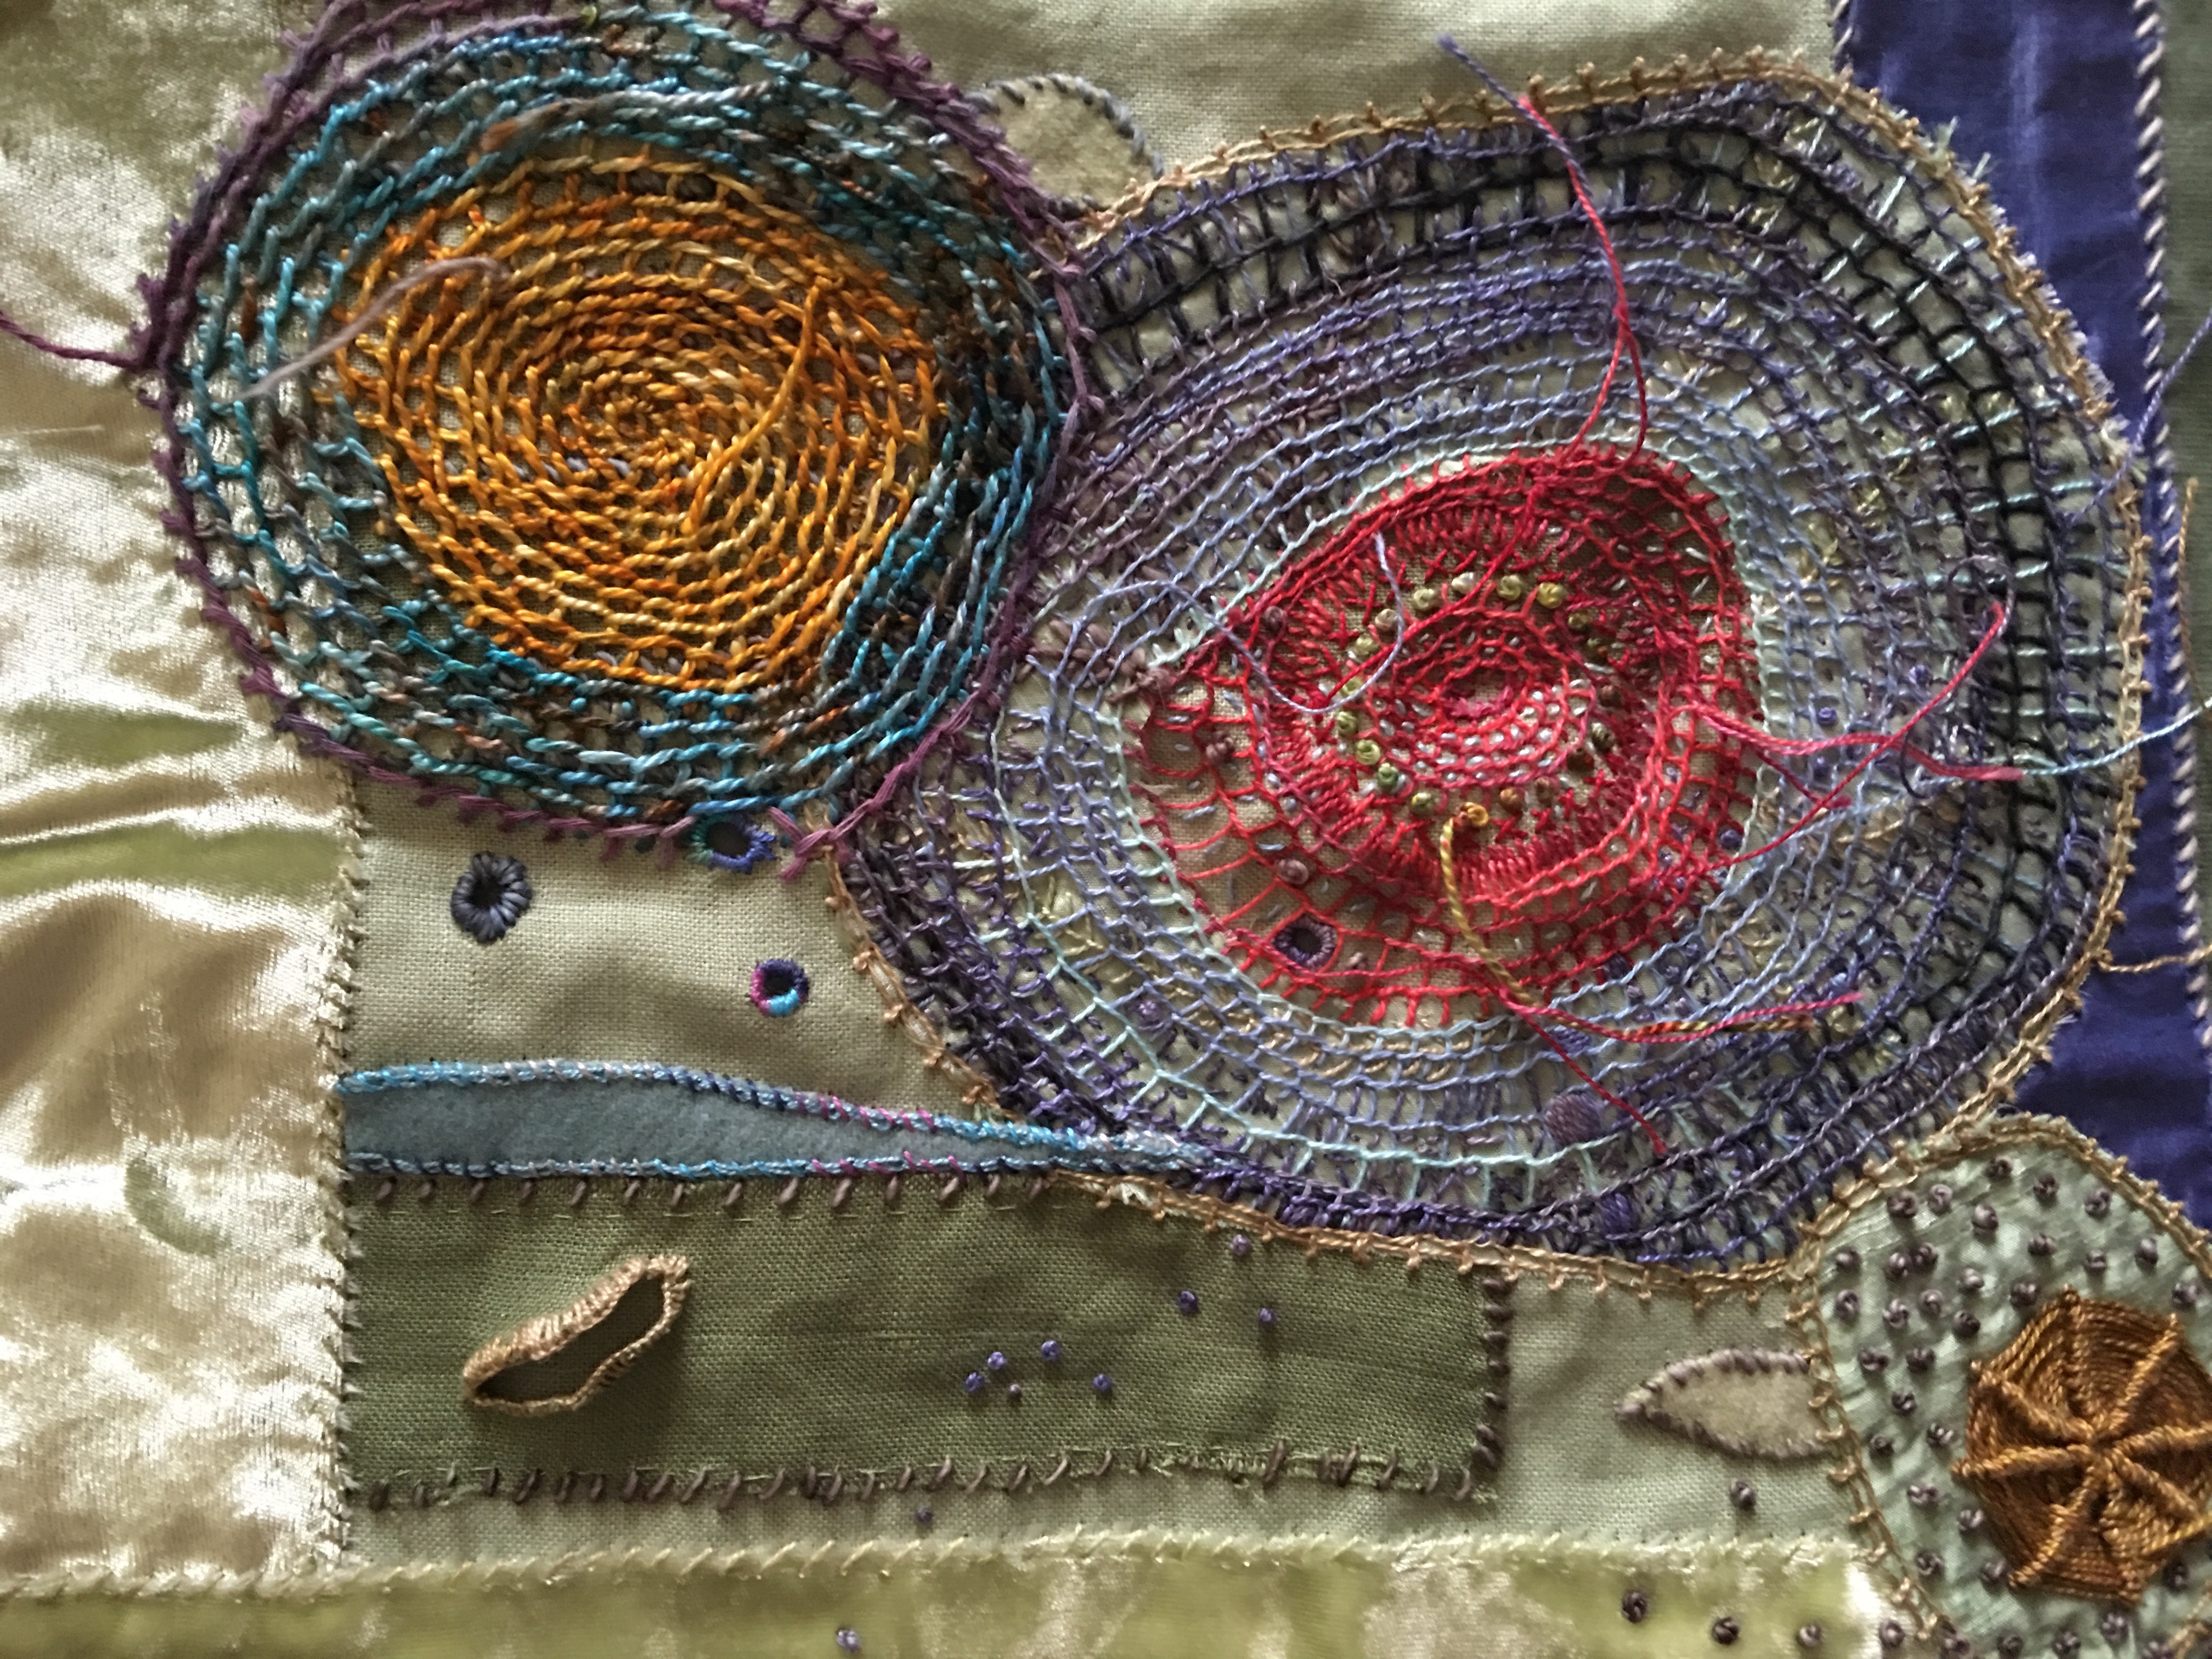
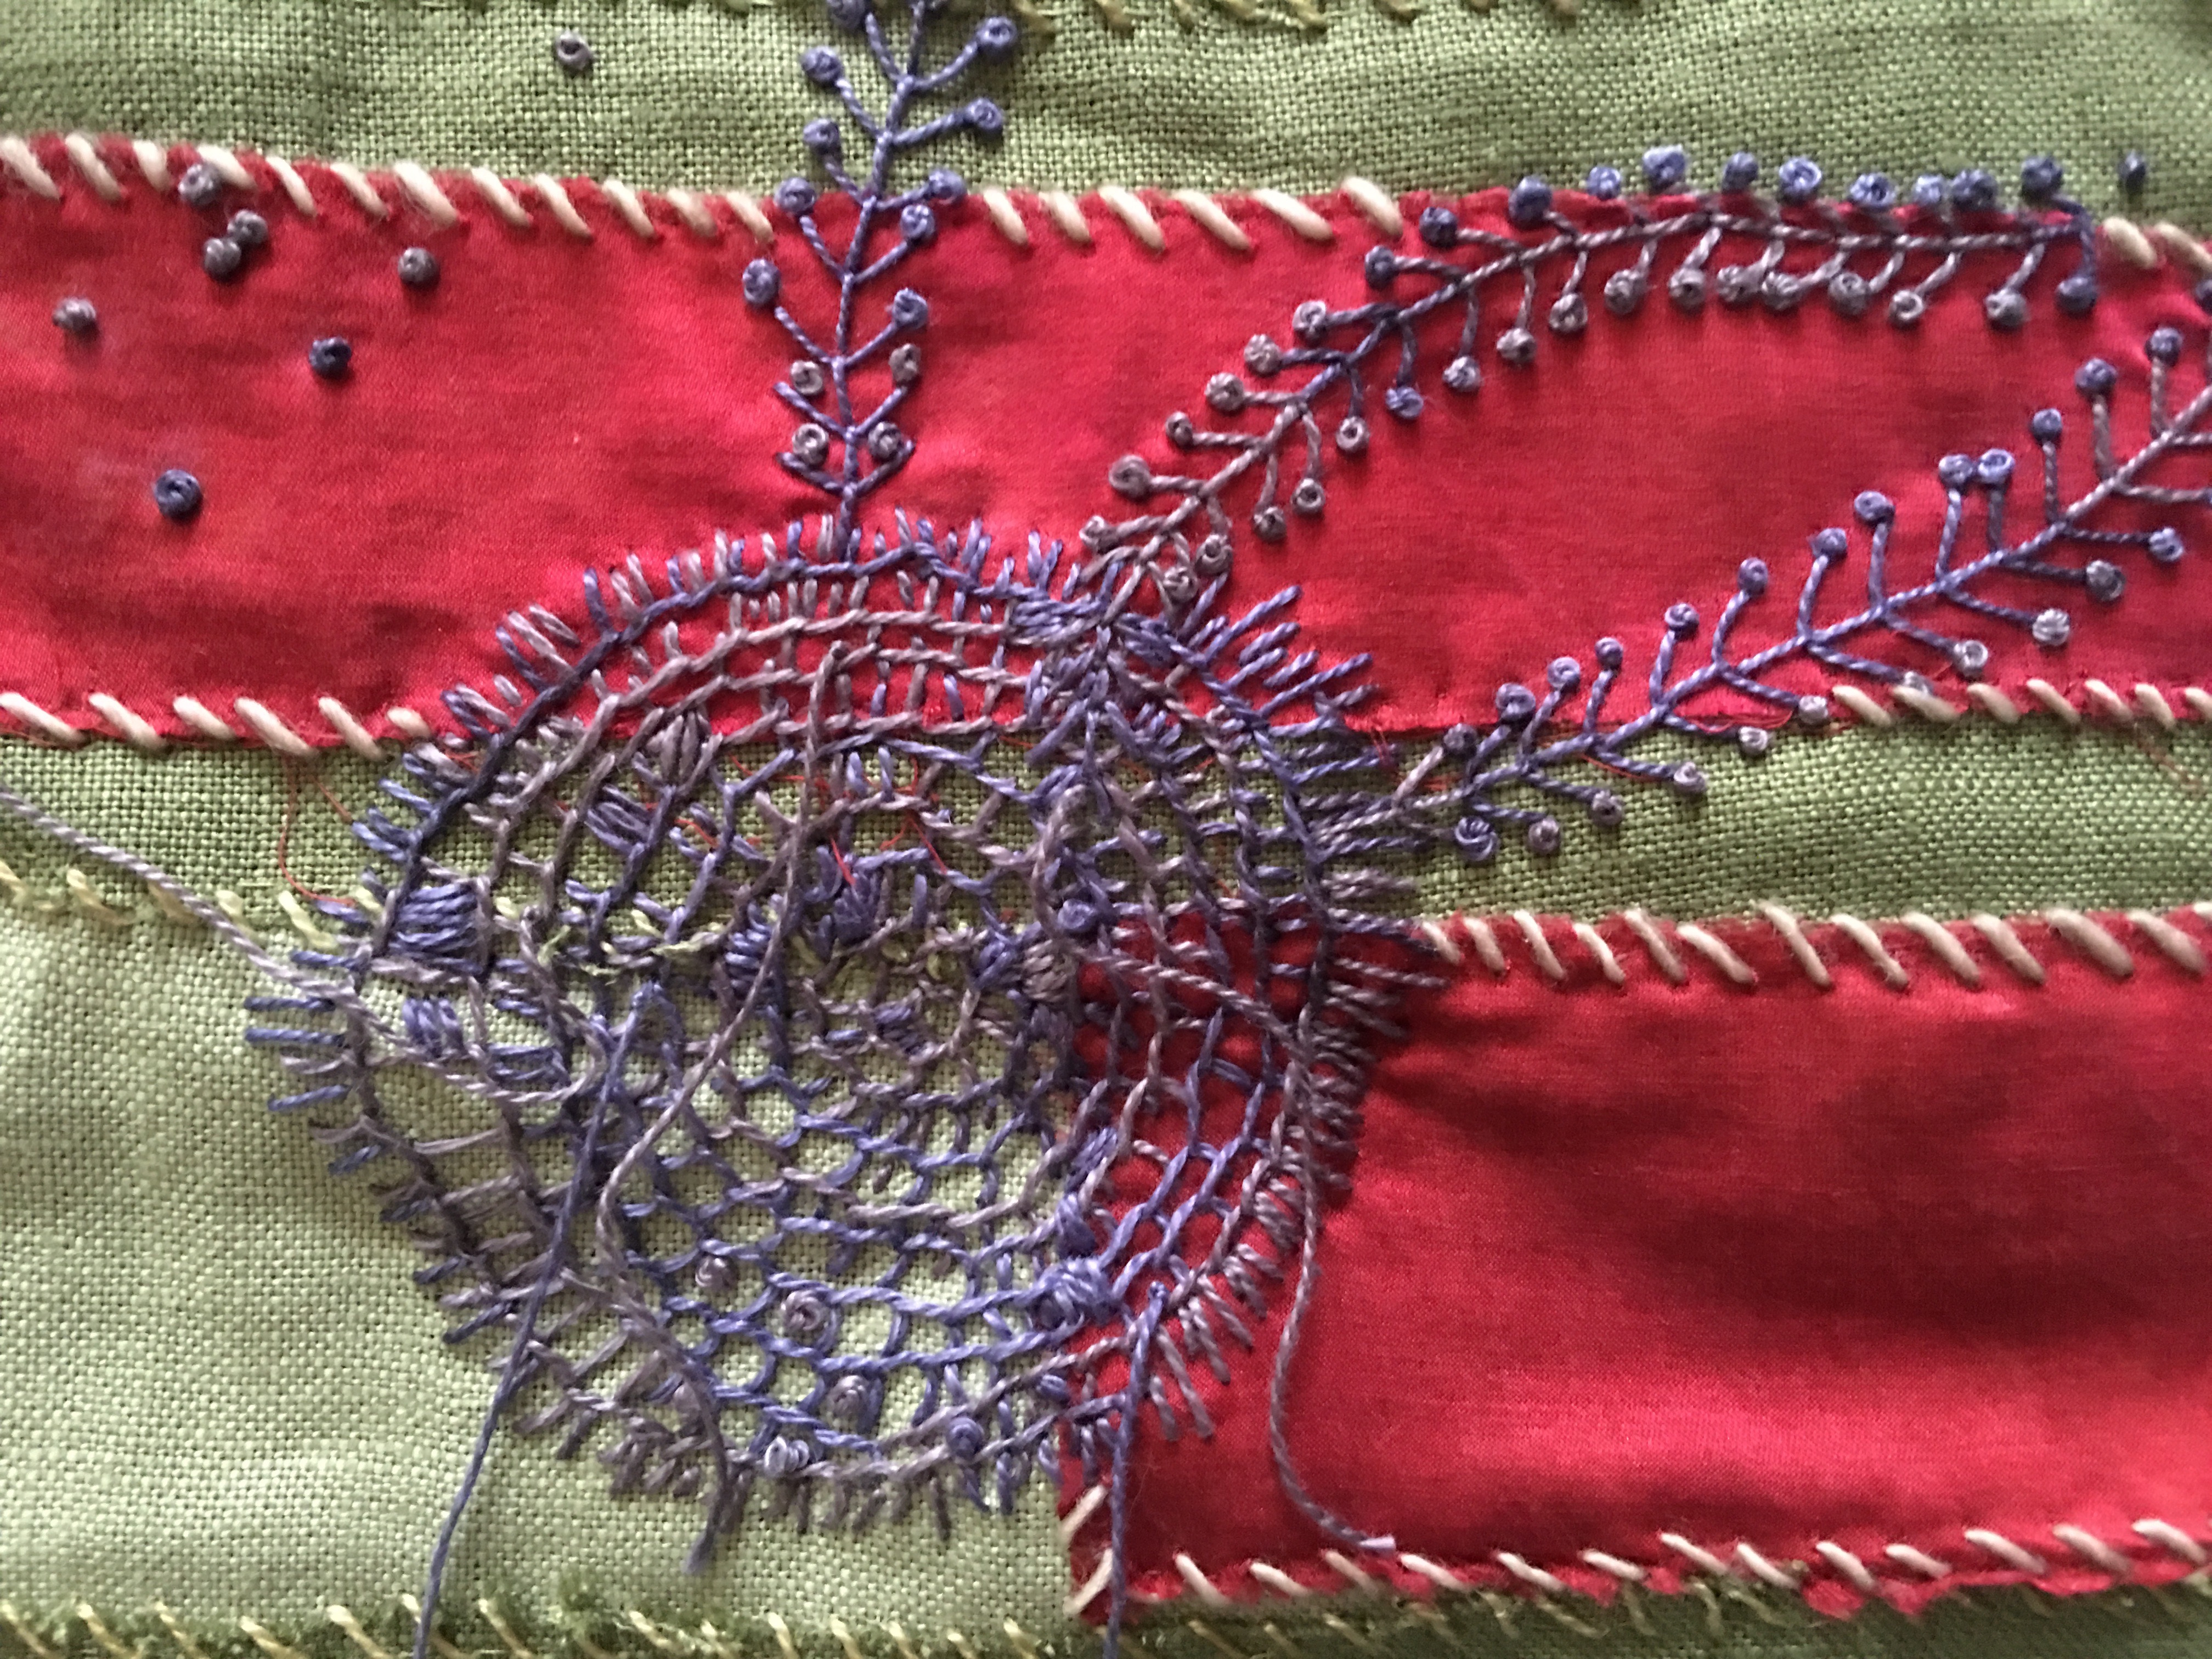
A few close ups
Thanks to Quilting by the Lake, the Schweinfurth Art Center, Rosalie Dace and Lorie McCown, but more than anyone I am forever grateful to my husband, Richard Long, who said when I broached the idea of going away, “Absolutely, you deserve it.” And when I asked, “Are you sure?” He didn’t hesitate, “I got this,” he said. I know how much he had to do so that I could go. What a great guy! And what an amazing twelve days I’ve had!


Recent comments