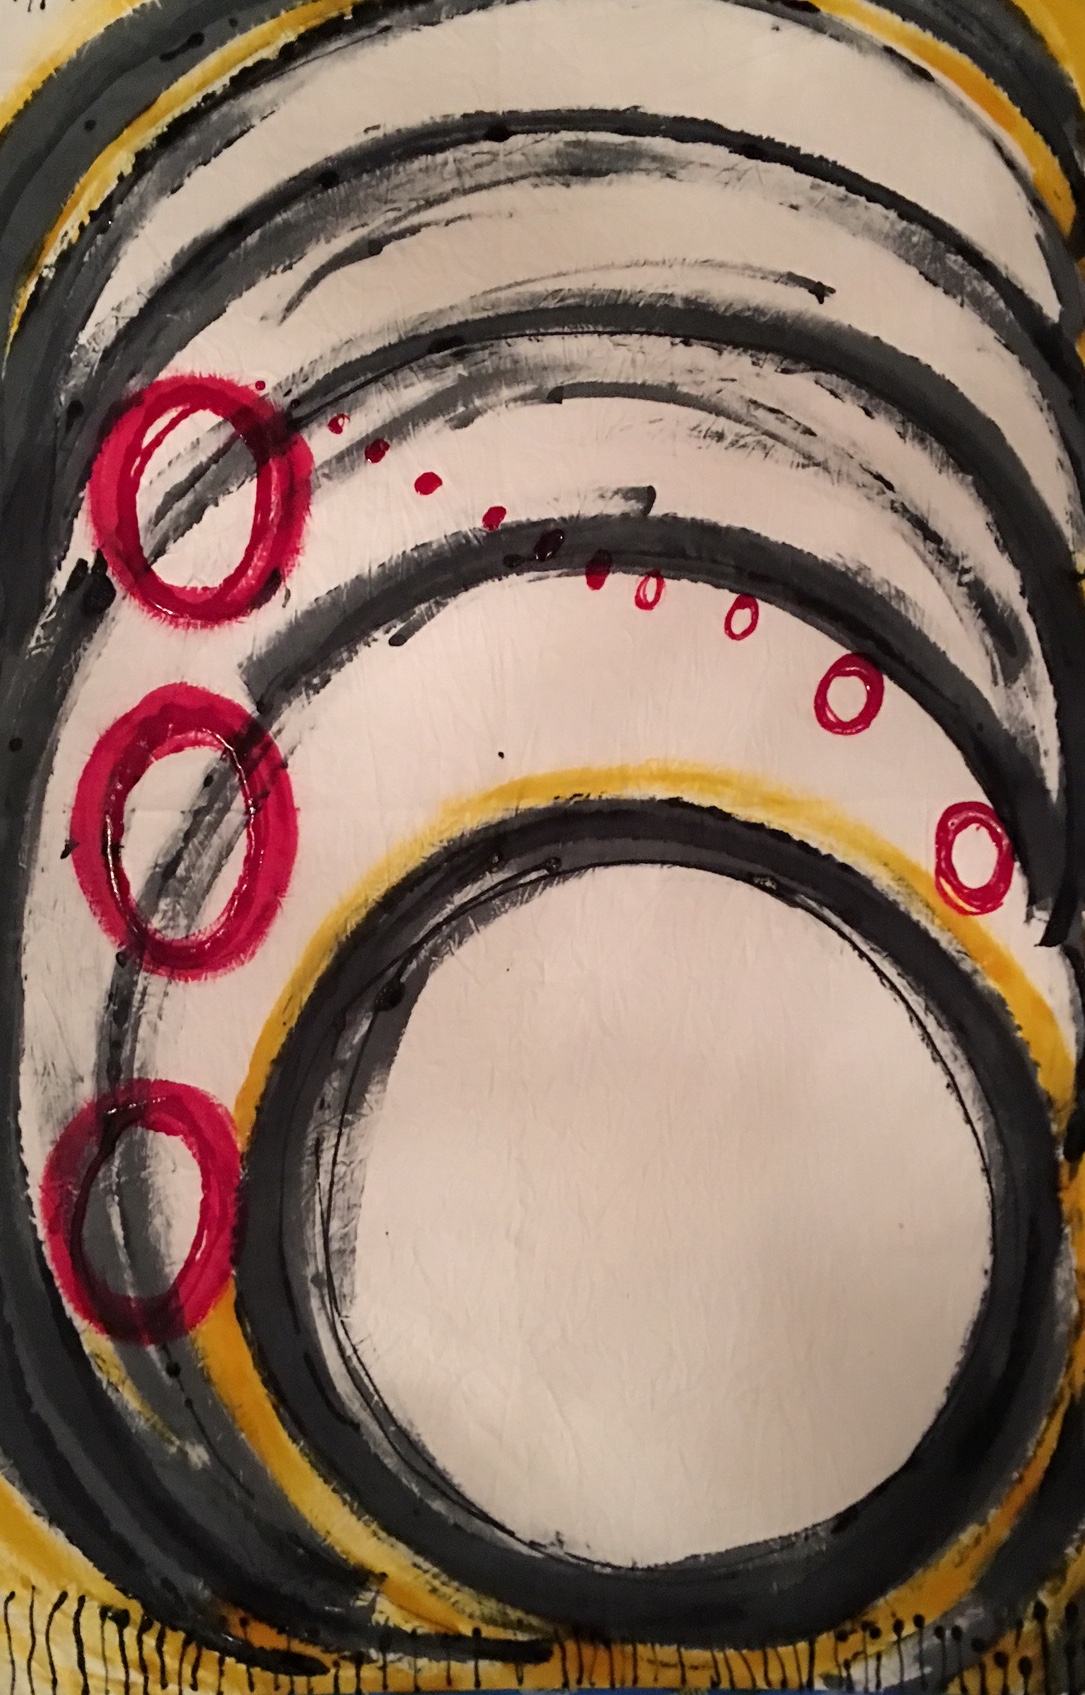
Fabric painting was something I knew nothing about before taking Elizabeth Barton‘s online class Dyeing to Design at the Academy of Quilting. Fabric painting is the process of combining fabric dye with a thickener so it can be used to paint fabric, just as one would paint on a canvas. Think about that. The possibilities are endless!! As we had been silk screening the week before, I used a couple of my silk screened fabrics and painted on them and then decided to branch out and paint on a blank white piece of cloth. Here are some of my doodles.
As you can see I had fun! I also painted the fabric in the photograph below, but I didn’t have a clear idea of what to do with any of it. While painting the fabric in this photo below I was thinking about how we are all moving along in our lives, sometimes following, at other times leading, sometimes crossing paths with others, but can often feel we are alone even though we live in a world populated by so many. Still, if we can just remember to reach out to others, we find our experiences are shared by many. Should I have just written all that in the first person singular? But then I might have felt that alone feeling again… Anyway, I sat with these various fabrics and did nothing for several days.
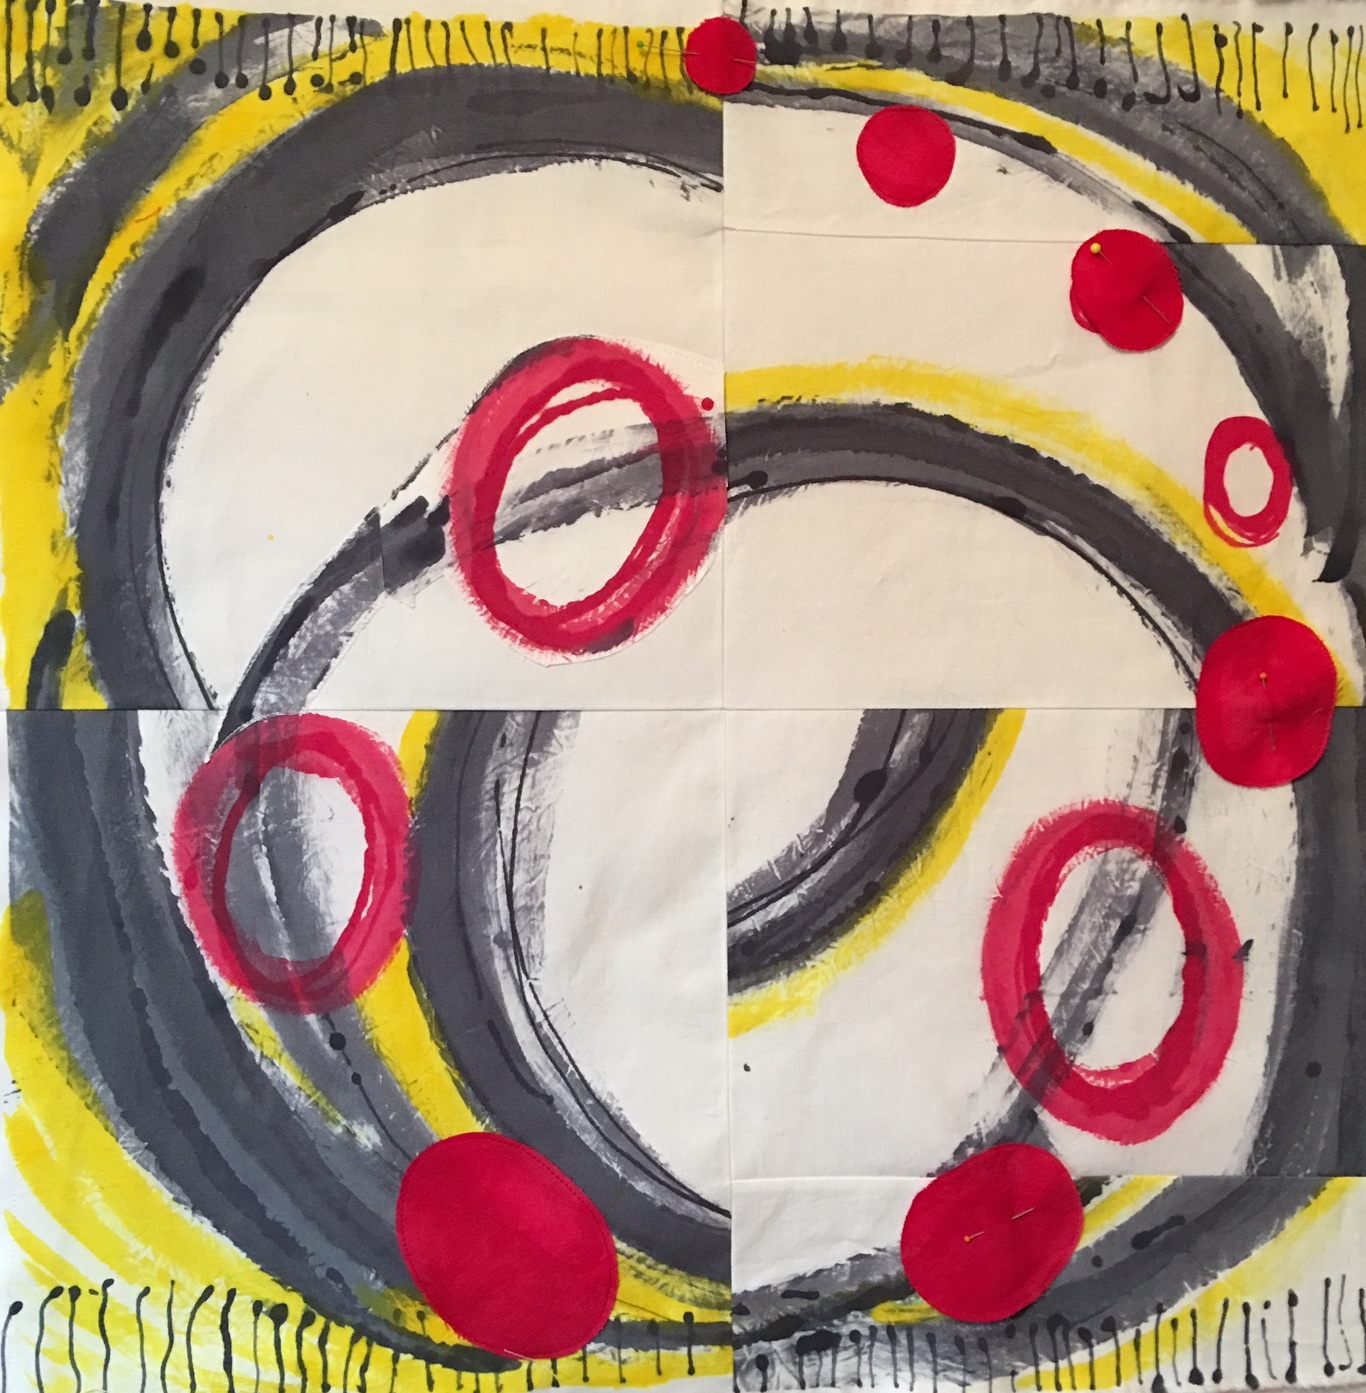
Then, having given up on the idea that I was going to be miraculously hit with a blast of inspiration, I cut up the fabric (just a little, nothing radical) and sewed it back together (photo below.) And then I sent it off to my class for feedback, that’s the whole reaching out thing that I mentioned above… Elizabeth is an excellent teacher and can be depended upon to make terrific suggestions. Which led to this…And this…And this…
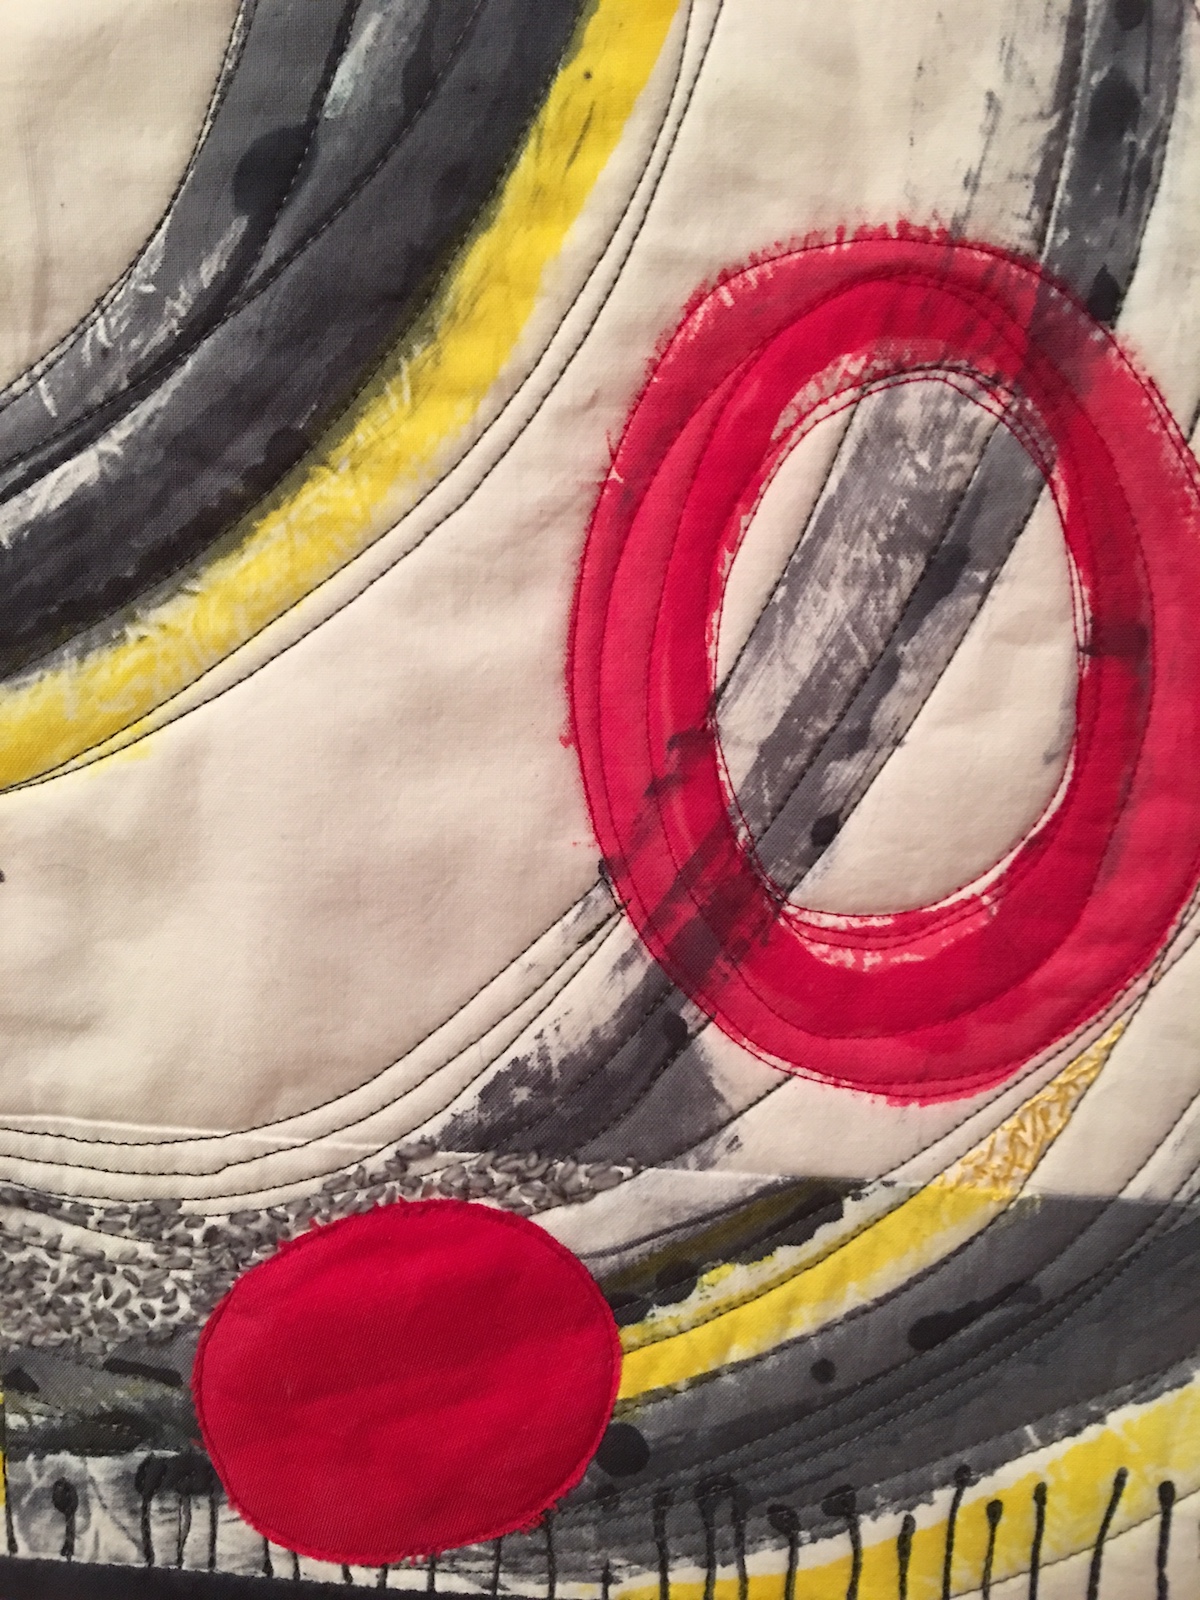
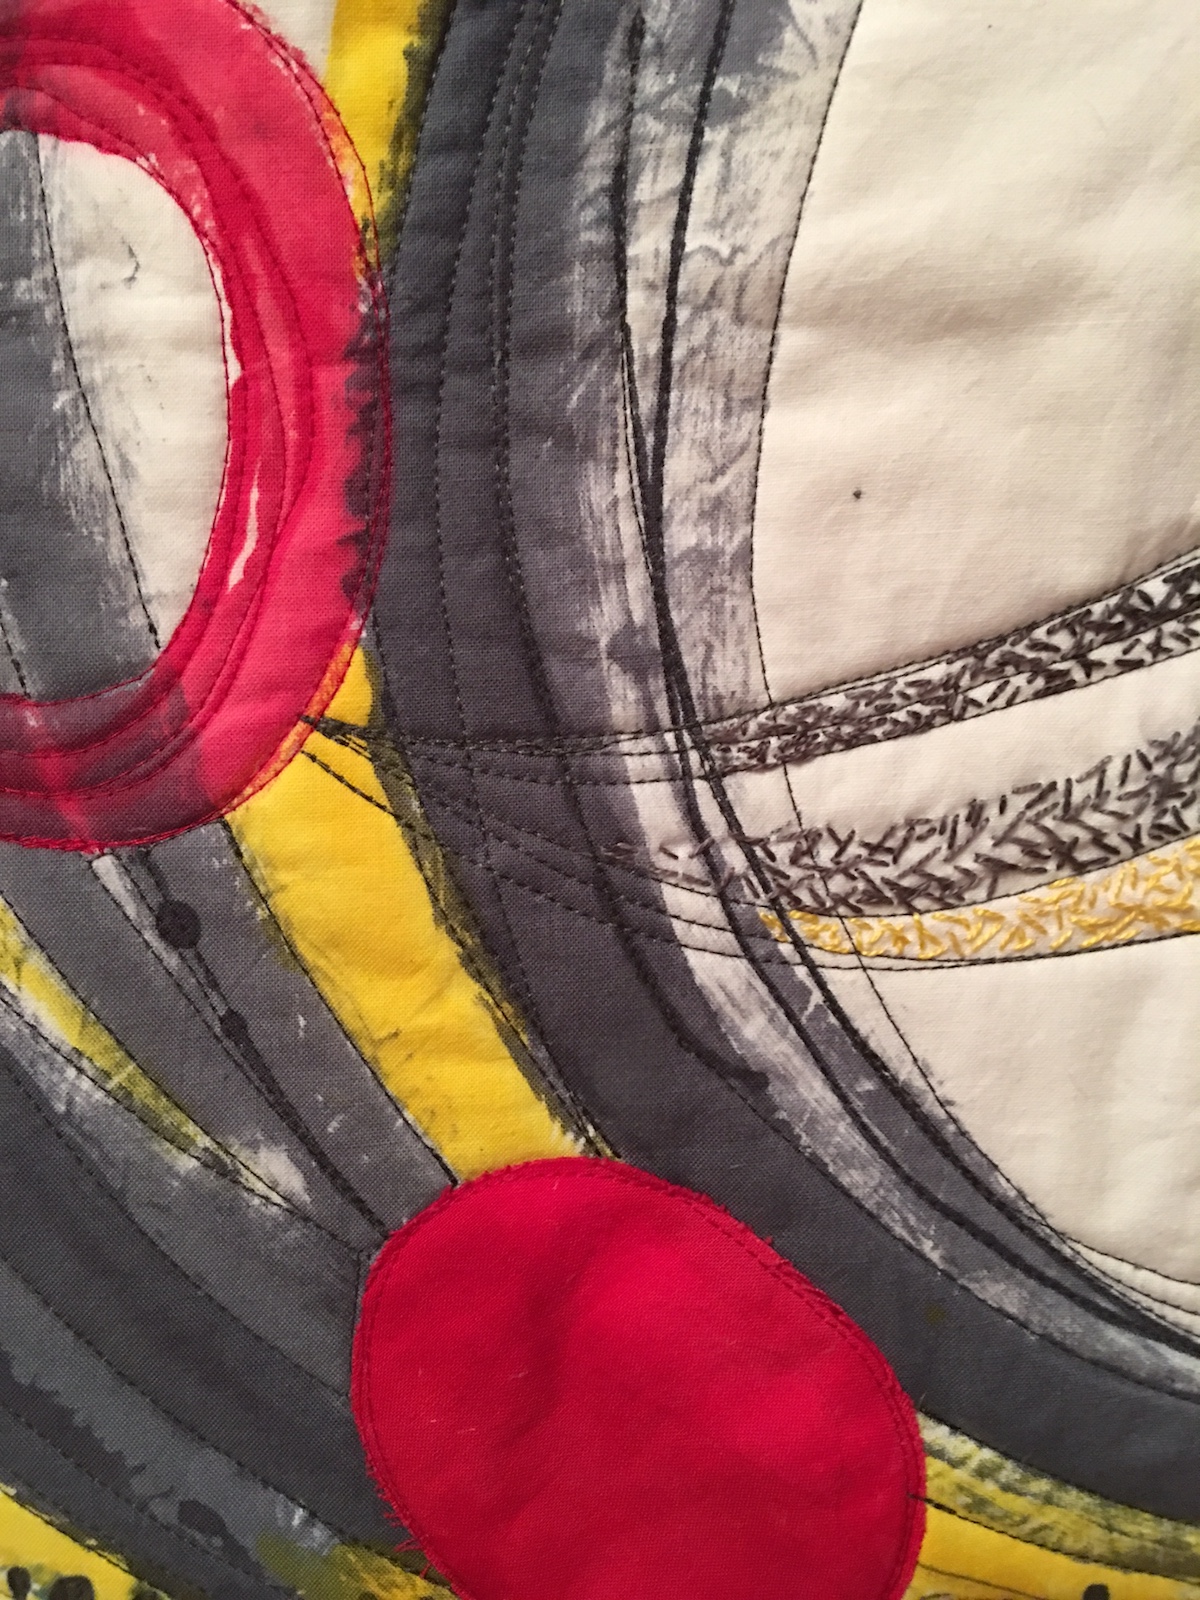
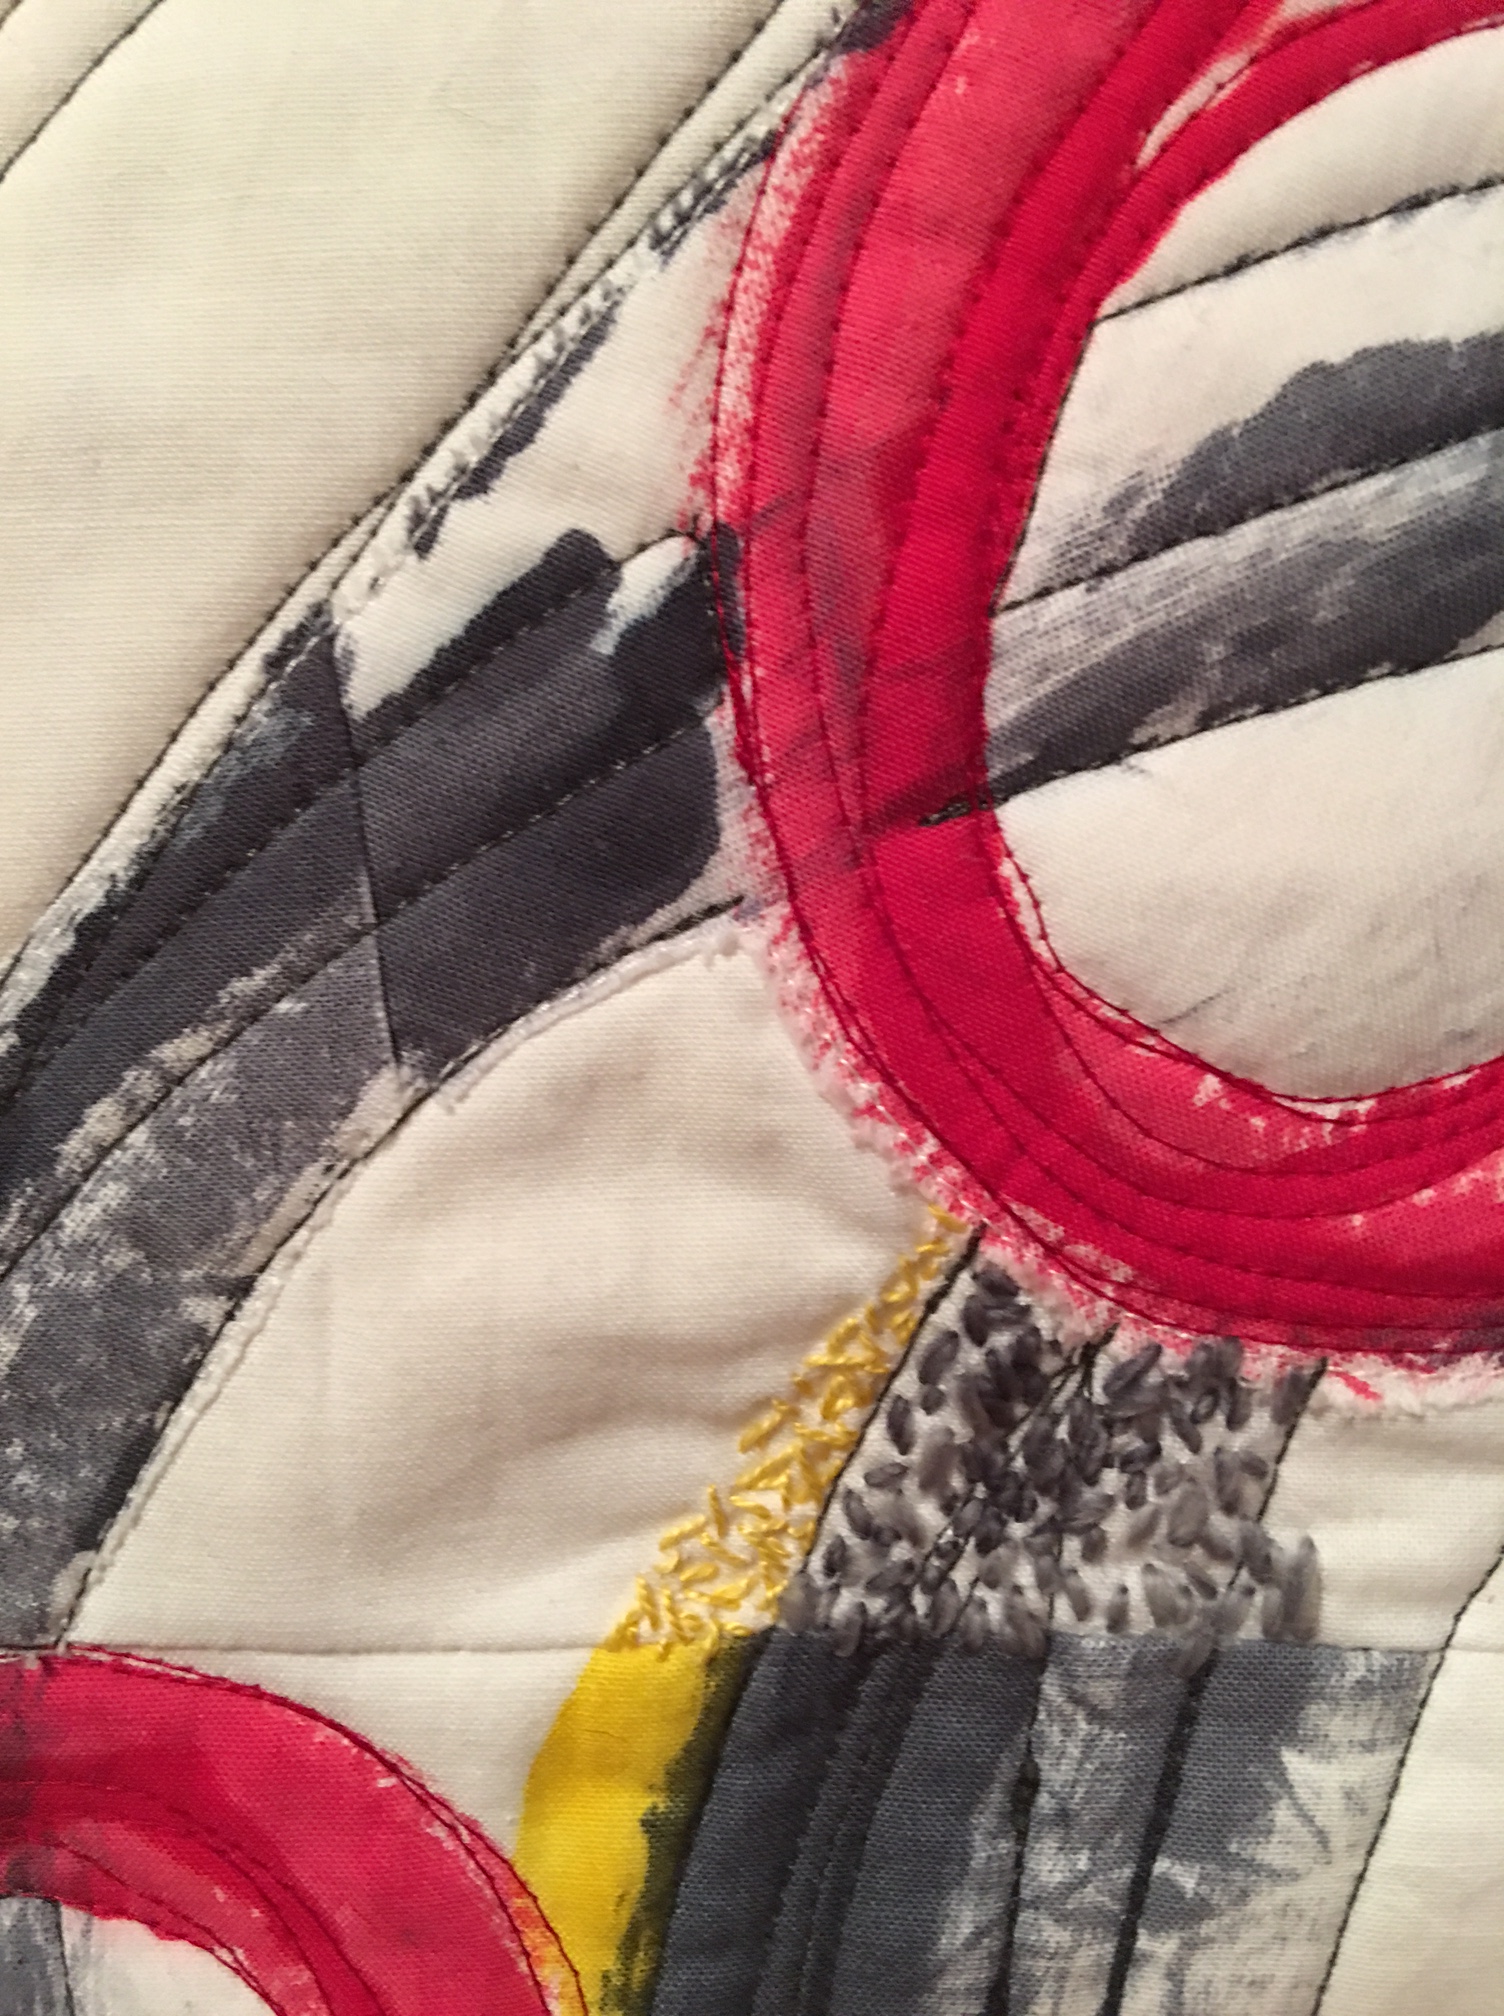
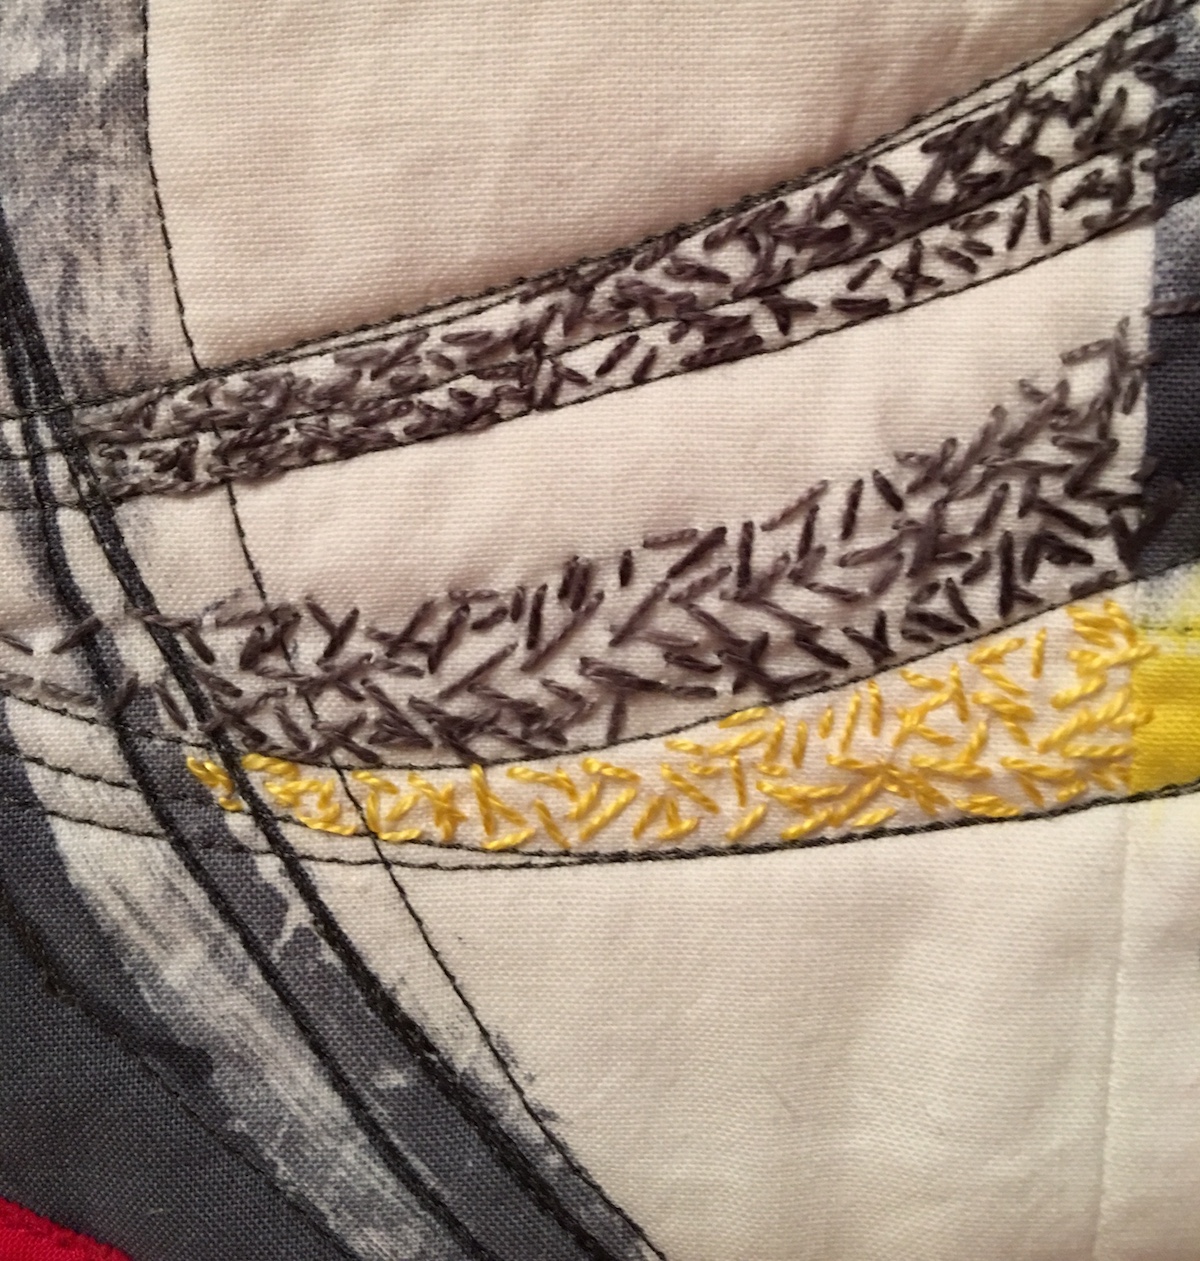
And finally, finally, finally… this…Which became this… traveling along our various paths…And finally, this… reaching out to others and no longer feeling so alone…Here are a few close ups of the machine and hand stitching…
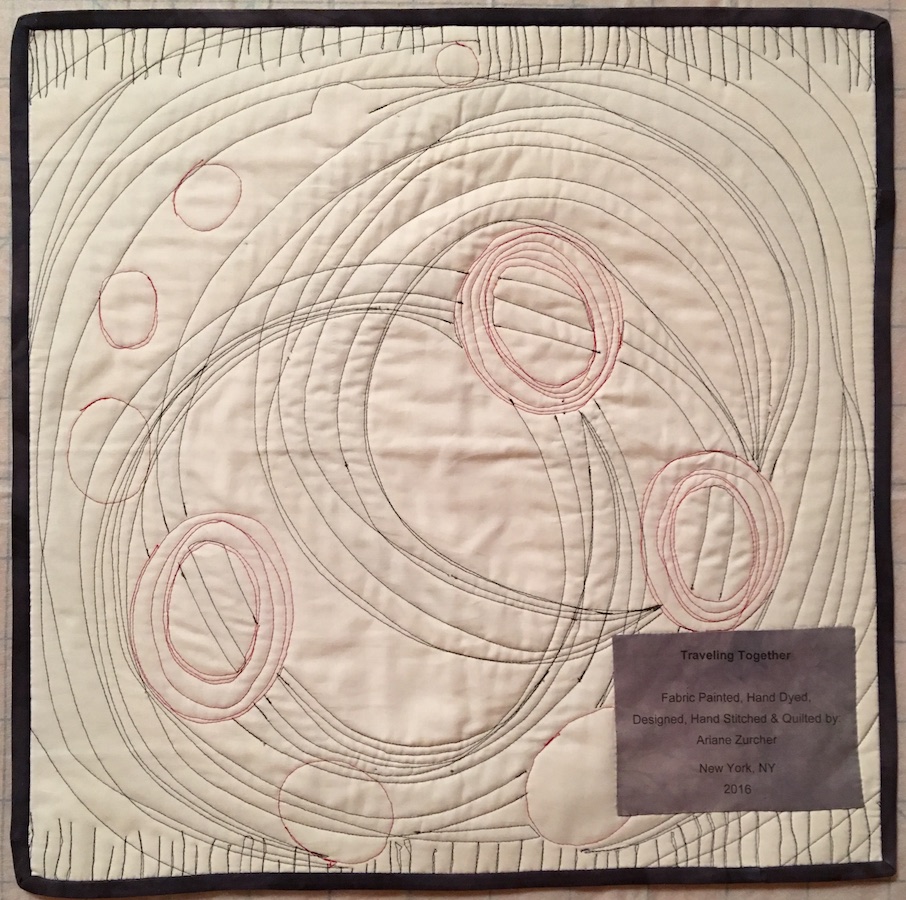
And this is the back.
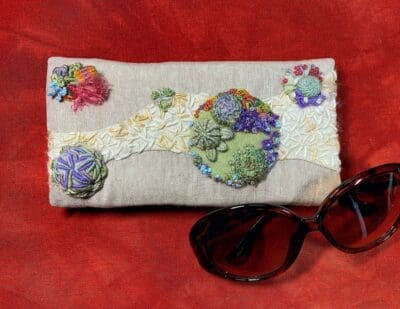
Traveling Together measures 21.75″ x 21.75″ All the fabric was hand painted and hand dyed. Then quilted using a cotton batting and kona cotton back. I did the hand stitching using a perle cotton thread as well as a wool thread. The binding was hand dyed and sewn on, as was the label.
I still have not figured out what to do with my various silk screens, but I just finished painting over a few of them and plan to over dye a couple of others, so will see what the results are after that. In the meantime I painted a few more half yard pieces of fabric and am eager to see how they turn out.
Elizabeth’s Dyeing to Design class is over, but she’ll be teaching it again in the spring, I believe. I cannot recommend it more highly.
Lest you, good readers, misread the above and think this is going to be about a metaphoric death resulting from an existential crisis, let me set you straight, it’s not. This is about dyes, dyeing fabric and design. Now if you’re like me, you might be thinking – oh who has time for all that? – but let me tell you, there’s so much more to dyeing than you think. Get it? Trying not to laugh, really, really trying… It’s impossible to write a post about dyeing and not keep thinking of all the puns one makes without even trying… This is just too easy. You might dye of laughing… hee-hee!
Ahem.
Okay.
Seriously.
I never thought I’d enjoy dyeing fabric. I always felt there’s so much great fabric out there, why would I want to dye my own? Well… it turns out, not only was I wrong, but what a beautiful world it is once you begin dyeing! Before I get ahead of myself, this all began because I was looking for blogs by quilters who are also artists. As I was looking around I found the extremely talented artist Elizabeth Barton, and her blog, Art and Quilts, Cogitations Thereon. What a find! I read this post, The Proliferation of Online Classes, which I then felt compelled to comment on, which in turn led me to investigate the classes Elizabeth teaches and in particular one that began a week ago Friday, which I promptly signed up for. Her five week online class, given through The Academy of Quilting, is titled – Dyeing to Design. Love that.
Dyeing has never called to me, but I enjoyed reading Elizabeth’s blog, really like her work, and this class had the most immediate starting date and I’m impatient, so I thought – Why not? This is one of the many wonderful things about being new to something, it never hurts to try something you’ve never done before and the worst that can happen is you discover it’s not for you and you move on. On the other hand, you might fall in love with whatever it is, become totally obsessed and that is a indescribable joy unlike any other. The latter pretty much describes my experience with quilting and fiber art. And so it was again, with dyeing and this class, now in its second week. What a fantastic class. I cannot recommend it, and Elizabeth Barton, more highly!!
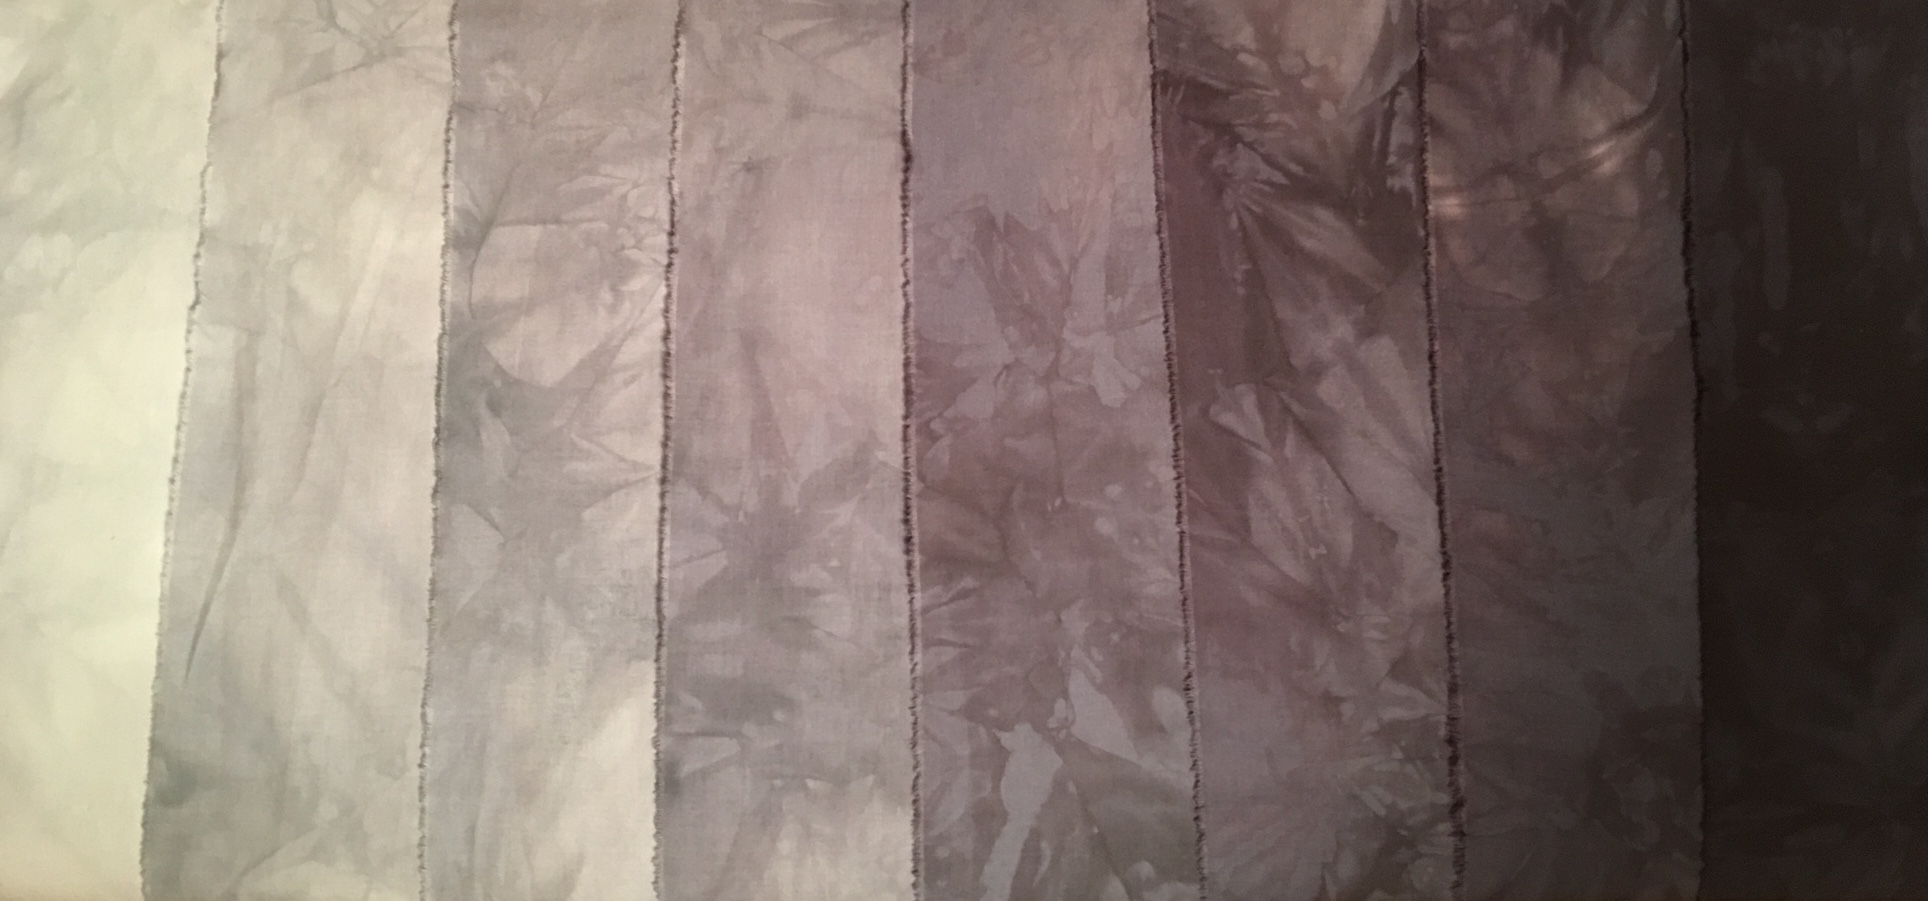
It helps that Elizabeth is a terrific instructor, very responsive and thorough, has a great eye, and gives excellent feedback. She writes extensive instructions with good explanations and examples of her own work to illustrate what she’s talking about. The first week we dove right in mixing all our various dyes for the next five weeks and did this – gradations of black (photograph below.) You’ll notice the mottled effect, which I think is so beautiful and striking. As we were working with black and since there’s no such thing, the blues, pinks and greens can be seen in different areas. The organic look to the fabric also appeals to my sense of design and so I was hooked. Totally fell in love. Completely. Dramatically. In. Love. Designing a piece using these gradations was next. I had a couple ideas and with Elizabeth’s encouragement settled on this one, which also happened to be the first idea I came up with.
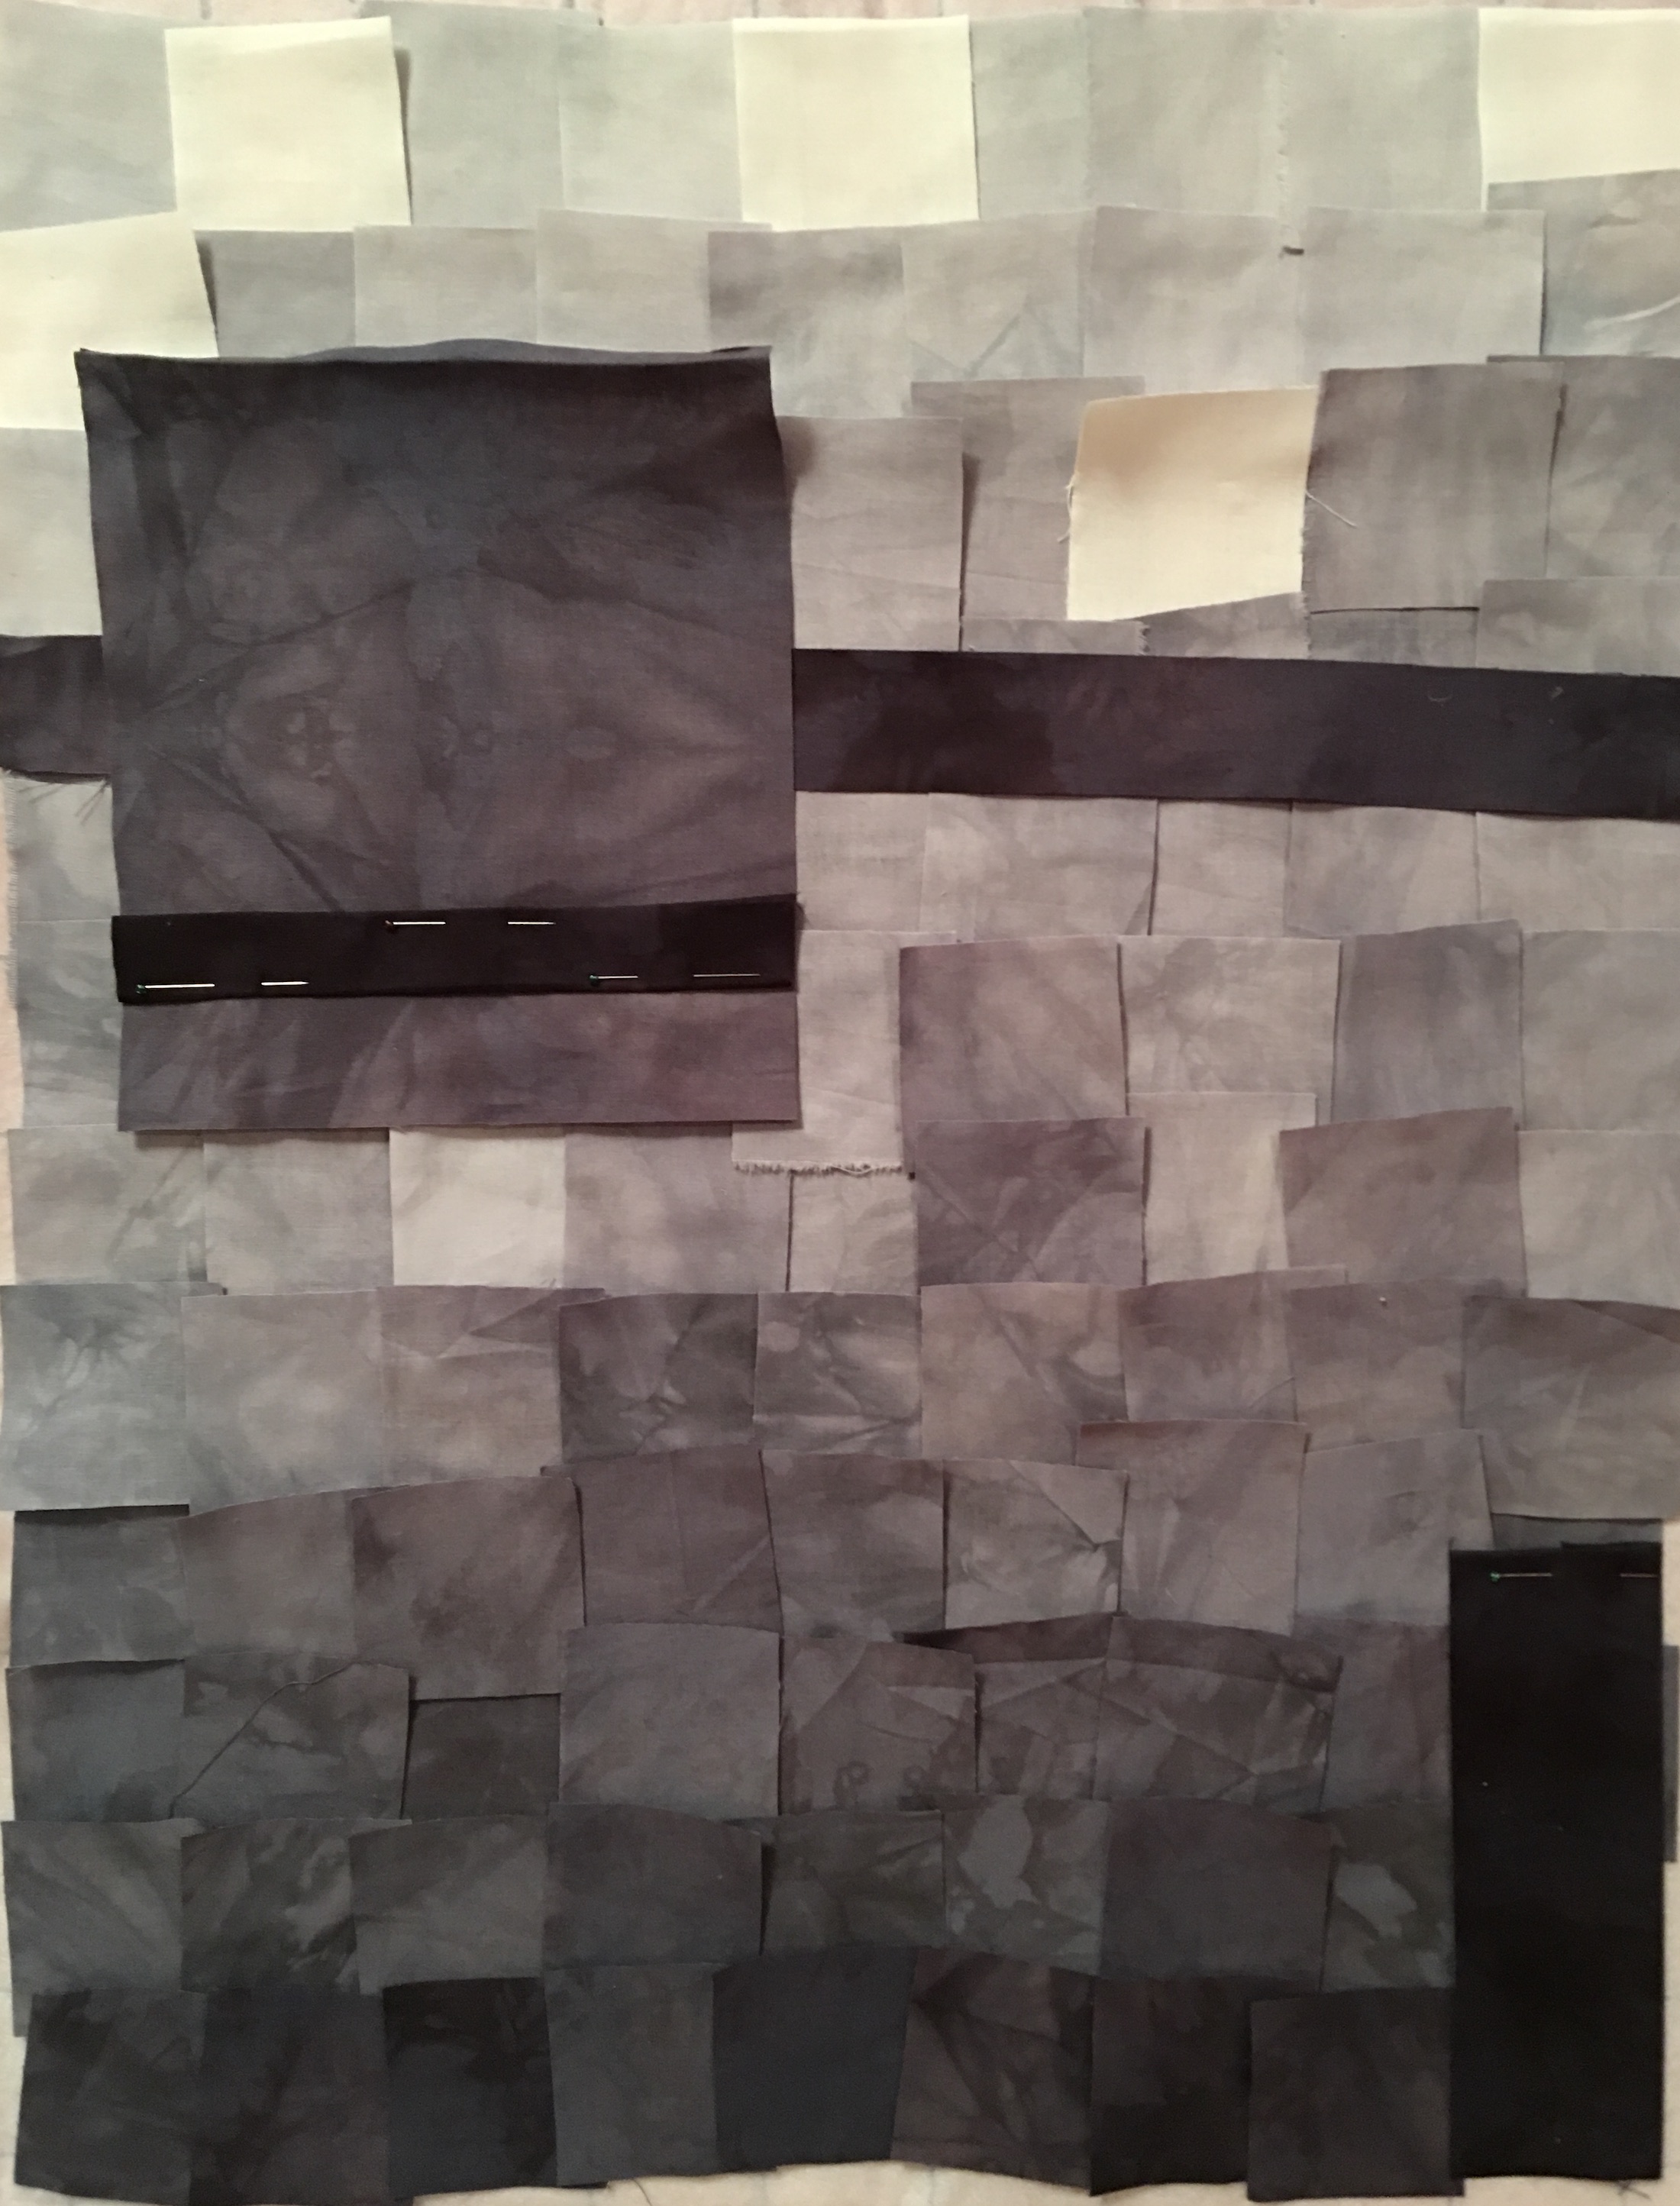
I decided I would cut the fabric into 2.5″ squares, which meant that after they’d been sewn together they would be 2″ squares, gradating from light to dark, but a little unevenly to keep things interesting. This is how it looked positioned on my design wall.
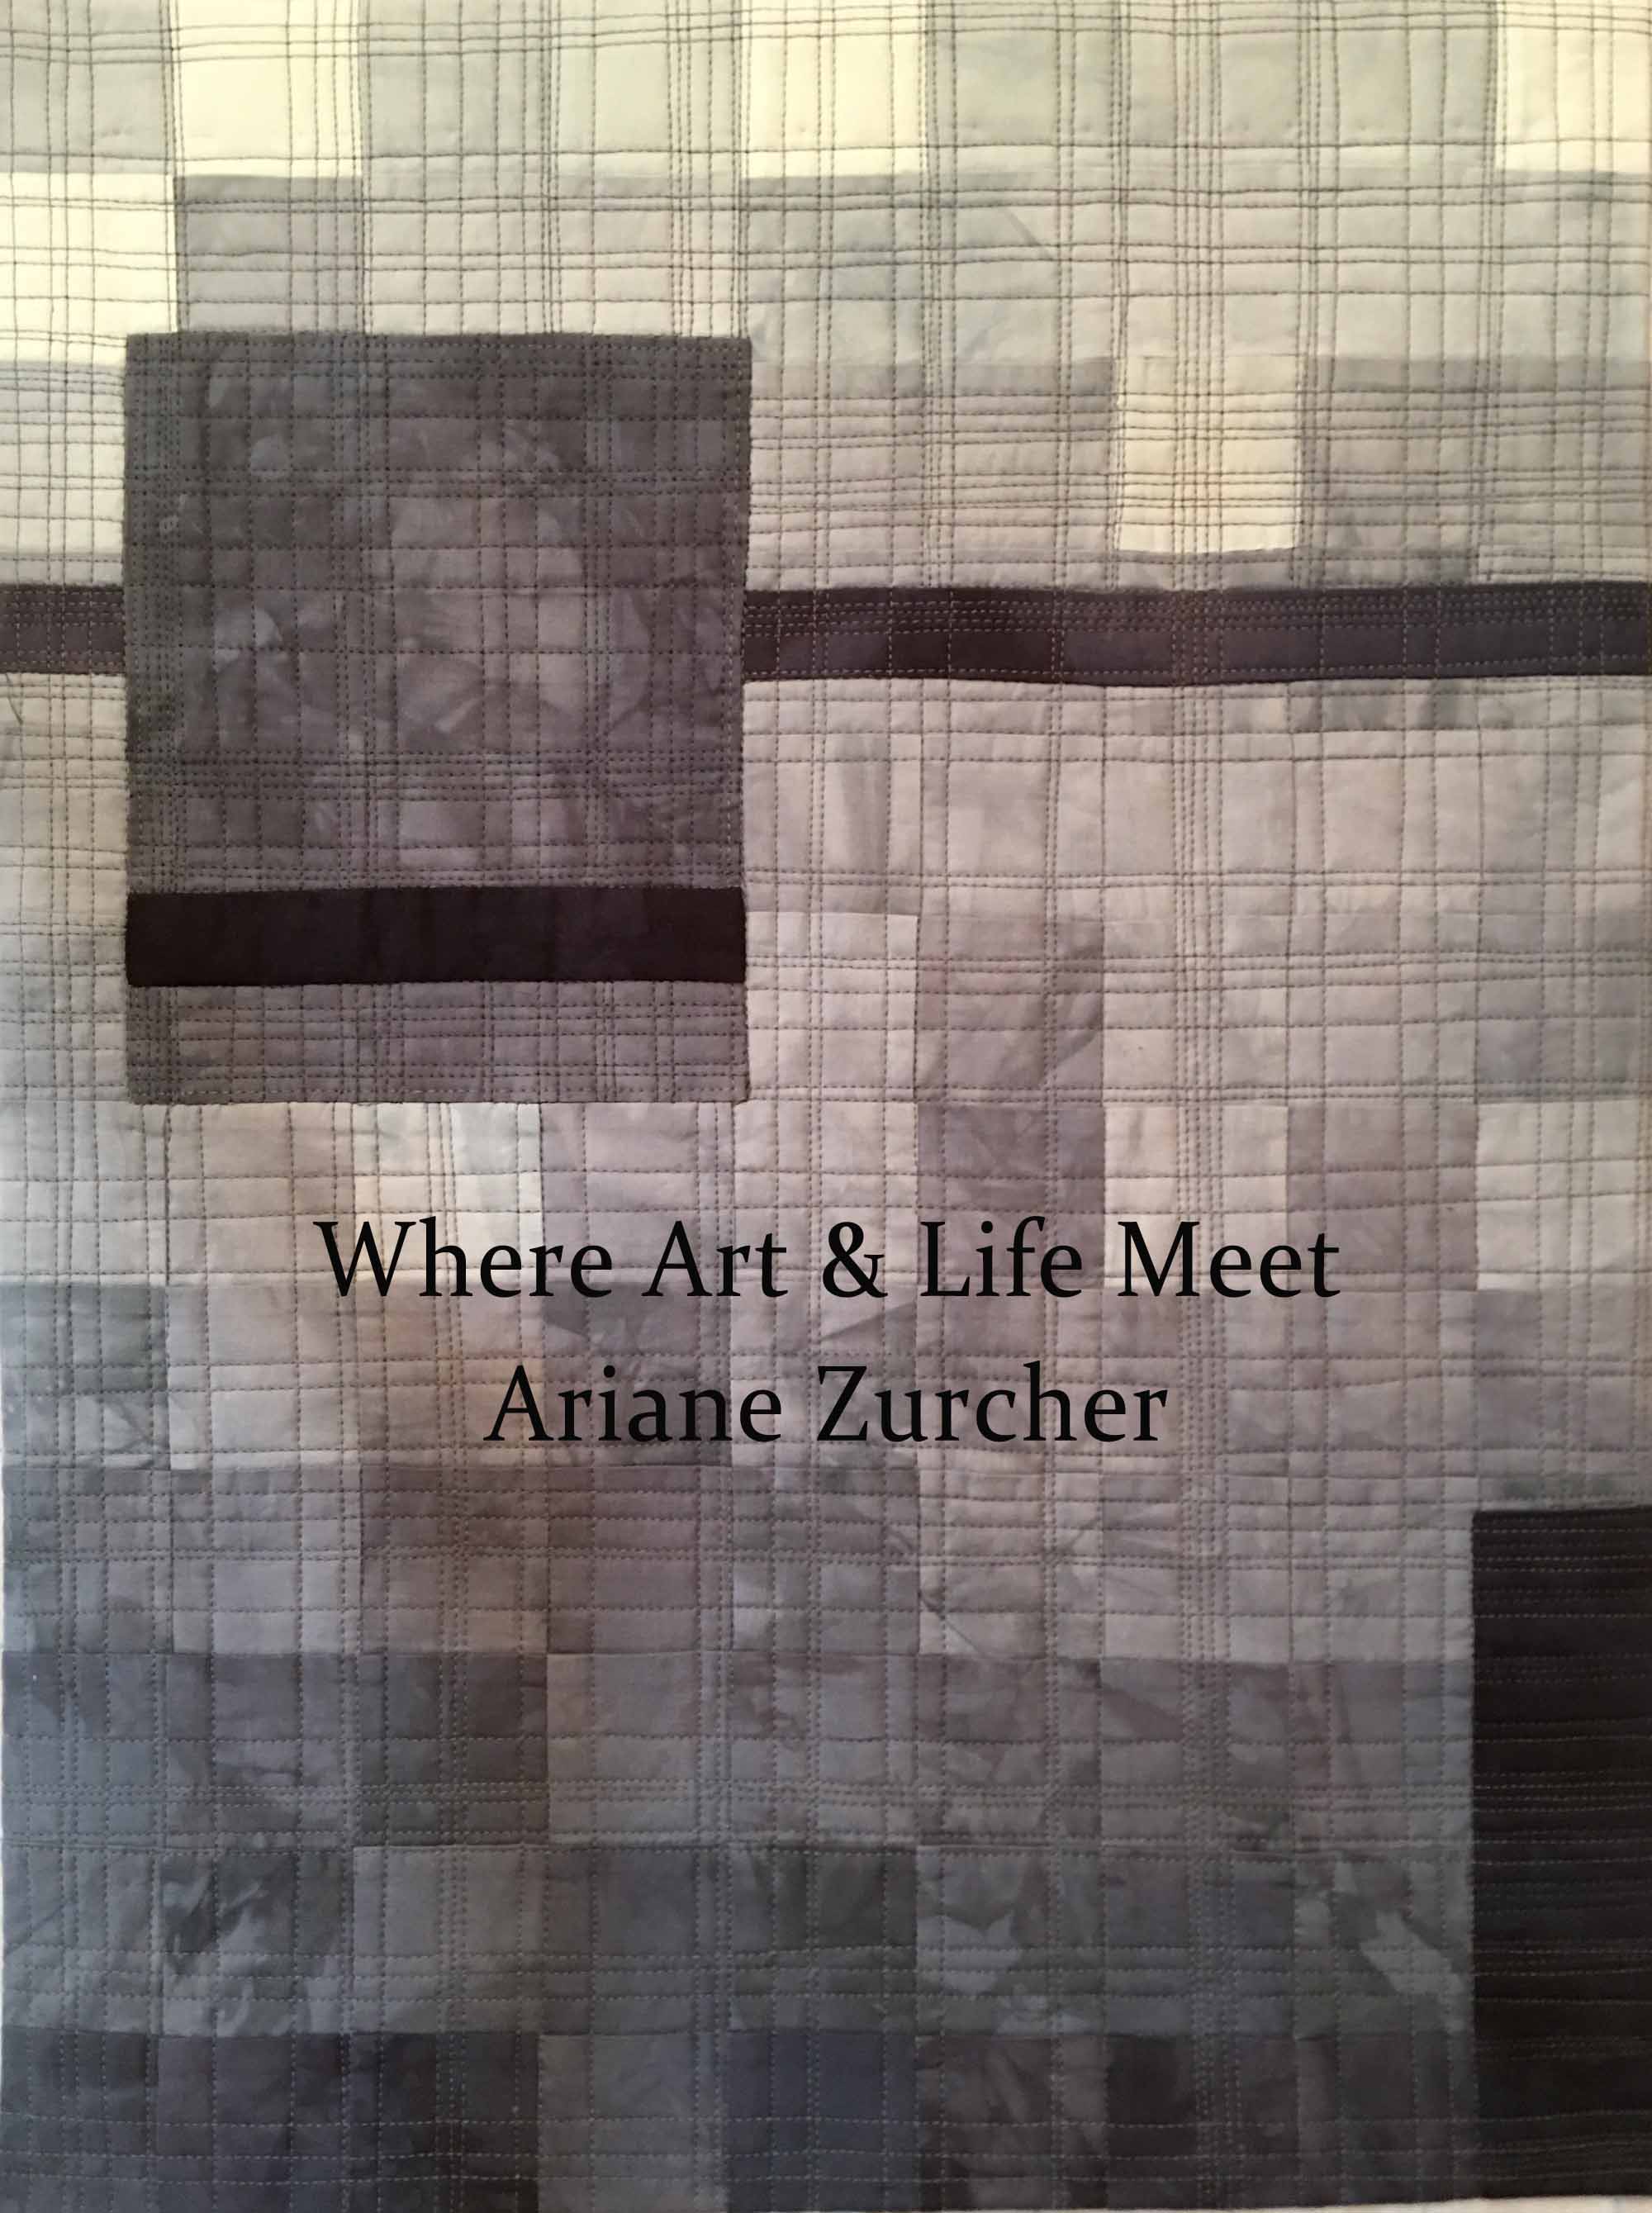
Emboldened by Elizabeth’s helpful suggestions, I made a few adjustments and began sewing all those squares together. That’s a whole lot of squares… After consulting Elizabeth (again), she suggested linear and horizontal stitching, I began quilting, but left the larger square alone as I wasn’t sure what to do with it. I wanted to do something, but couldn’t figure out what.
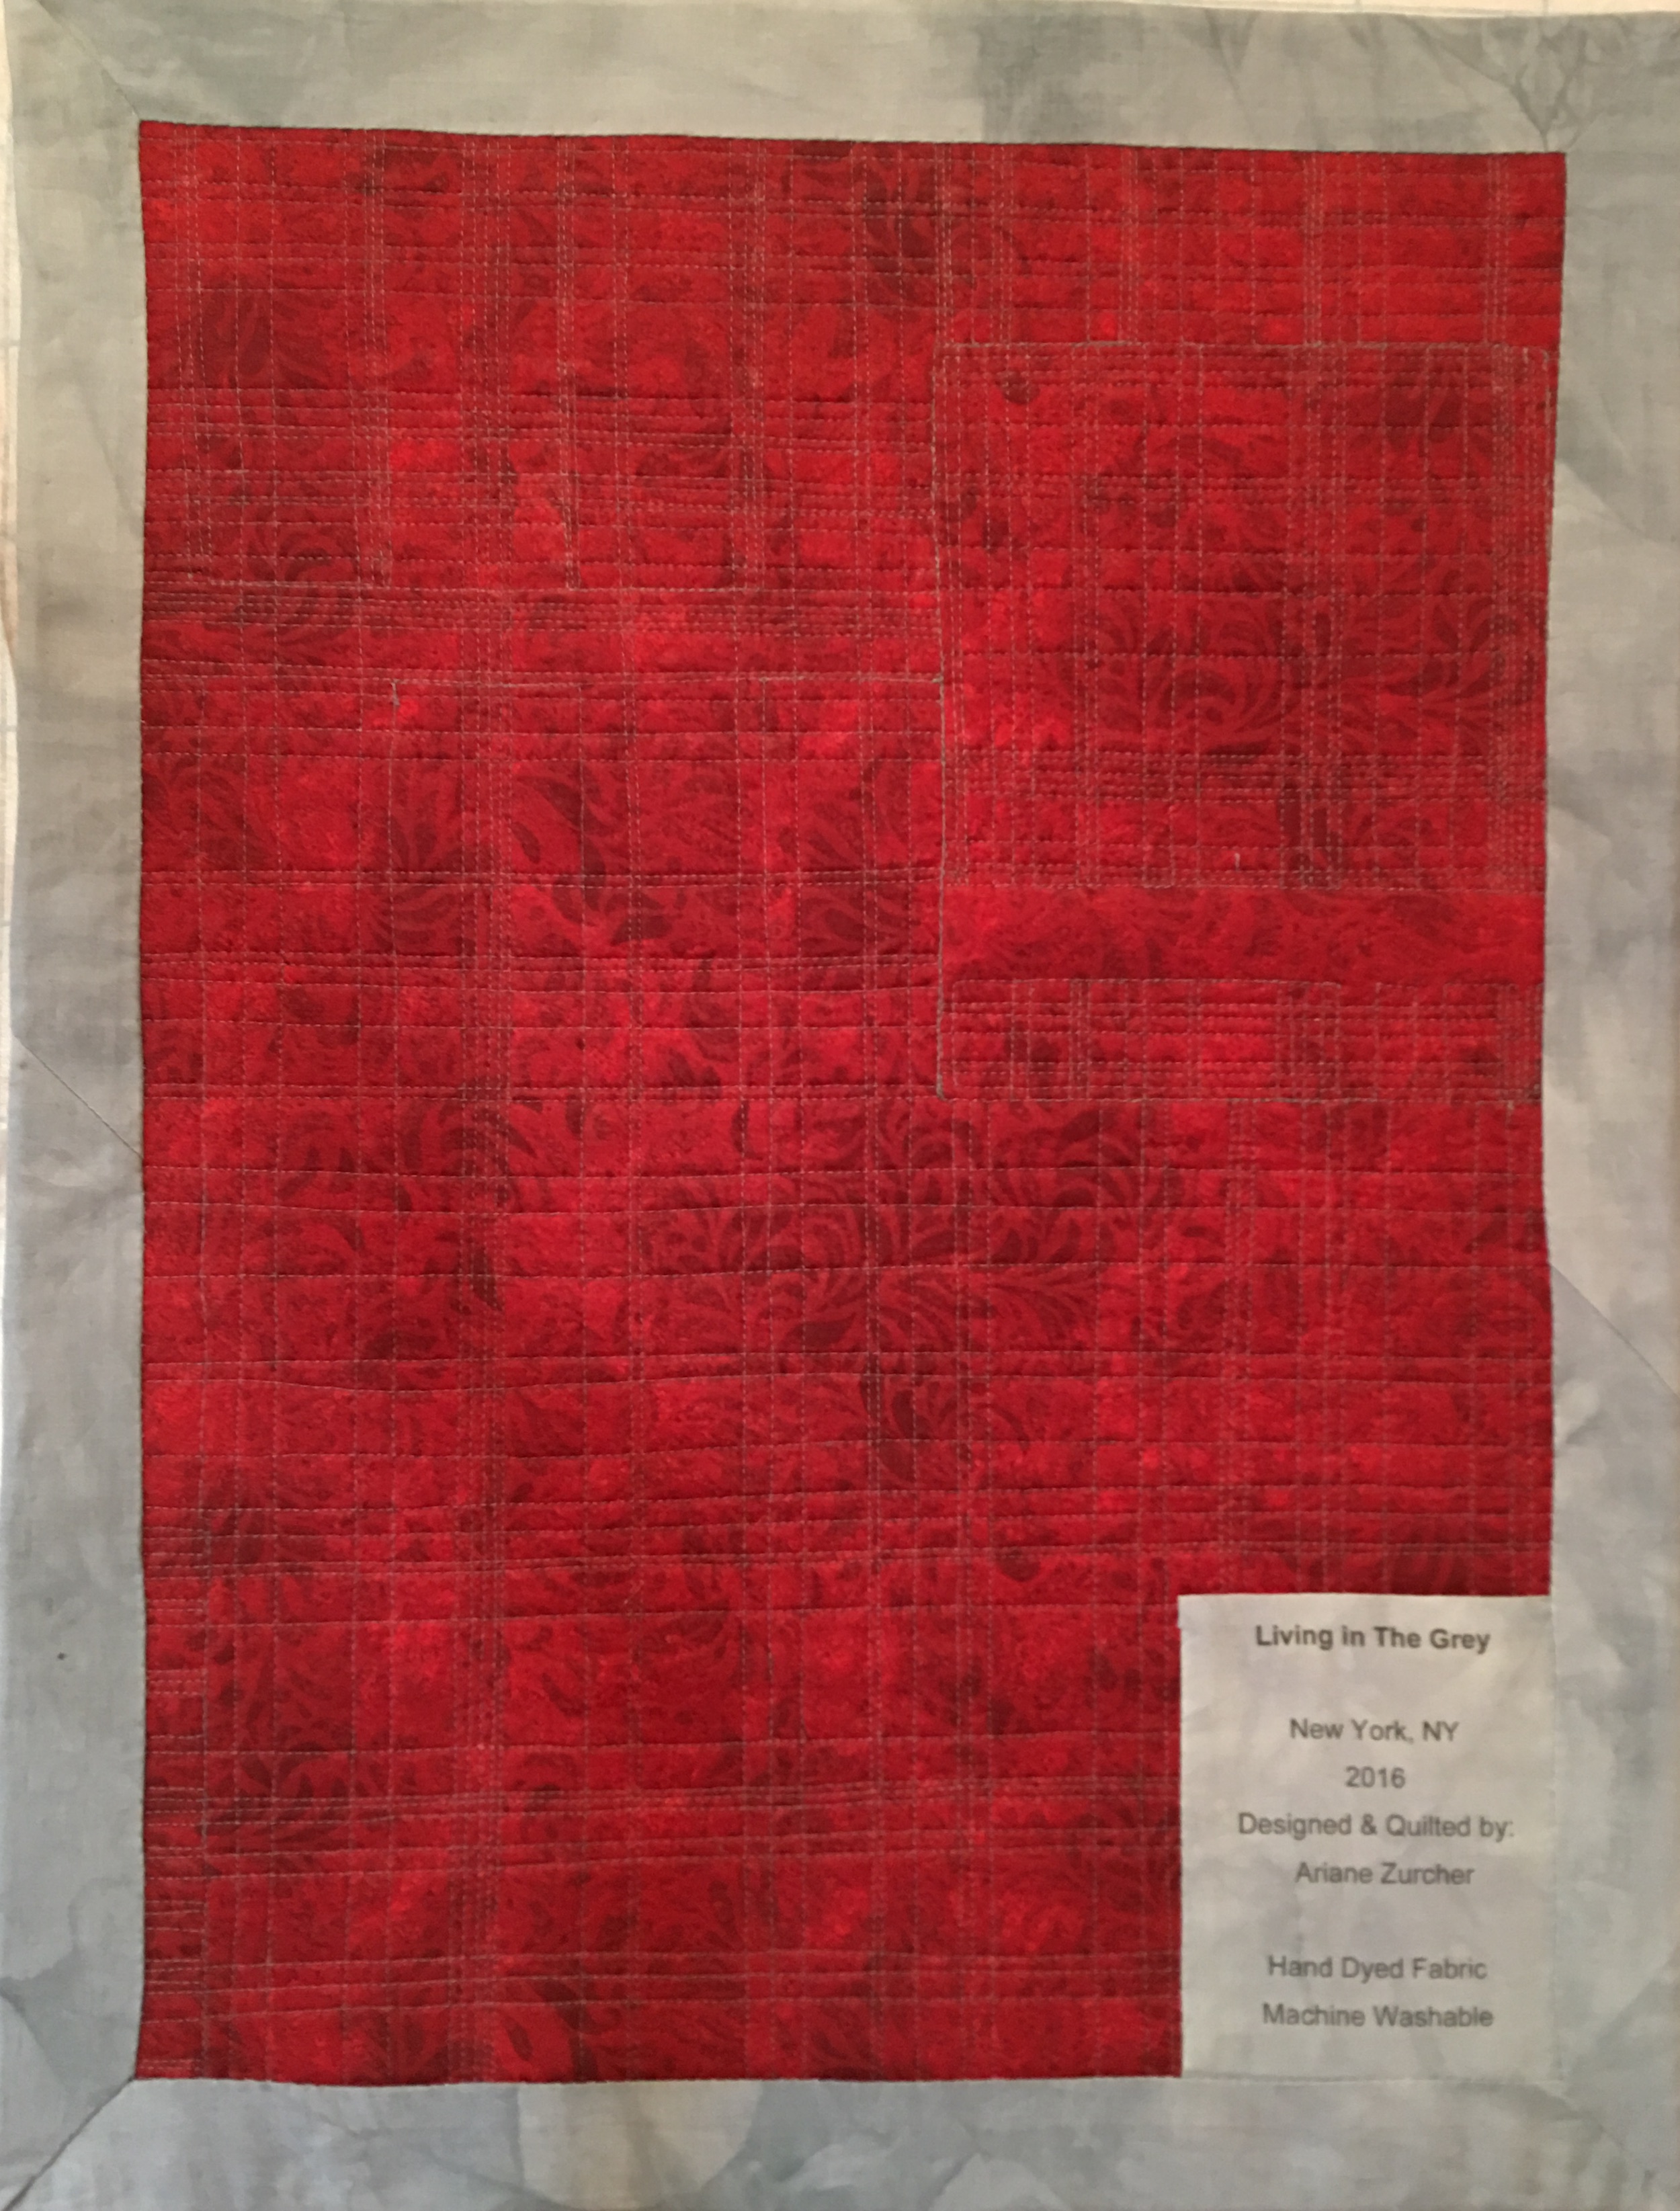
Back to Elizabeth who gave me more excellent feedback, suggesting a different color thread and syncopating the stitches so they didn’t meet with the other lines from the larger piece, and off I went to finish it. I decided against a binding, instead made a facing out of my lightest grey and backed it with a piece of red fabric I had. I made a label, again from one of the light greys and voila! This piece, entitled Living in the Grey, is 17″X 23.5″.
The thing about dyeing your own fabric is how utterly seductive it is. You can mix any color you want by tweaking the proportions of your primary colors. The mottled effect enhances the overall feel of the fabric, making it completely unique and like no other.
We are now in Week Two and are dyeing as many colors as we have the time, inclination and material for. Of course I went totally nuts with dyeing all the possibilities. I admit – I’ve now dyed every color including varying intensities and am eager to start experimenting with the subtler, more nuanced shades of each, but ran out of fabric, dye and other materials I need, so will have to wait until all the things I’ve ordered arrive. Here’s a sneak peak of a few of the colors I dyed over the weekend, (and stayed up until 3 or 4am, I can’t remember now, to do so!) getting ready for my next design using colors. Lots and lots of colors. You could even say… colors to dye for. Oh behave yourself!
I’m just dyeing to read your comments. Okay, okay, I’ll stop.
No, really.
I promise.
You have no idea how hard I’m restraining myself right now.
Welcome to my store!
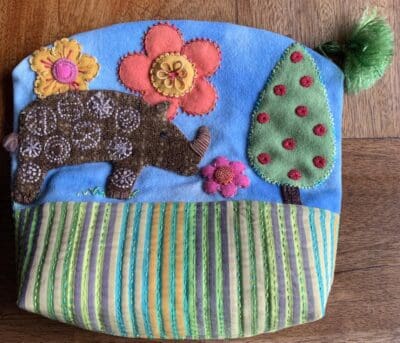
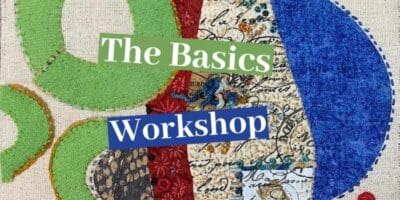
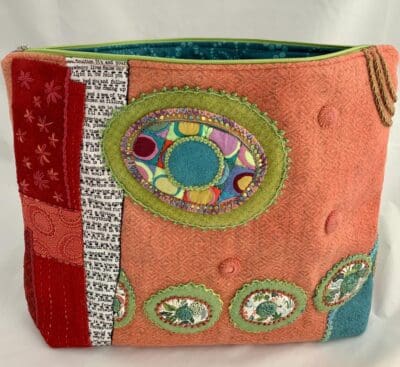
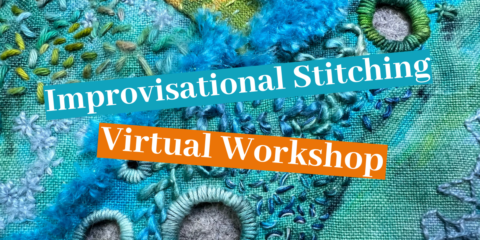
Please browse and look at our patterns available. We also offer Workshops! ~Ariane
 Then, having given up on the idea that I was going to be miraculously hit with a blast of inspiration, I cut up the fabric (just a little, nothing radical) and sewed it back together (photo below.) And then I sent it off to my class for feedback, that’s the whole reaching out thing that I mentioned above… Elizabeth is an excellent teacher and can be depended upon to make terrific suggestions.
 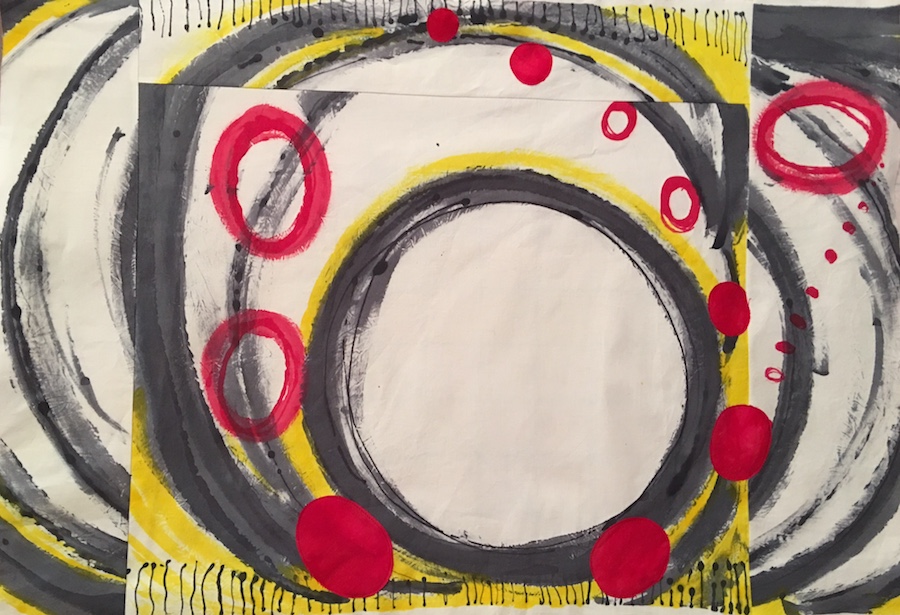 Which led to this…
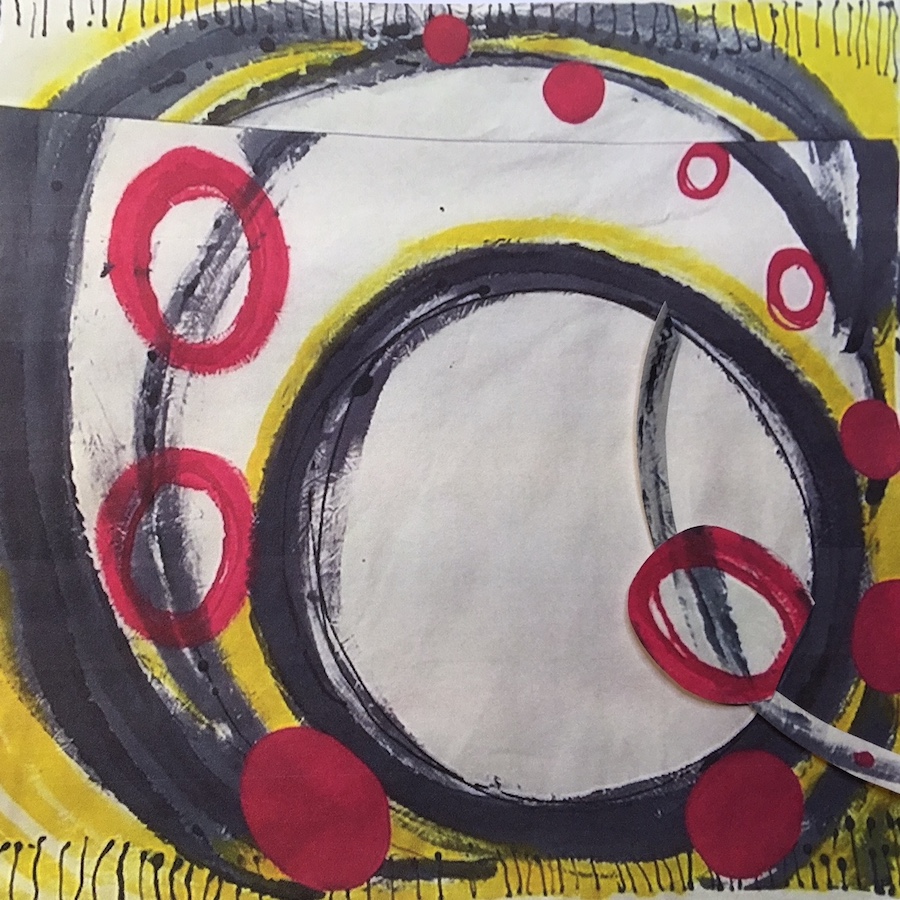 And this…
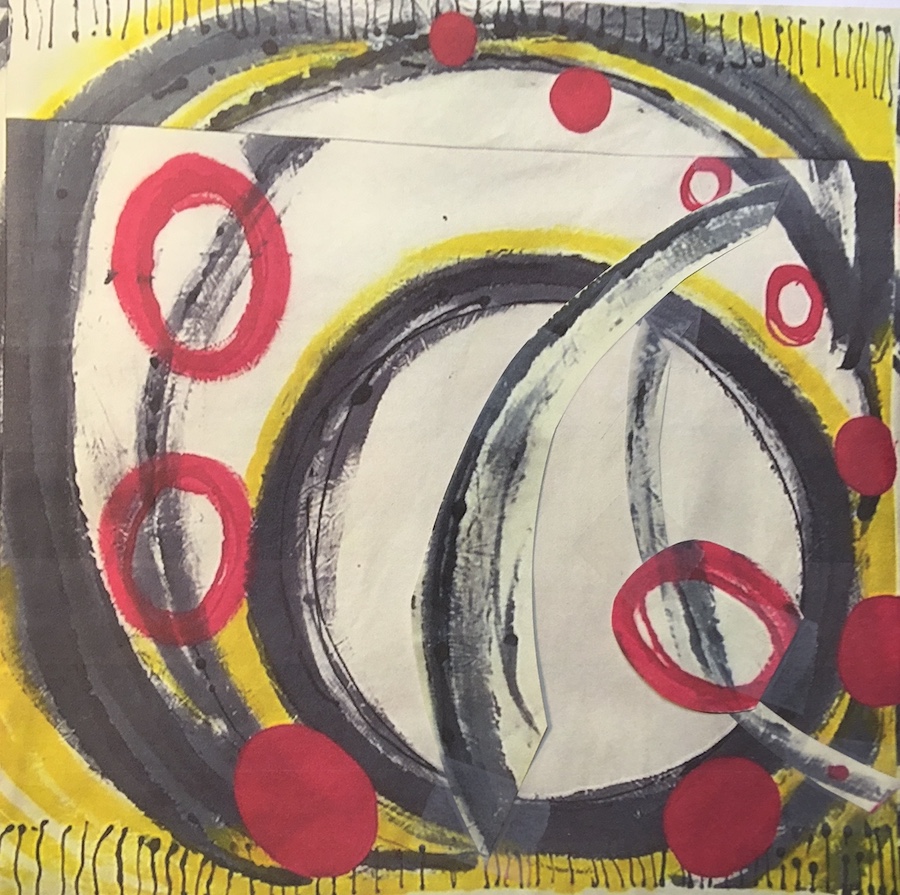 And this…
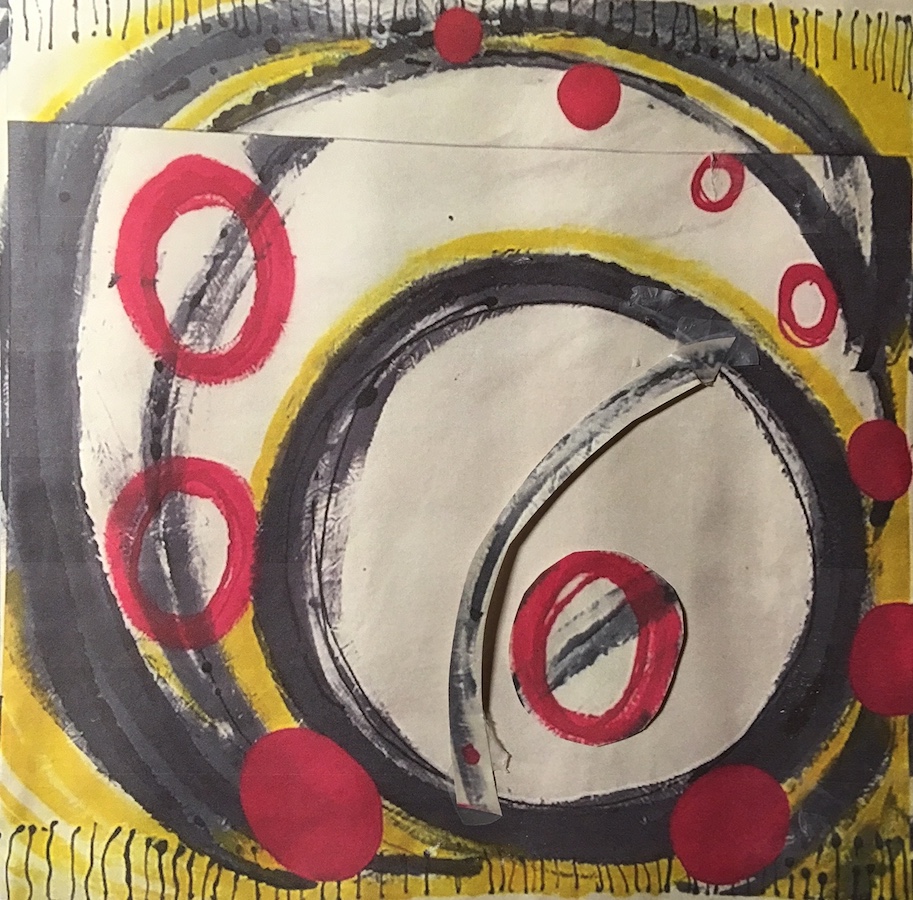
 Which became this… traveling along our various paths…
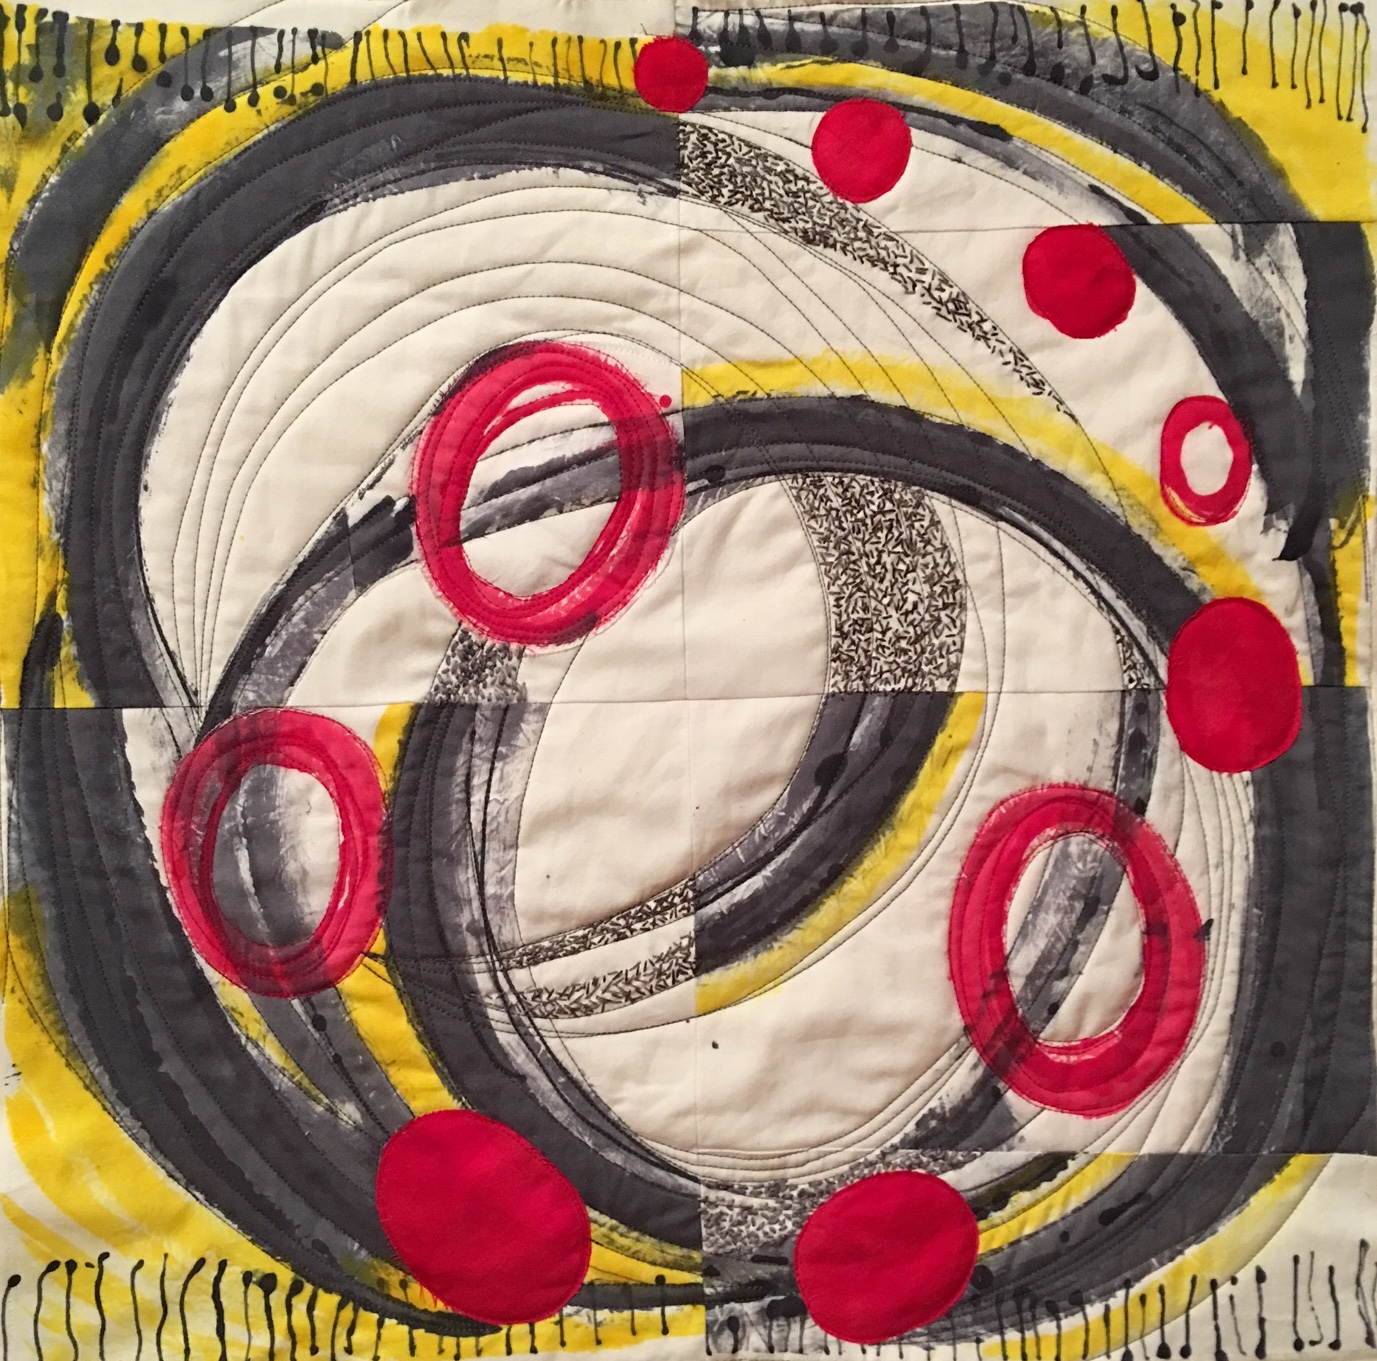 And finally, this… reaching out to others and no longer feeling so alone…
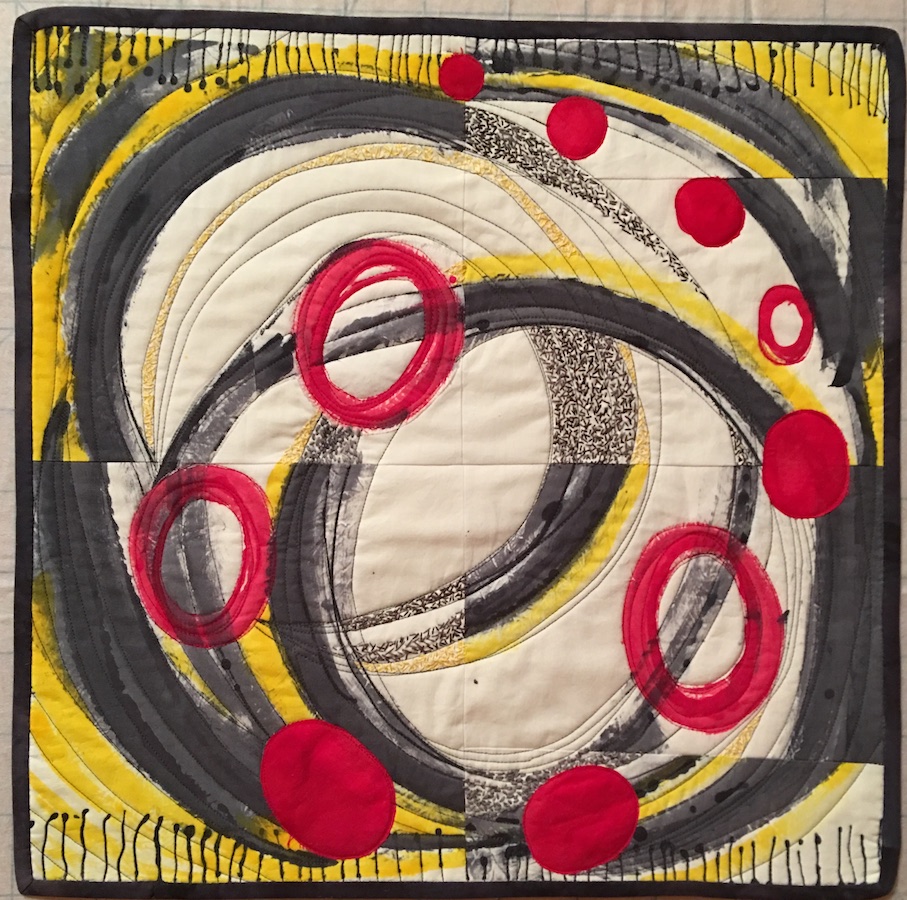 Here are a few close ups of the machine and hand stitching…
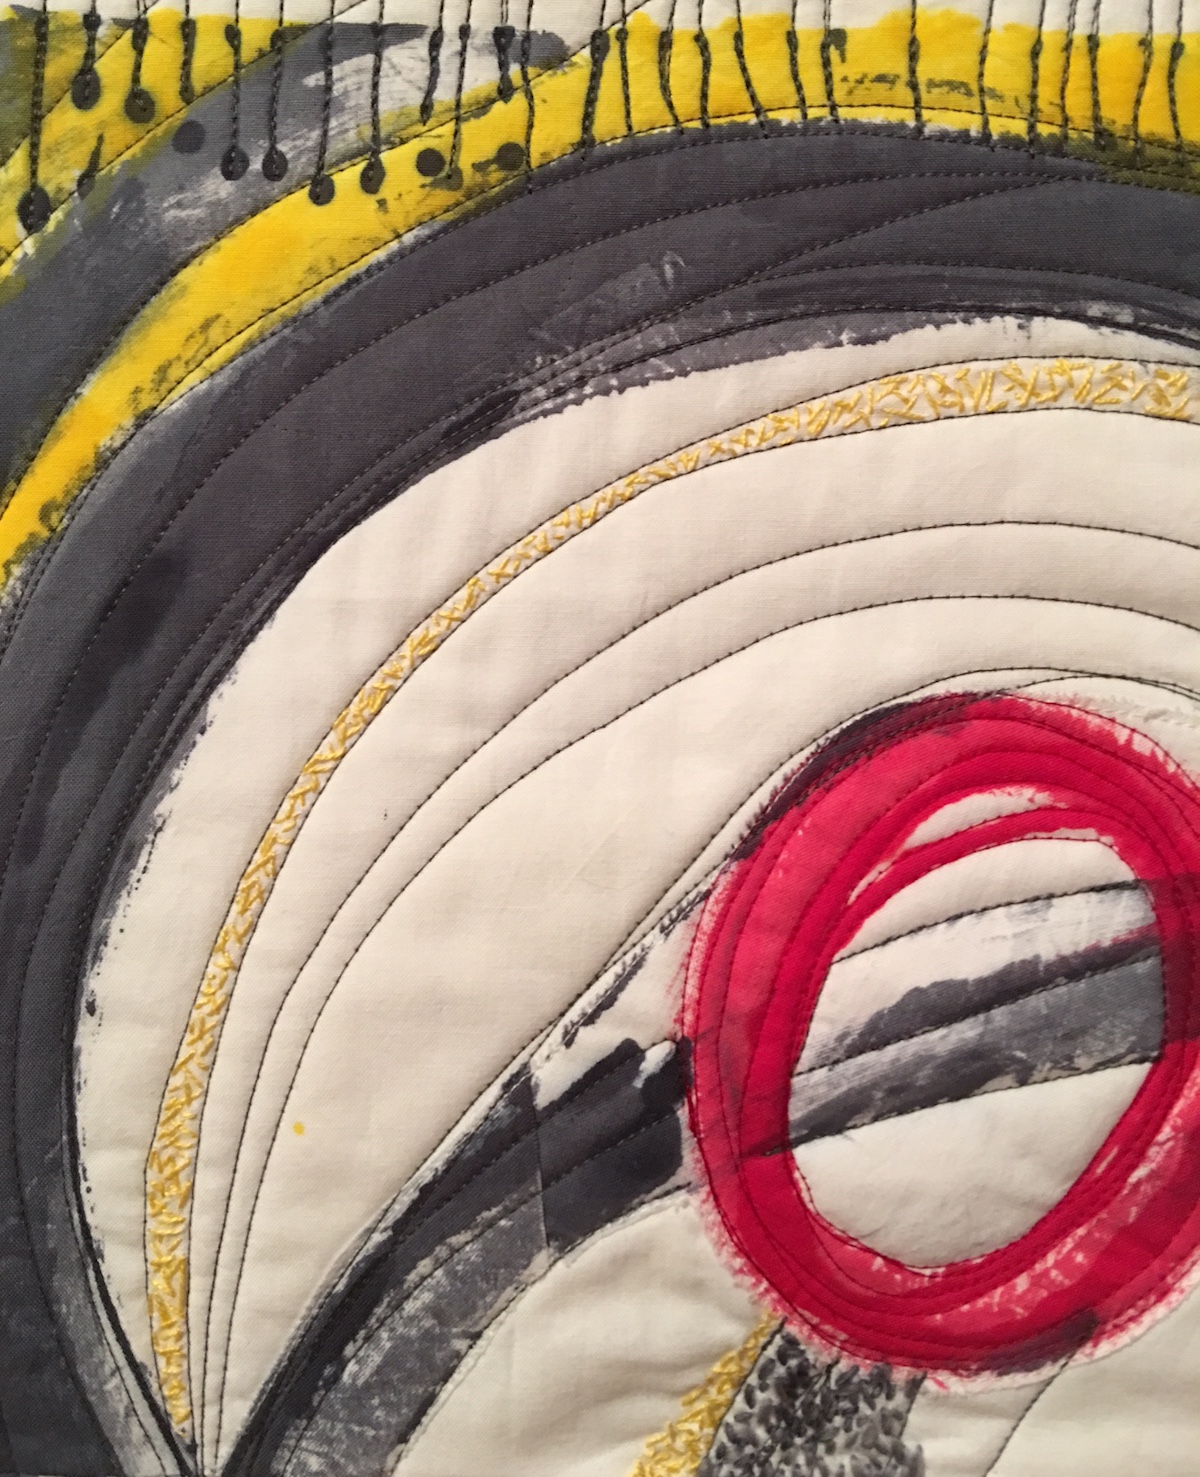

 Designing a piece using these gradations was next. I had a couple ideas and with Elizabeth’s encouragement settled on this one, which also happened to be the first idea I came up with.
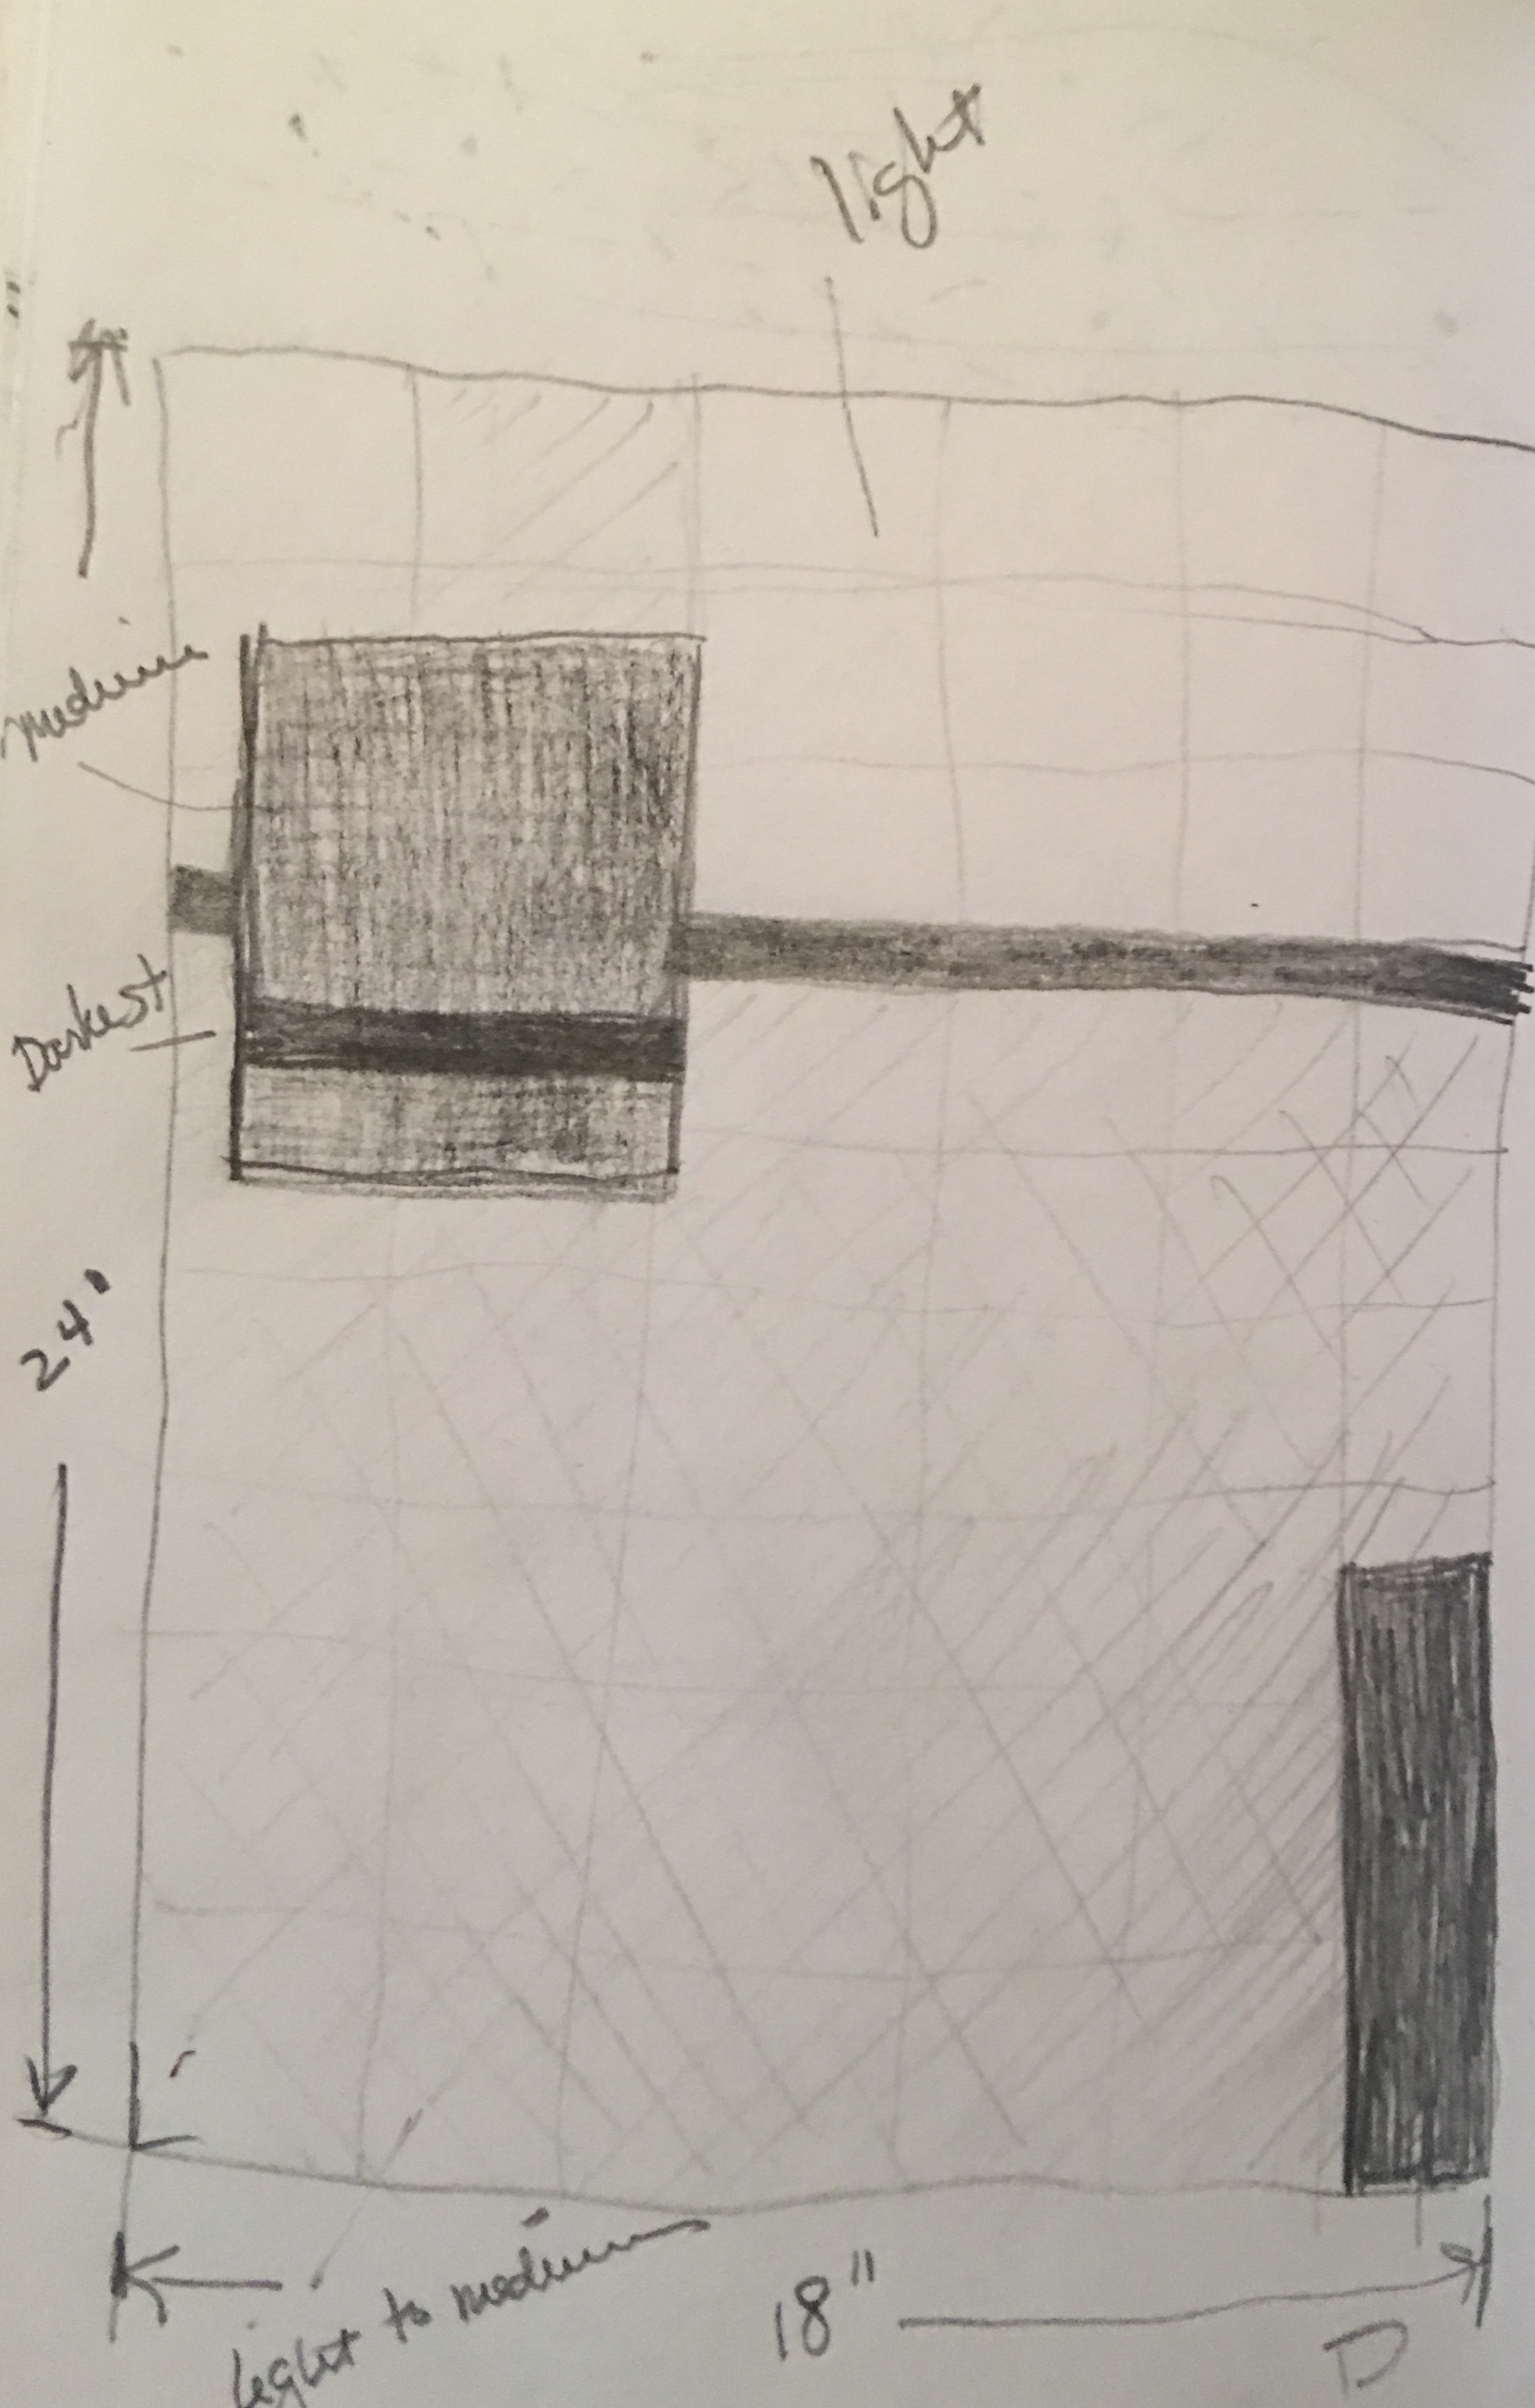
 After consulting Elizabeth (again), she suggested linear and horizontal stitching, I began quilting, but left the larger square alone as I wasn’t sure what to do with it. I wanted to do something, but couldn’t figure out what.
 The thing about dyeing your own fabric is how utterly seductive it is. You can mix any color you want by tweaking the proportions of your primary colors. The mottled effect enhances the overall feel of the fabric, making it completely unique and like no other.
Recent comments