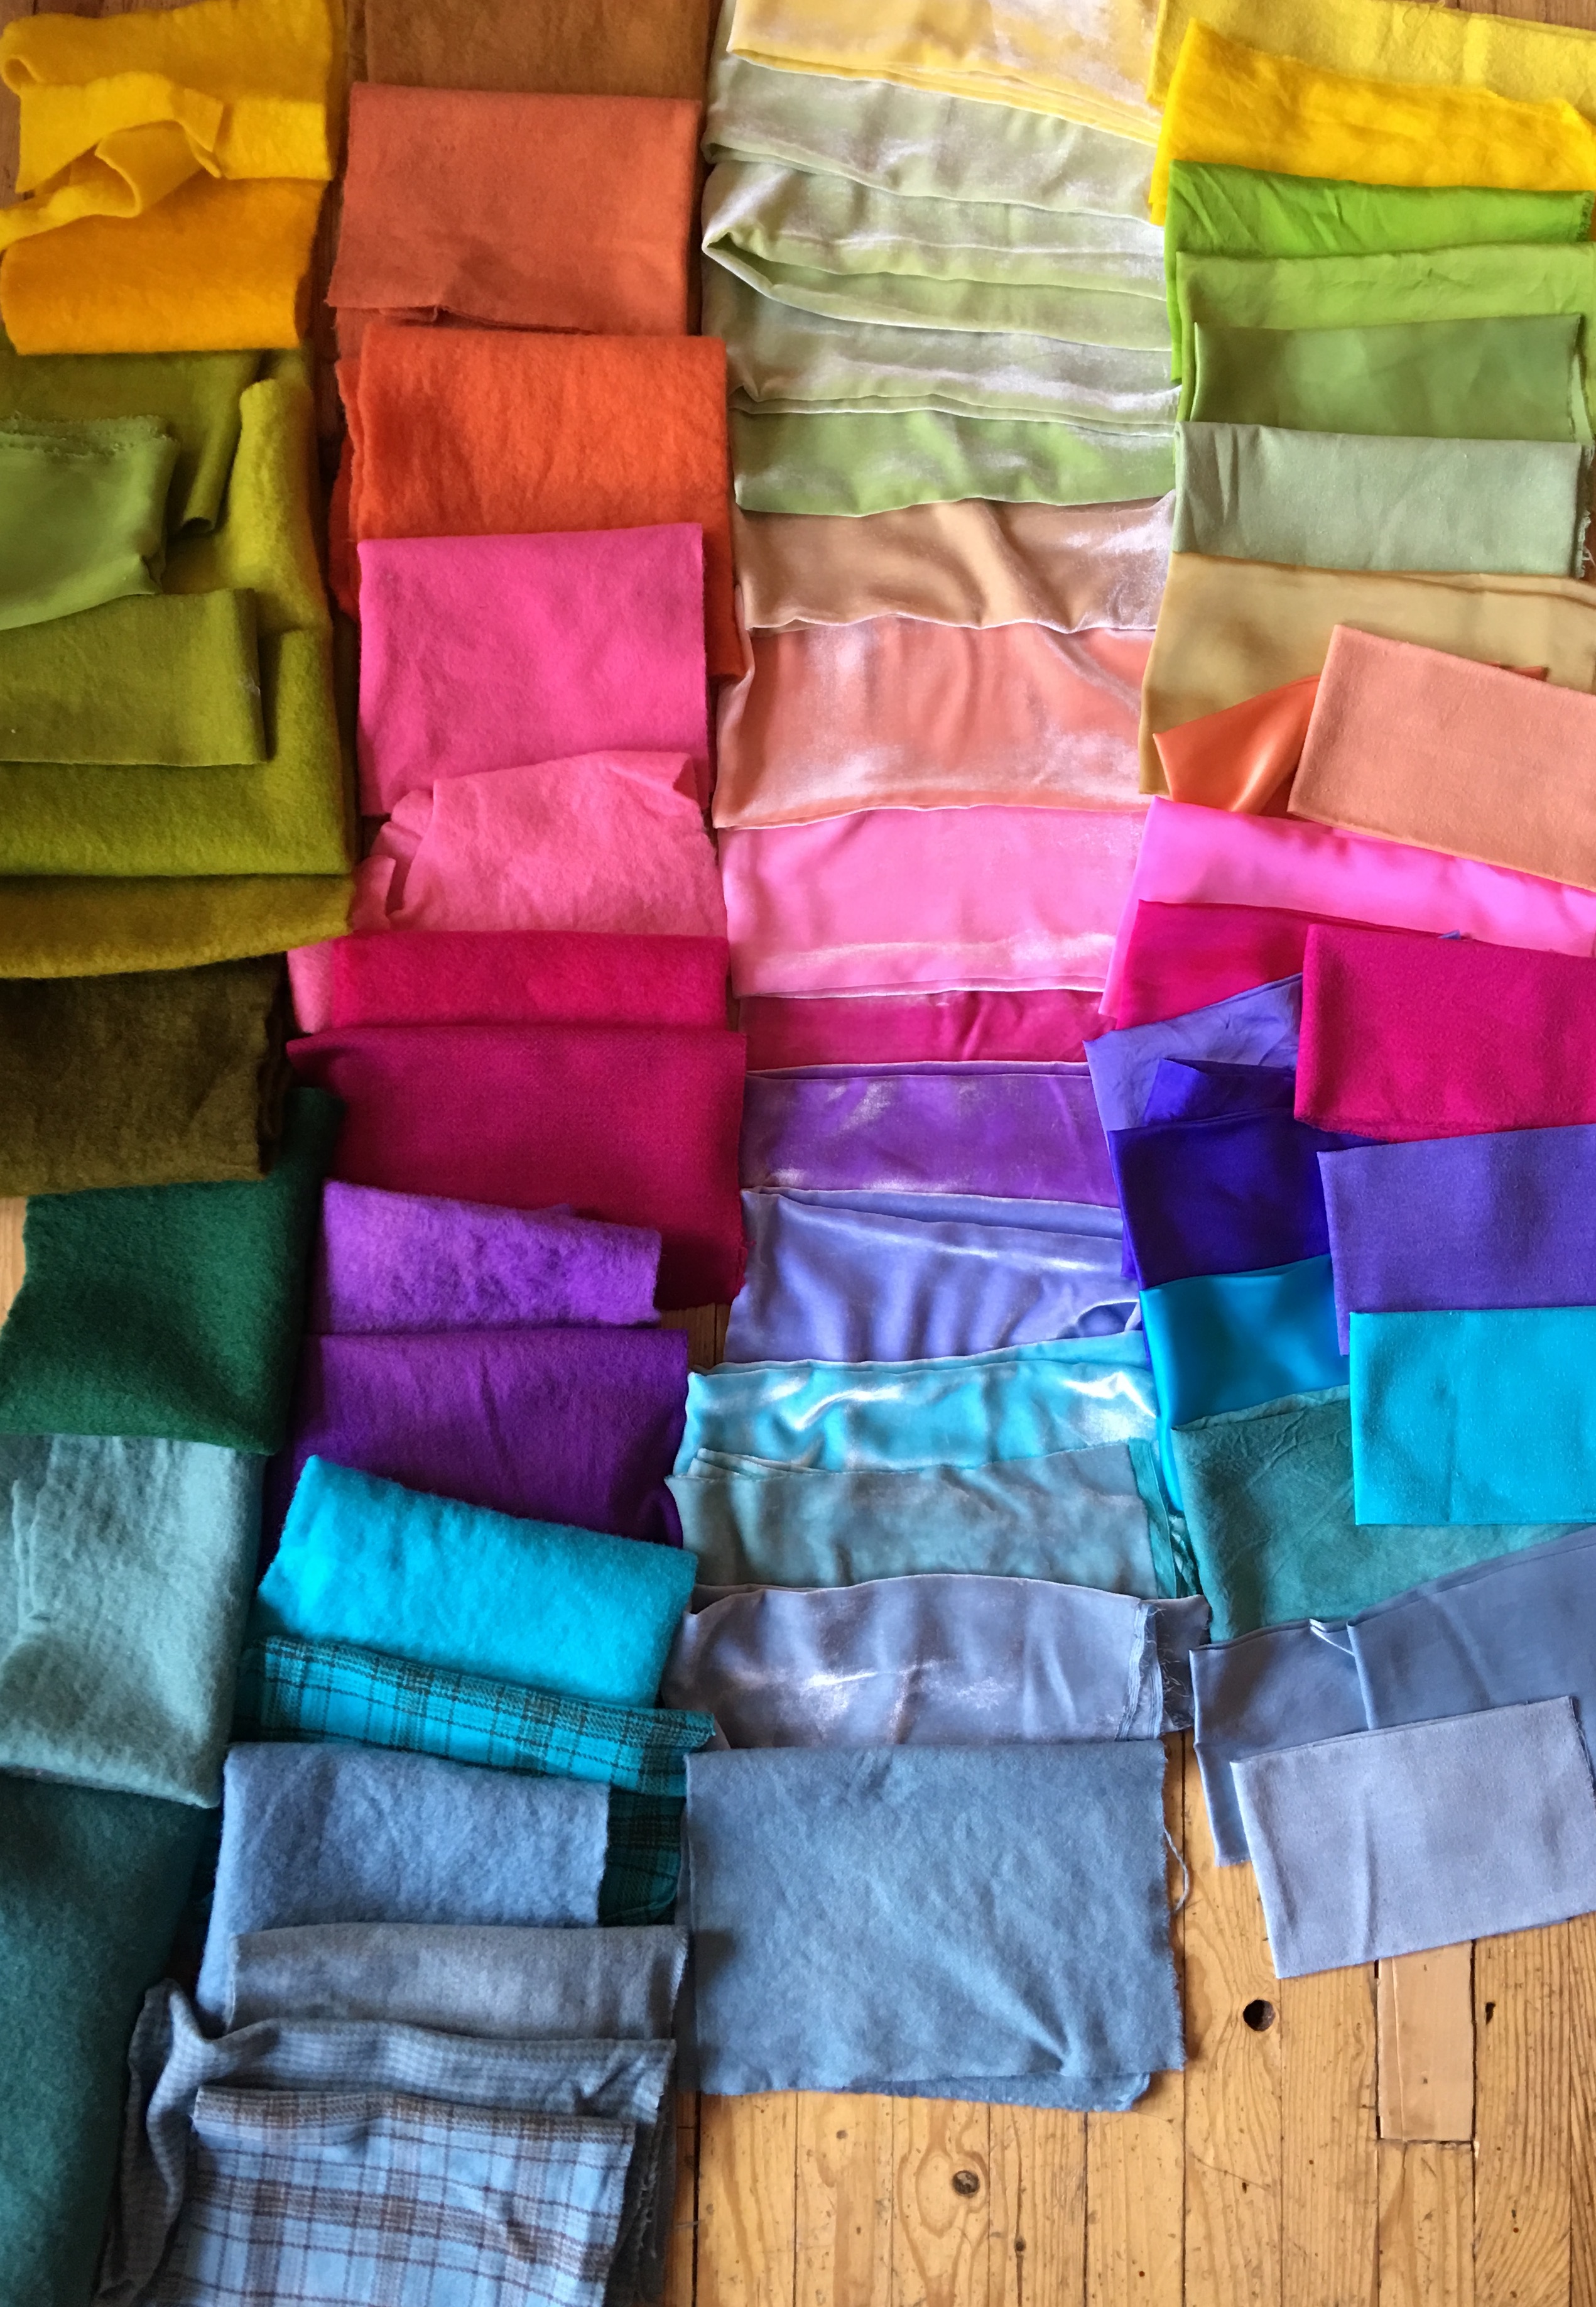
Dyeing fabrics is an obsession. I began with cottons as directed in the Elizabeth Barton class, Dyeing to Design, that I took over at Academy of Quilting. I had little interest in dyeing or so I thought, and only took the class because Elizabeth was teaching it and I wanted to take a class with her and it was the first class closest to the date when I started researching her classes. I had no idea I’d fall so completely in love with dyeing. But I did. After her class ended, I took her other dyeing Class – Basic Dyeing for Quiltmakers where we learned to over dye and dye just about any color we wanted. It was thrilling to see a color, figure out what primary colors went into it and then create it! But as is my way, I wasn’t content to dye just cottons.
I decided I had to learn how to dye wool, which is a different process entirely, so I could finish my block of the month designs (more on that in another post). So I went over to Dharma Trading, a great company that sells dyes and everything related to dyeing. I sourced wool fabric, also not as easy as one might think, and then purchased a small amount of wools, silks, raw silks and silk/wools from a couple of different places. I even found some lovely silk velvet at Dharma, perfect to use on my wool appliqué pieces that I began designing a few months ago. And I began dyeing.
Aren’t they beautiful?
Here are all the cotton fabrics I dyed in Elizabeth’s class, including some of my silk screens and shibori dyed cottons…
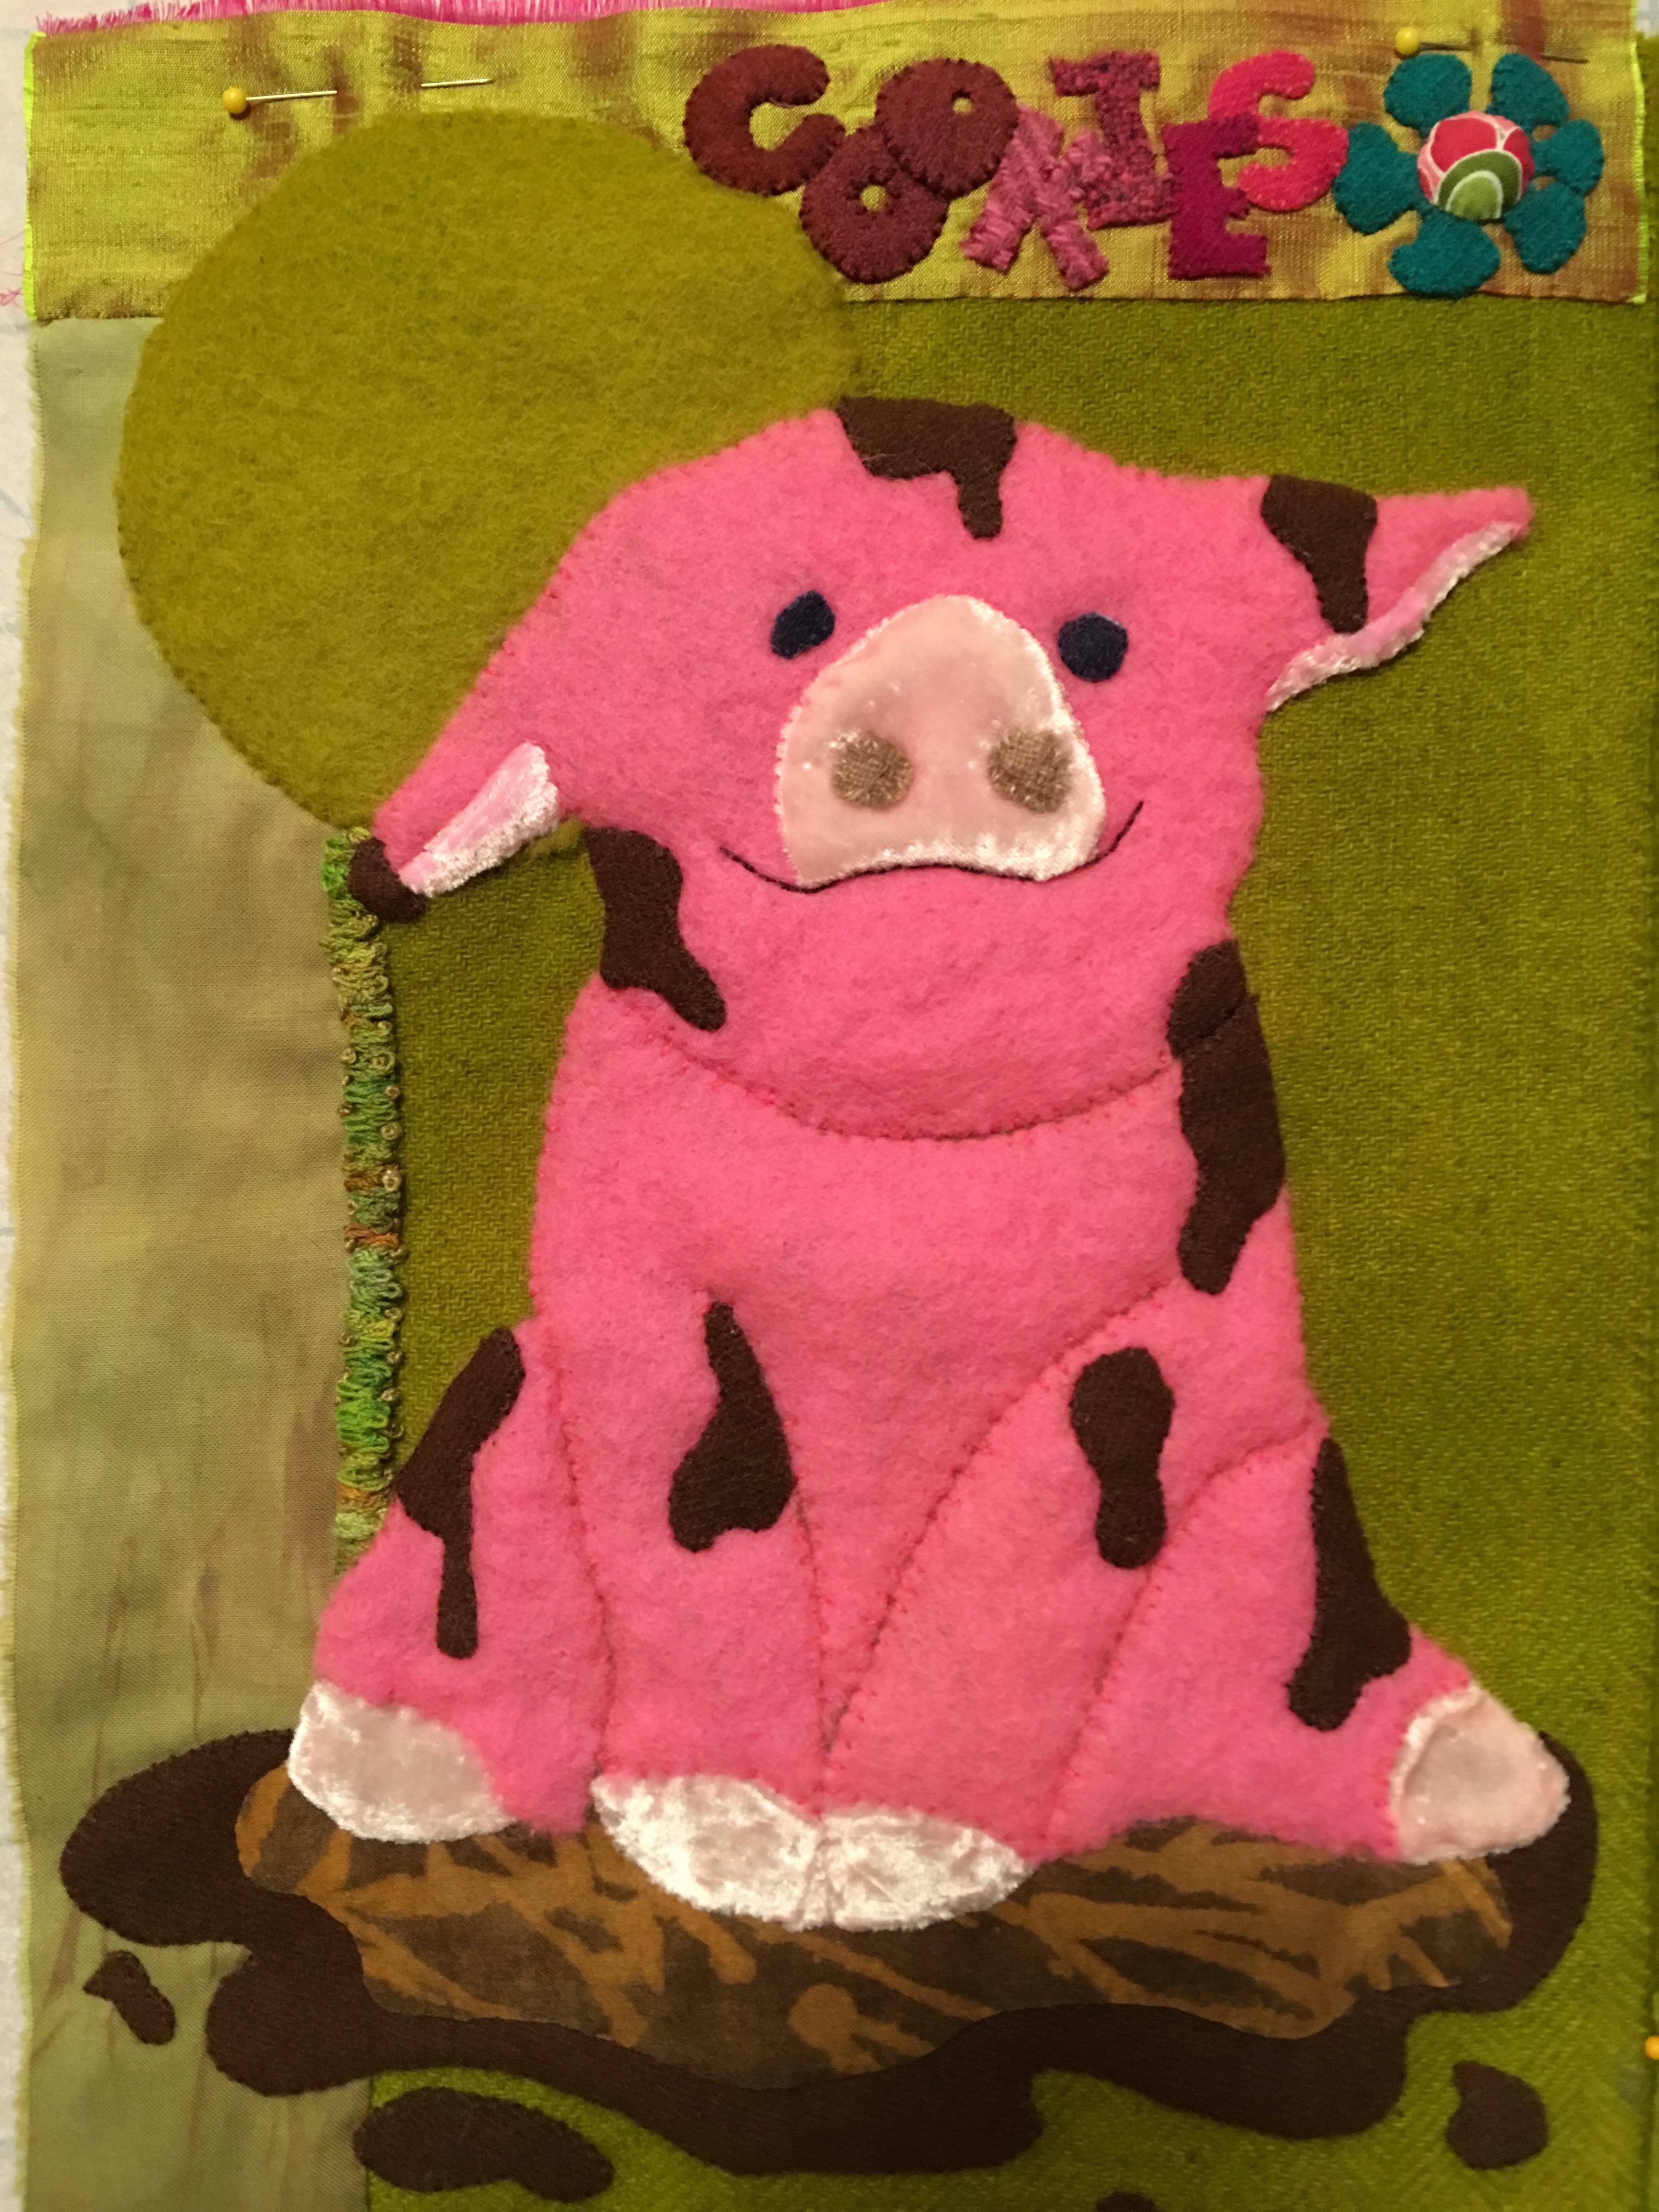
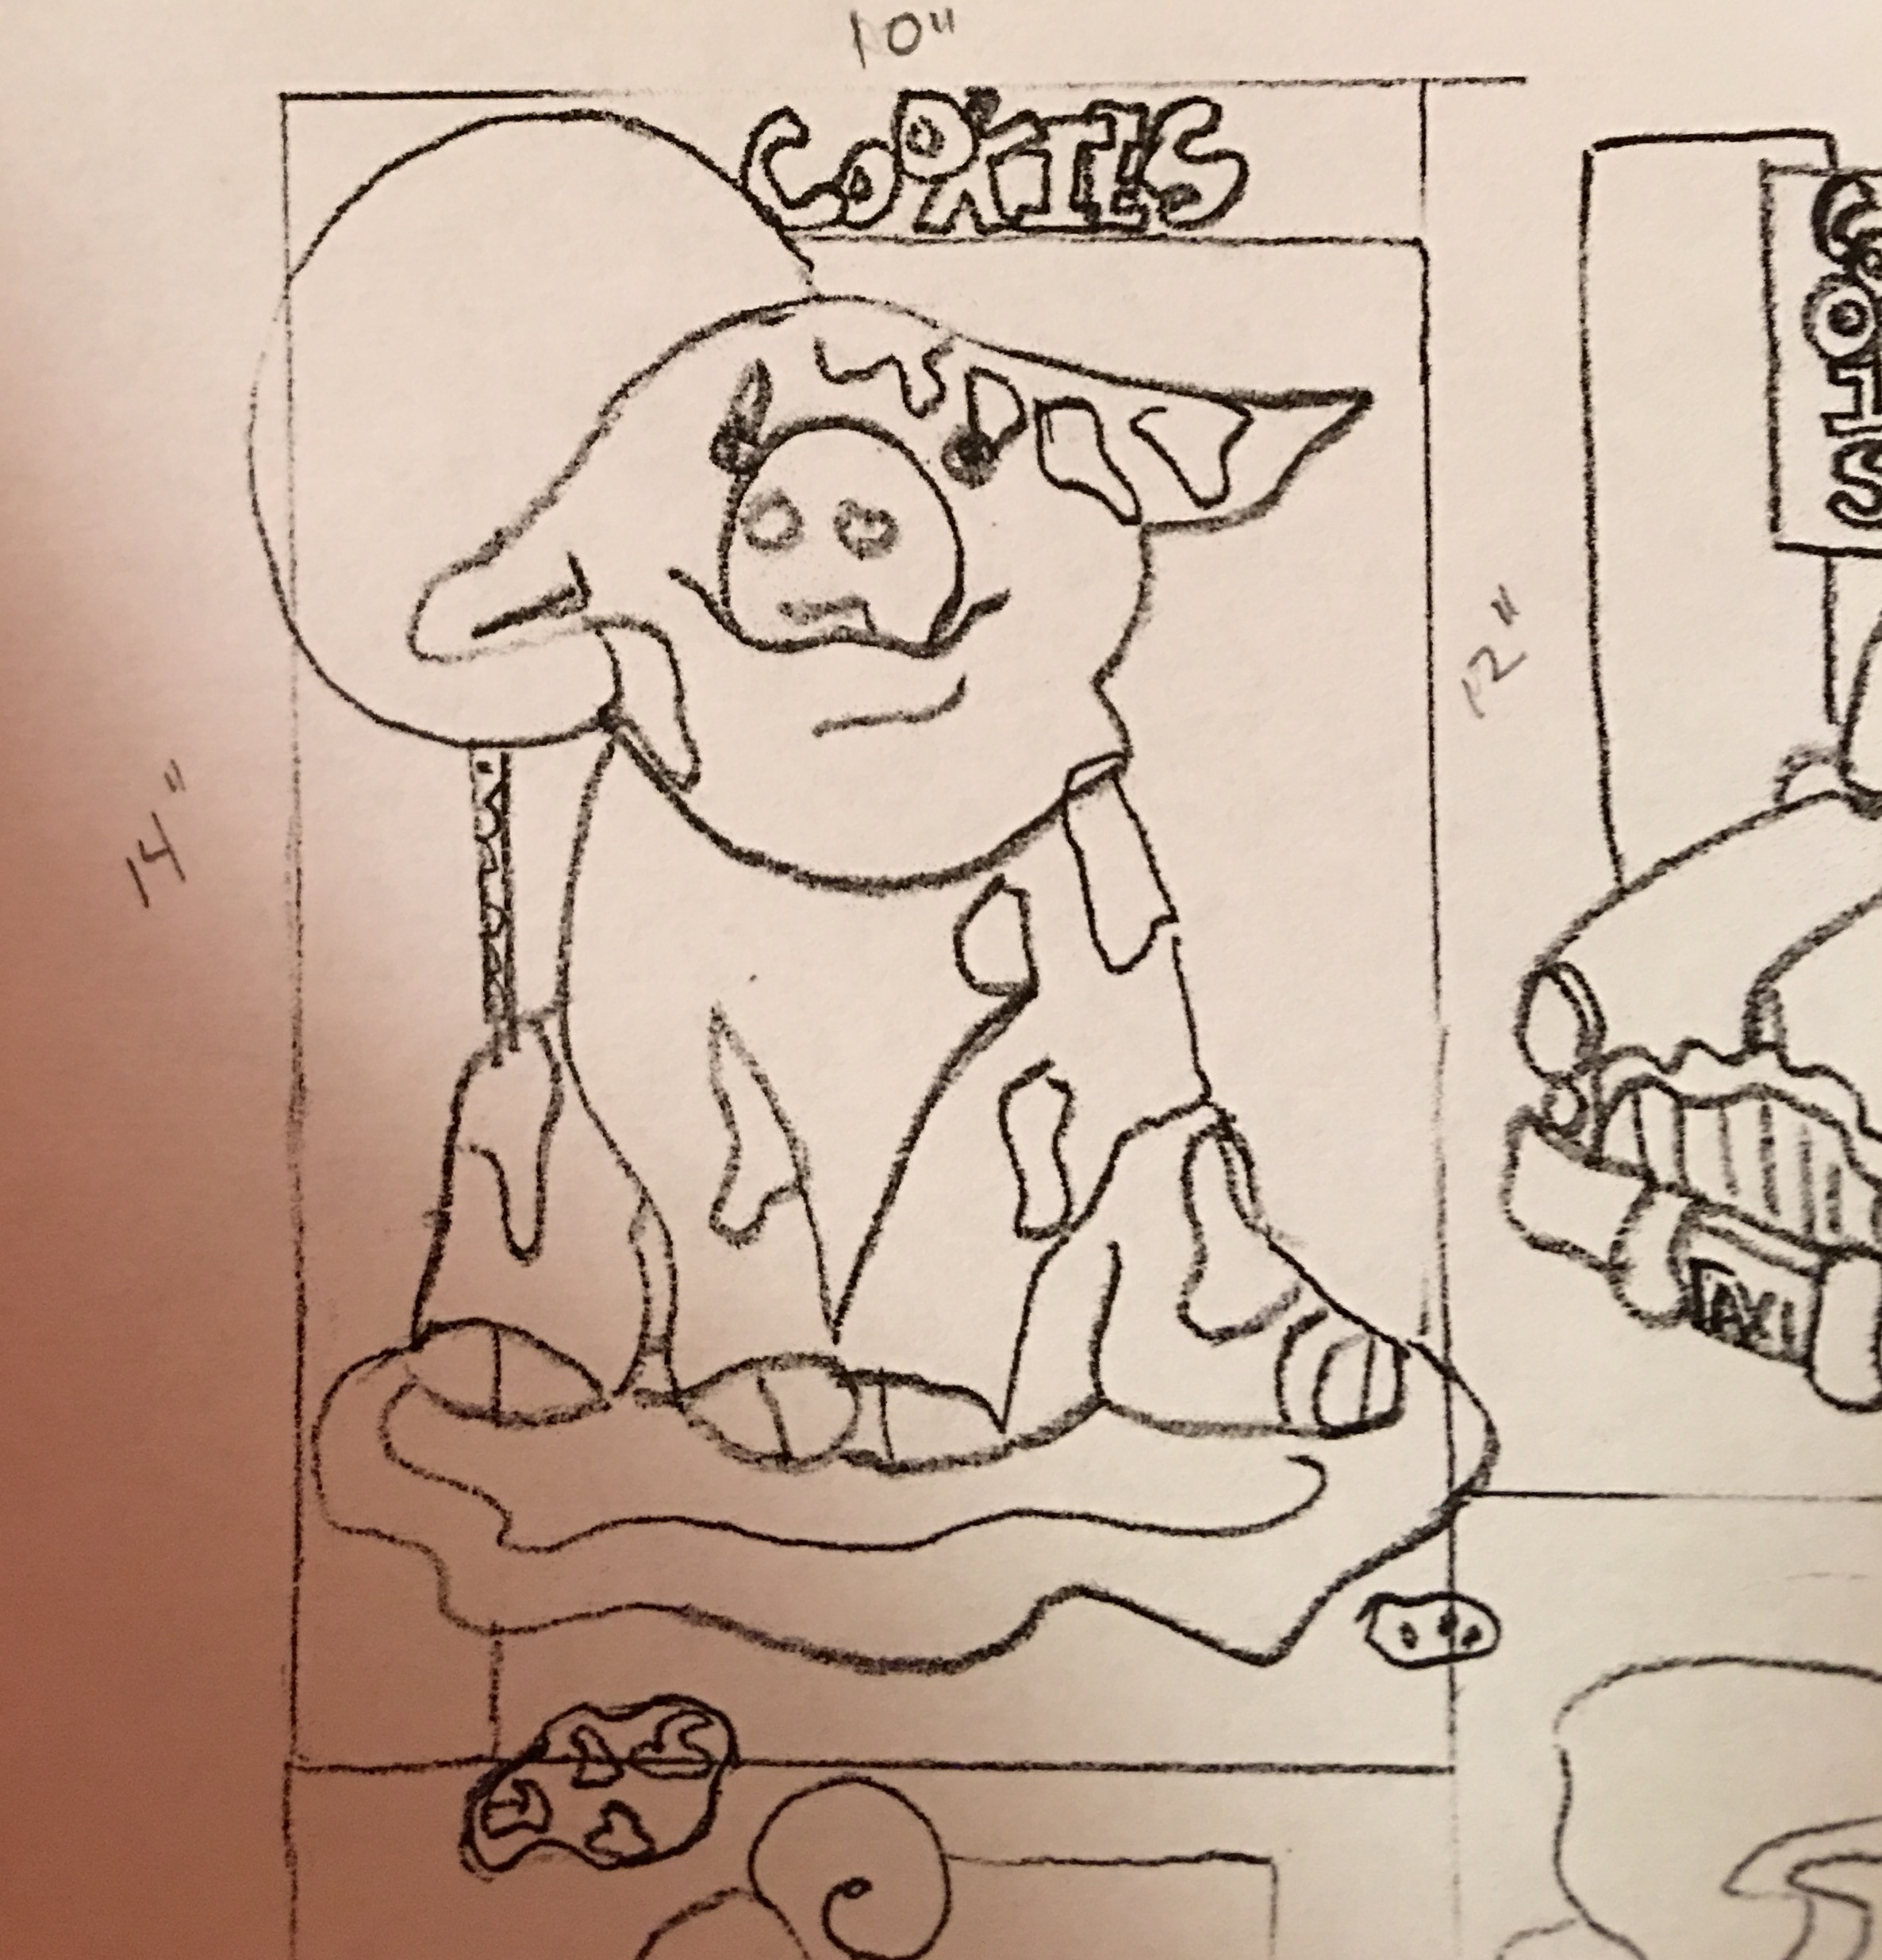
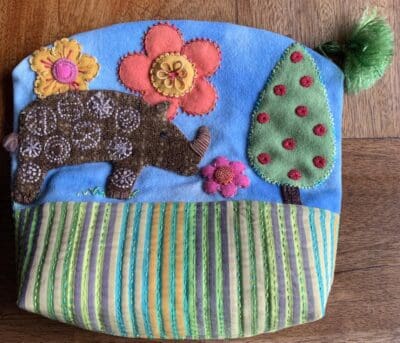
Now I’m back to designing so I can use all of these lovely fabrics. This is the beginning of Mr. Pig. He still needs to be embellished and is one of twelve blocks for my Block Of the Month project featuring cookie jars that I’m in the midst of creating patterns and, hopefully, kits for, that will come with many of my hand-dyed fabrics as well as everything you’ll need to make each block.
Notice the cotton fabric to the far left? That is one of my shibori dyed cottons and the green wools and pink wool and velvet are all my hand-dyed fabrics too!
Yay, I finished it!! My first large quilt. I began it in January and finished yesterday.
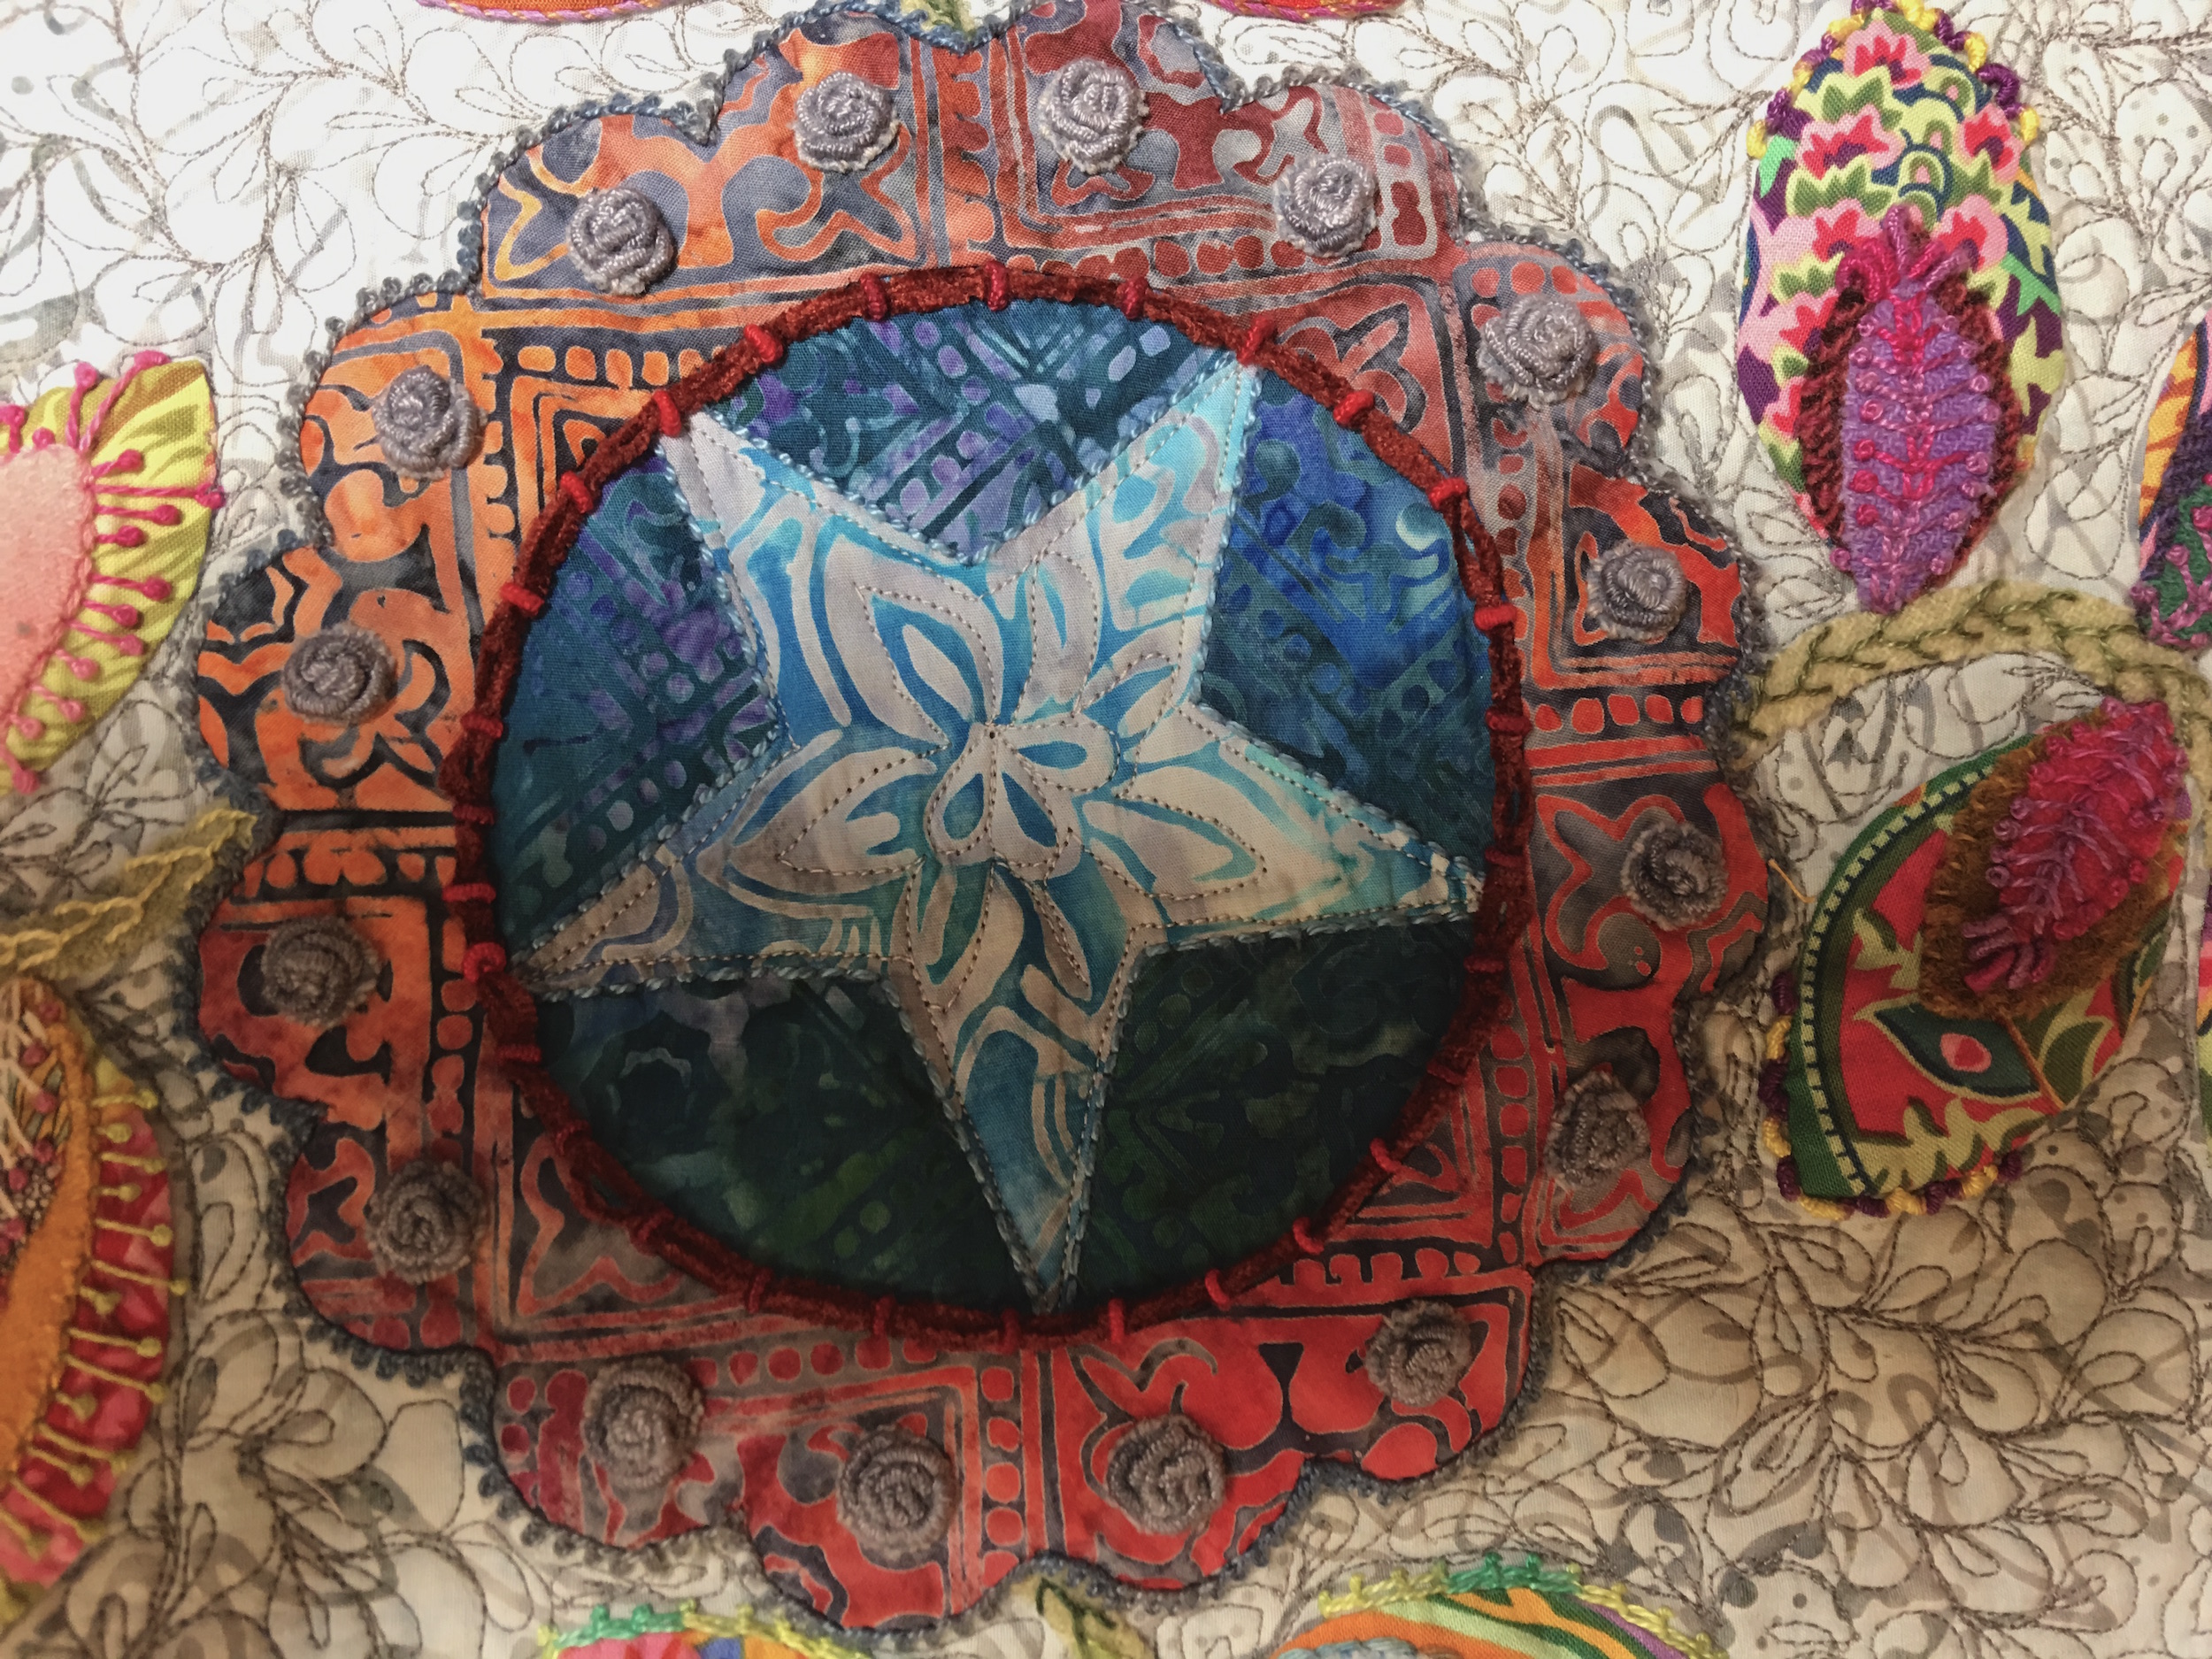
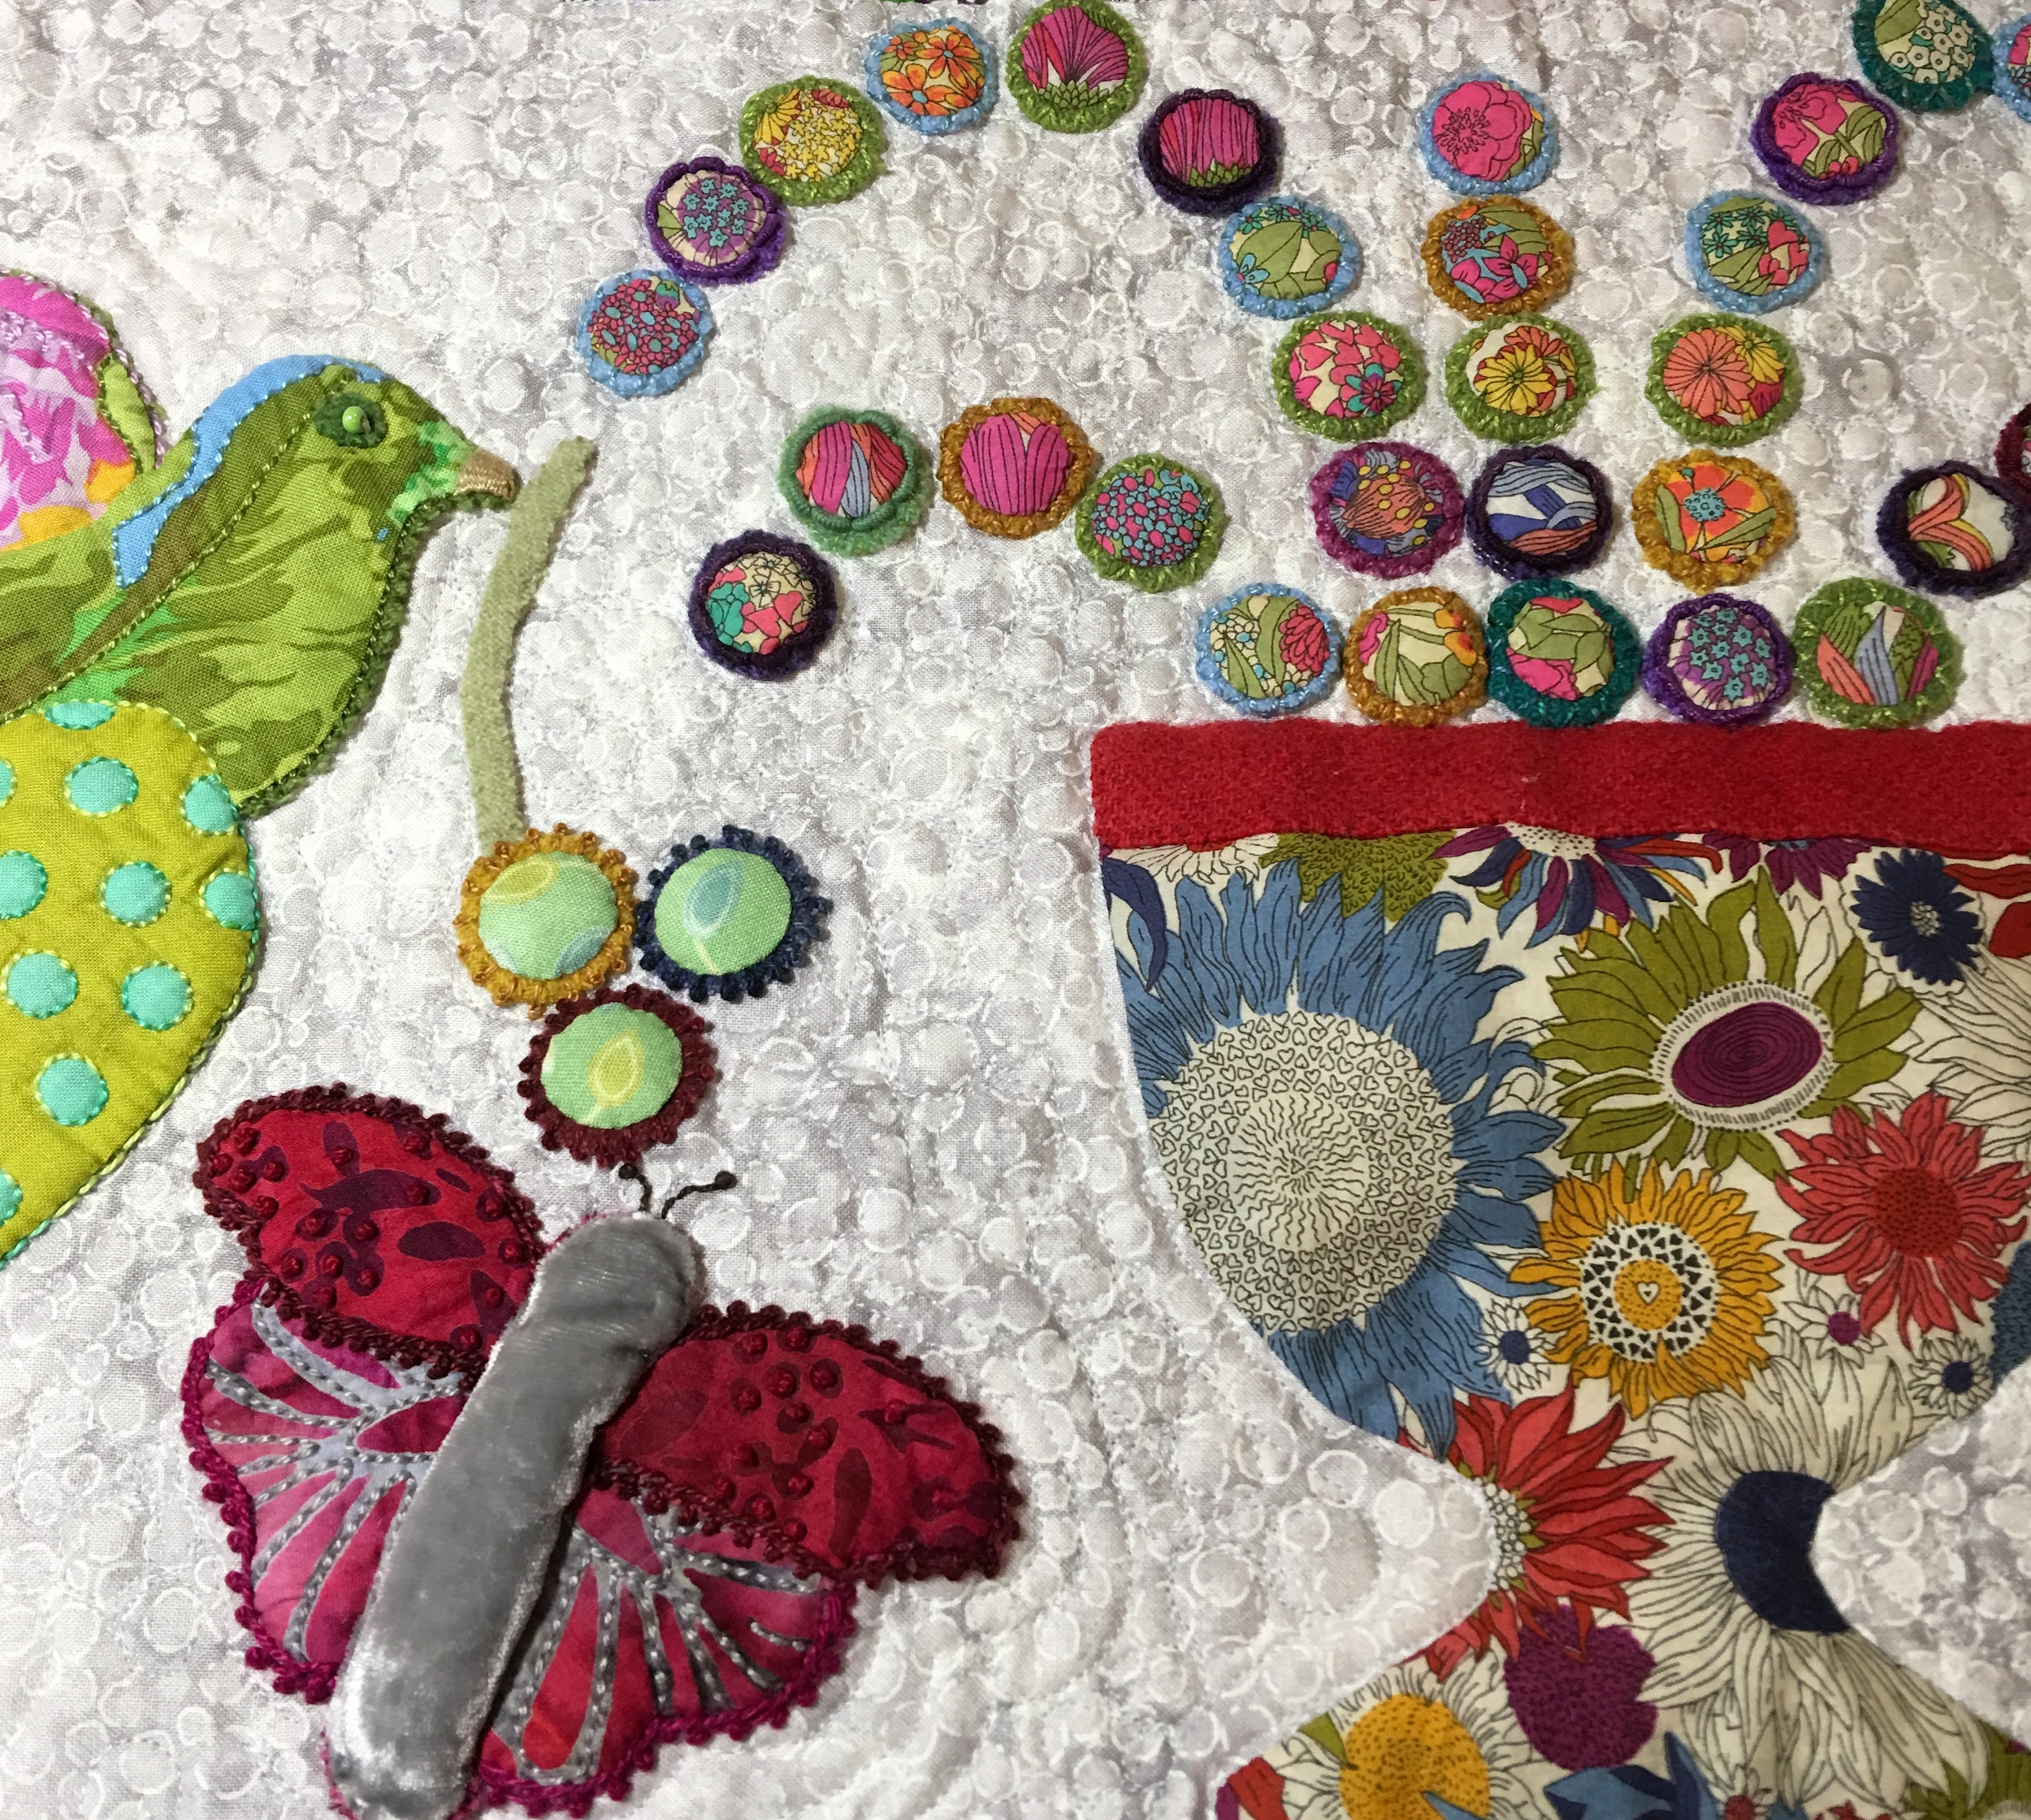
This is the queen-sized quilt that I have written about ‘here‘, ‘here‘, ‘here‘ and ‘here‘. In a nutshell this quilt was my starter quilt. I wanted to learn how to make a quilt start to finish. This quilt was designed by Kim McLean and is called Flower Pots. I took a class where we followed the pattern, learned to appliqué, and got to use all the things I had learned from Sue Spargo – layering, using different fabrics such as wool and velvet and then perle cotton and other threads and a multitude of stitches to enhance the shapes. I hand stitched all the appliqué and machine stitched the panels together with the sashing and border. I then used a wool batting and learned how to free motion quilt. I used a red batik for the binding, cut on the bias and hand stitched the back. Finally I made and applied a quilted label.
This first picture is of the lower center panel where I decided to try an emerging pattern of double leaf free motion quilting shape. I used a slightly darker grey thread.
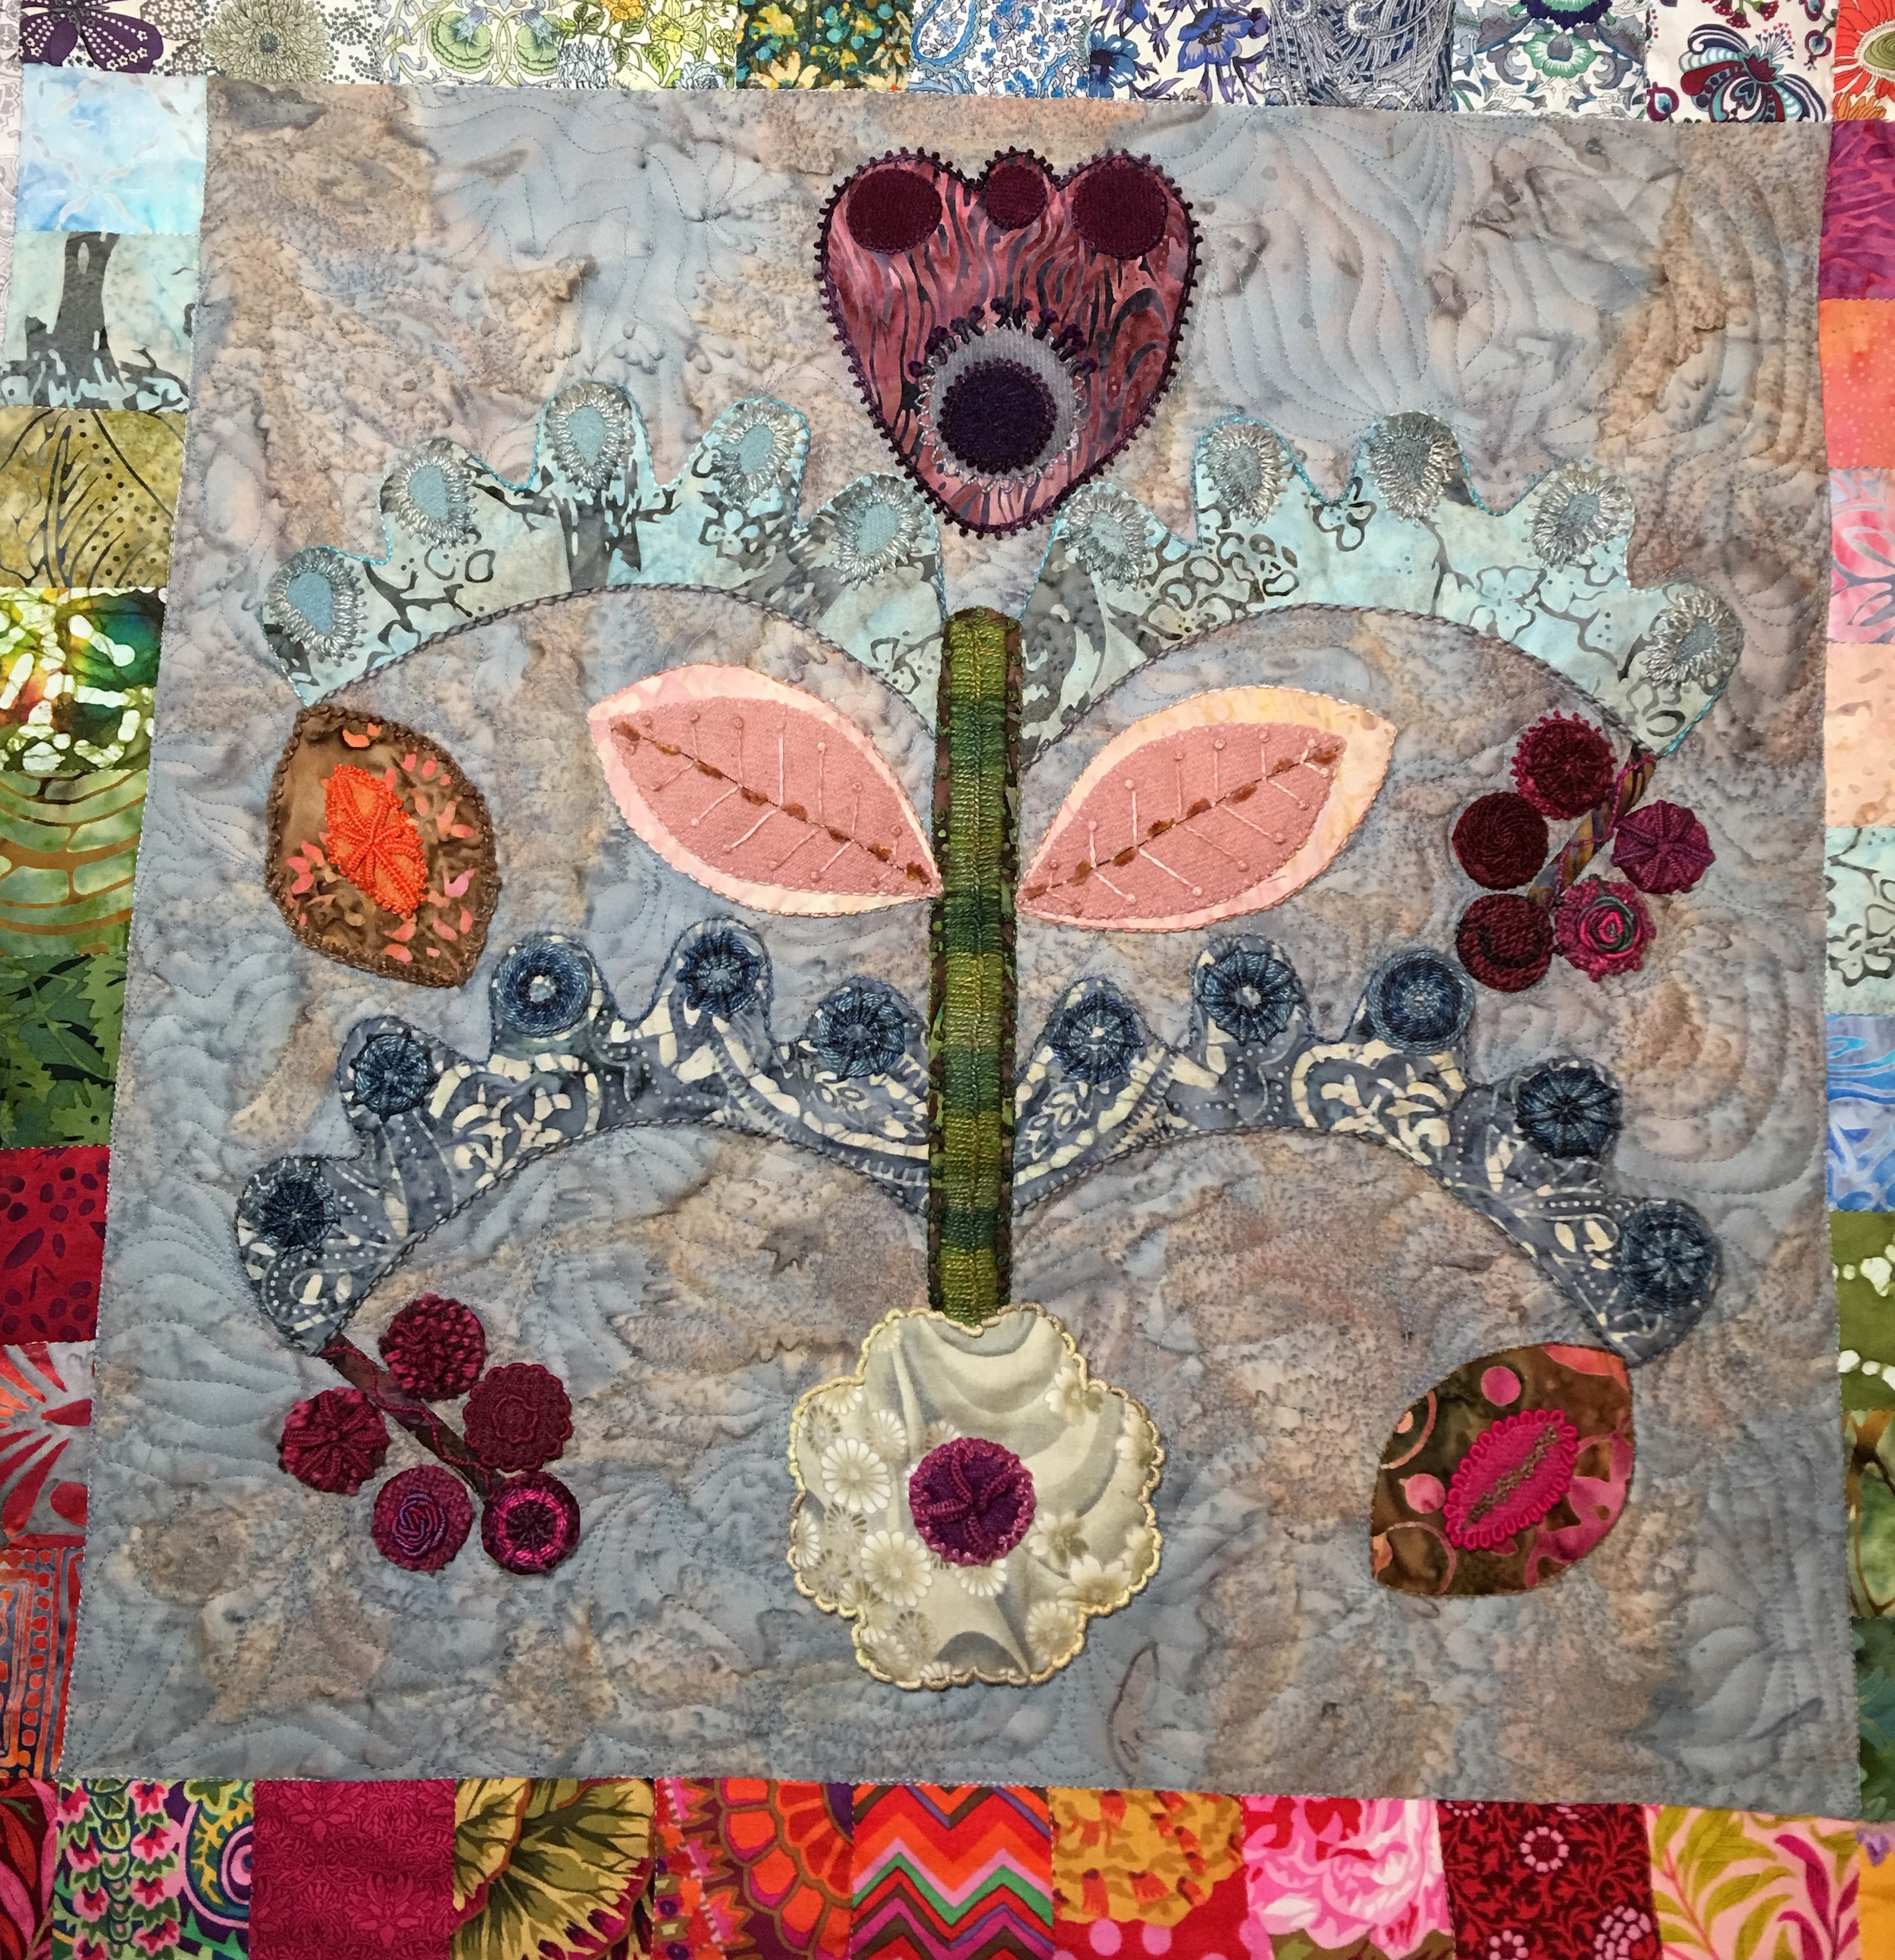
Center Star Panel
For the upper center panel I wanted to try my hand at McTavishing, which is named after a woman who created a specific way to free motion quilt. After a few times, I went off and did my own thing, echoing, but also playing with flame shapes.
Top Center Panel
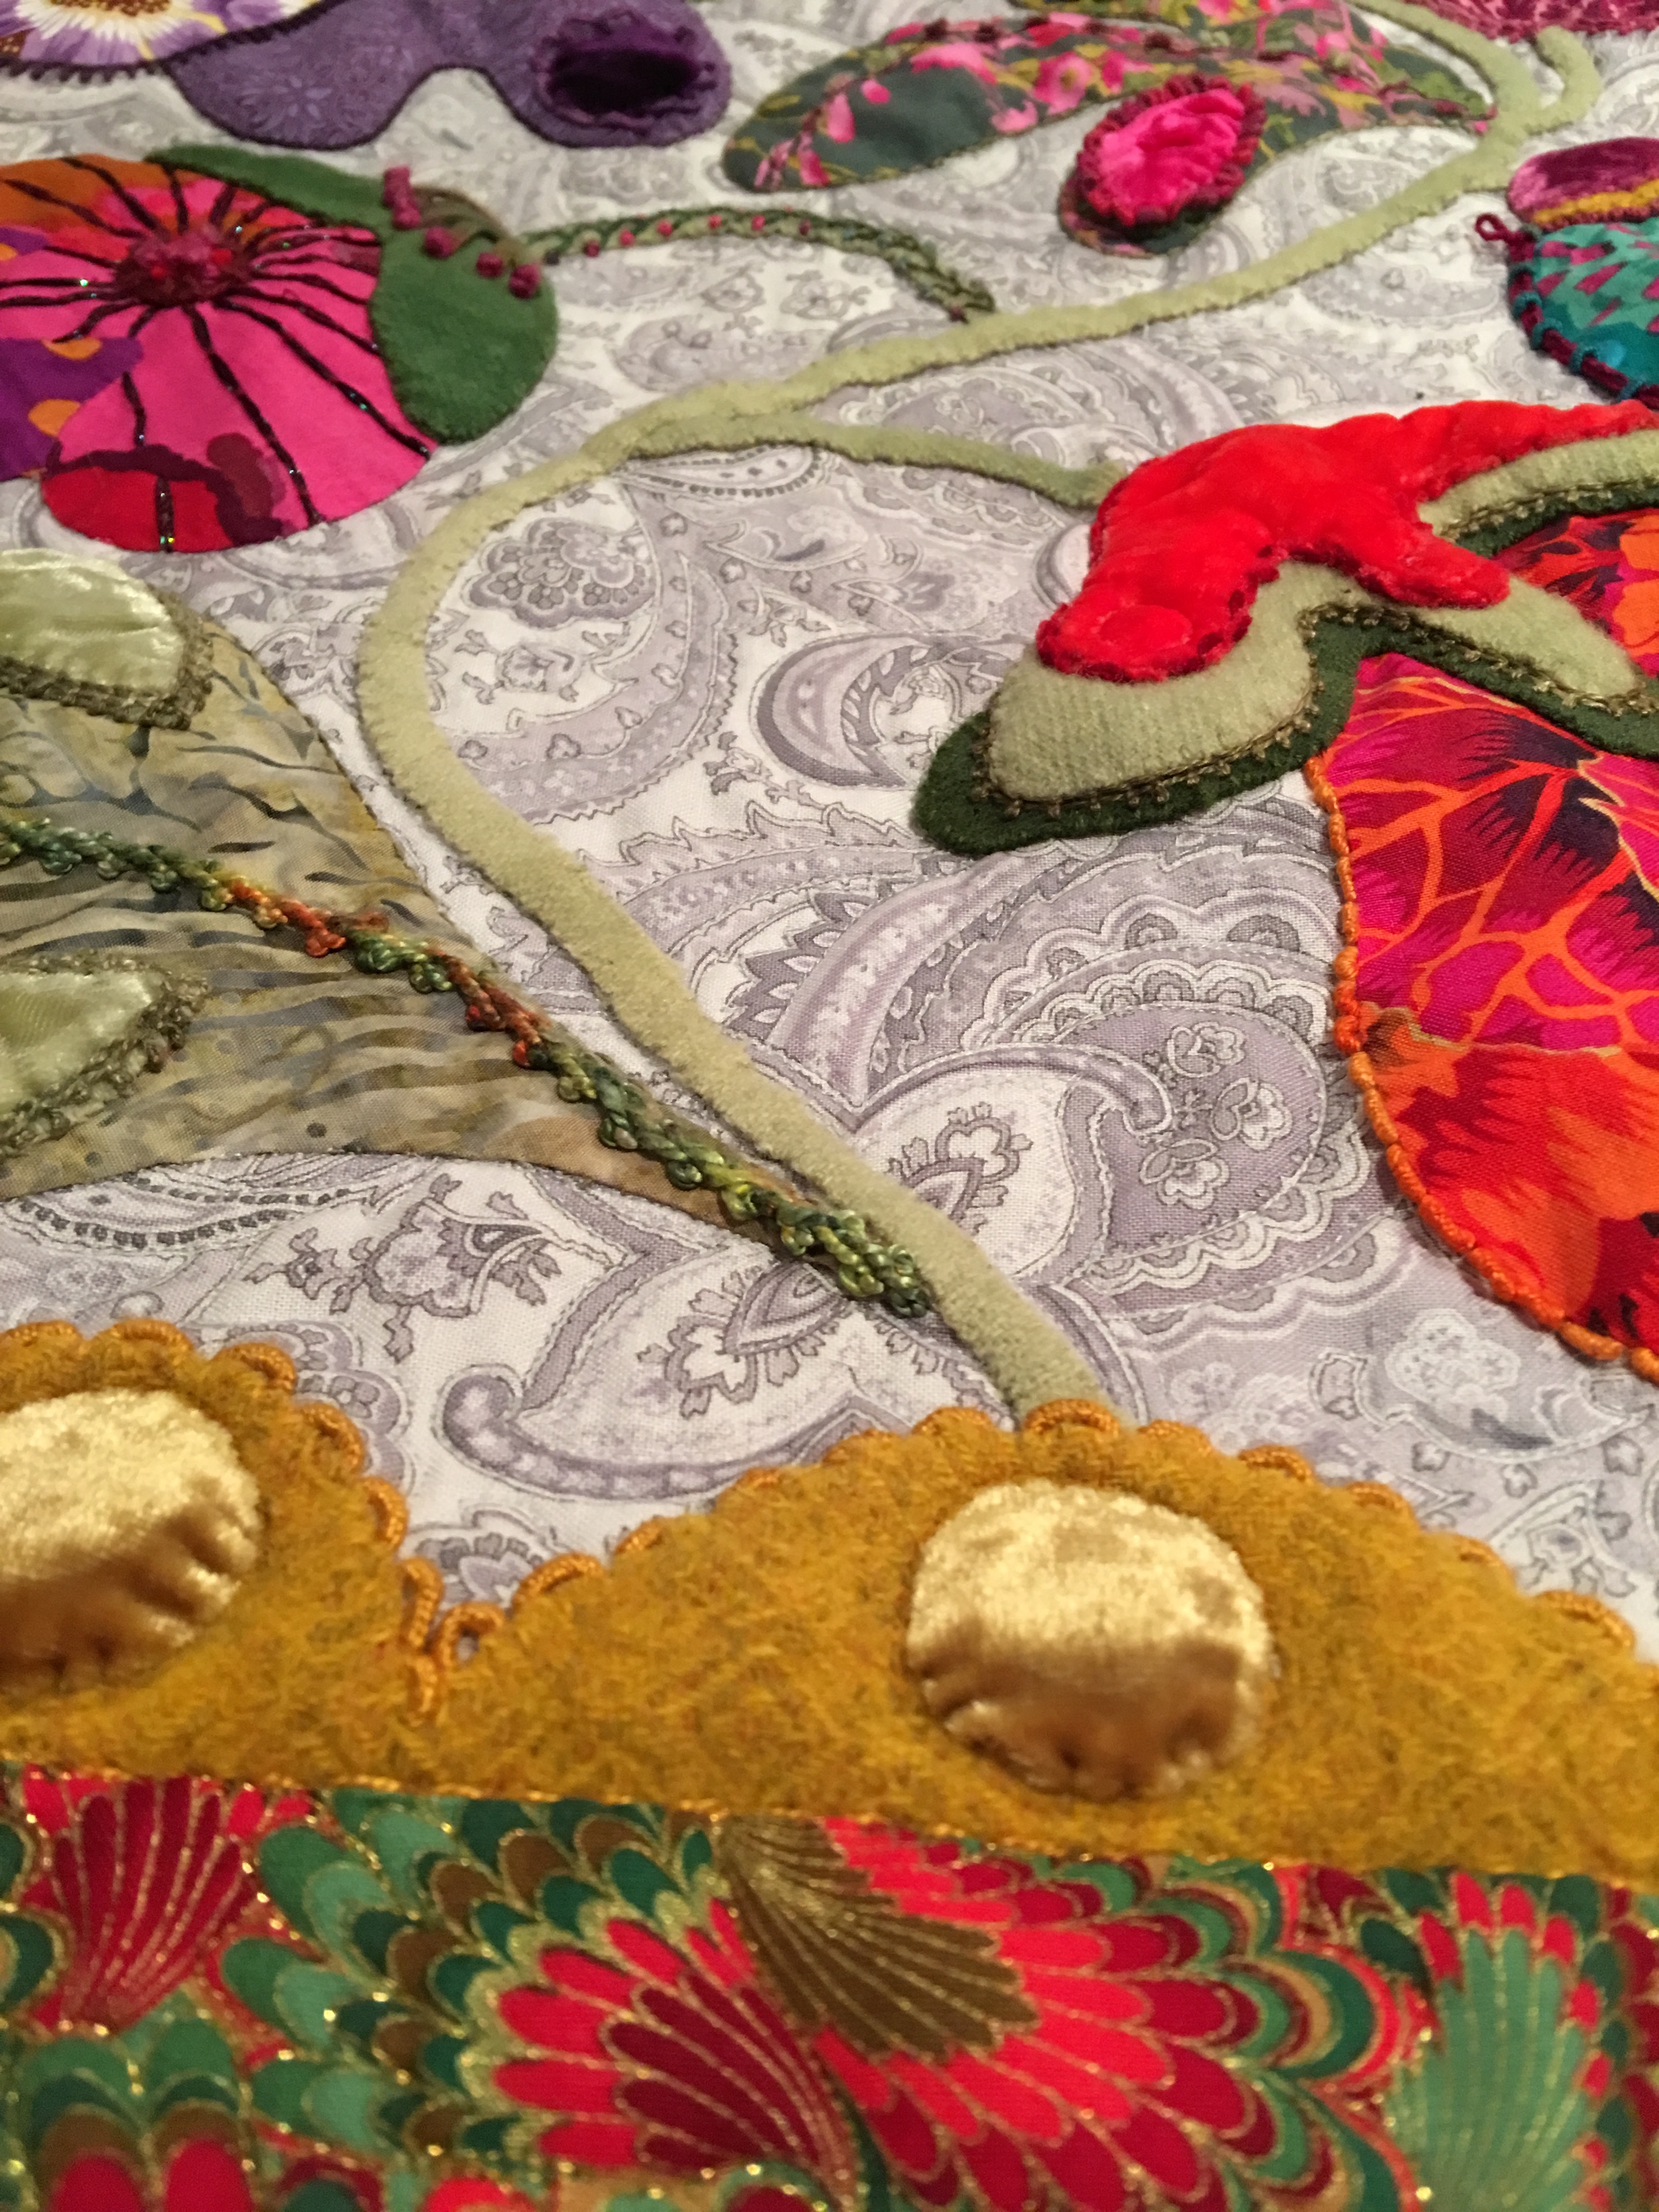
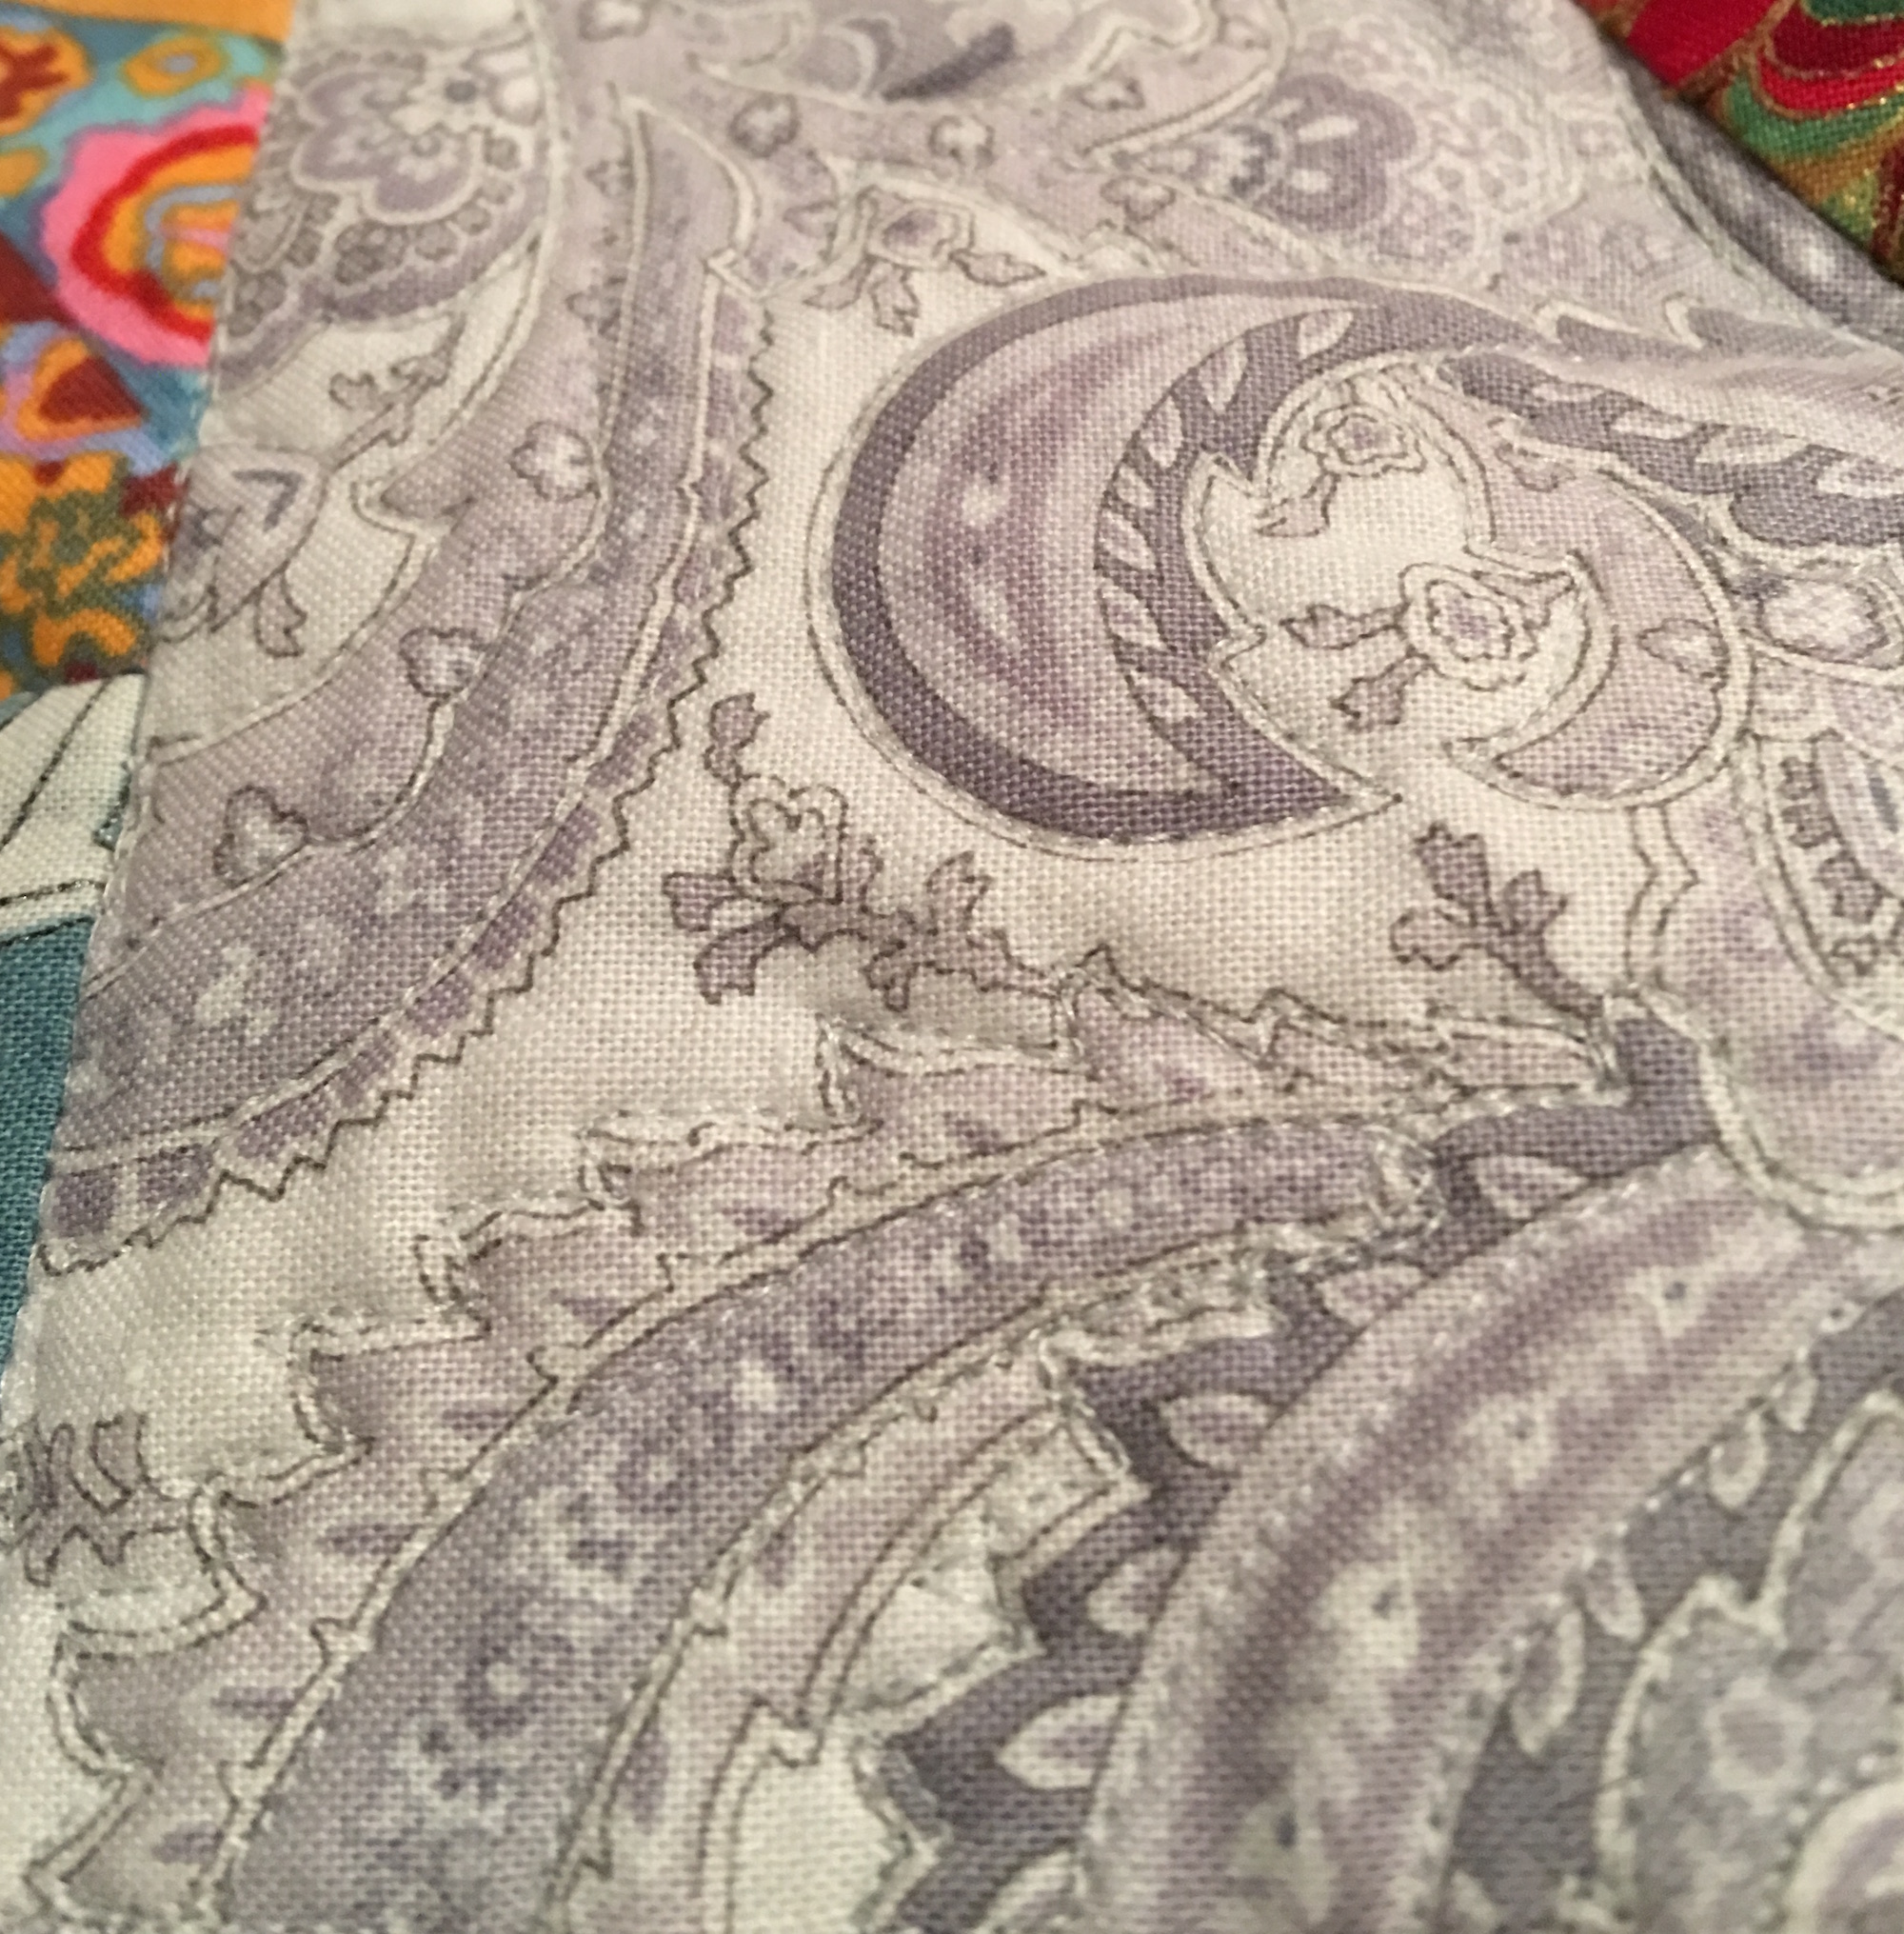
On this long side panel I decided that the paisley fabric was so cool I would just use it as a quilting guideline. I really loved how this turned out, though it’s hard to really see, I did add a close up below.
Side Panel
Detail of the free motion quilting on the side panel
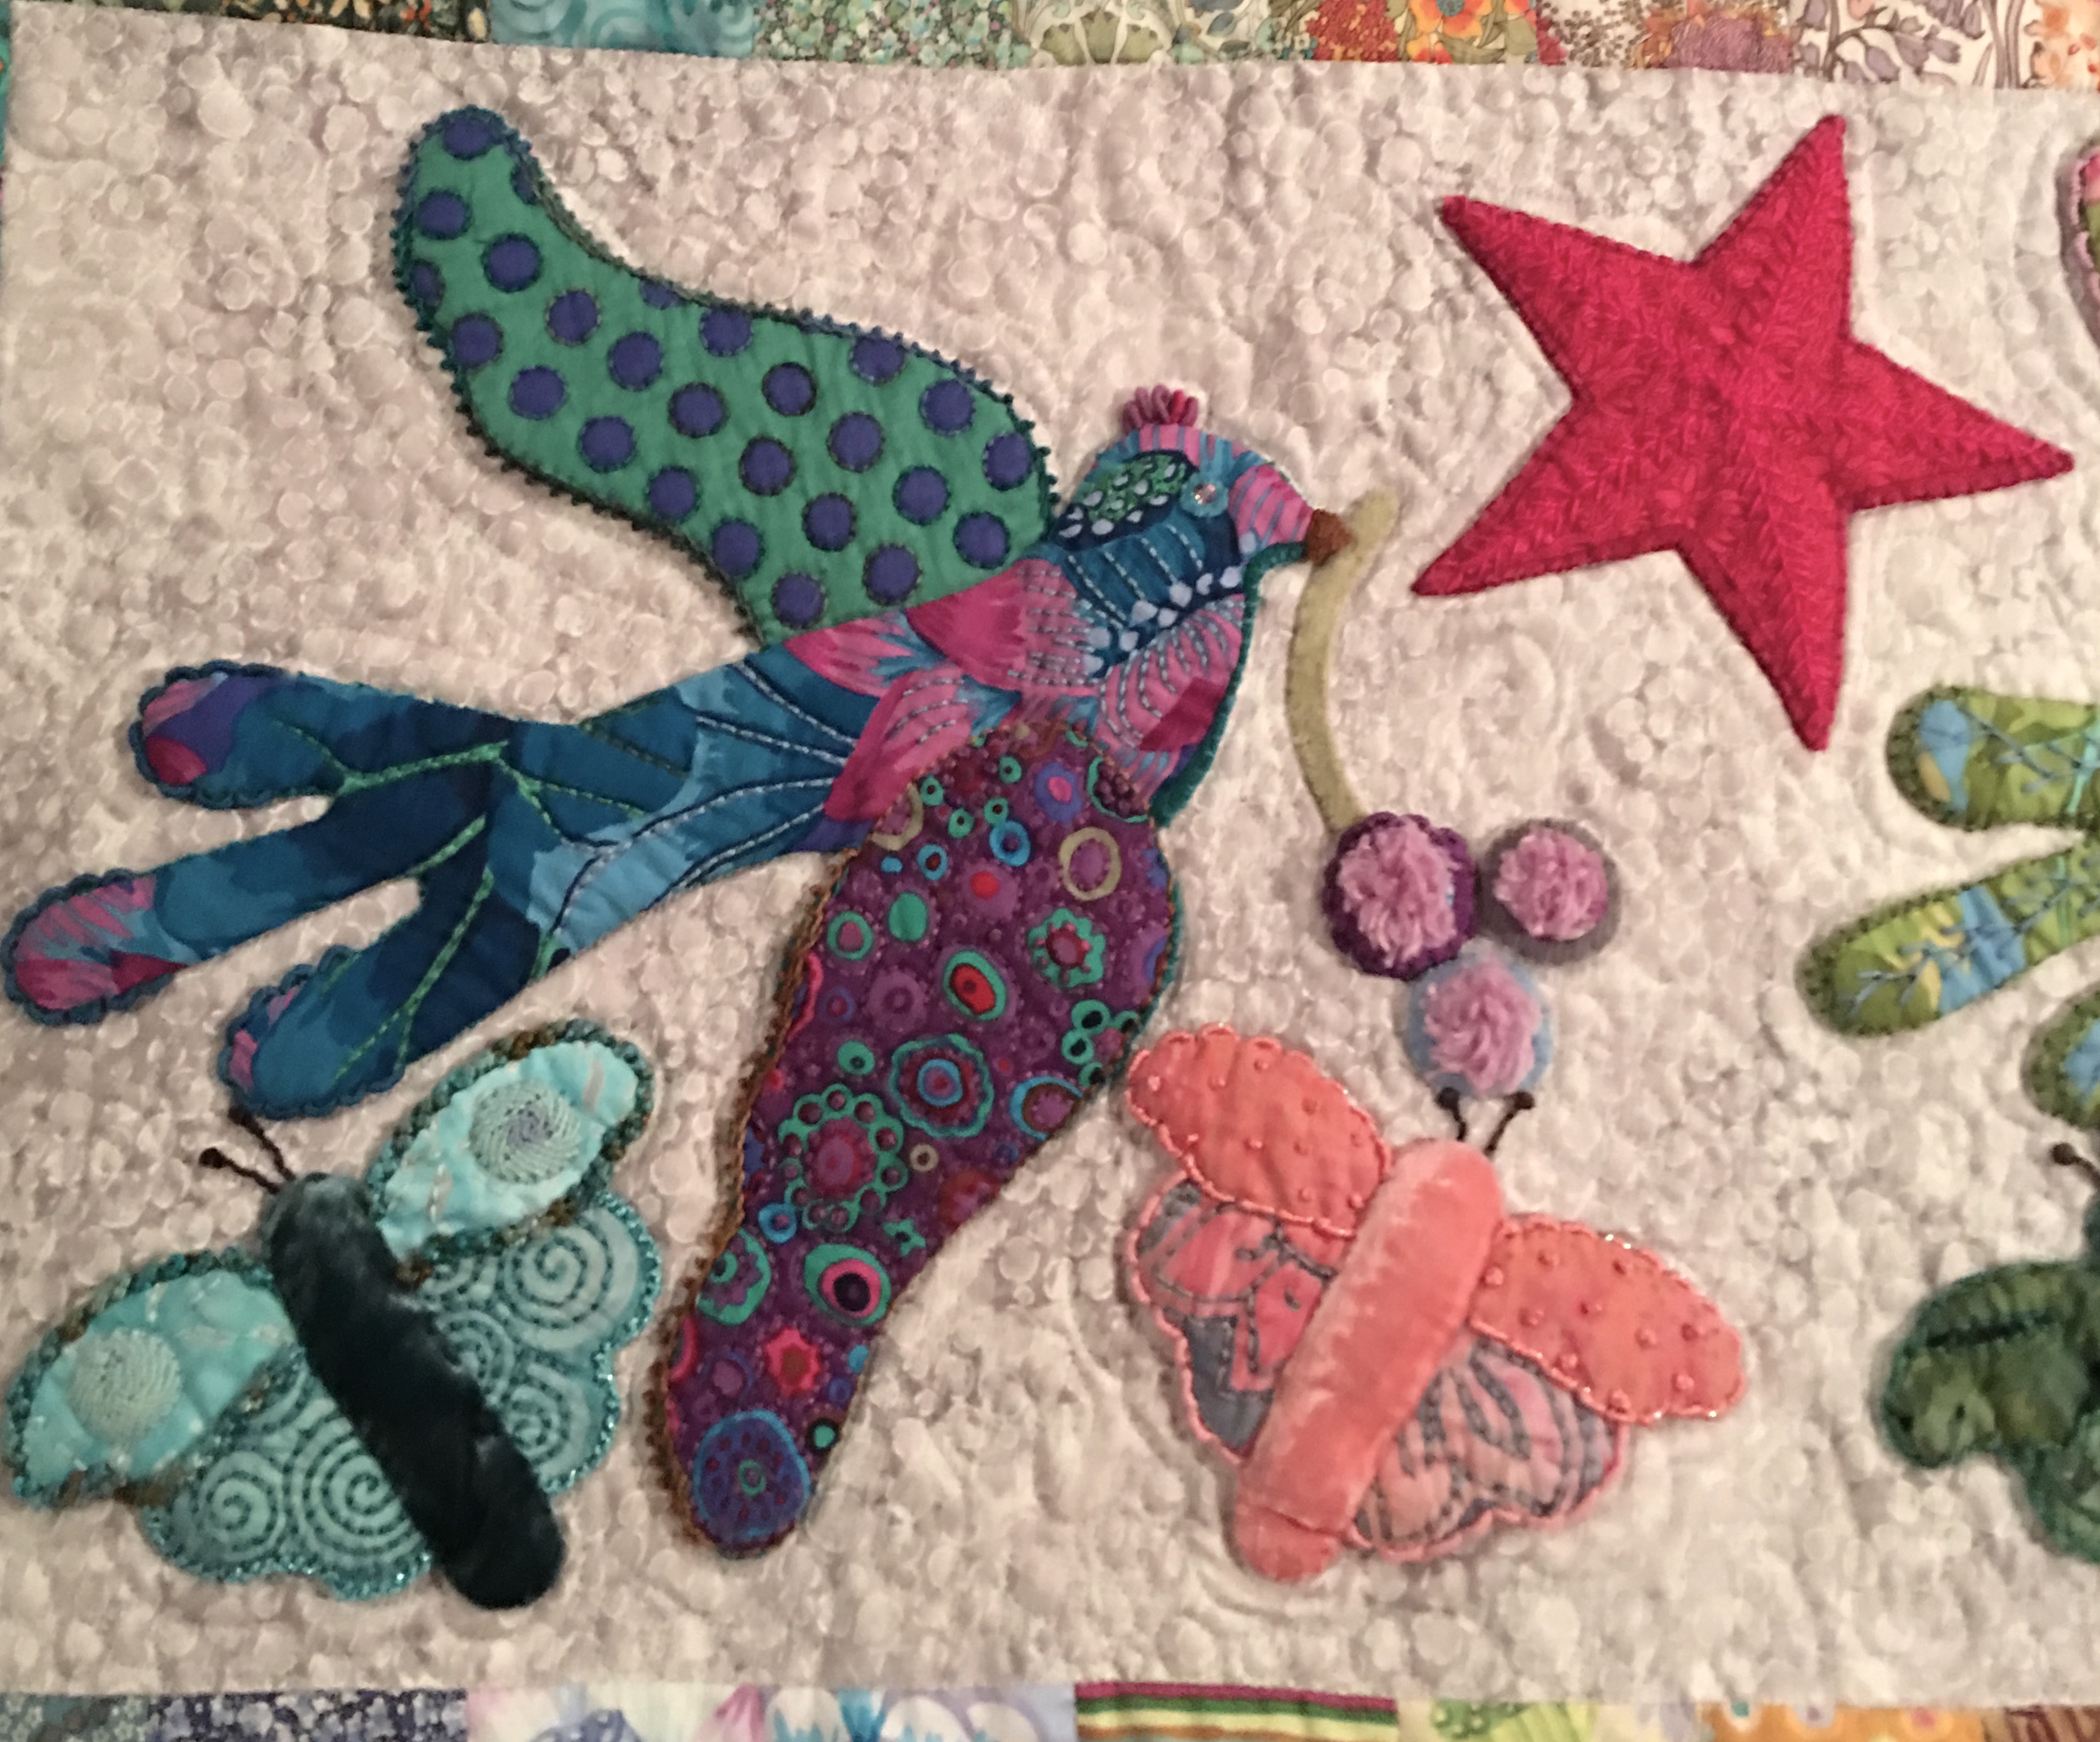
This is the bottom panel and I included pebbles, echoing and swirls, which I did again on the top panel.
Bottom Panel
More of the center panel
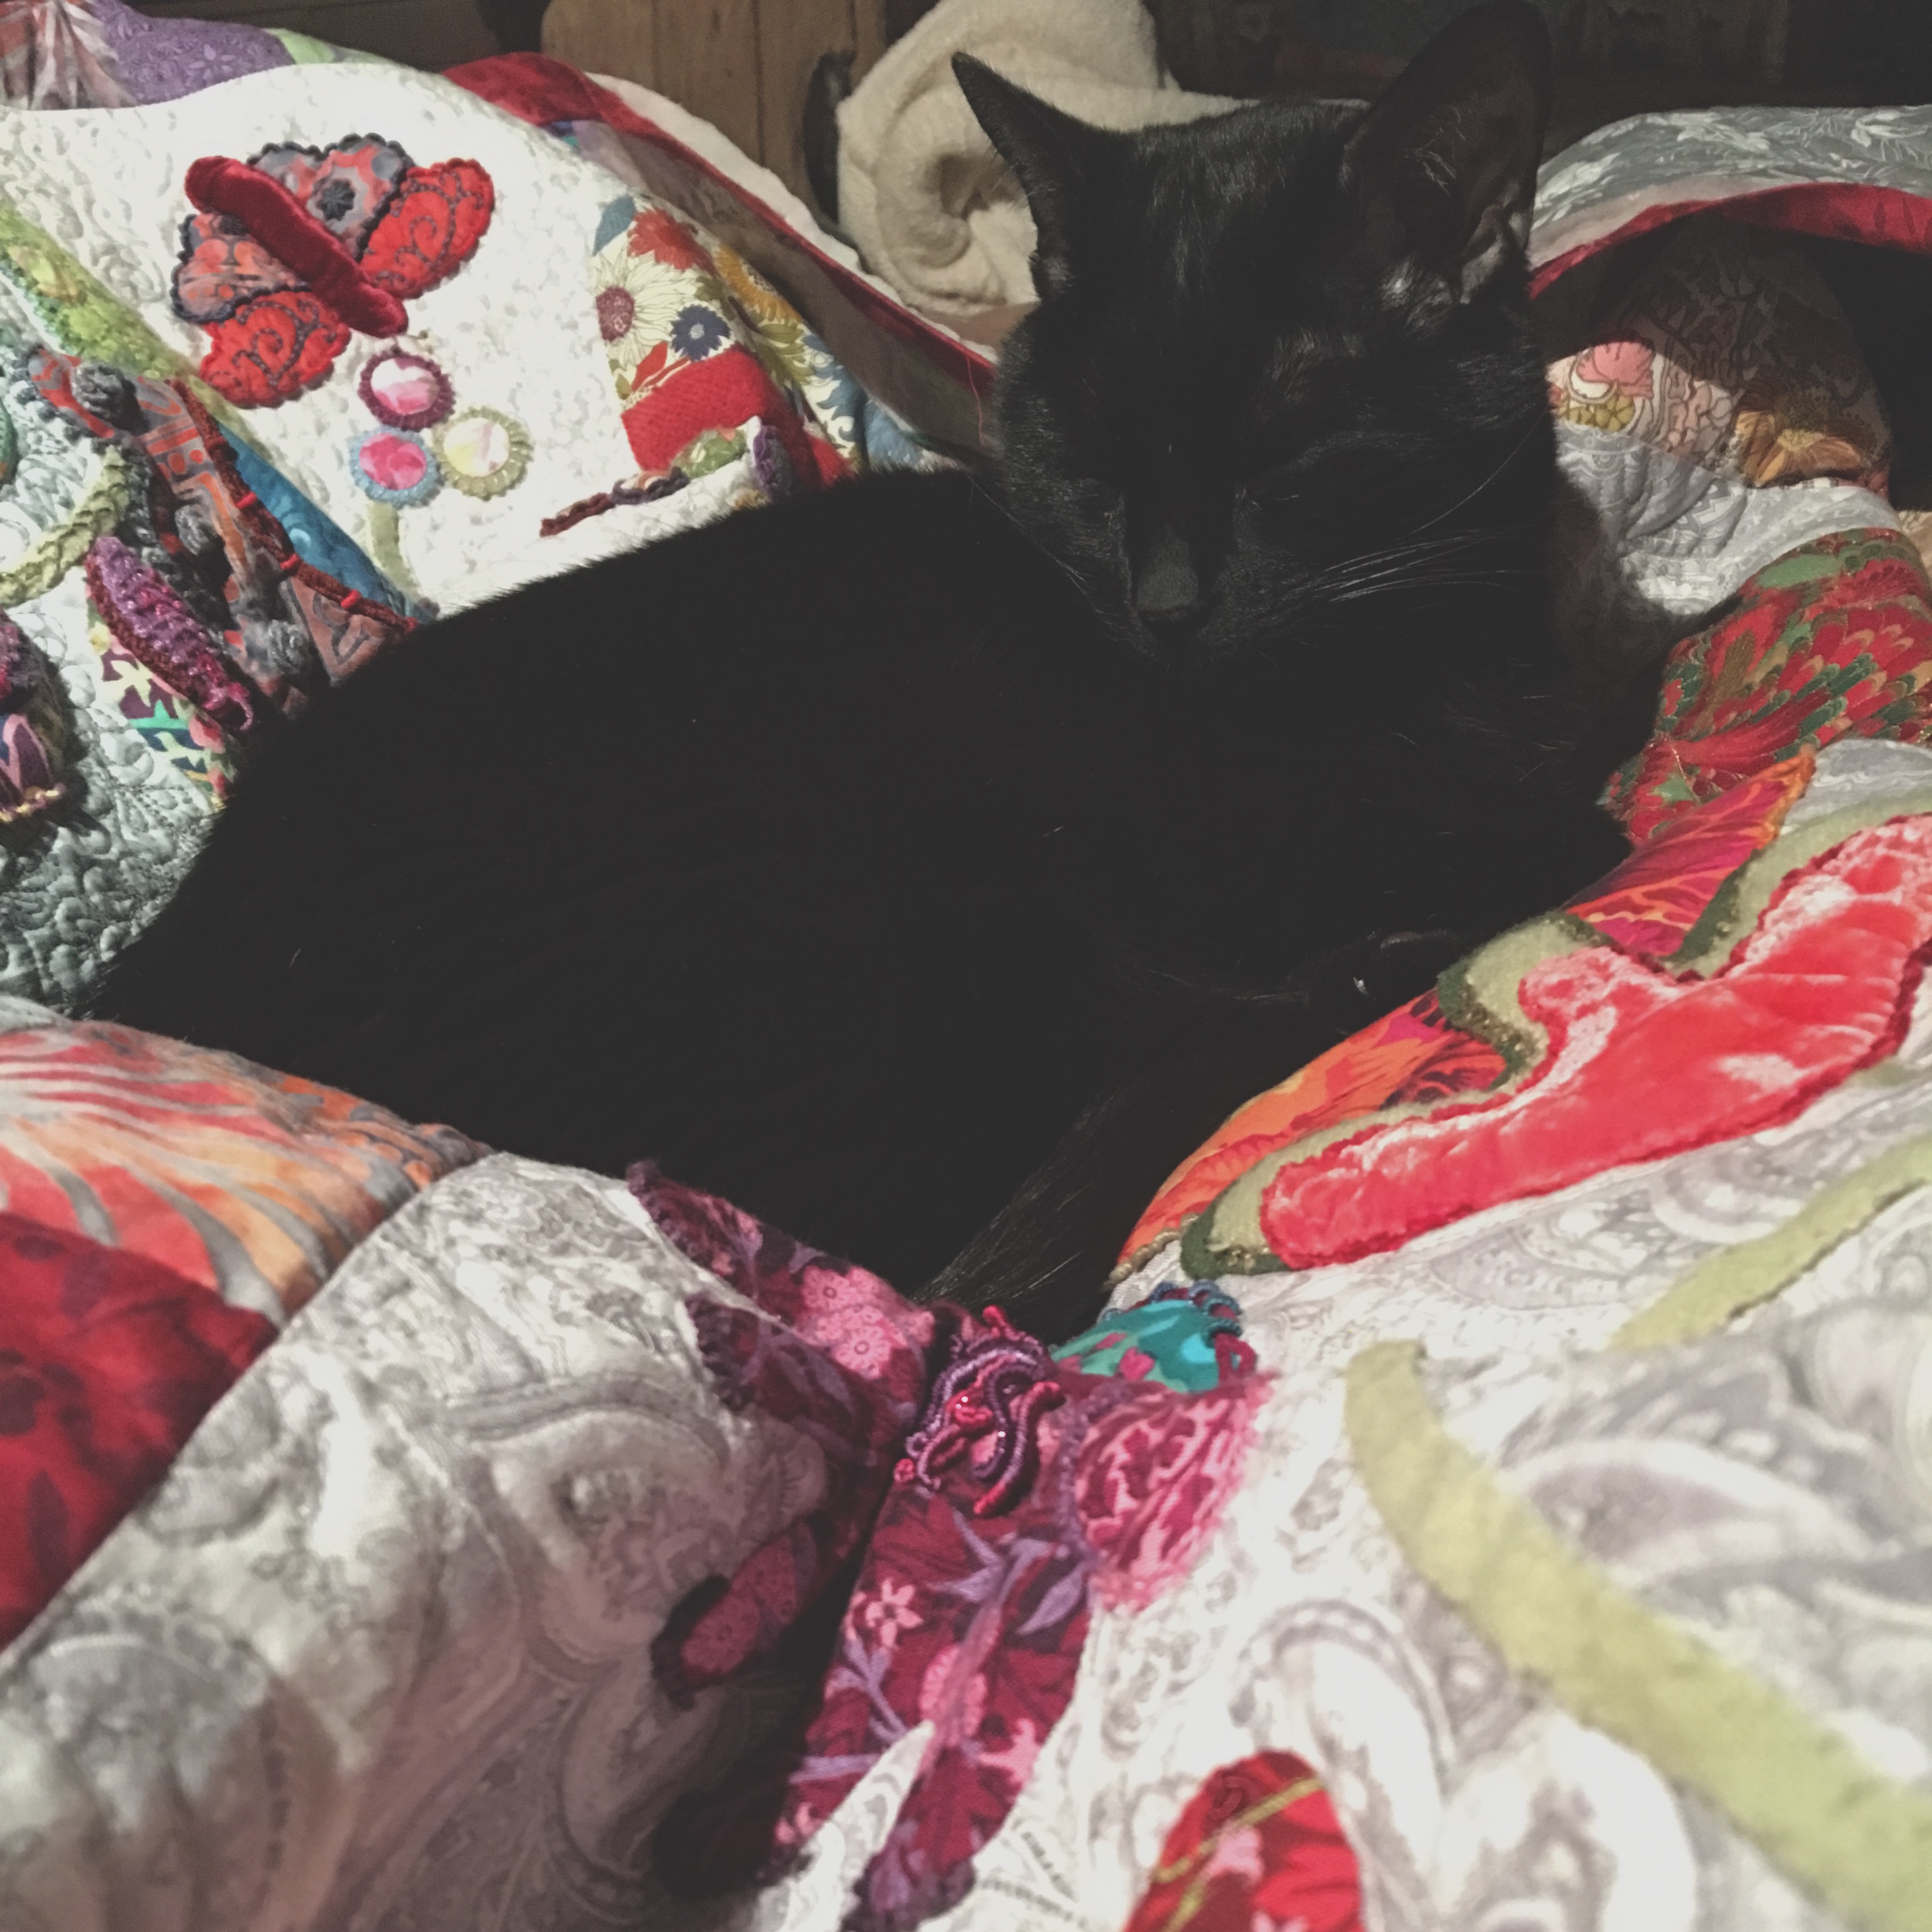
Merlin naps as I work
Merlin was constantly coming over to nap or pretend to nap while secretly inspecting my work. He loved snuggling up amongst the folds as I worked, making for some interesting adjustments on my part as I hated to disturb him!
The border
The entire border I did in a pebble stitch, which I love. It’s so reminiscent of shapes I used for my jewelry collection, The Lotus Collection. And now that I think of it, the swirls in the bottom and top panels remind me of my Samadhi Collection.
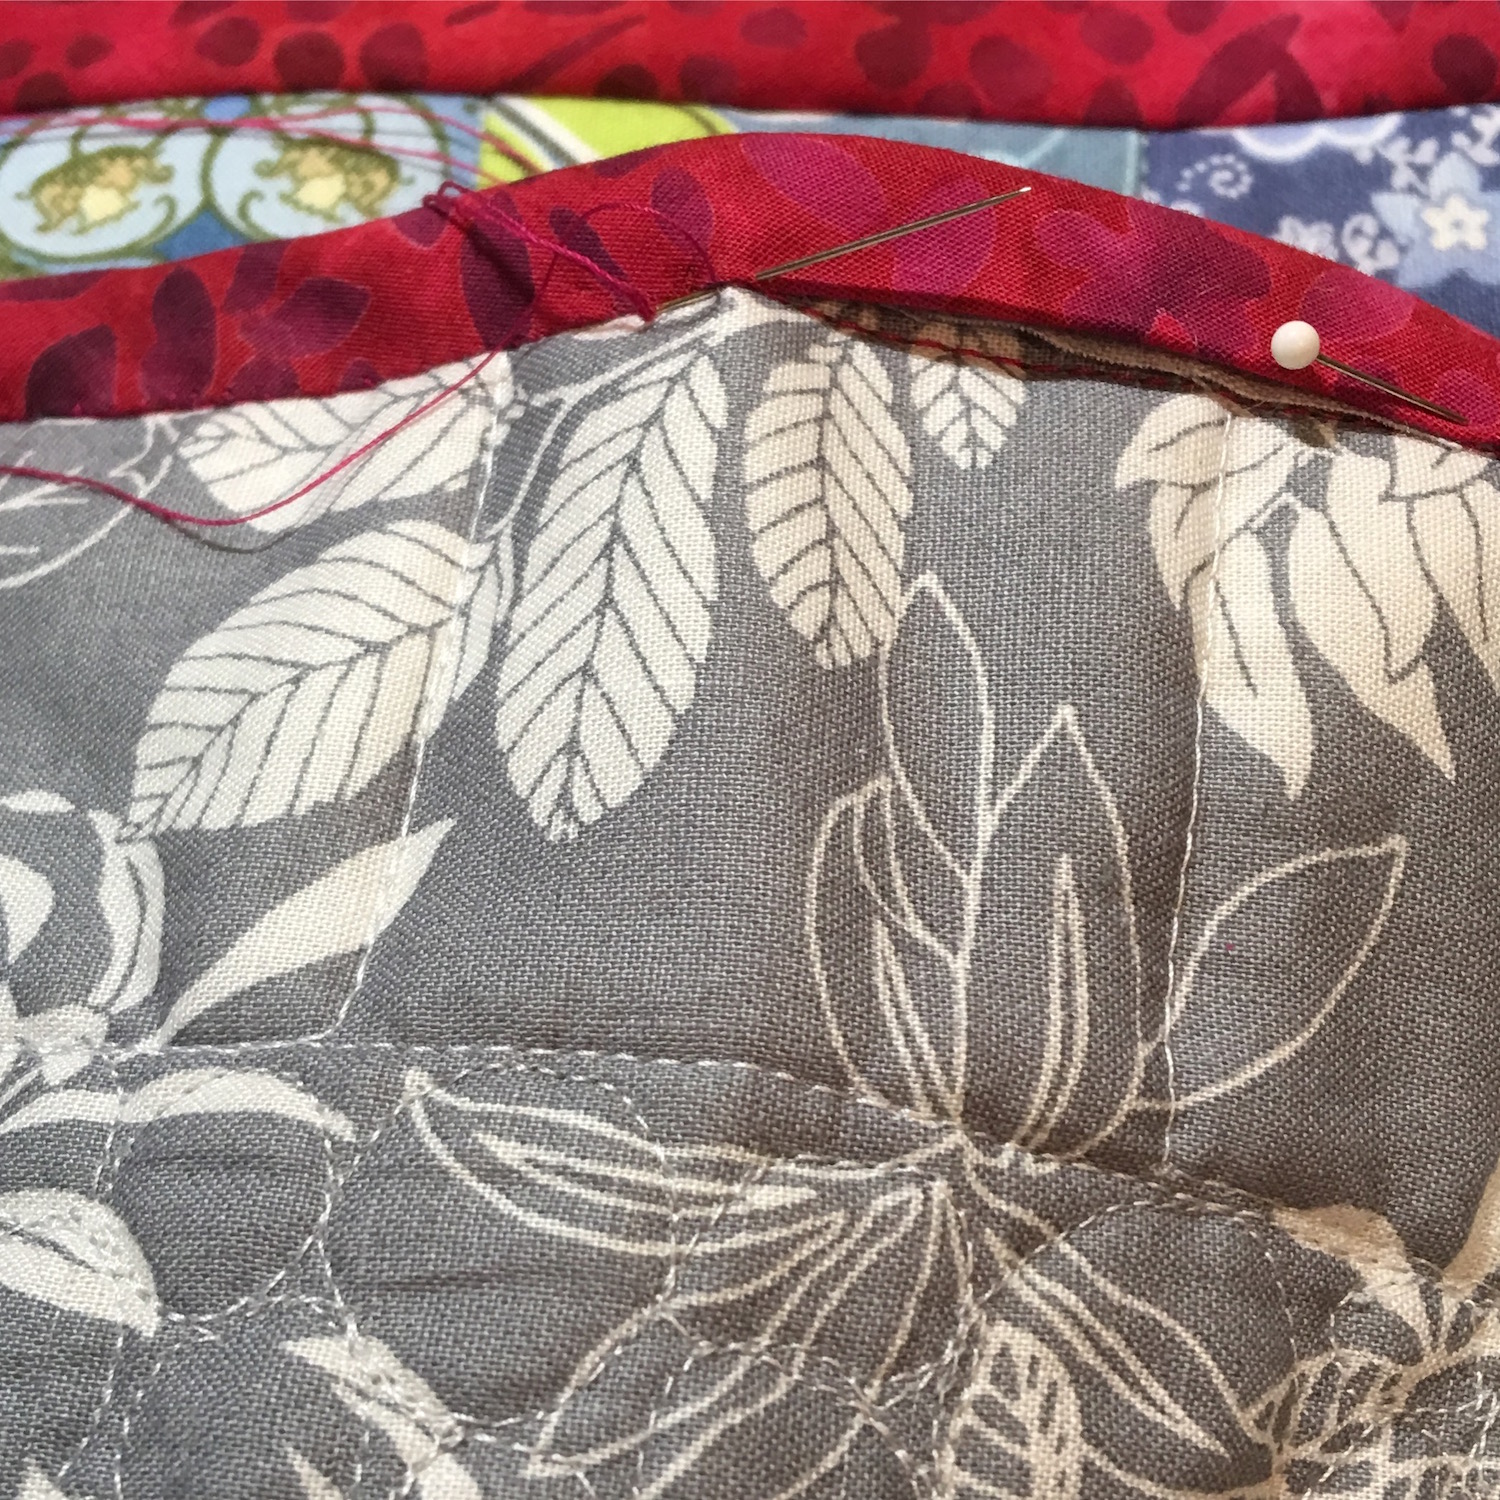
Hand Sewing the binding
Finally I had to learn how to make and add a binding. After a number of different ideas regarding what fabric to use, I decided, with my FH’s (fabulous husband’s) help, to go with a red batik. Batik tends to be pretty densely woven, and as the binding can get more wear and tear than the rest of the quilt, I thought it was a good choice, plus, I love the red. I cut it on the bias, mitered the corners, and hand stitched the back.
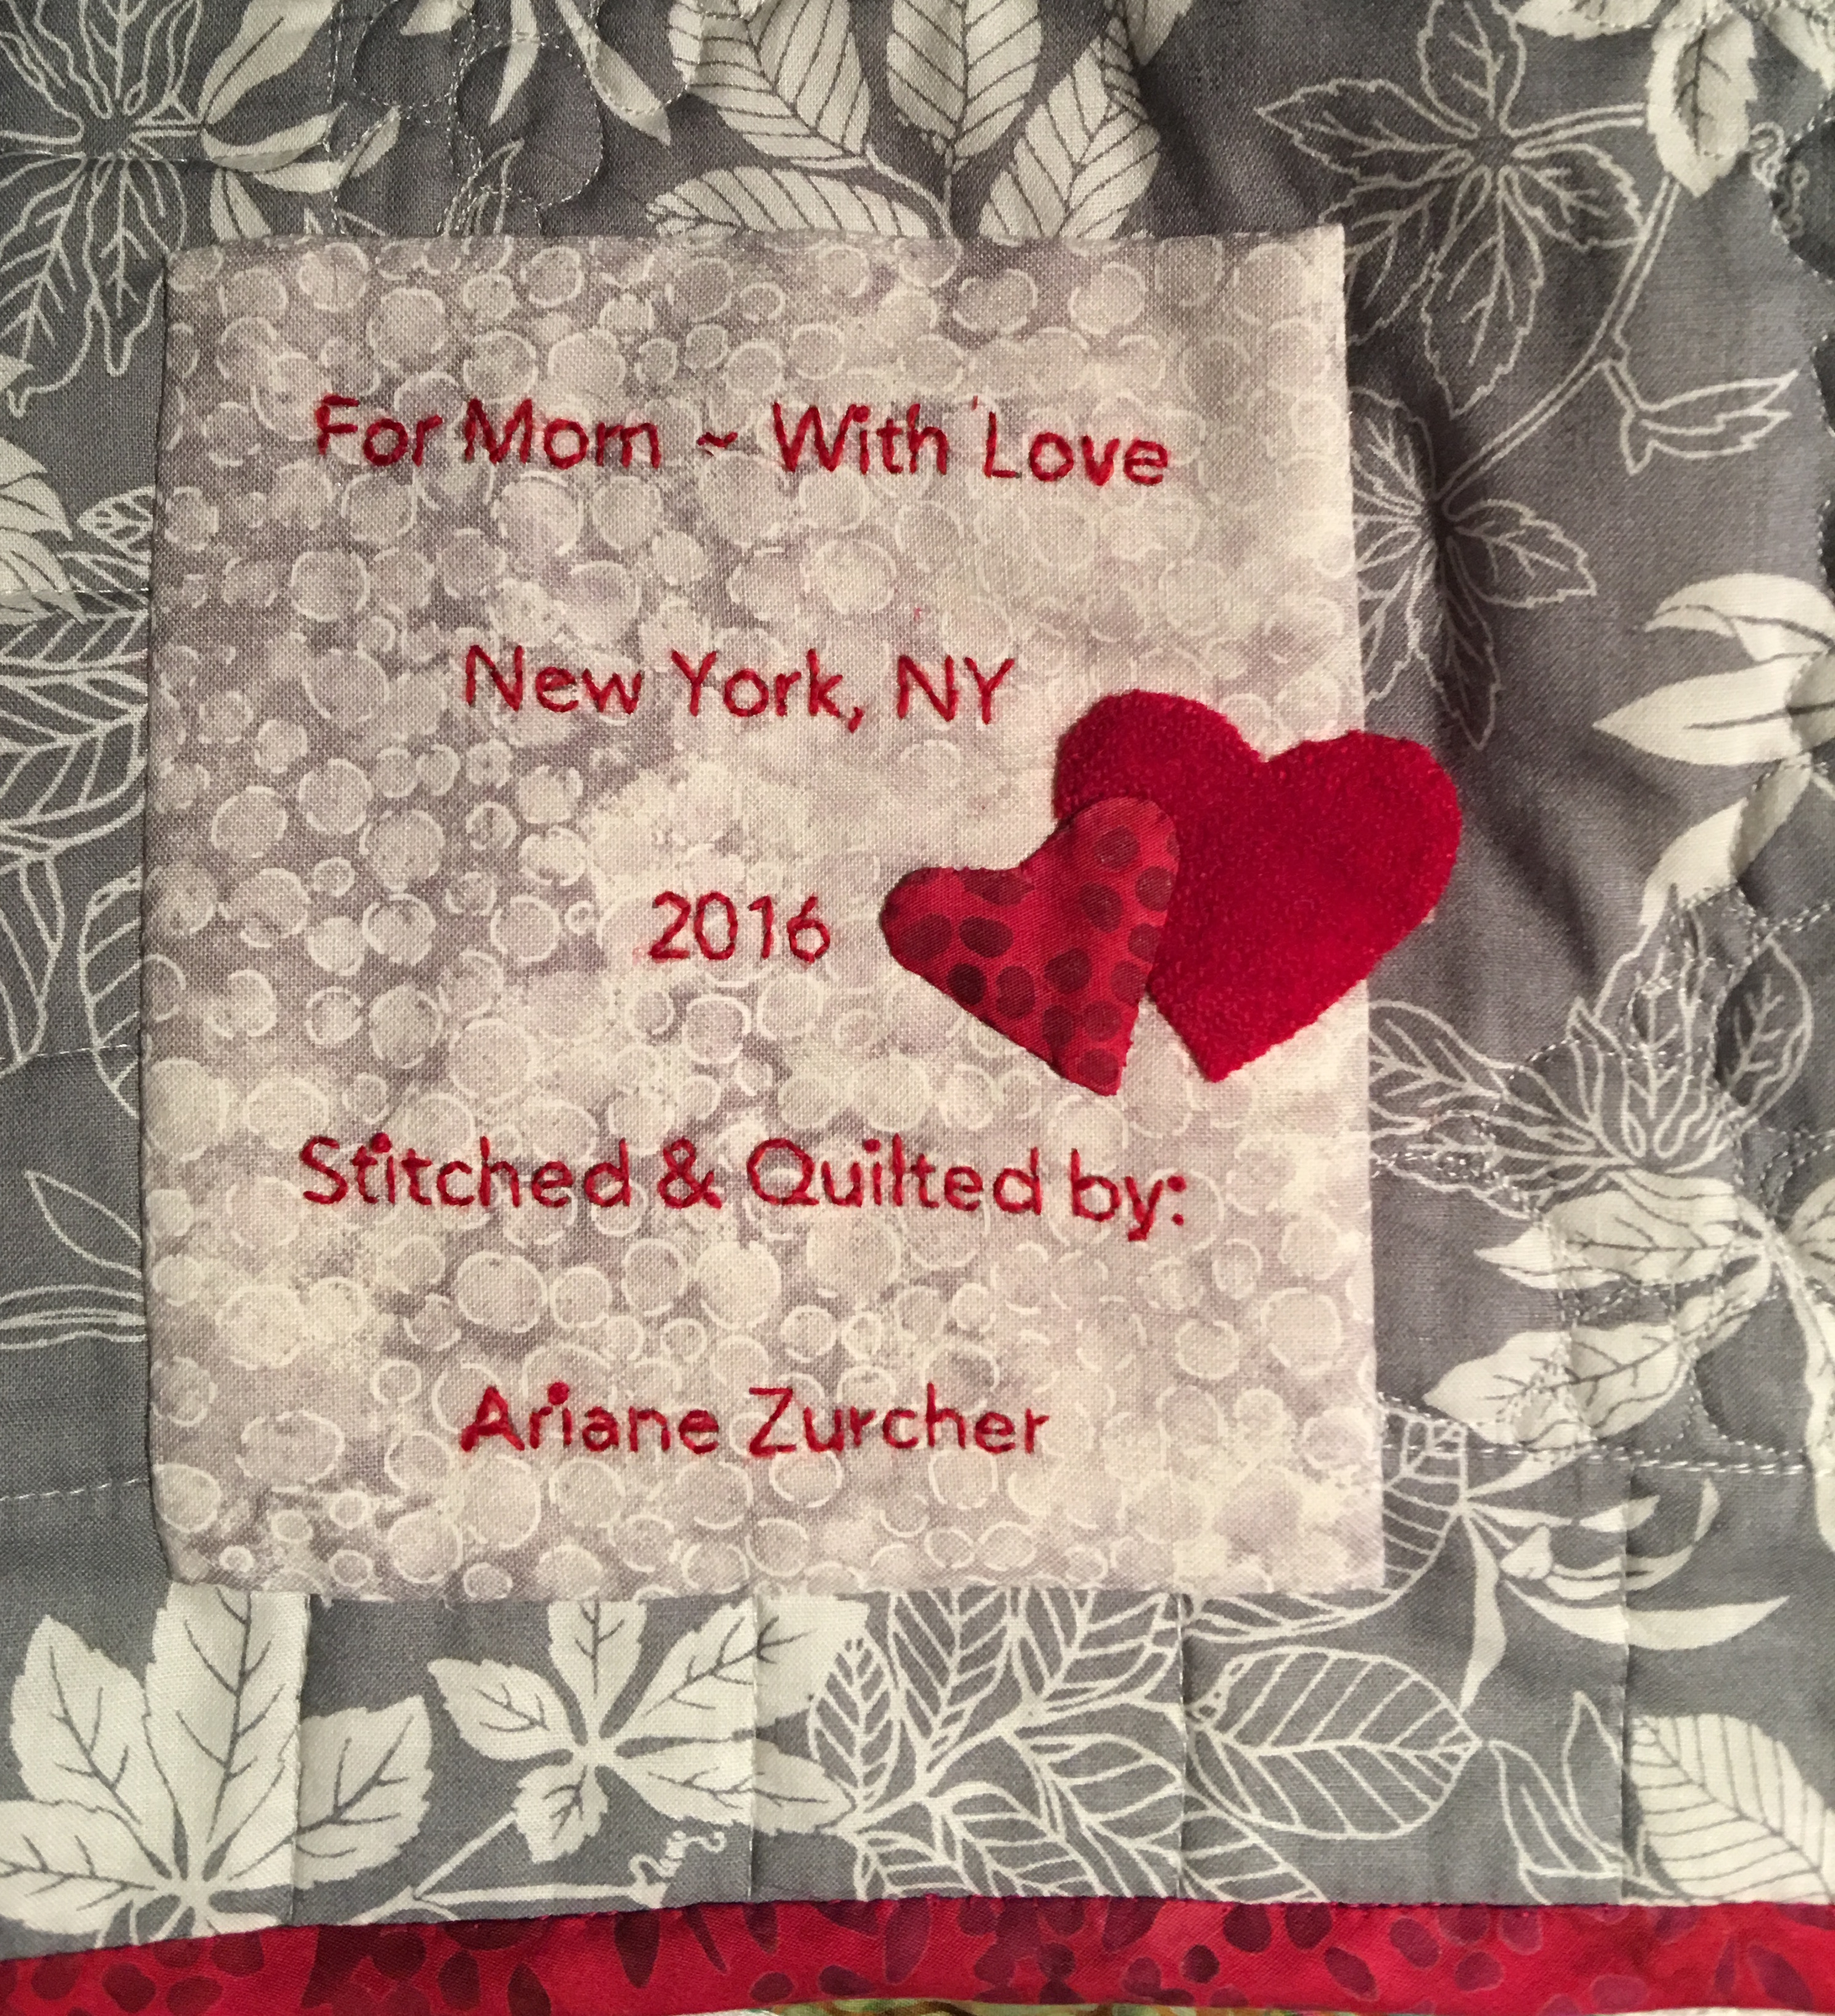
For my beautiful mom ~ Merry Christmas
And then I had to learn how to make a label for my quilt. There are wonderful ideas on Pinterest. Are you on Pinterest? I LOVE, LOVE, LOVE pinterest. I made a label using word documents and then used a freezer paper and cut a piece of fabric that I adhered the freezer paper to and copied the printed label onto the fabric, lightening the tone so it was just readable, but wouldn’t show too much. I then removed the freezer paper, sandwiched the printed material with a cotton batting and muslin and then used red wool thread and stitched the text. I added the little wool red heart and cut out another smaller heart in the same fabric as the binding because I figured I can’t add enough hearts to a quilt made specifically for my mom.
So Mom, if you’re reading this, the cats out of the bag. Merry Christmas!! This quilt was made for you. I thought of you the entire time I was making it. I hope it will keep you wonderfully warm during those cold winter months and I’m told wool batting breathes and should be perfect for the summer months as well. I love you.
What’s next? A twin-sized quilt that I will design, stitch and quilt!! I’ve got my sketch book and am playing with some ideas… I’ll keep you posted! Heh-heh, a little pun to end this post.
Welcome to my store!
Please browse and look at our patterns available. We also offer Workshops! ~Ariane

Recent comments