Last fall I decided to design my own bed-sized quilt. I wanted a quilt that would remind me of spring and summer, that was colorful and had big organic shapes that inspired cheerfulness. This was before the election and though there were many things being said that were ominous – calls for great walls to be built, mass deportations being touted as campaign “promises”, comments about bringing back the “good old days”, leading many of us to wonder to whom those “good old days” applied, (obviously not women, minorities, and anyone who didn’t conform to traditional gender roles and relationships) all this from a man dogged by bankruptcy, lawsuits, accusations of fraud and sexual misconduct, a man who bragged about assaulting women, not paying his taxes, and encouraged his supporters to physically assault those who voiced opposition to him – still, it seemed there was room for optimism, and, if nothing else, the elections hadn’t taken place yet. Those months and weeks before the election now feel like the “good old days”.
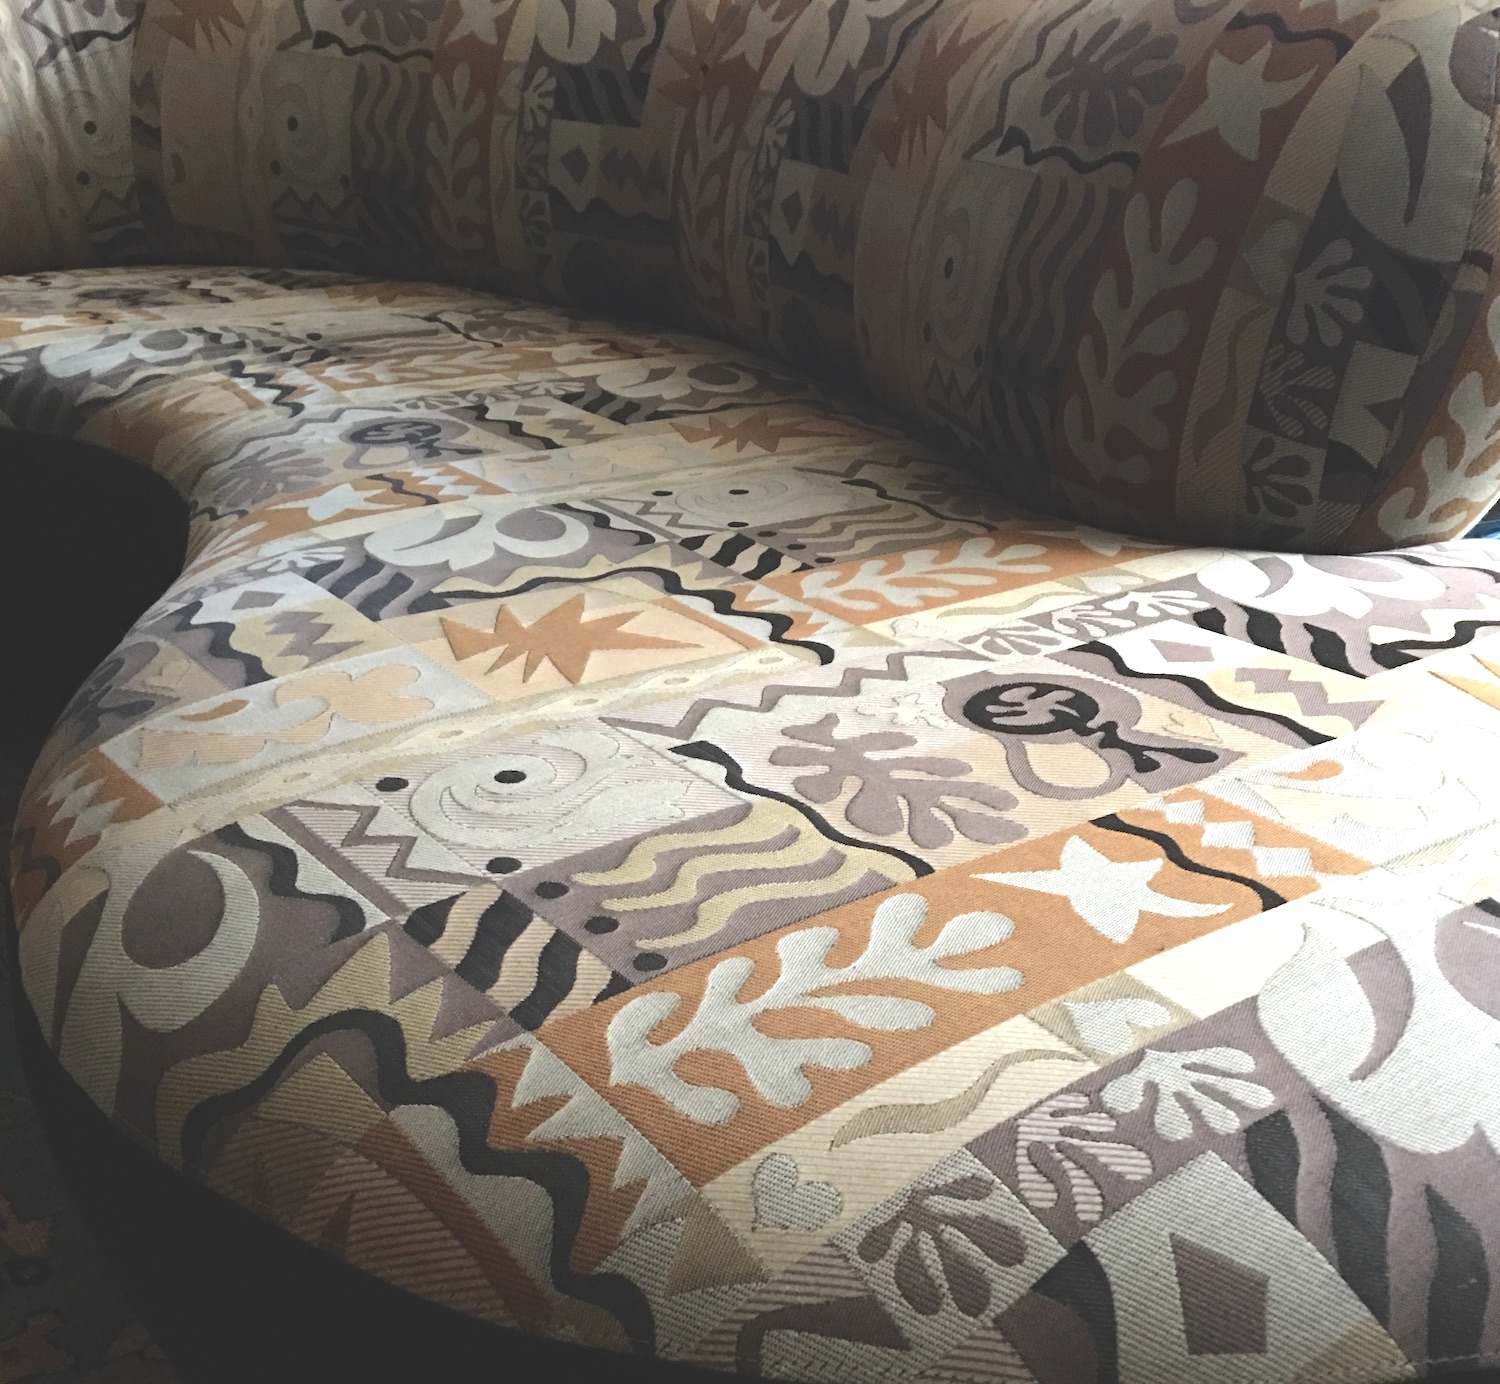
So in the midst of all that, I decided to design my own quilt and was inspired by the shapes in a fabric covering a chair and couch my husband used to have in his office at his advertising agency, that now occupies the western portion of our bedroom.
Couch in our bedroom
I wrote about this quilt, that I began designing and intended to make, just after I’d chosen all the fabrics for it. I discussed the process of taking a sketch and translating it into an actual quilt. That post is ‘here‘.
Matisse reminds me of the playfulness that can be a part of life if we allow it in and the shapes he created make me smile. The colors he frequently used tended toward bright, primary colors, and I decided to stay close to those as well. It took ages to figure out where everything would go, what fabrics to use, how to fit everything in to the size quilt I knew I wanted. The quilt kept getting bigger, and even though it is intended for a twin bed, I wanted it to be long enough that I could tuck it under and over pillows. I really wanted it to be the size of a bedspread.
And then the elections took place and I threw myself furiously into escaping what was now to become our collective reality learning how to dye my own fabrics. I took several classes at the Academy of Quilting taught by the extremely, talented, artist Elizabeth Barton. Between learning to dye, which I love, love, LOVE, playing with colors, and sporadically working on my “Ode to Matisse” quilt I managed to avoid getting too depressed by the events and endless drama that has now become commonplace with this new administration. Still, I knew I’d have to make a concerted effort to concentrate on my Matisse quilt if I was ever going to finish it. So about a month ago I began working on it daily. The free motion quilting, which I’m very new to, was challenging and I ran into lots of tension issues, but then went back to one of the dozens of Craftsy classes I have enrolled in and was reminded not to be afraid to turn the tension down as far as needed in order to get the threads to behave with each other, no matter how imbalanced that relationship might seem. Read whatever you like into THAT statement, but it did seem ironic given who now occupies our White House.
There are many wonderful free motion quilting classes on Craftsy, but the two I particularly love are Free Motion Quilting Essentials taught by Christina Carneli, her blog is A Few Scraps and Divide and Conquer: Creative Quilting for any Space taught by Lori Kennedy, who also has a blog, Inbox Jaunt. They are both wonderful. Christina also teaches several other free motion quilting classes for those who are more experienced. But for me, starting out with her class was perfect and just what I needed to attempt this:
and this: and this… And this…
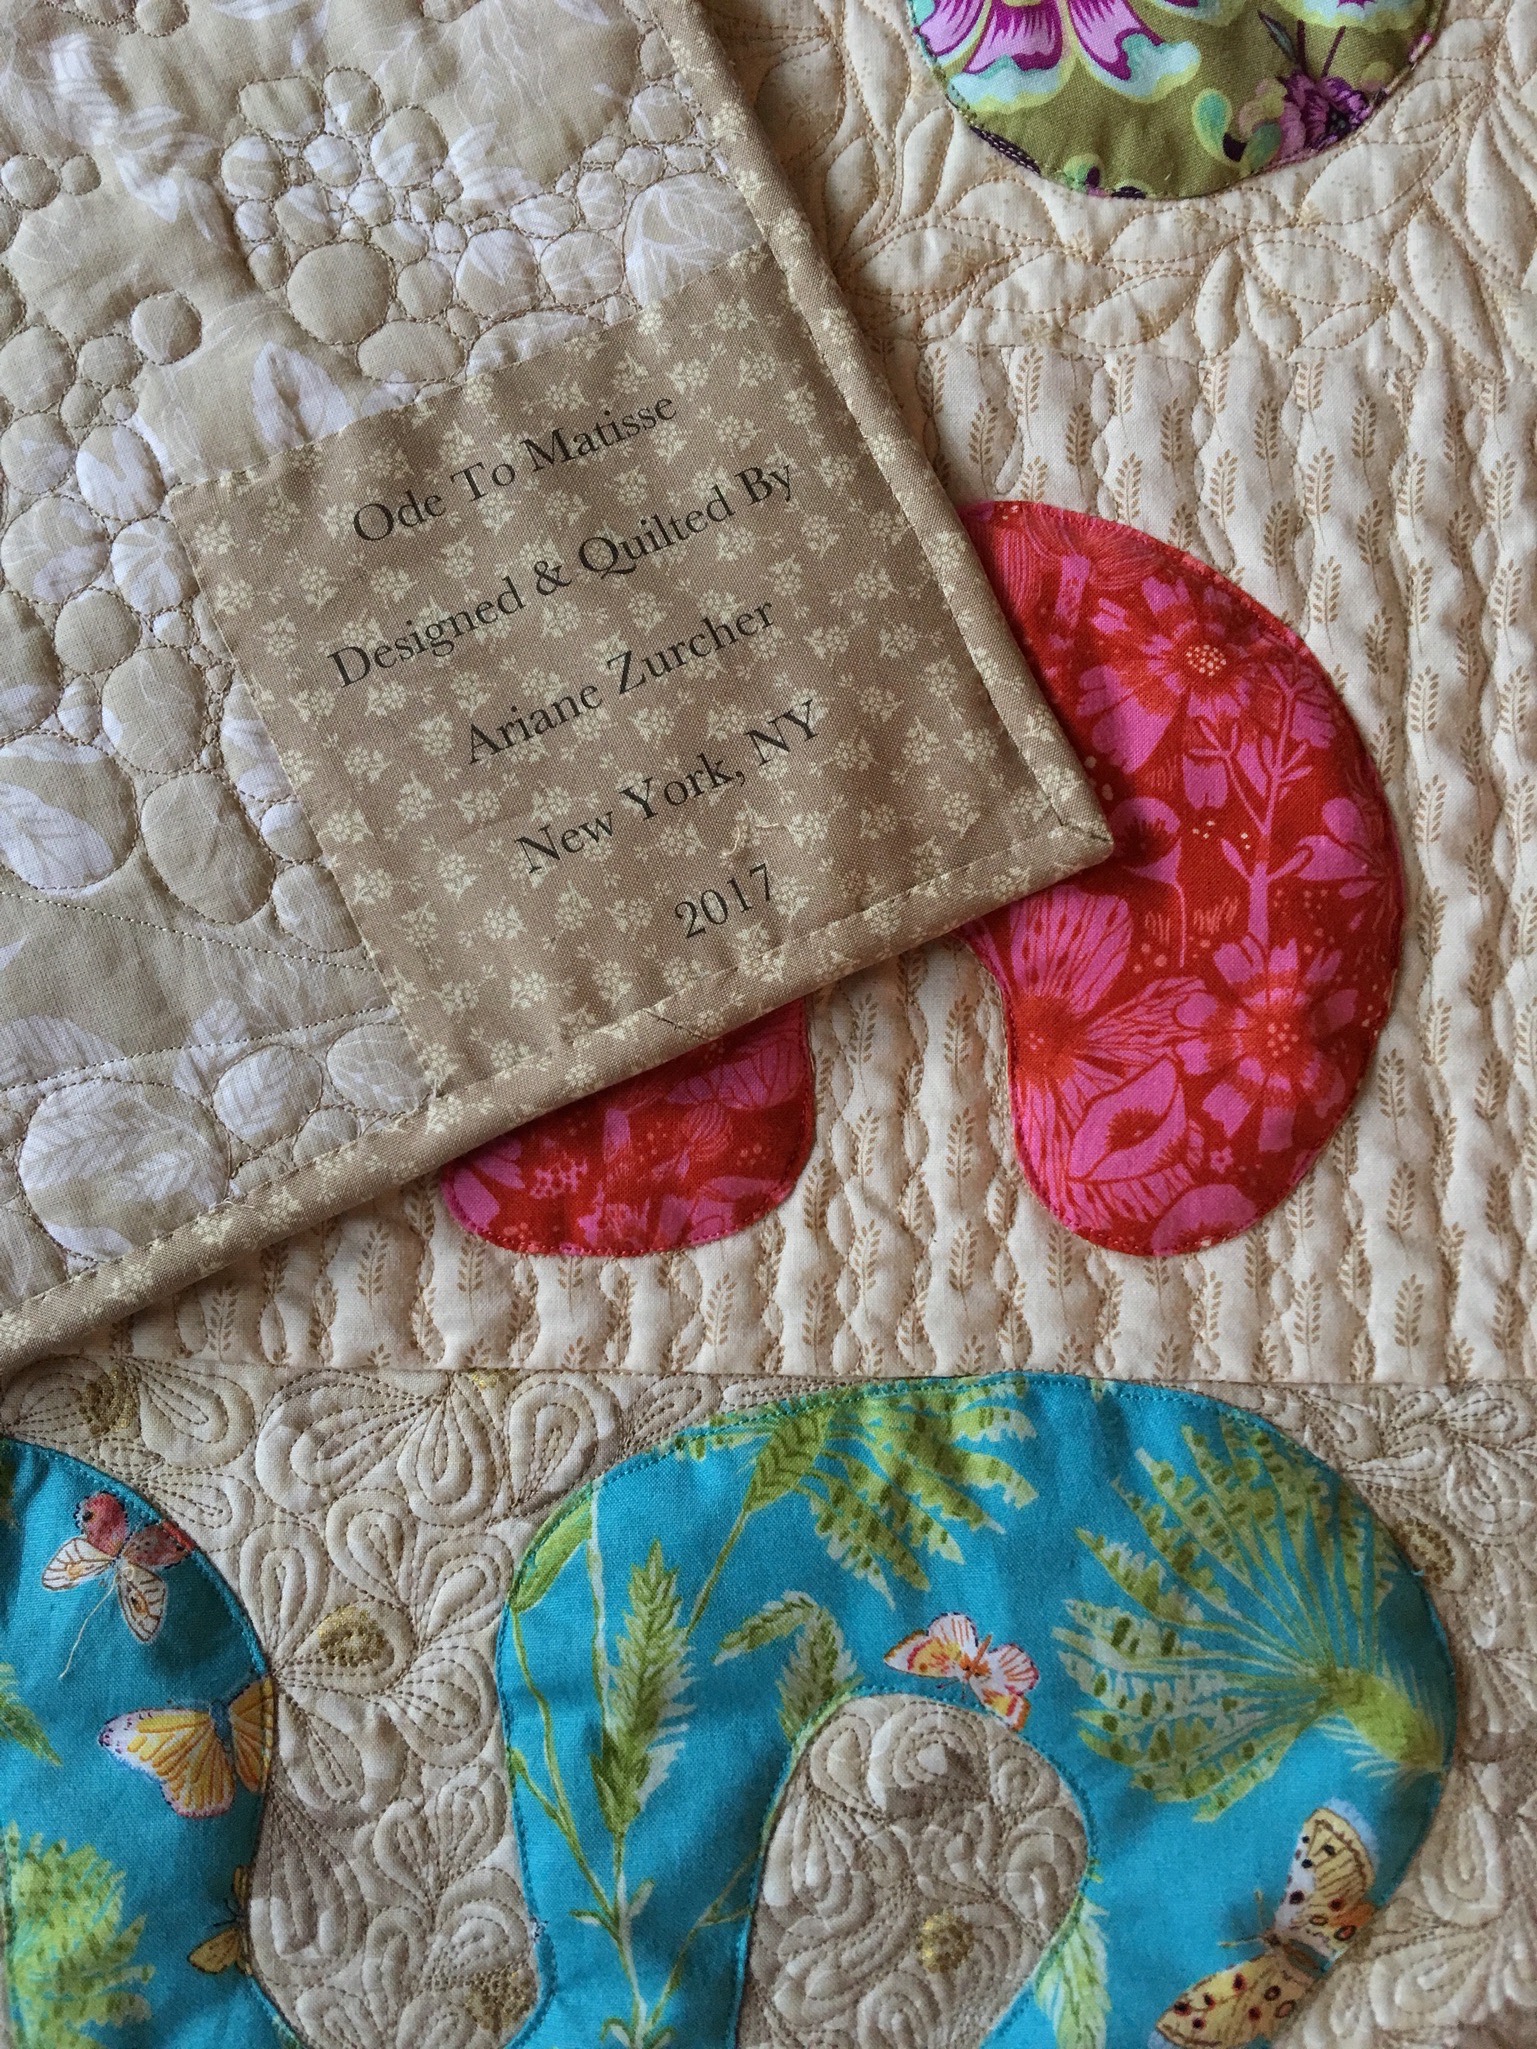
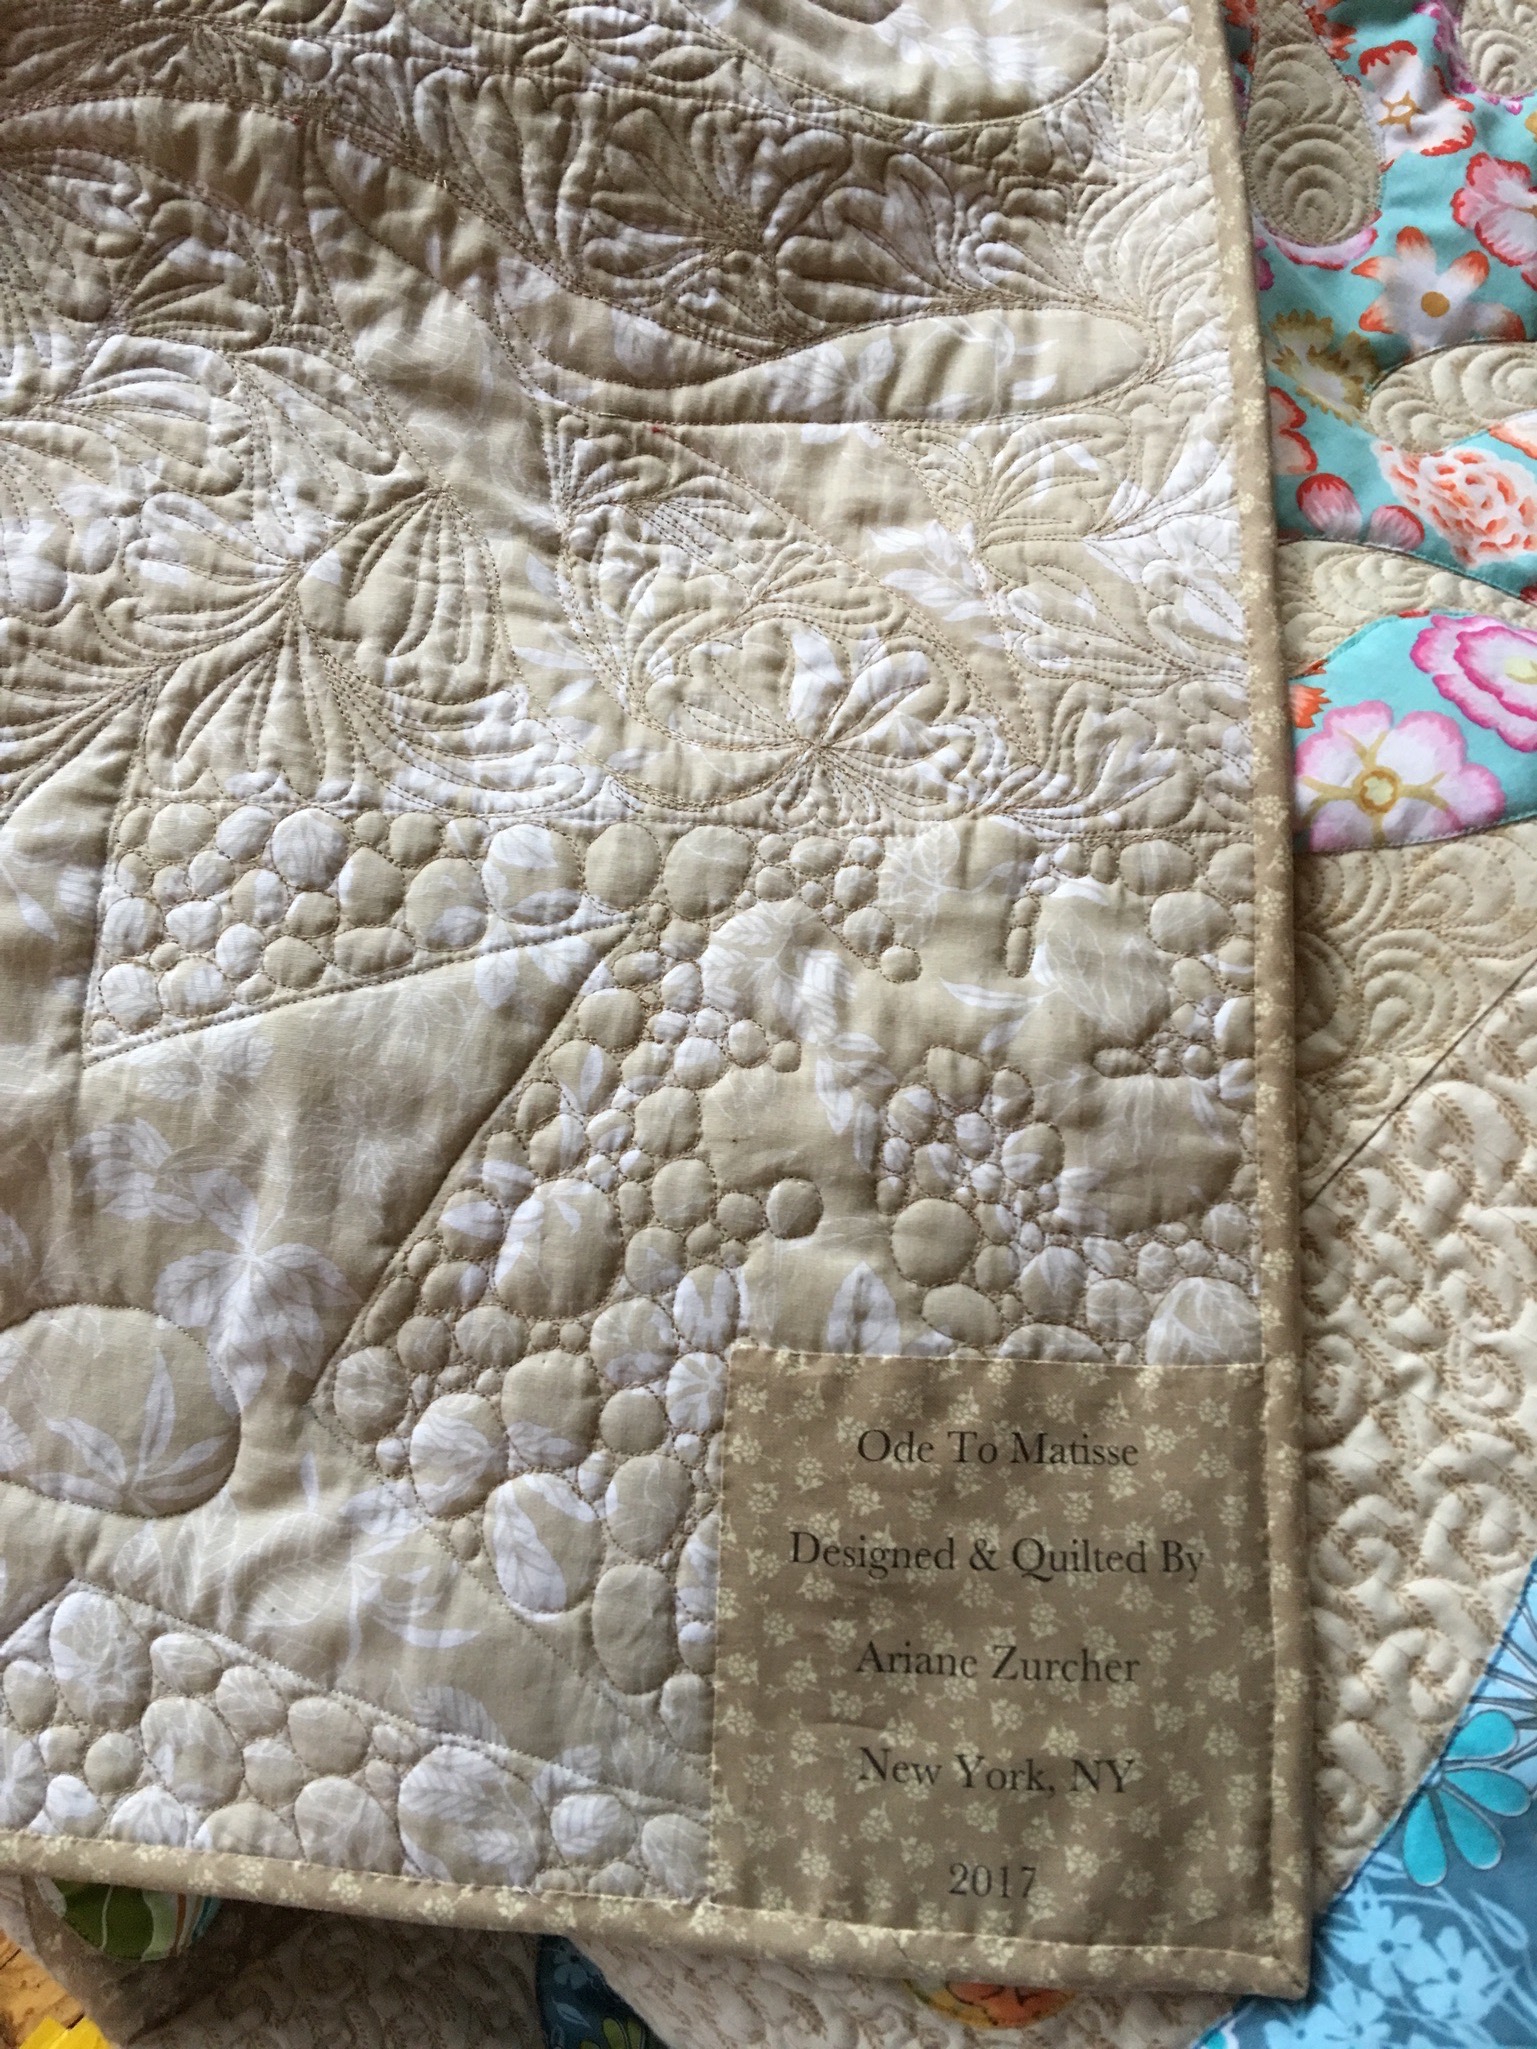
From Lori’s class I began with doodles of things I saw others doing and then took it to the quilt. Patterns like this…and this…and this…With each block, I tried a different free motion quilting pattern that I thought complimented the shape in the block. I know many feel the shapes themselves should also be quilted and I may have to go back and quilt the larger shapes, but I wanted them to pop, so decided to leave them alone. Once all the blocks were quilted I agonized over the binding. Eventually I opted for the darkest background beige fabric I had used. I cut it on the bias, pieced it together and then following the instructions in Mimi Dietrich’s book, Happy Endings I bound the whole quilt with mitered corners. I added a label and voila!
And here’s a shot of the label
There’s nothing quite as satisfying as finishing such a mammoth project, except of course writing about it while it is draped over your lap!
I forgot to include the contents of this quilt on the label. They are: 100% cotton fabric, Wool Batting, Cotton thread.
Next up – my Block of the Month quilt that I’m currently designing and working on, inspired by the fabulous Sue Spargo, who is to blame for my current obsession with all things fabric, quilted, embroidered, embellished, etc.
Yay, I finished it!! My first large quilt. I began it in January and finished yesterday.
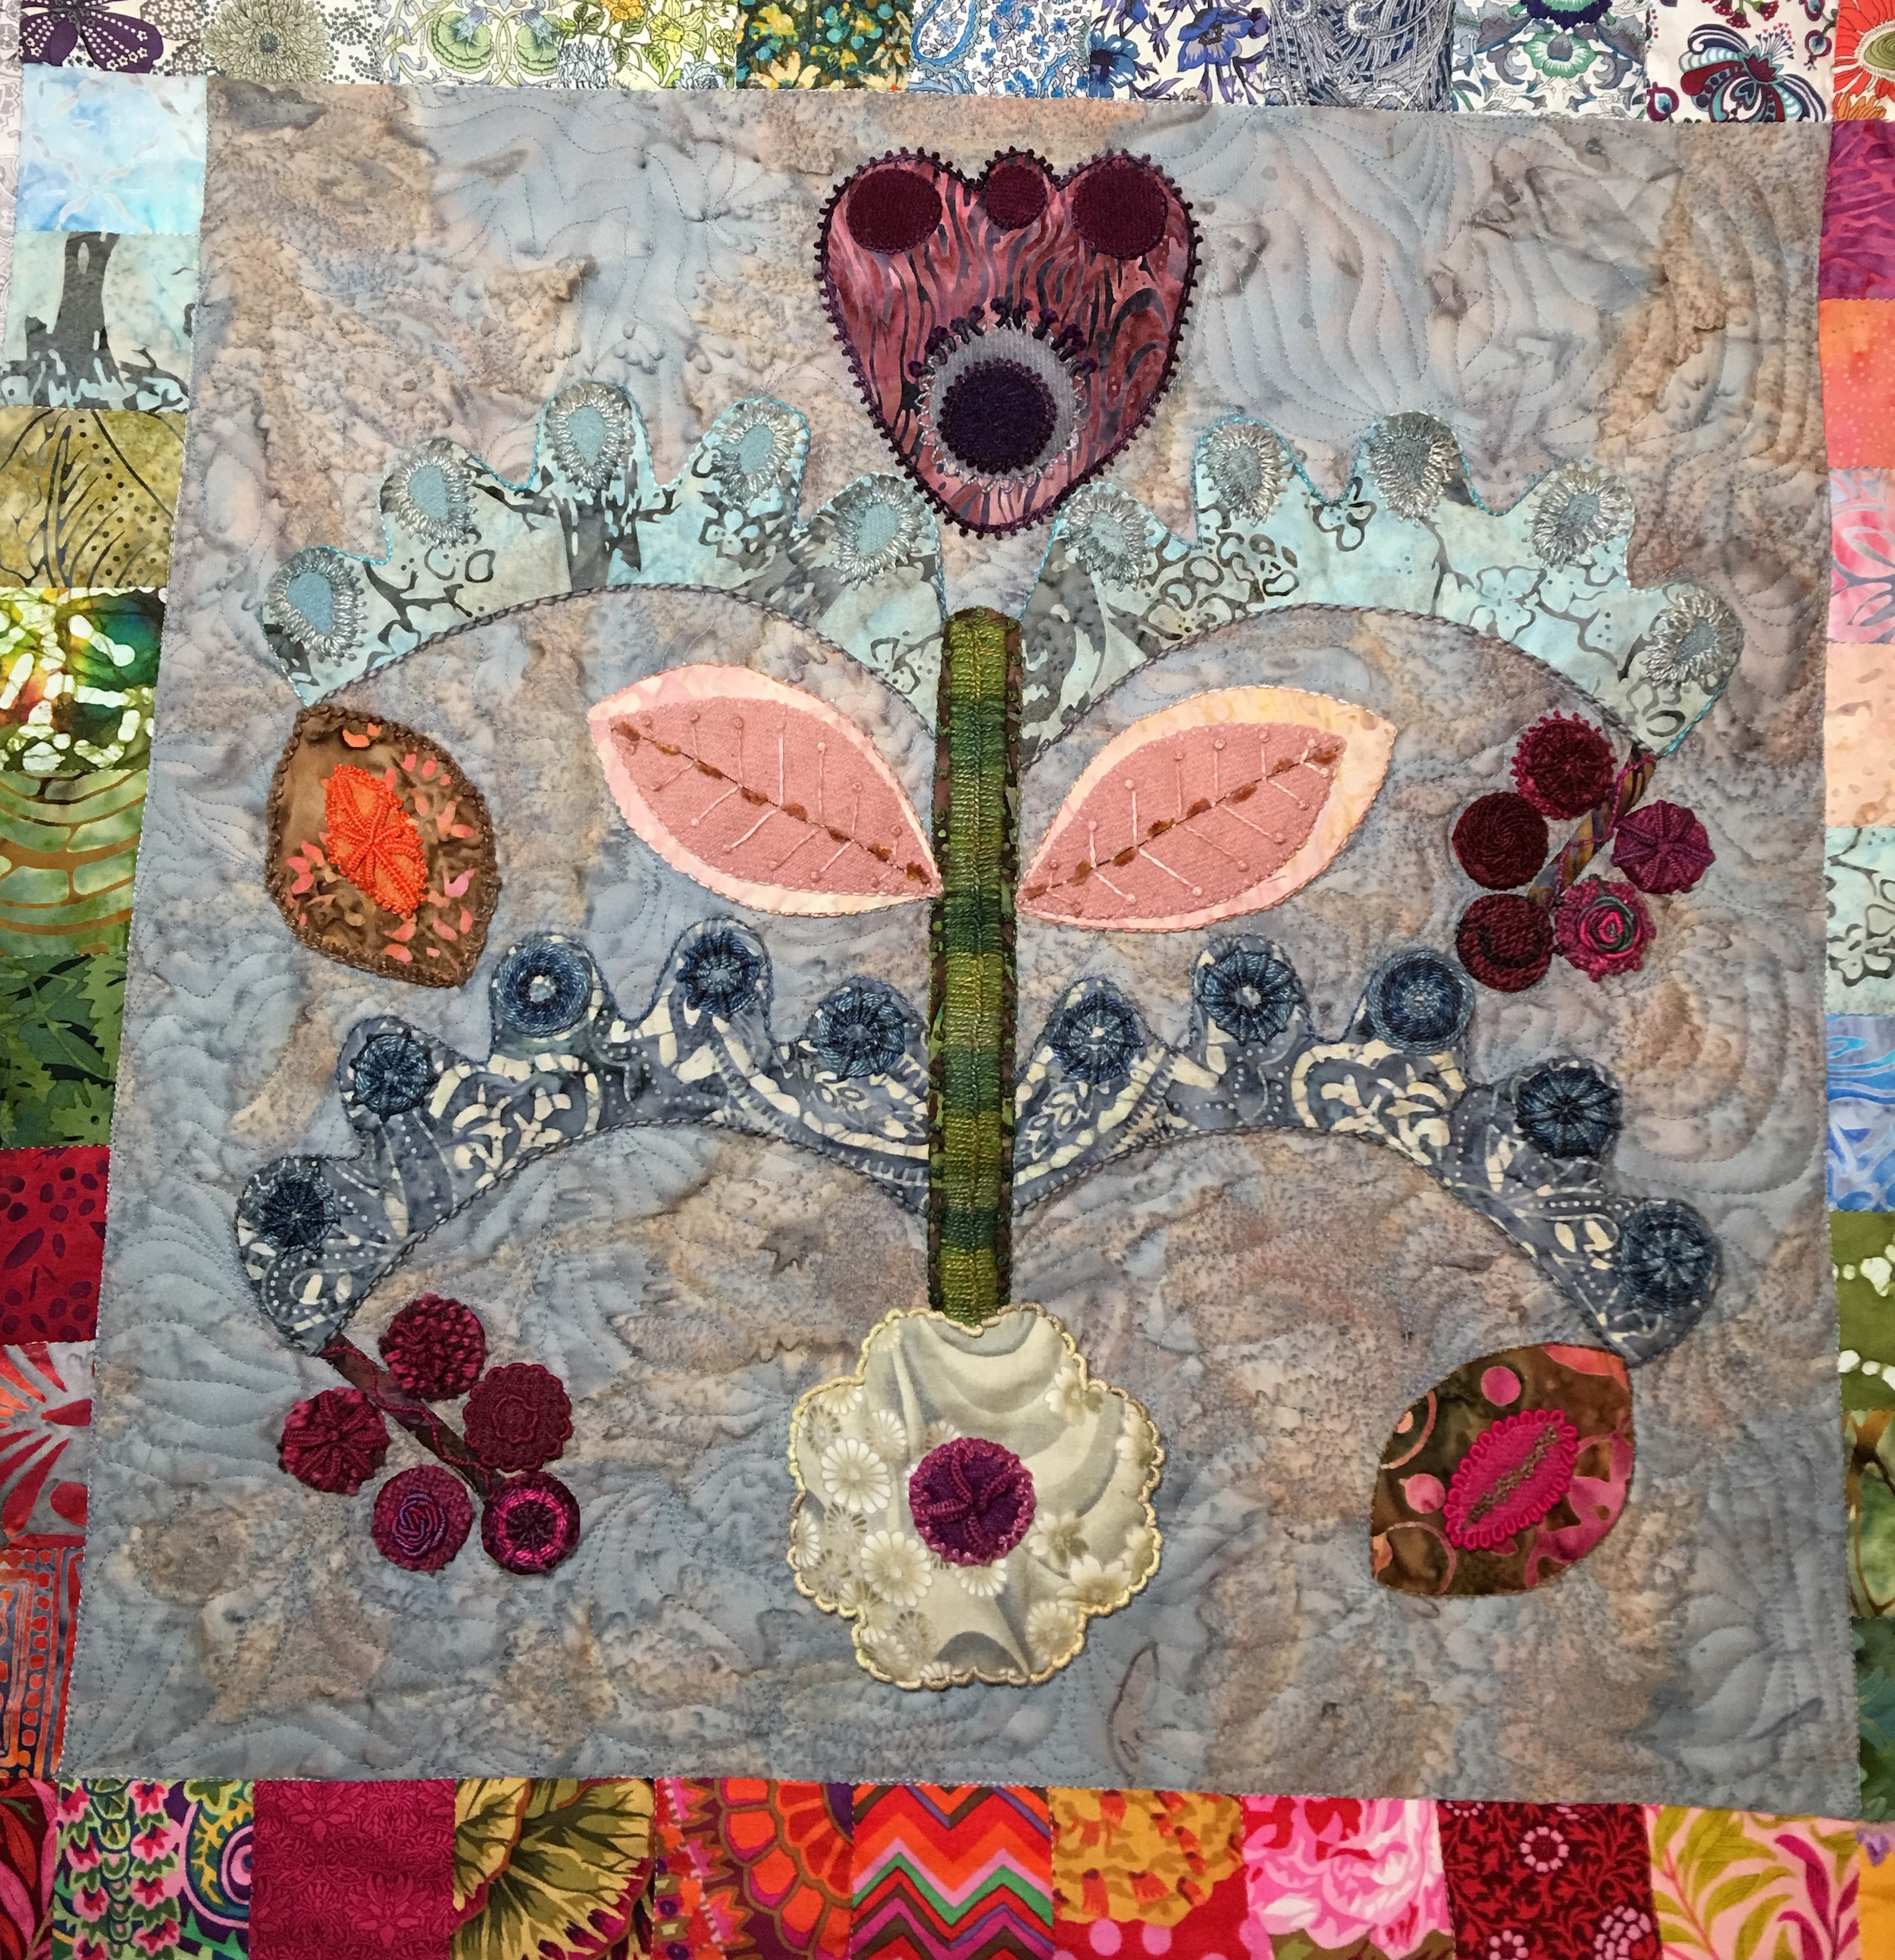
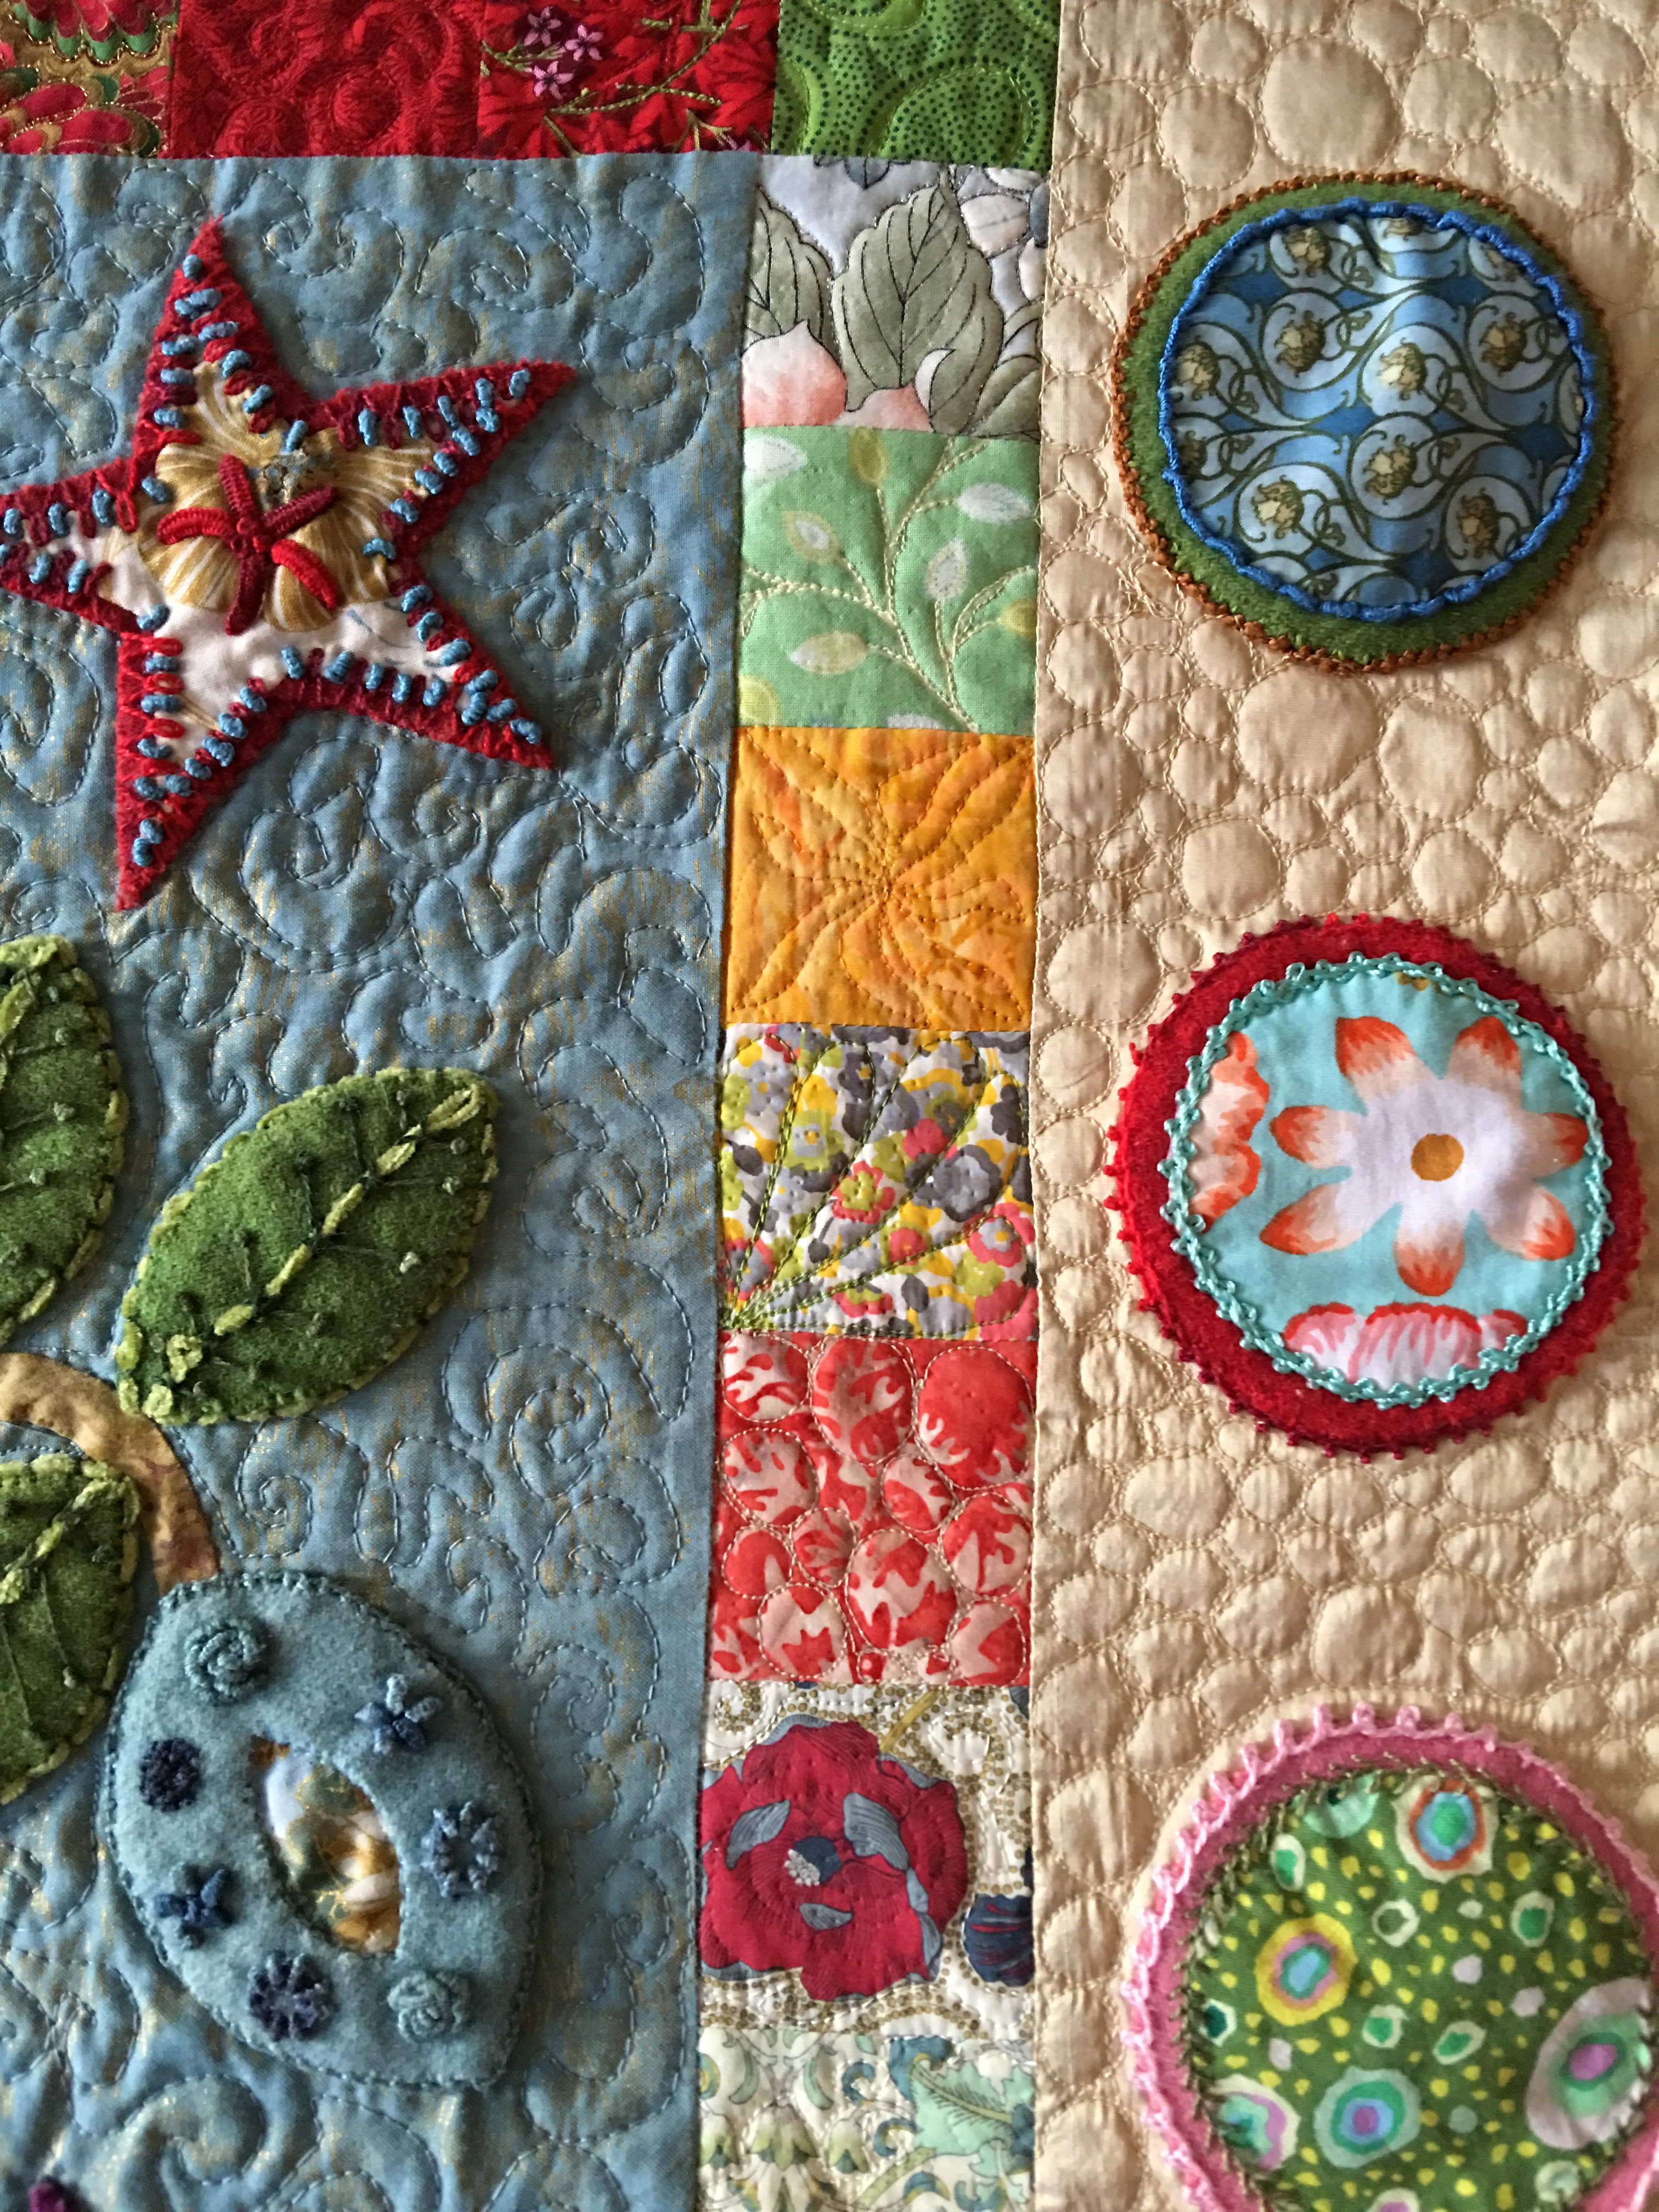
This is the queen-sized quilt that I have written about ‘here‘, ‘here‘, ‘here‘ and ‘here‘. In a nutshell this quilt was my starter quilt. I wanted to learn how to make a quilt start to finish. This quilt was designed by Kim McLean and is called Flower Pots. I took a class where we followed the pattern, learned to appliqué, and got to use all the things I had learned from Sue Spargo – layering, using different fabrics such as wool and velvet and then perle cotton and other threads and a multitude of stitches to enhance the shapes. I hand stitched all the appliqué and machine stitched the panels together with the sashing and border. I then used a wool batting and learned how to free motion quilt. I used a red batik for the binding, cut on the bias and hand stitched the back. Finally I made and applied a quilted label.
This first picture is of the lower center panel where I decided to try an emerging pattern of double leaf free motion quilting shape. I used a slightly darker grey thread.
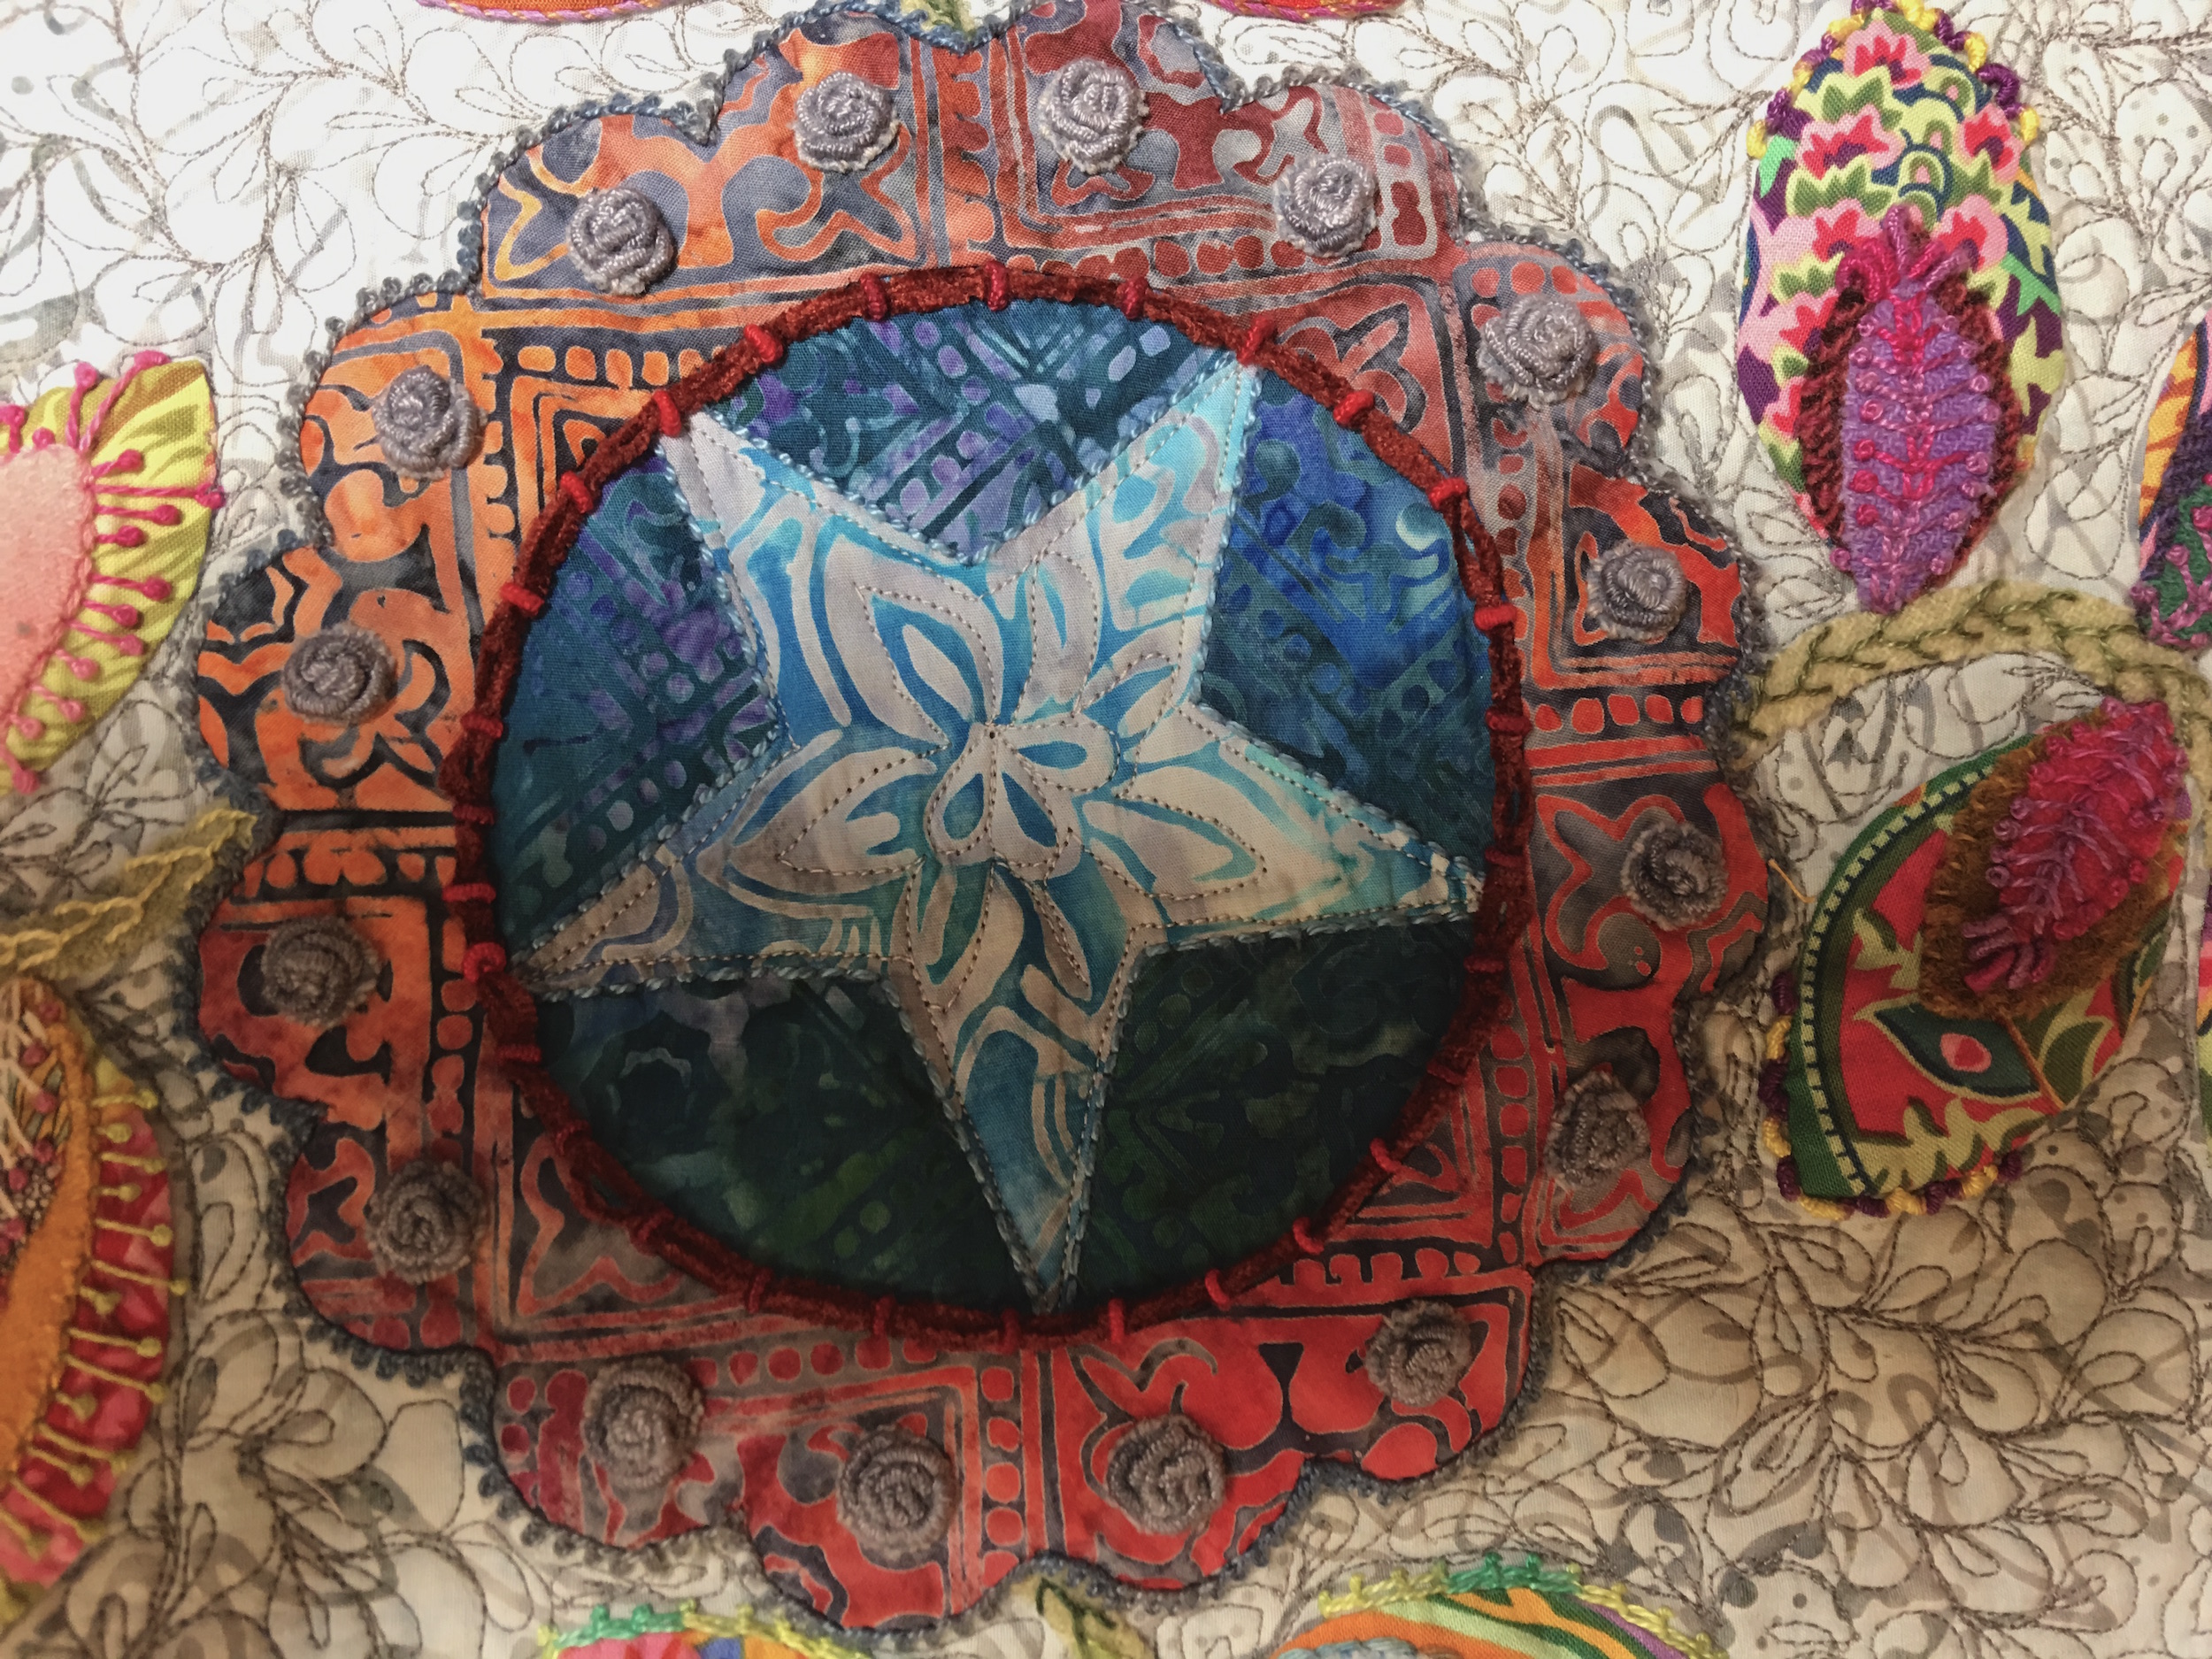
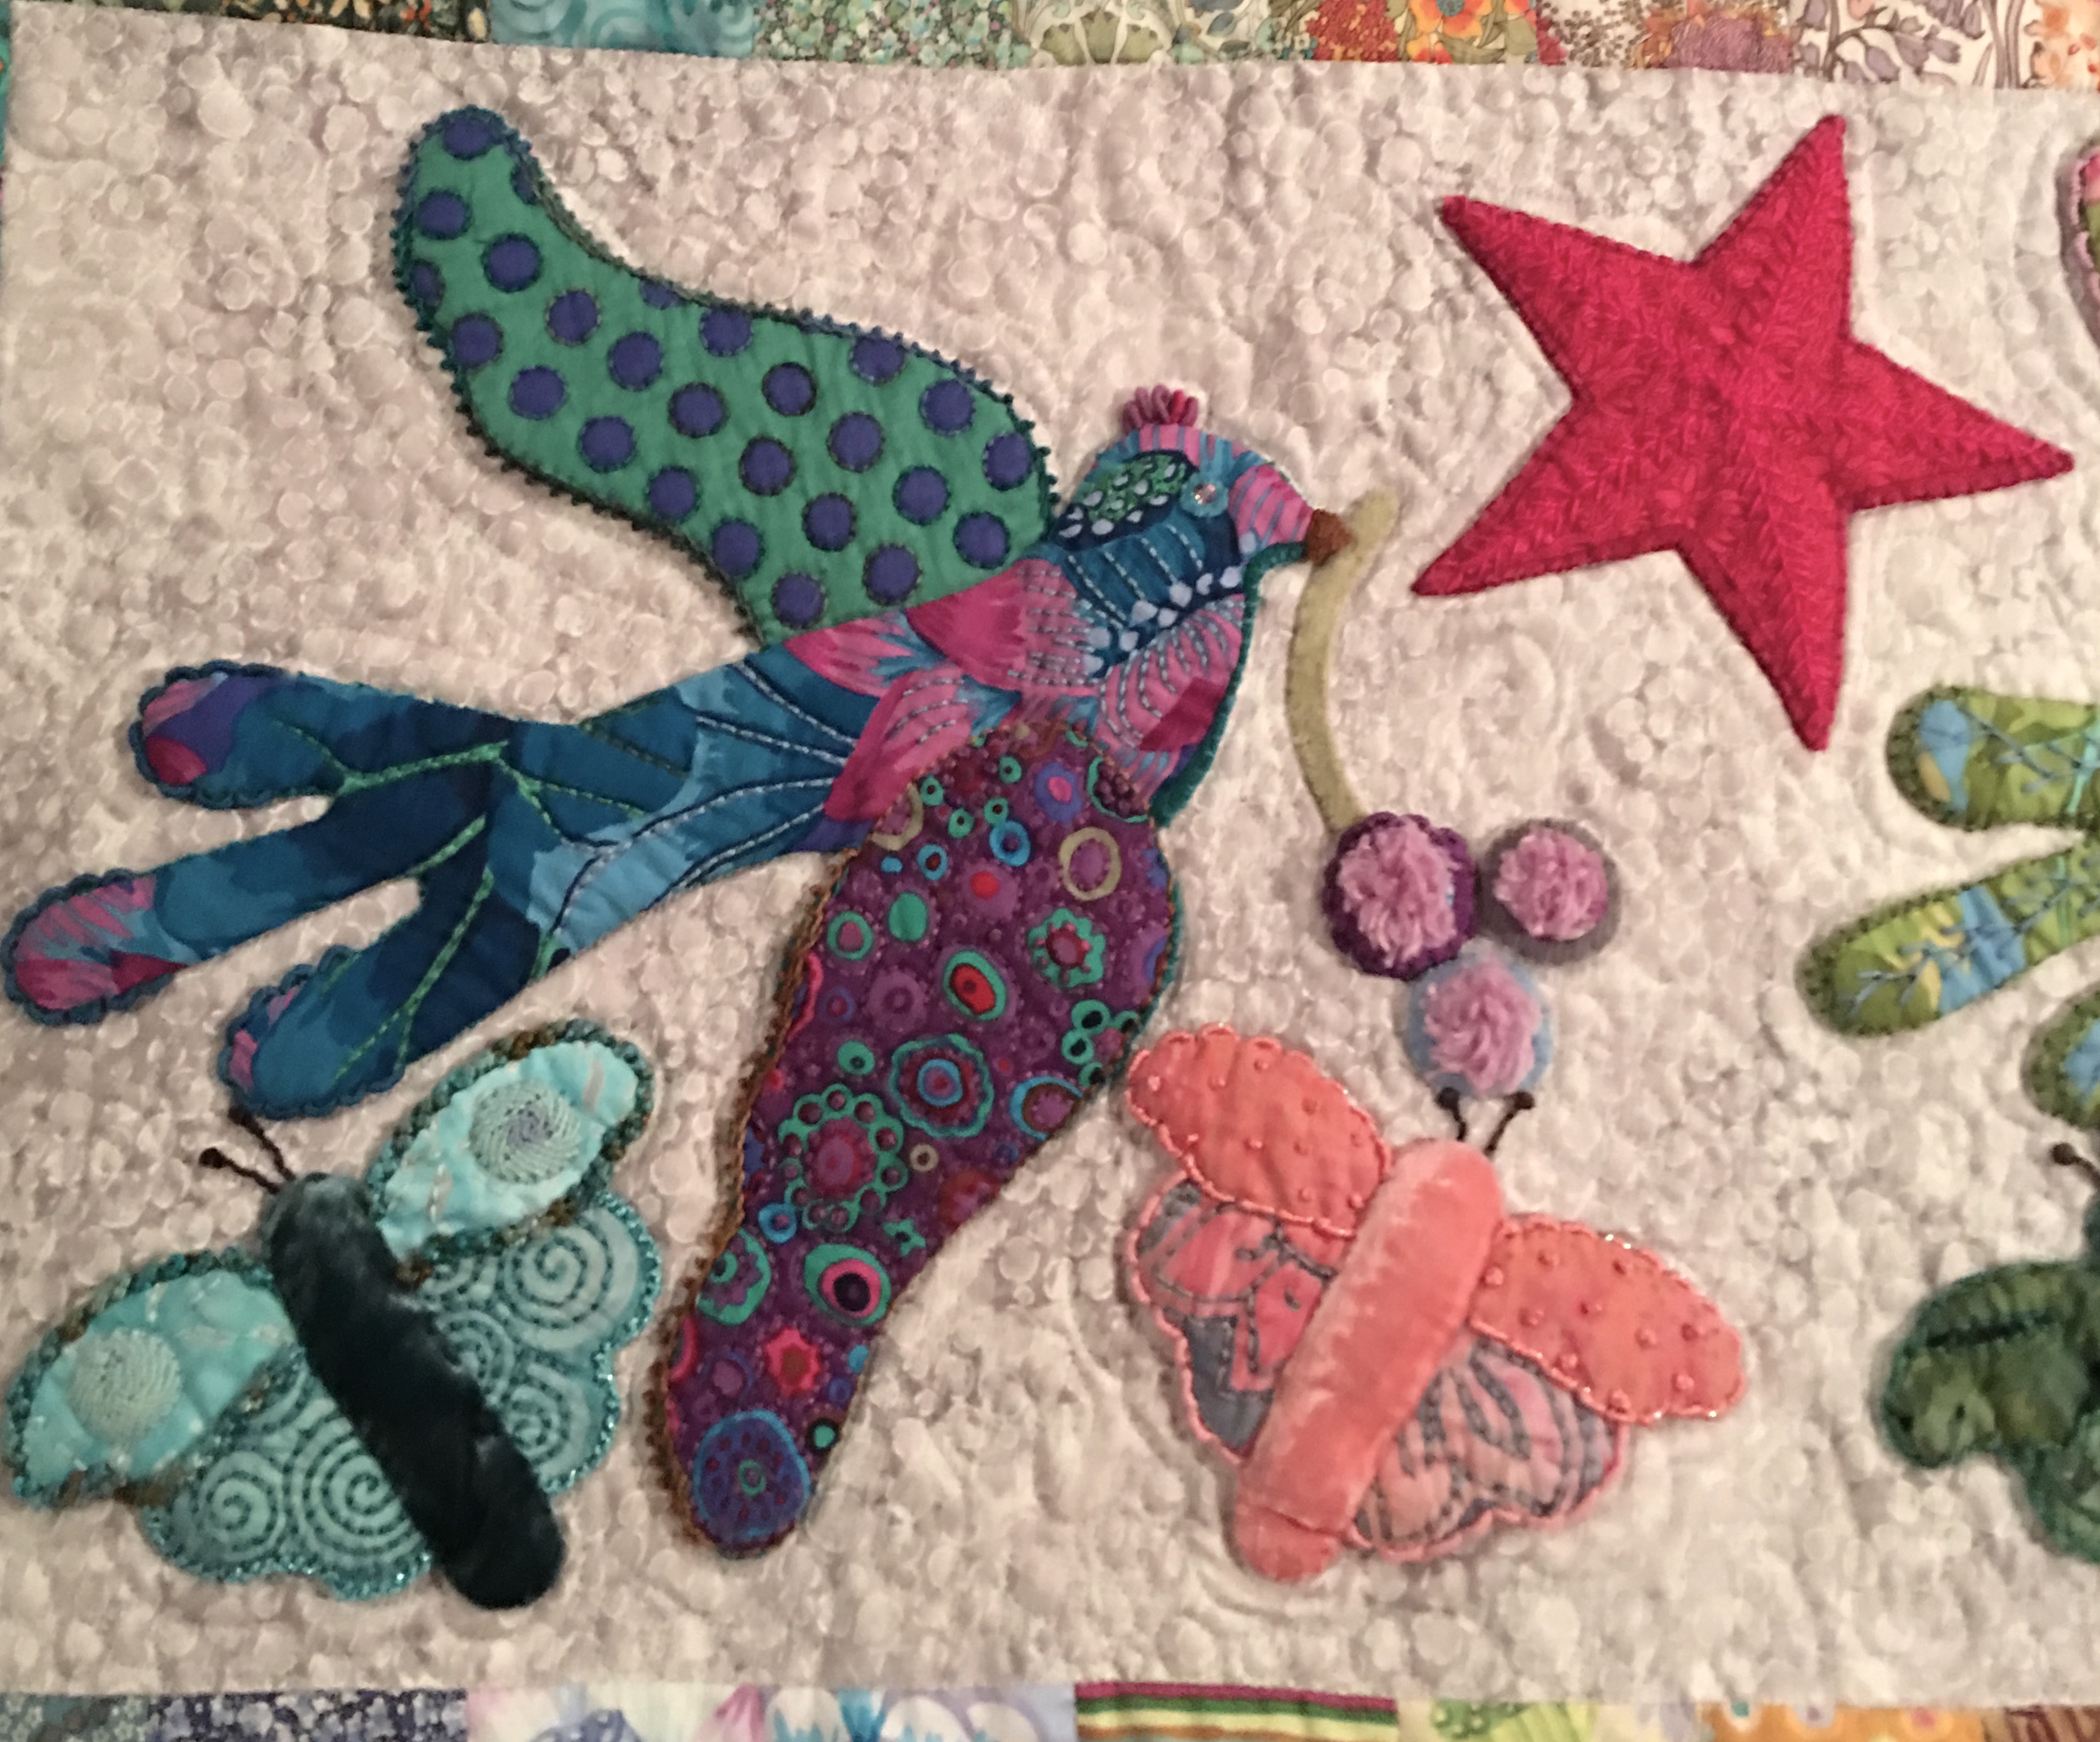
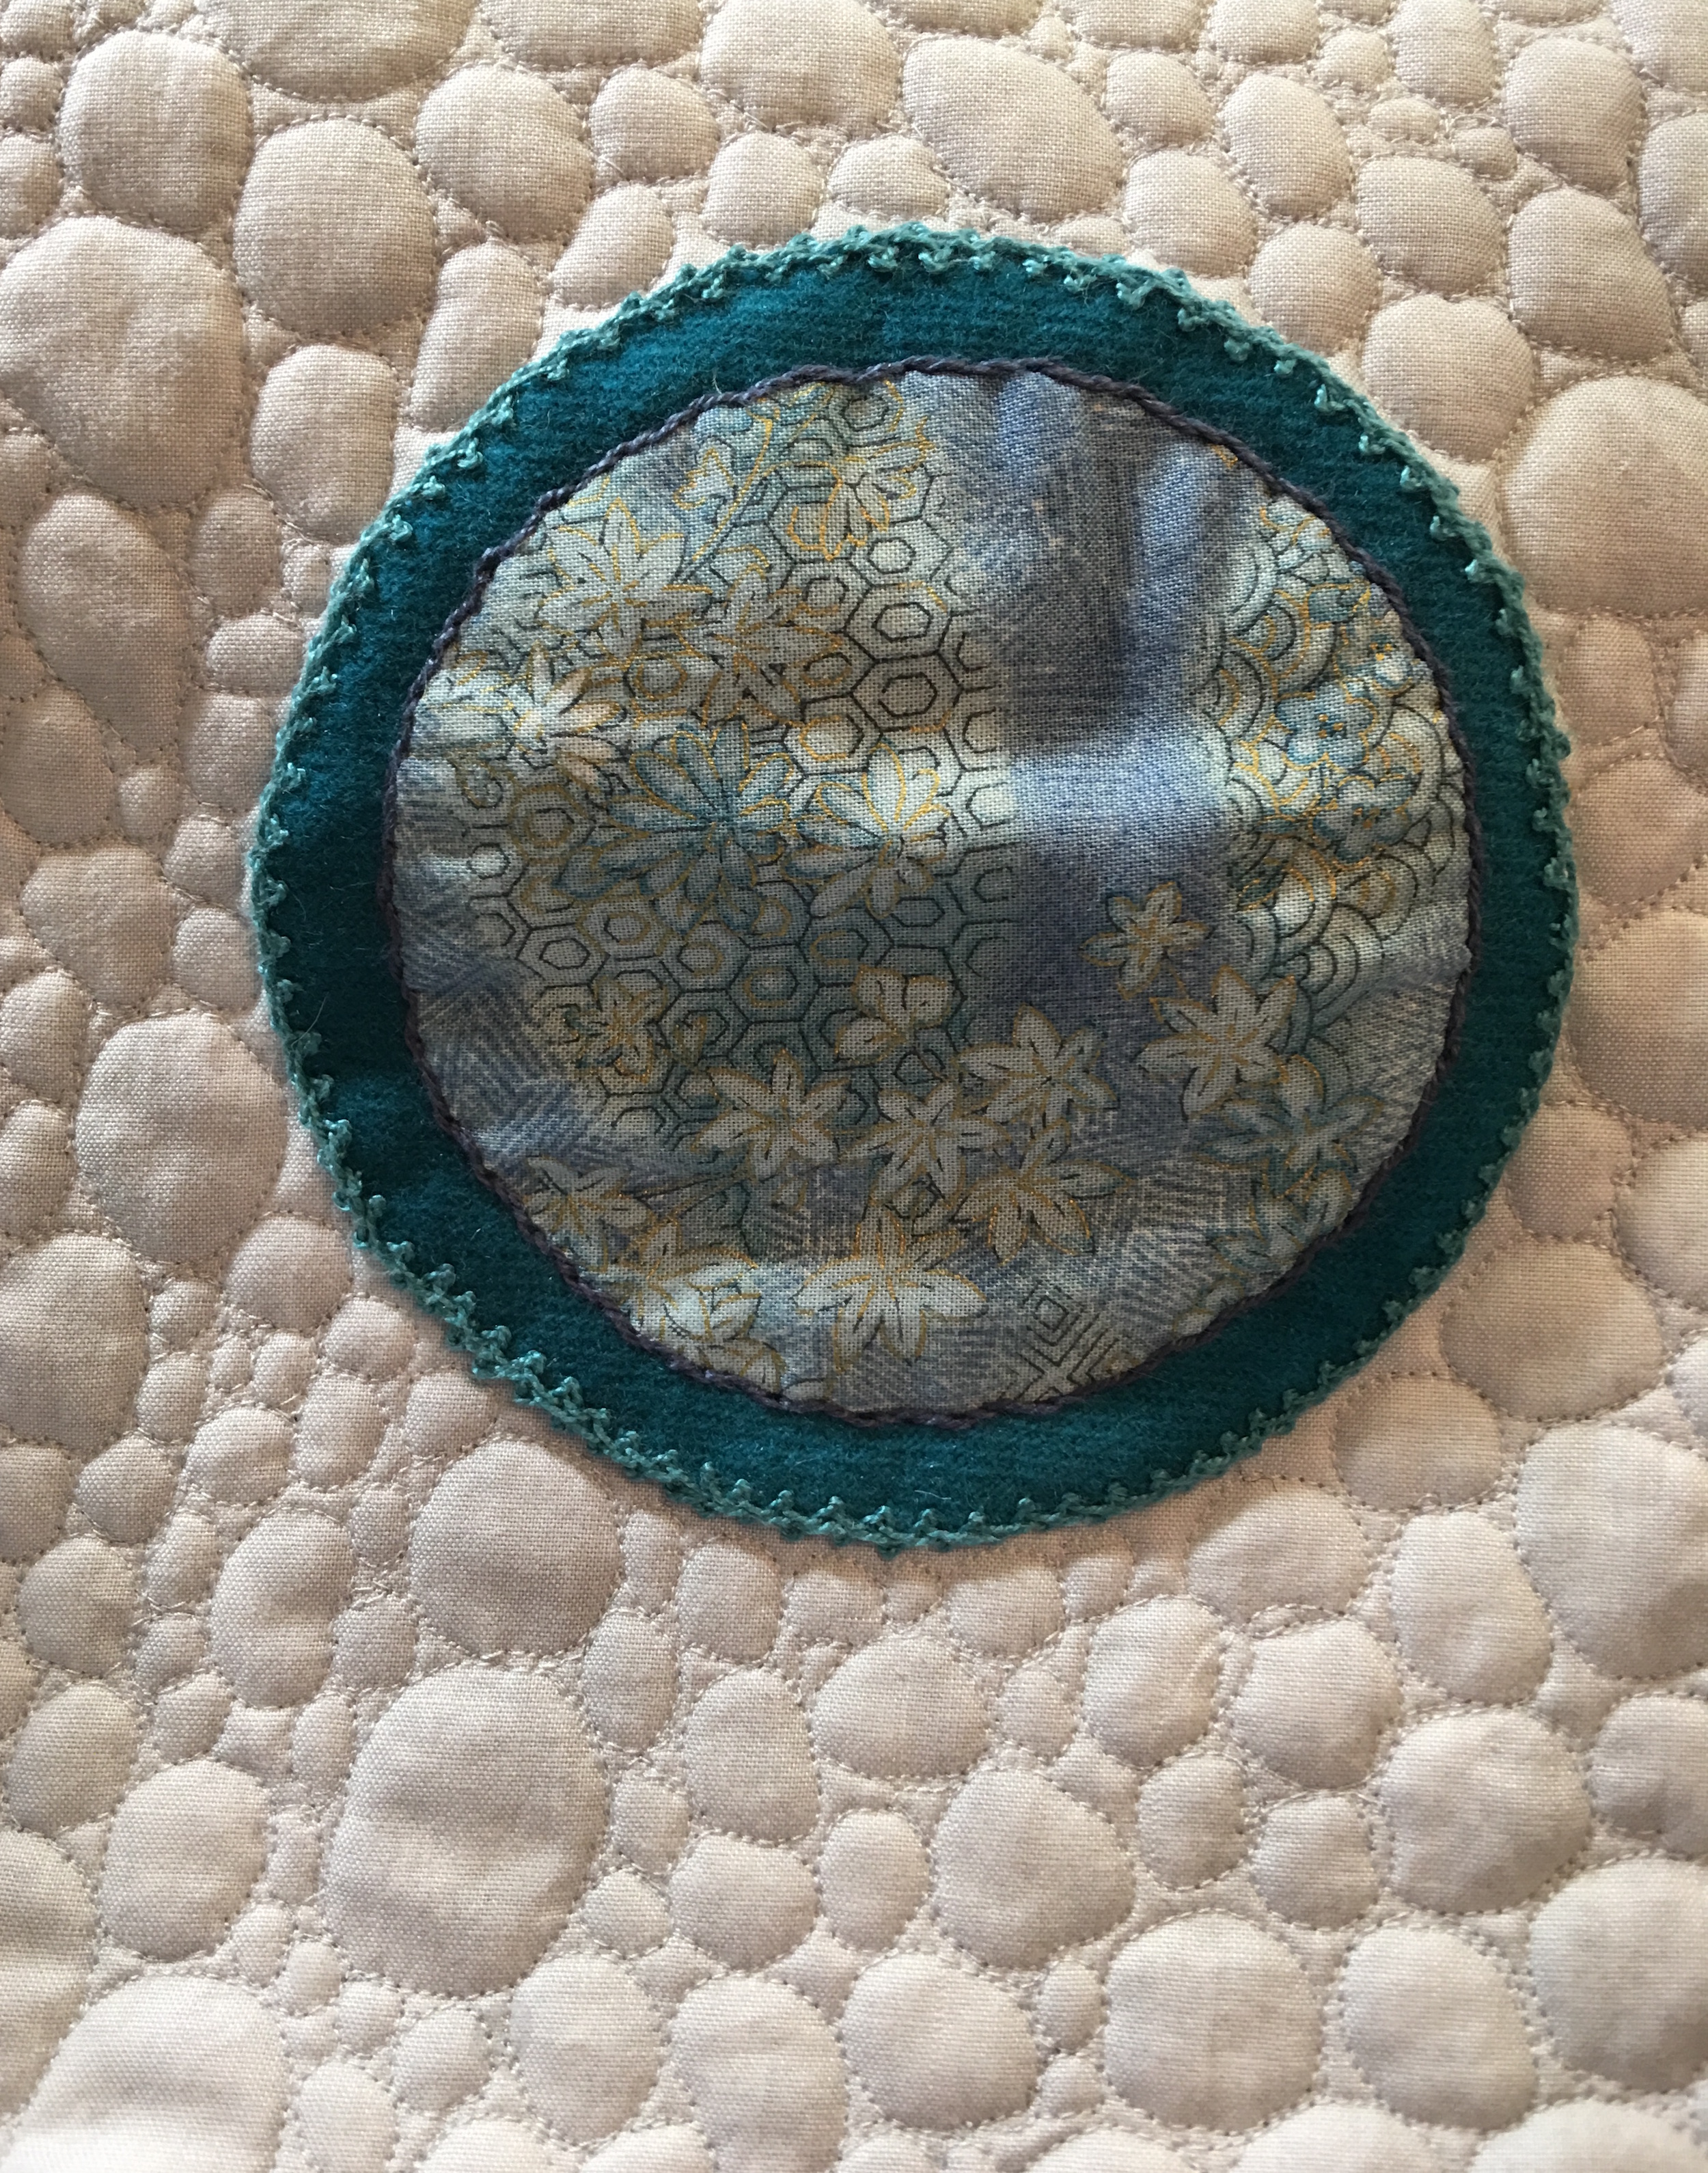
Center Star Panel
For the upper center panel I wanted to try my hand at McTavishing, which is named after a woman who created a specific way to free motion quilt. After a few times, I went off and did my own thing, echoing, but also playing with flame shapes.
Top Center Panel
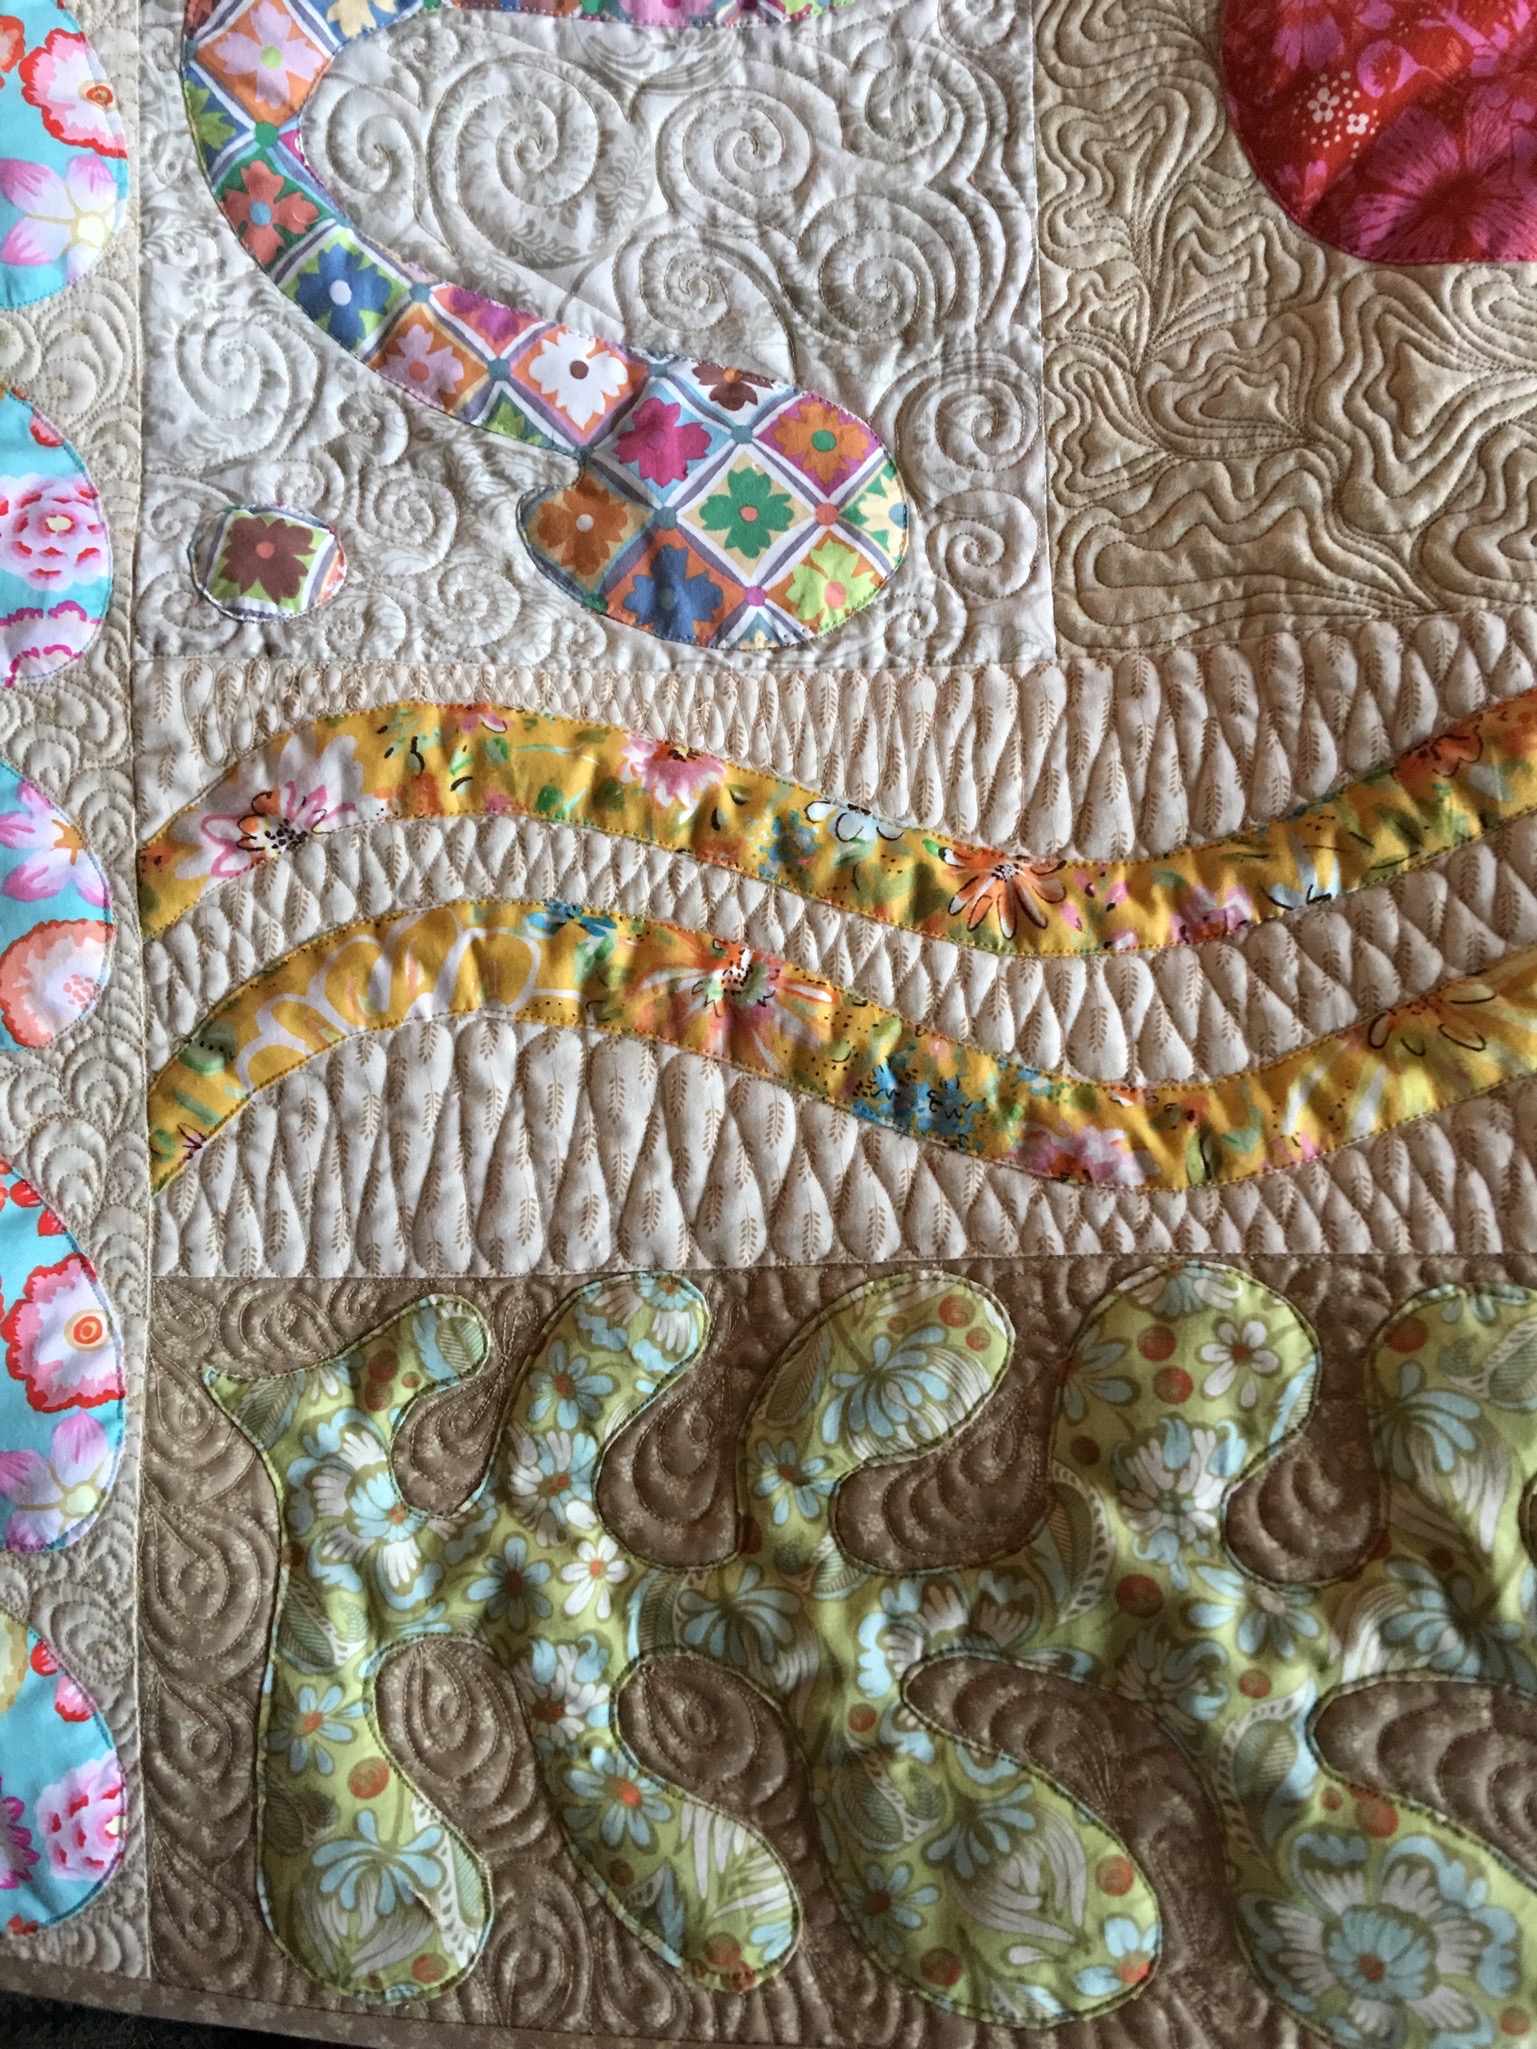
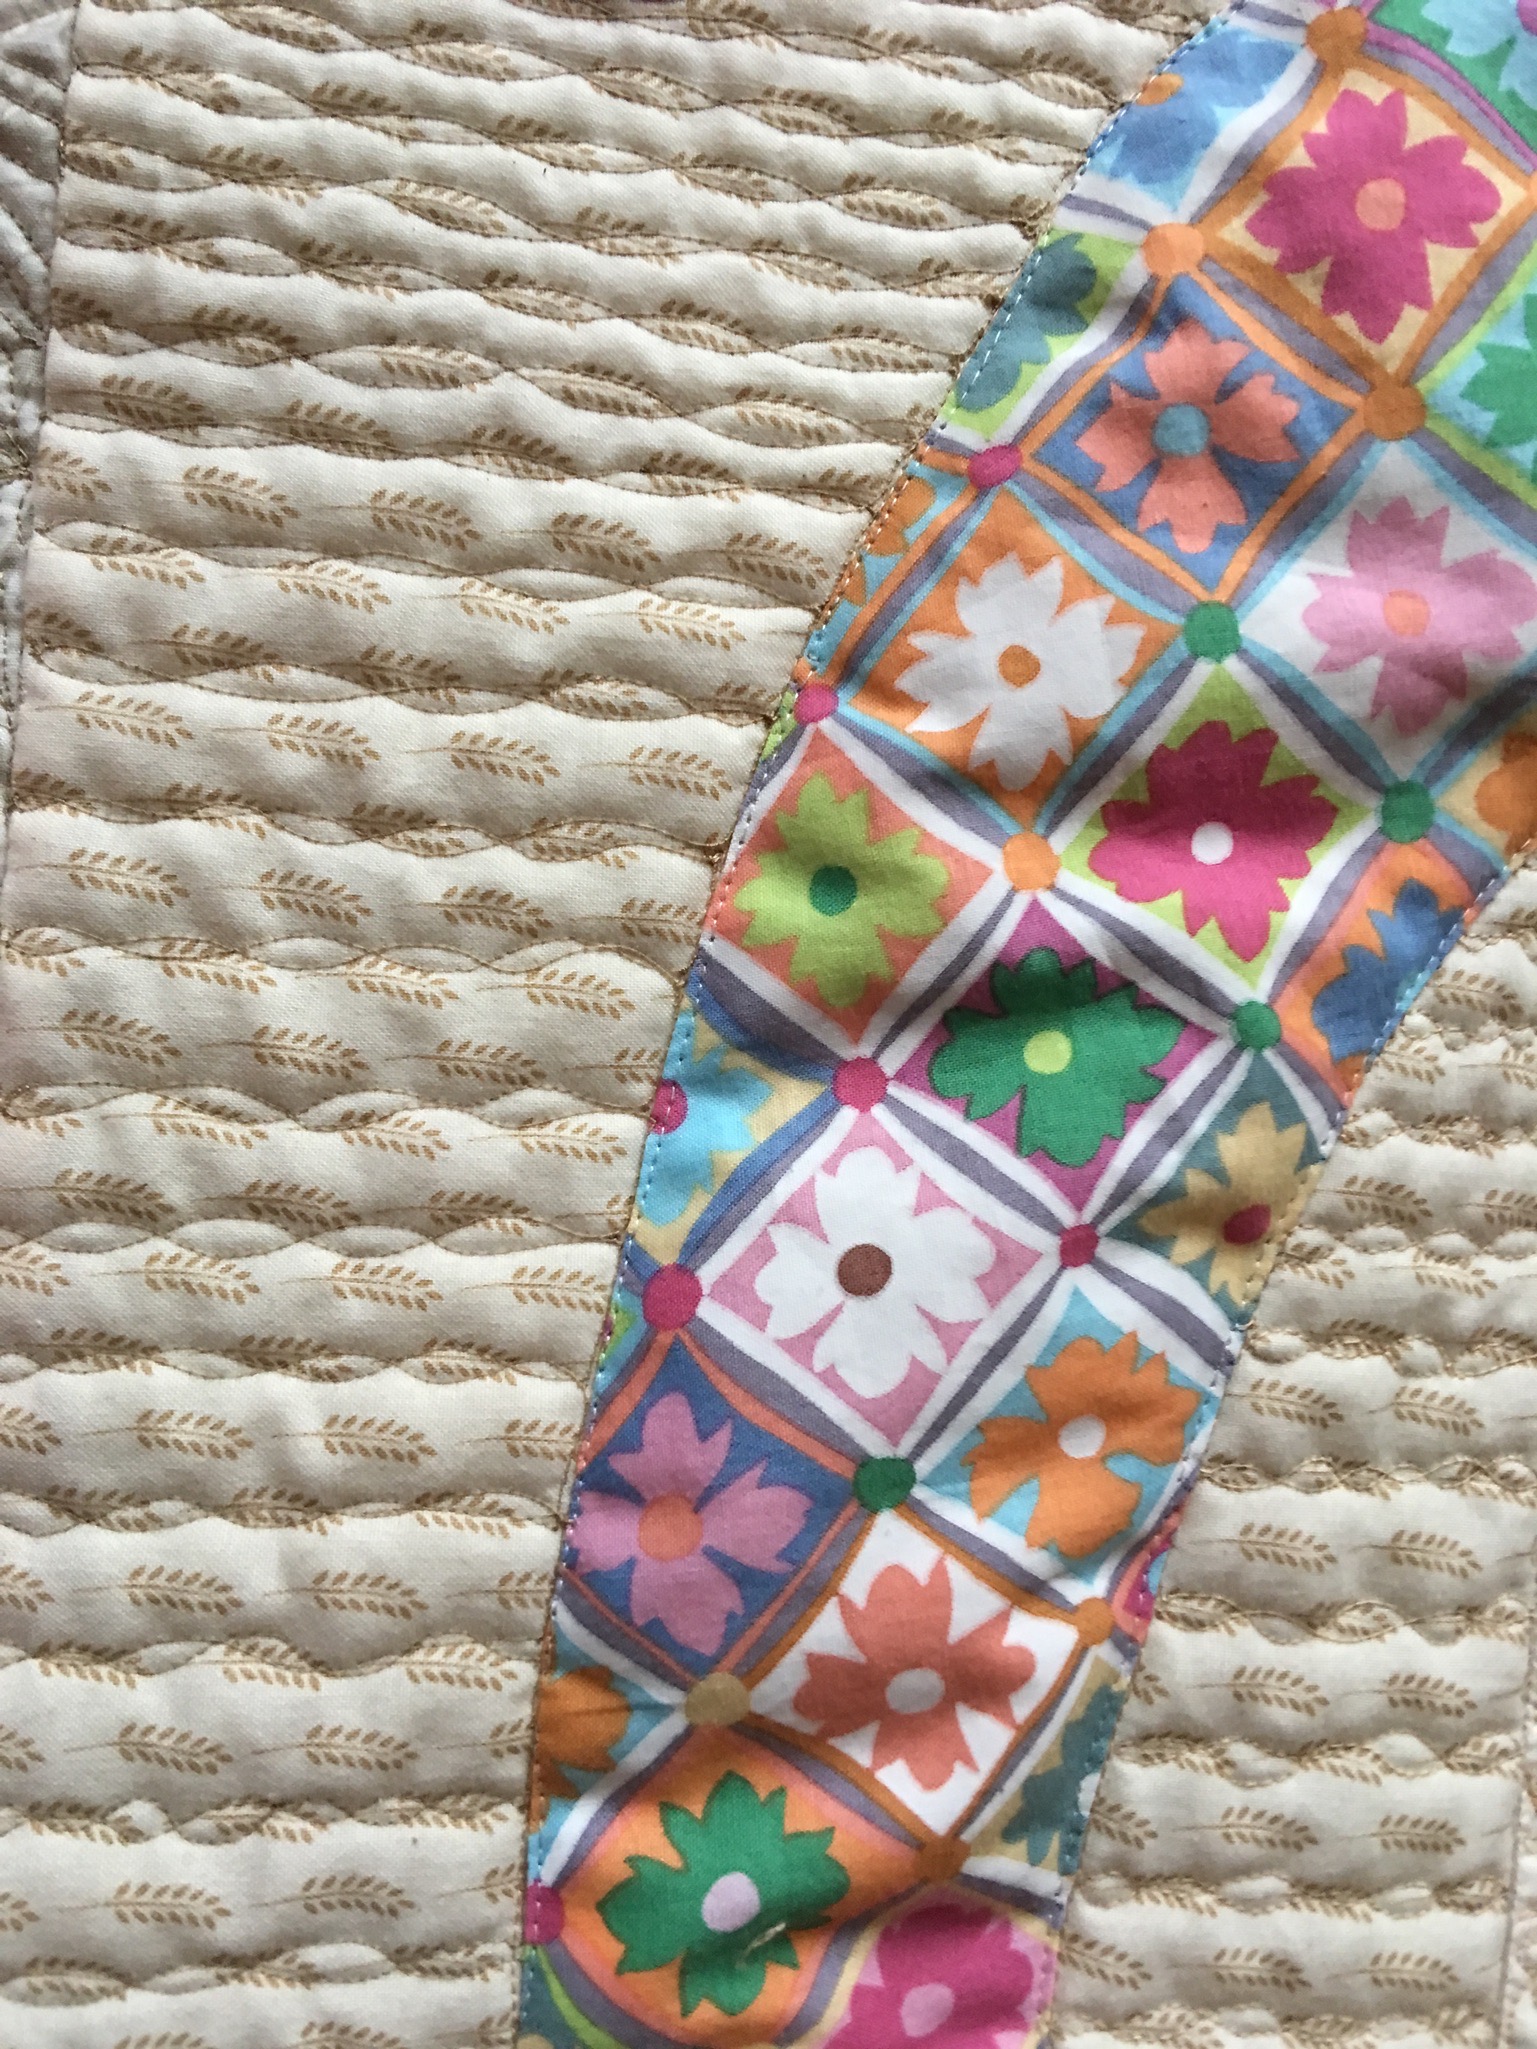
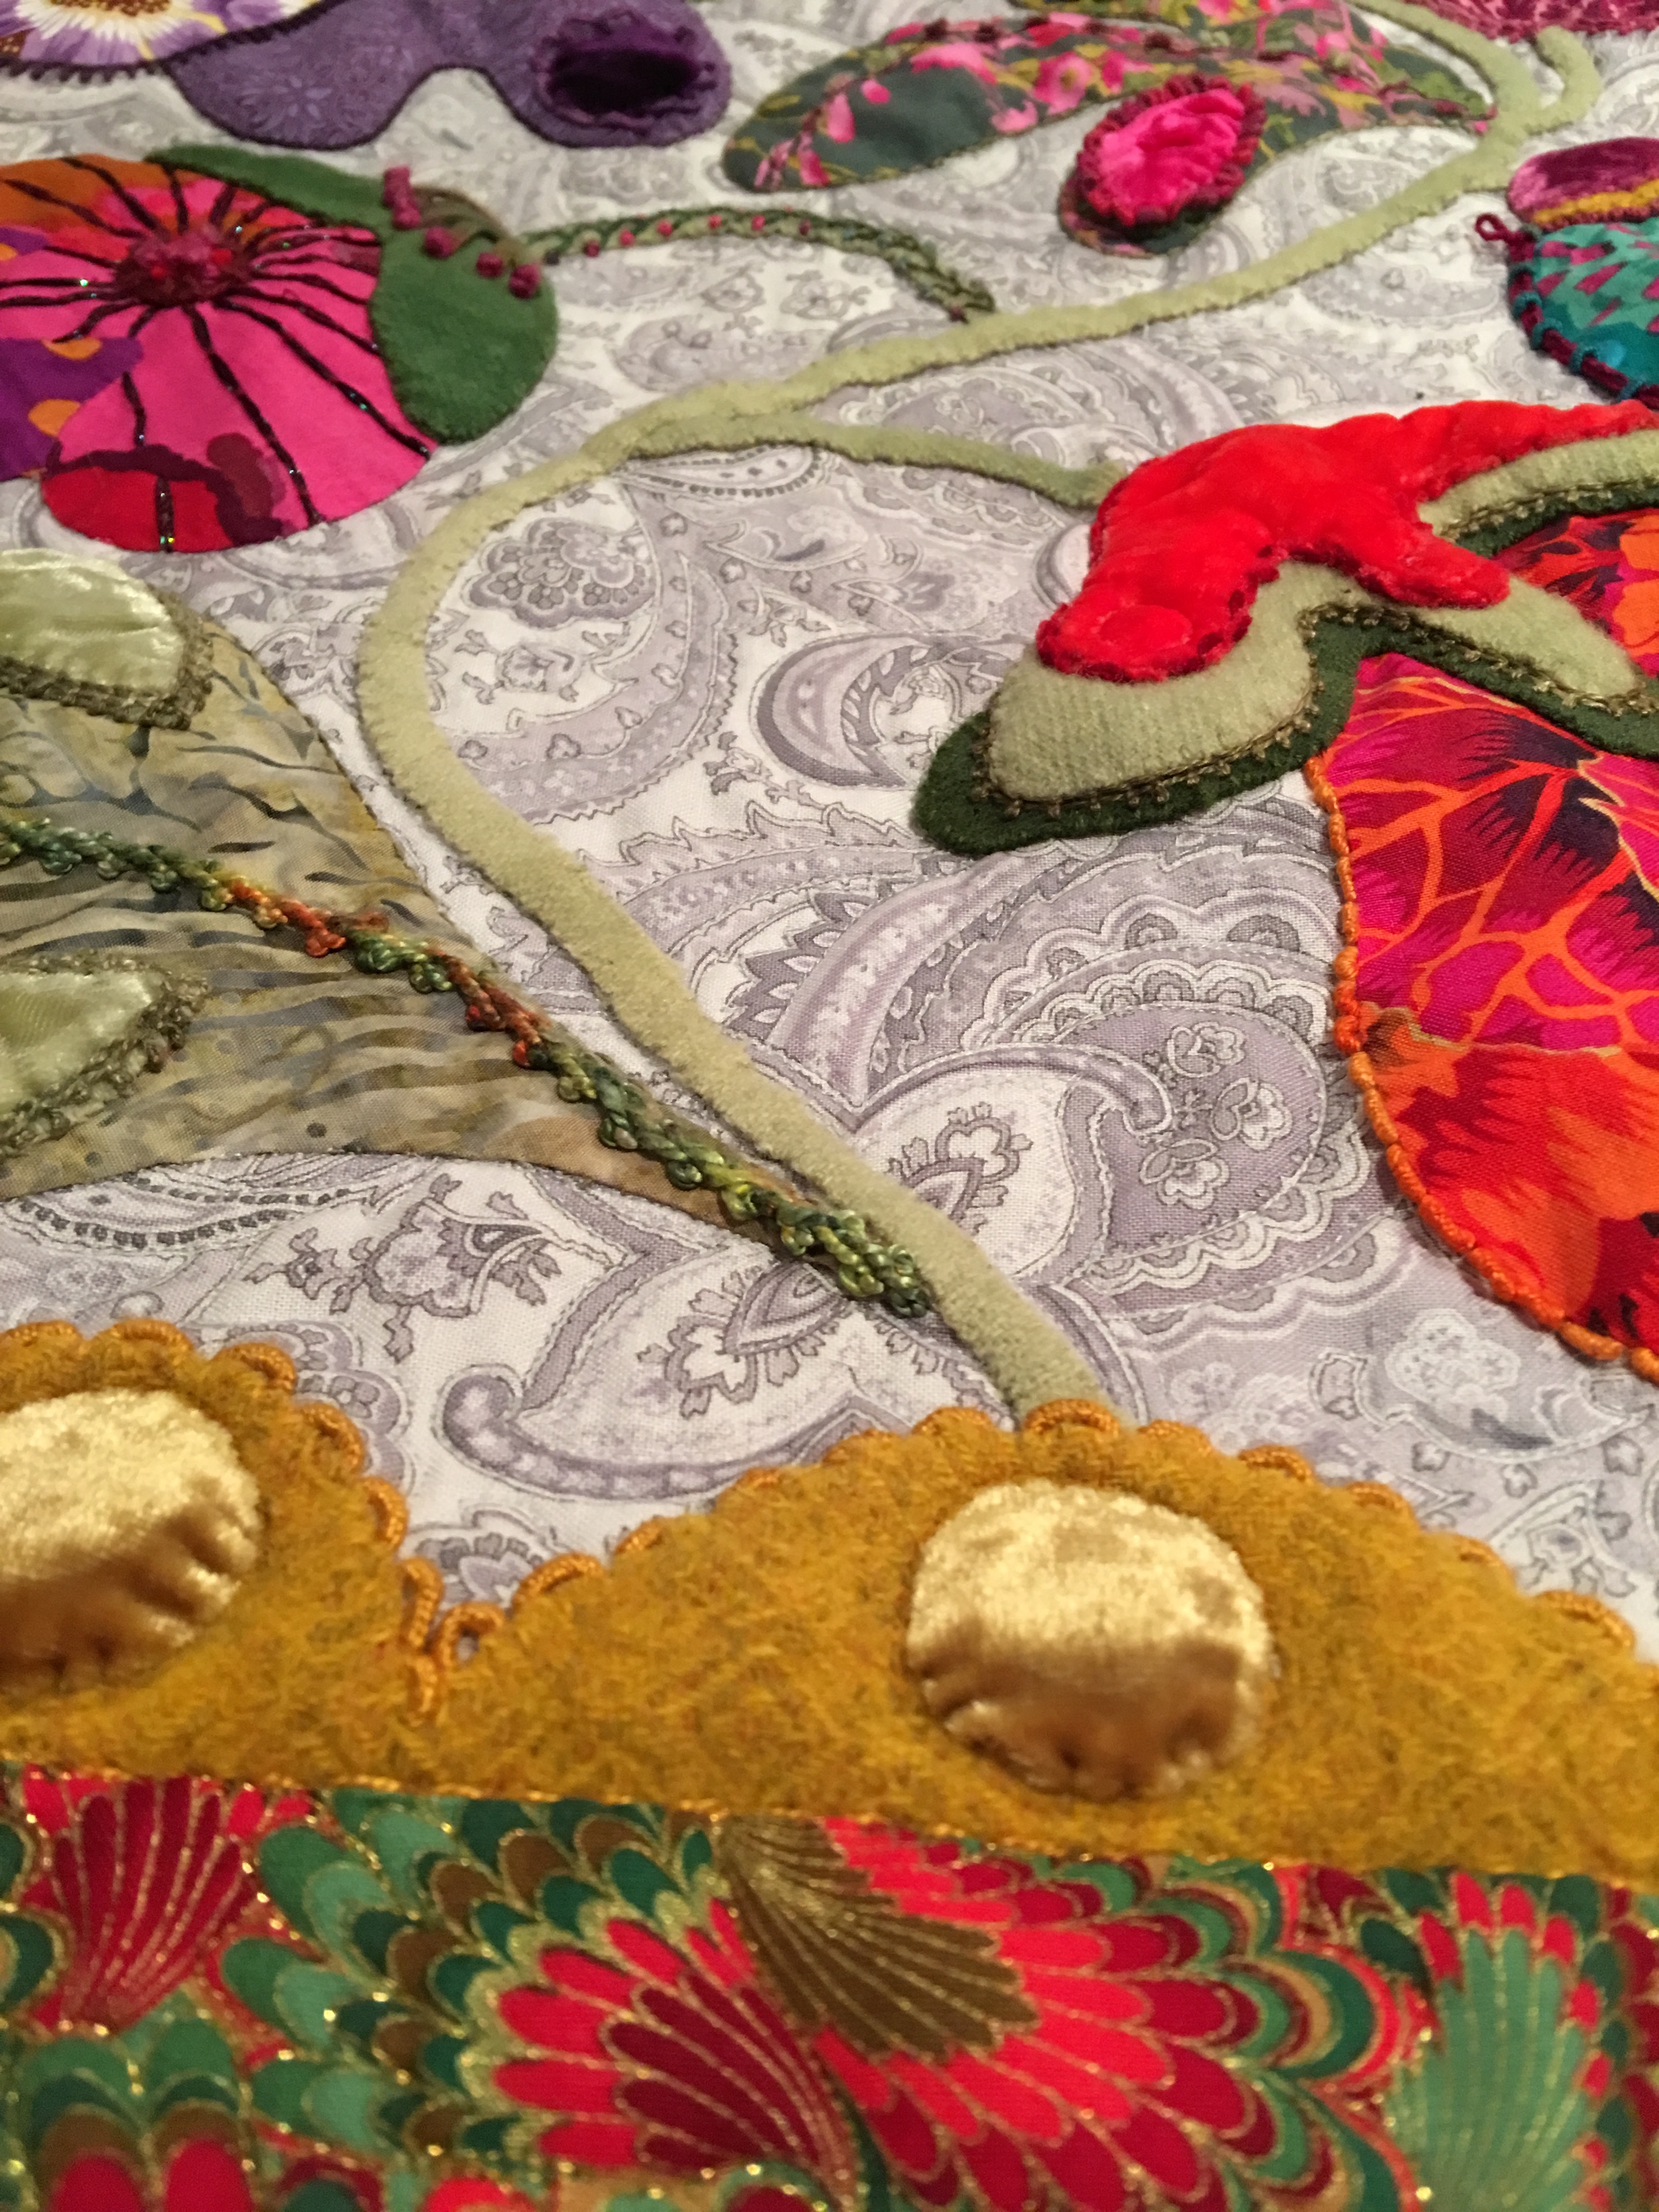
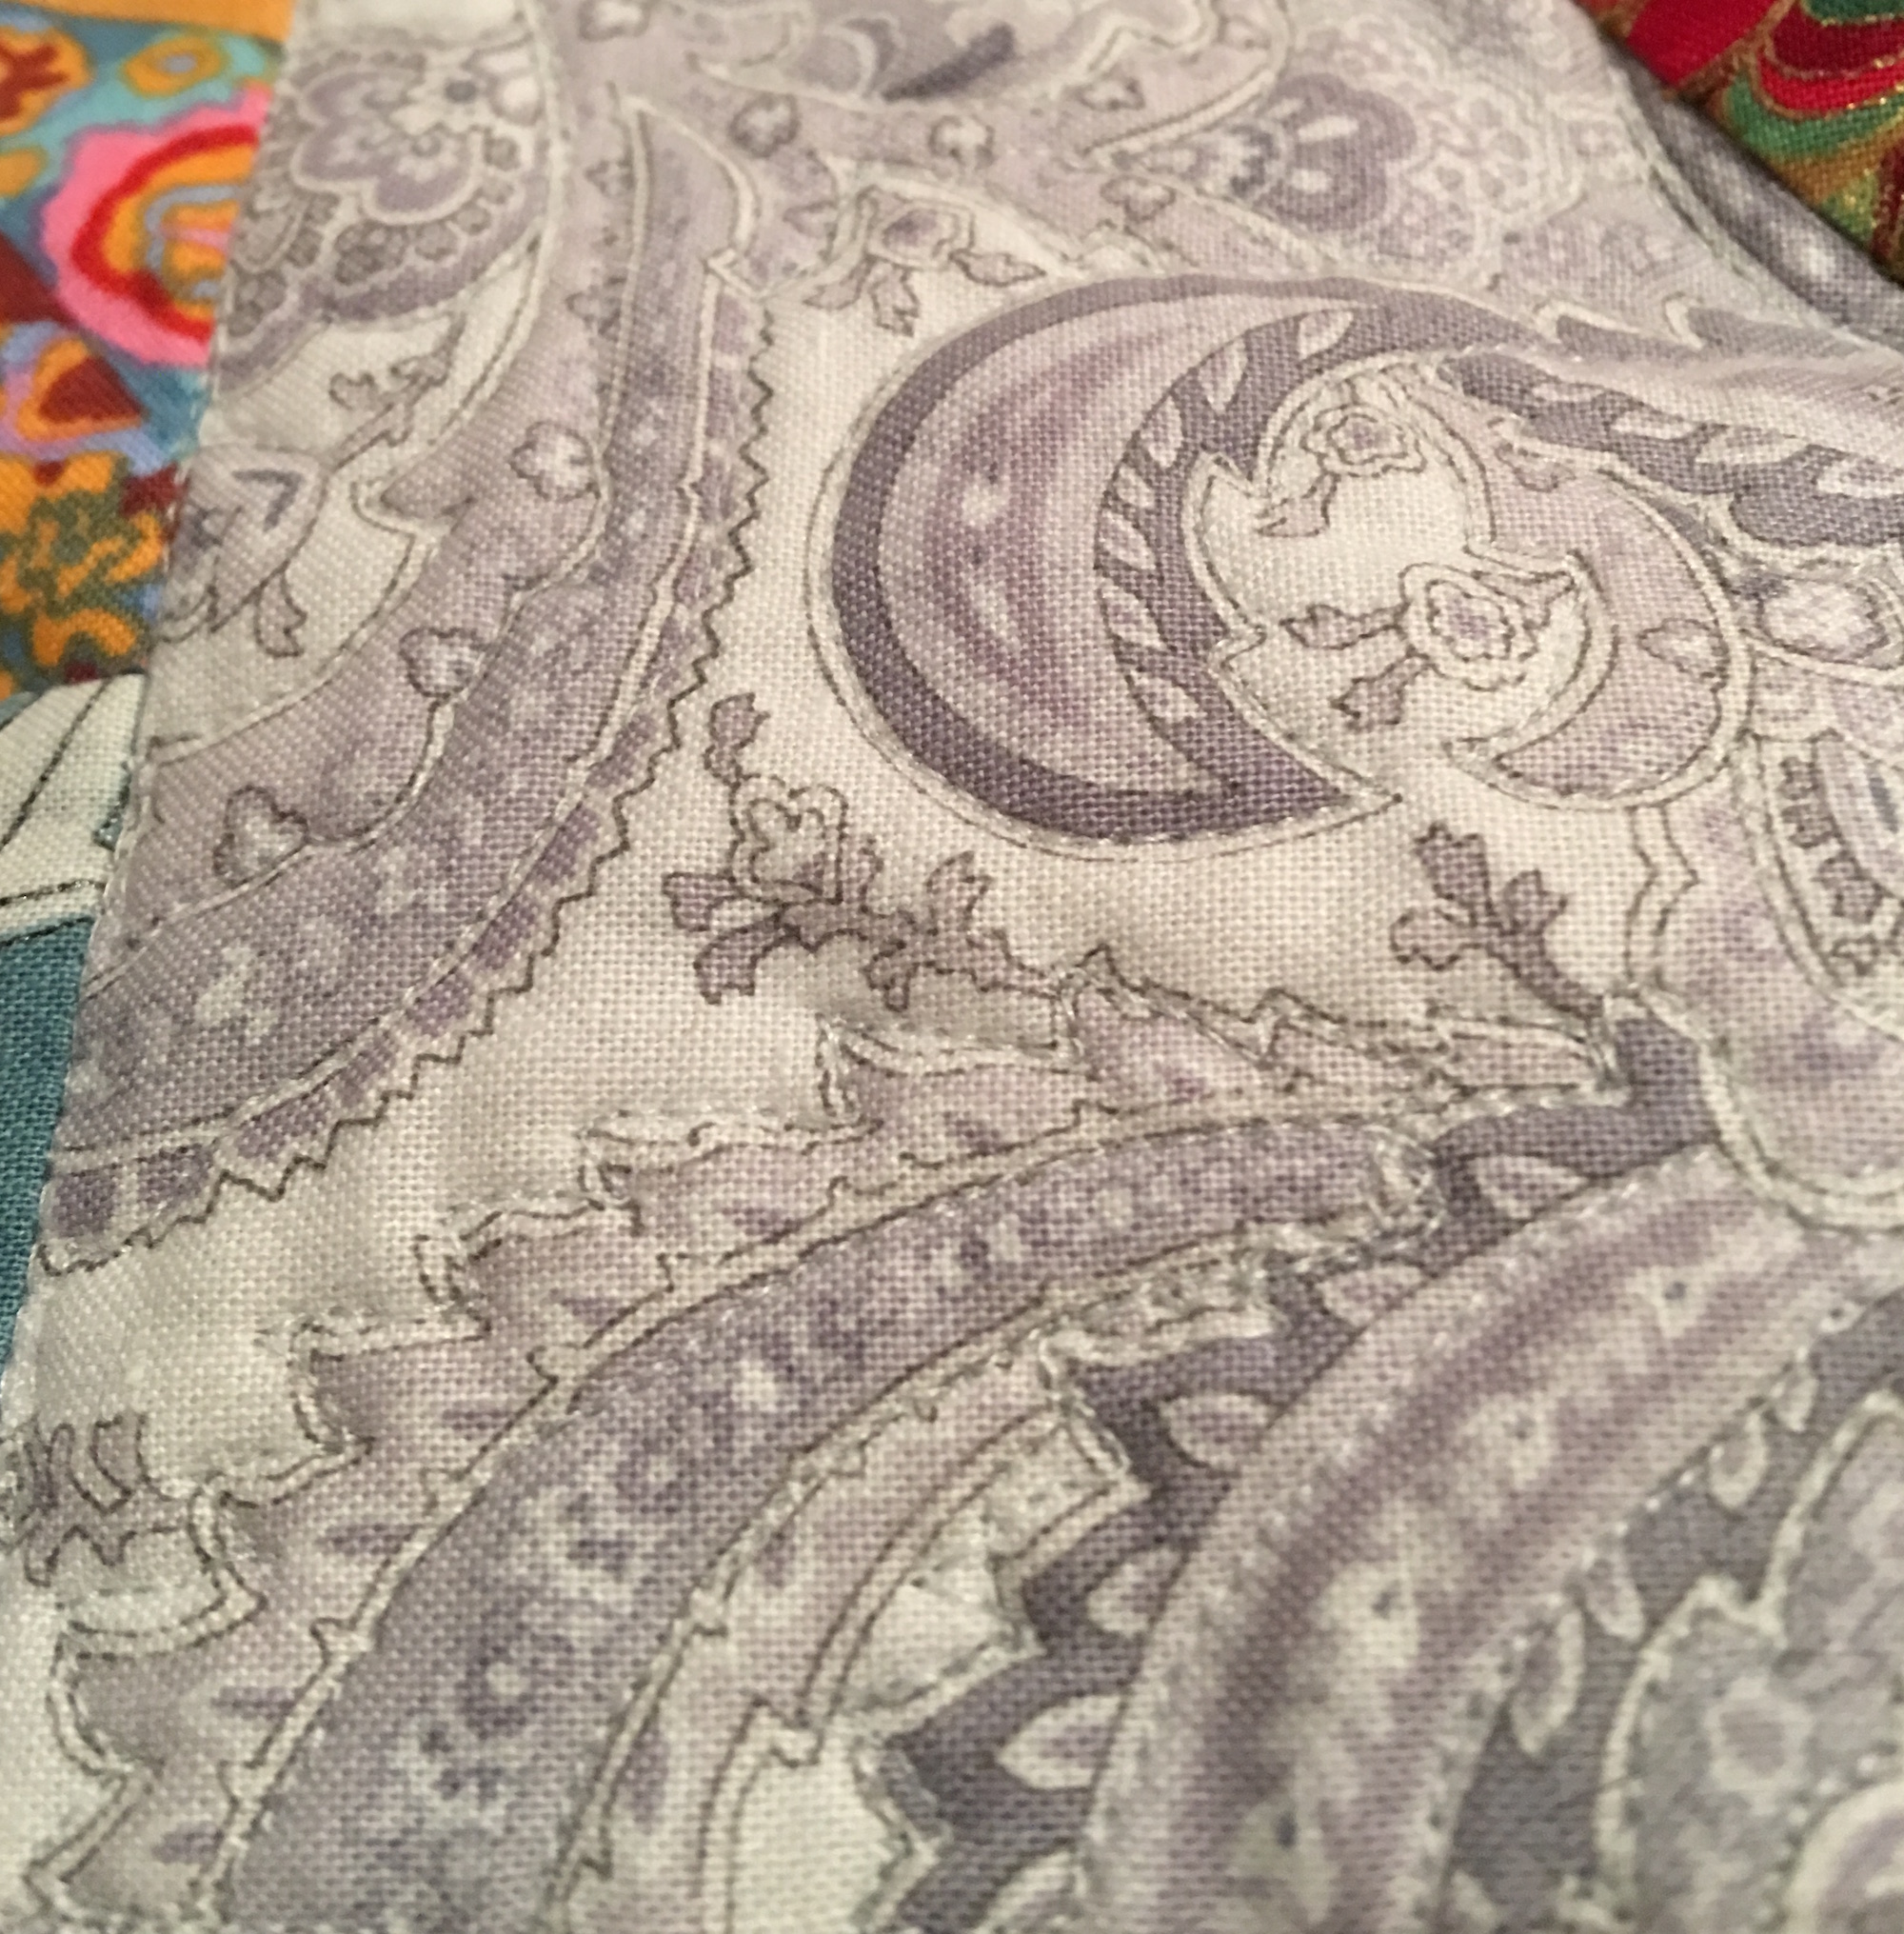
On this long side panel I decided that the paisley fabric was so cool I would just use it as a quilting guideline. I really loved how this turned out, though it’s hard to really see, I did add a close up below.
Side Panel
Detail of the free motion quilting on the side panel
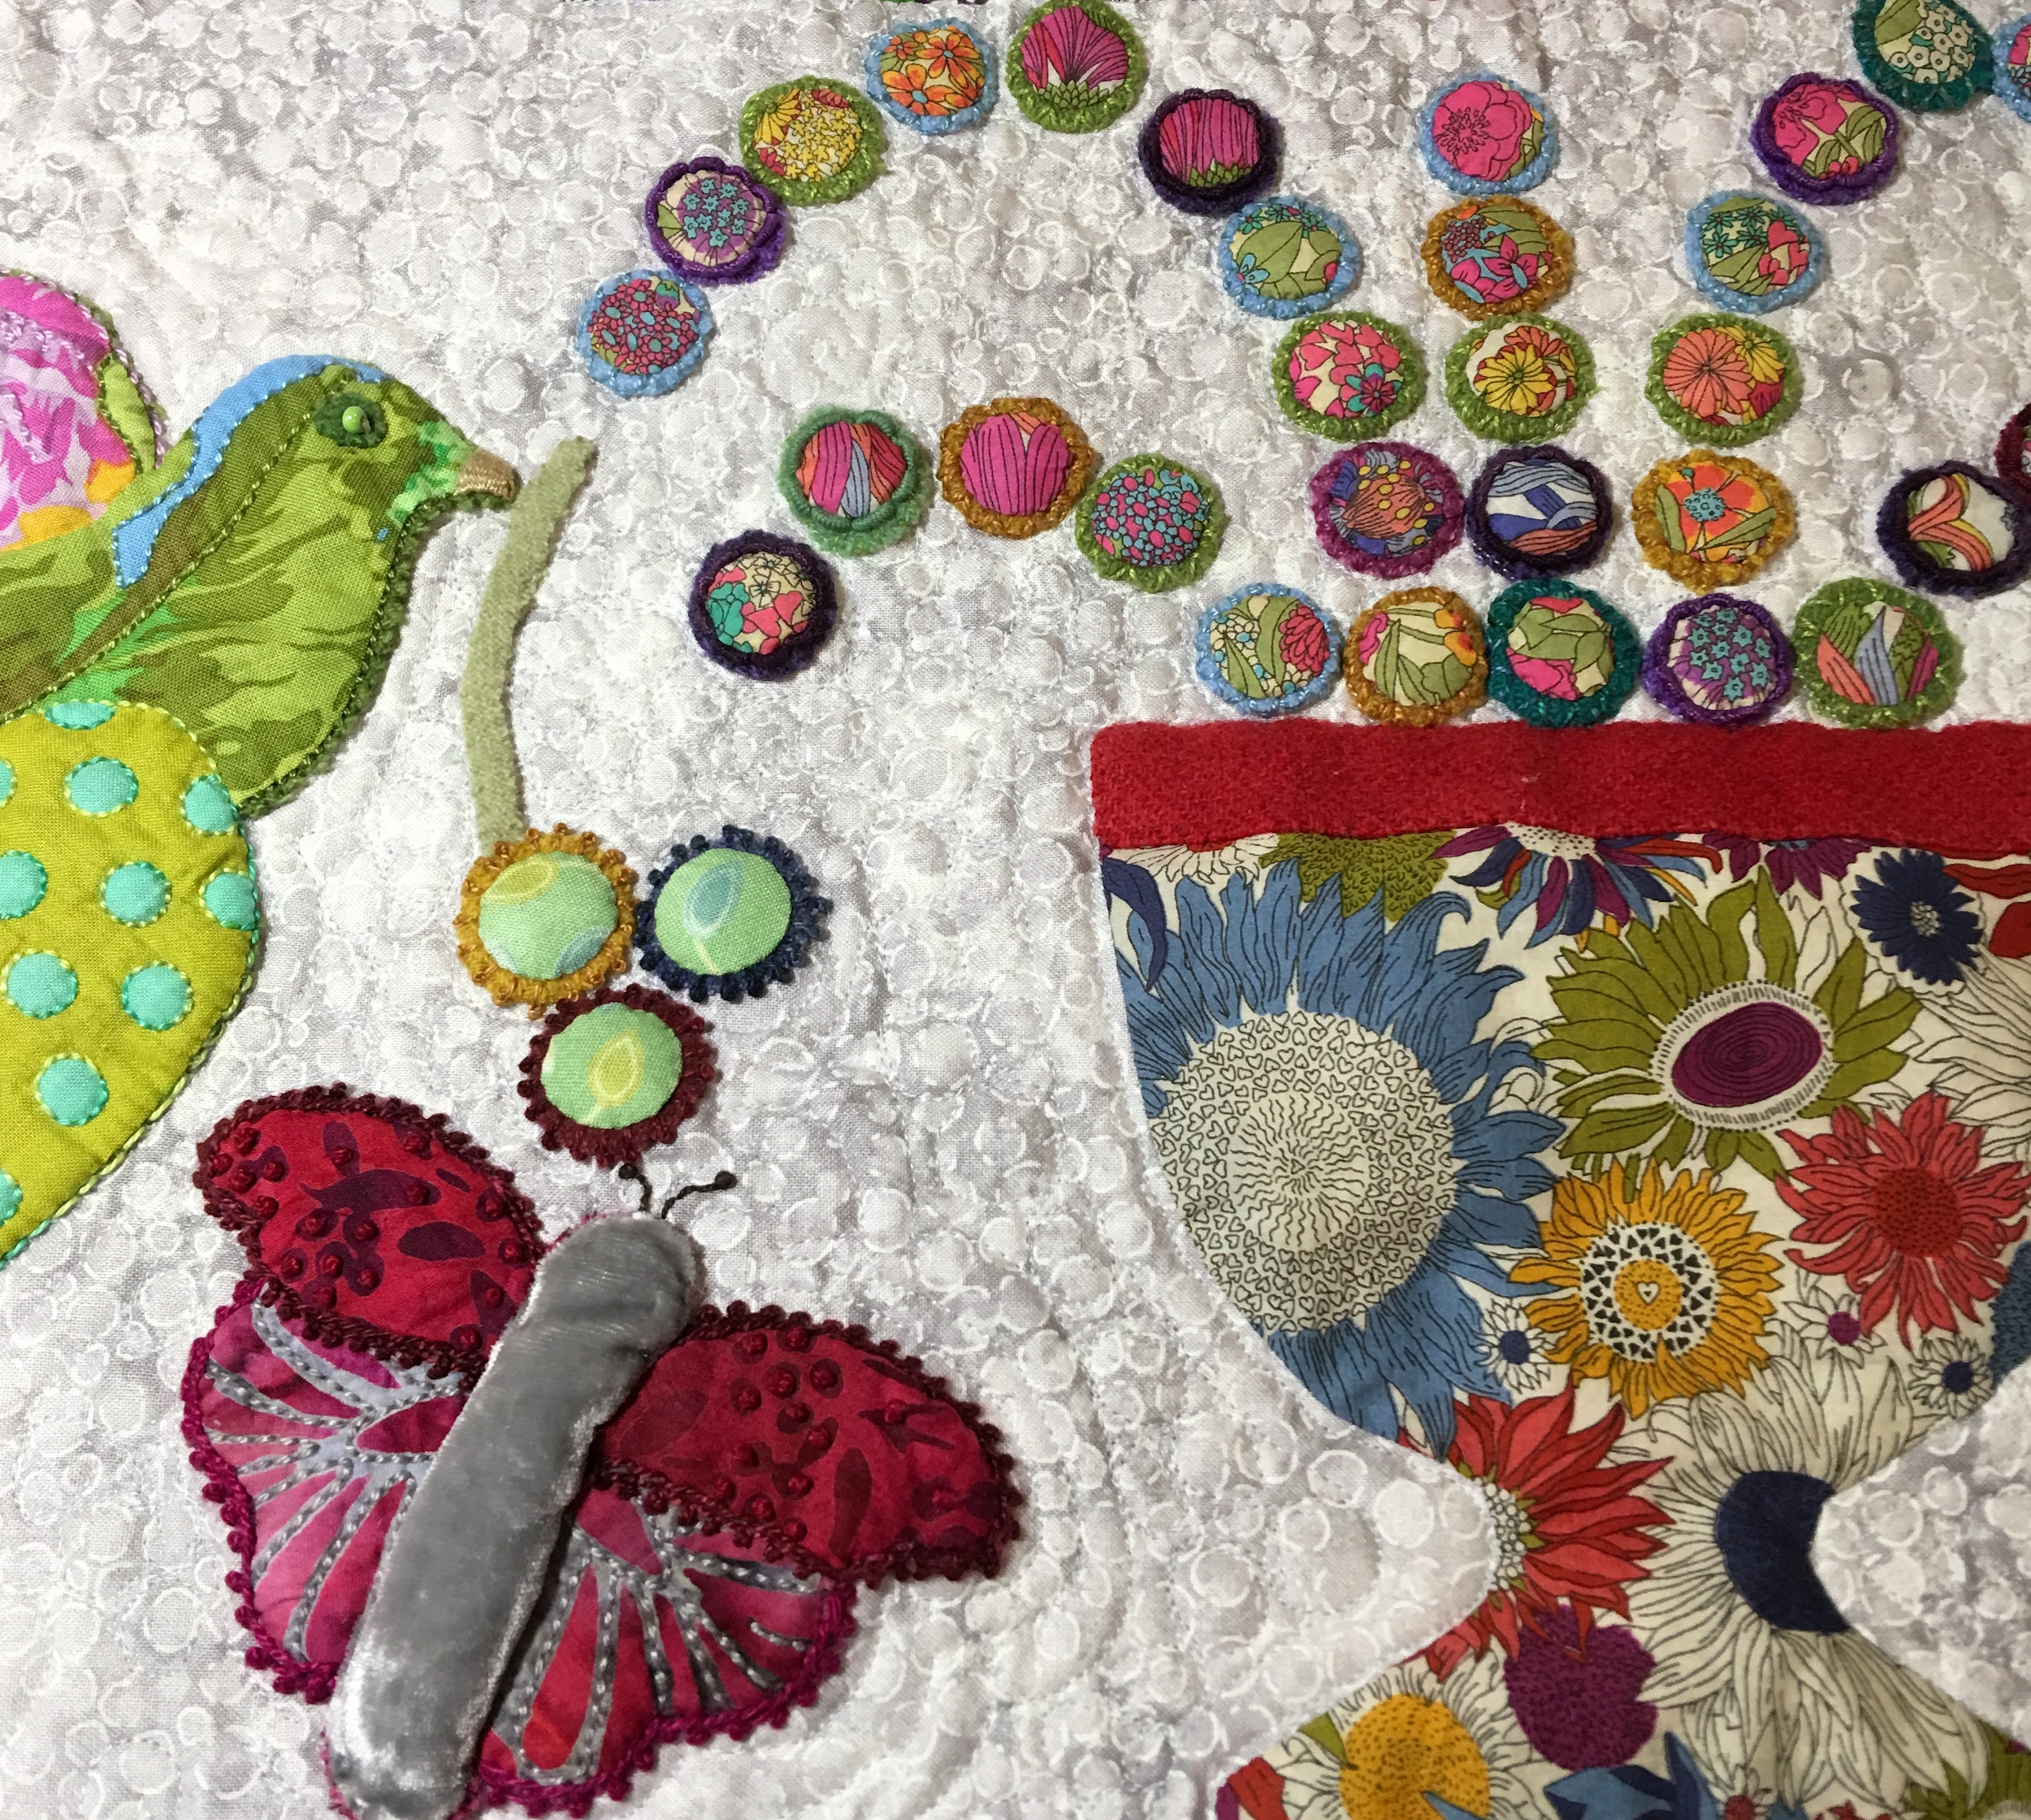
This is the bottom panel and I included pebbles, echoing and swirls, which I did again on the top panel.
Bottom Panel
More of the center panel
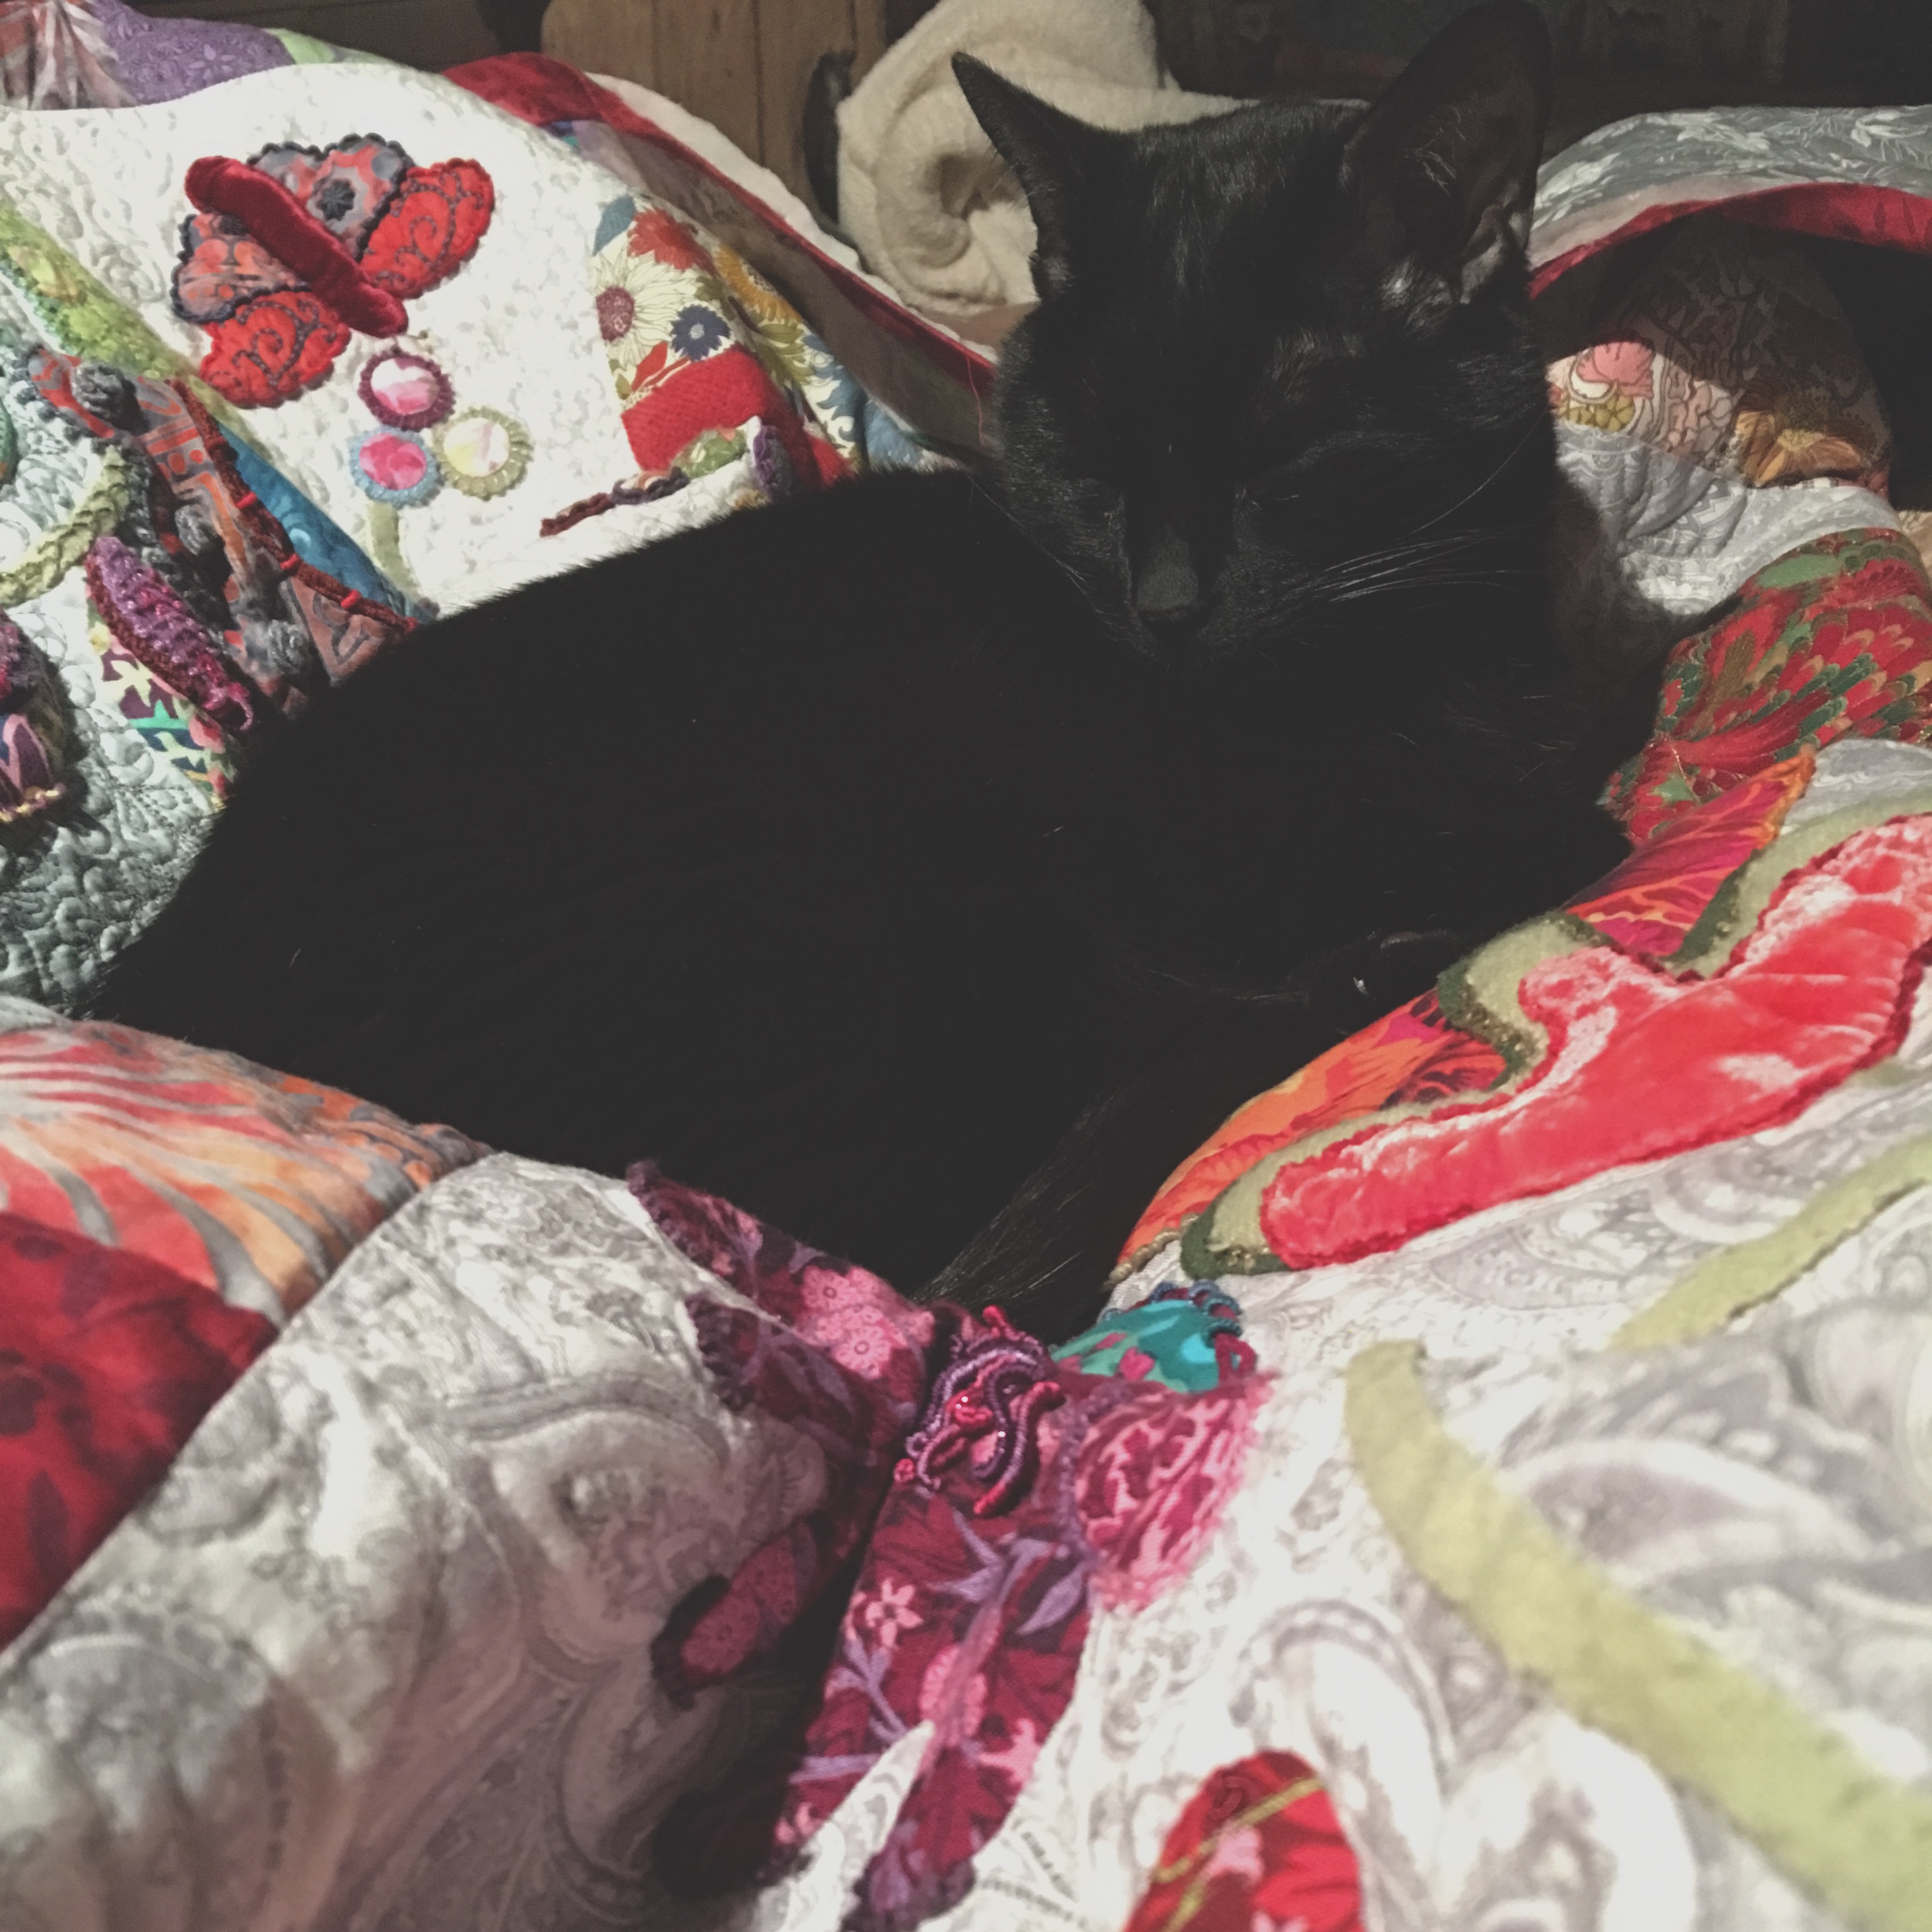
Merlin naps as I work
Merlin was constantly coming over to nap or pretend to nap while secretly inspecting my work. He loved snuggling up amongst the folds as I worked, making for some interesting adjustments on my part as I hated to disturb him!
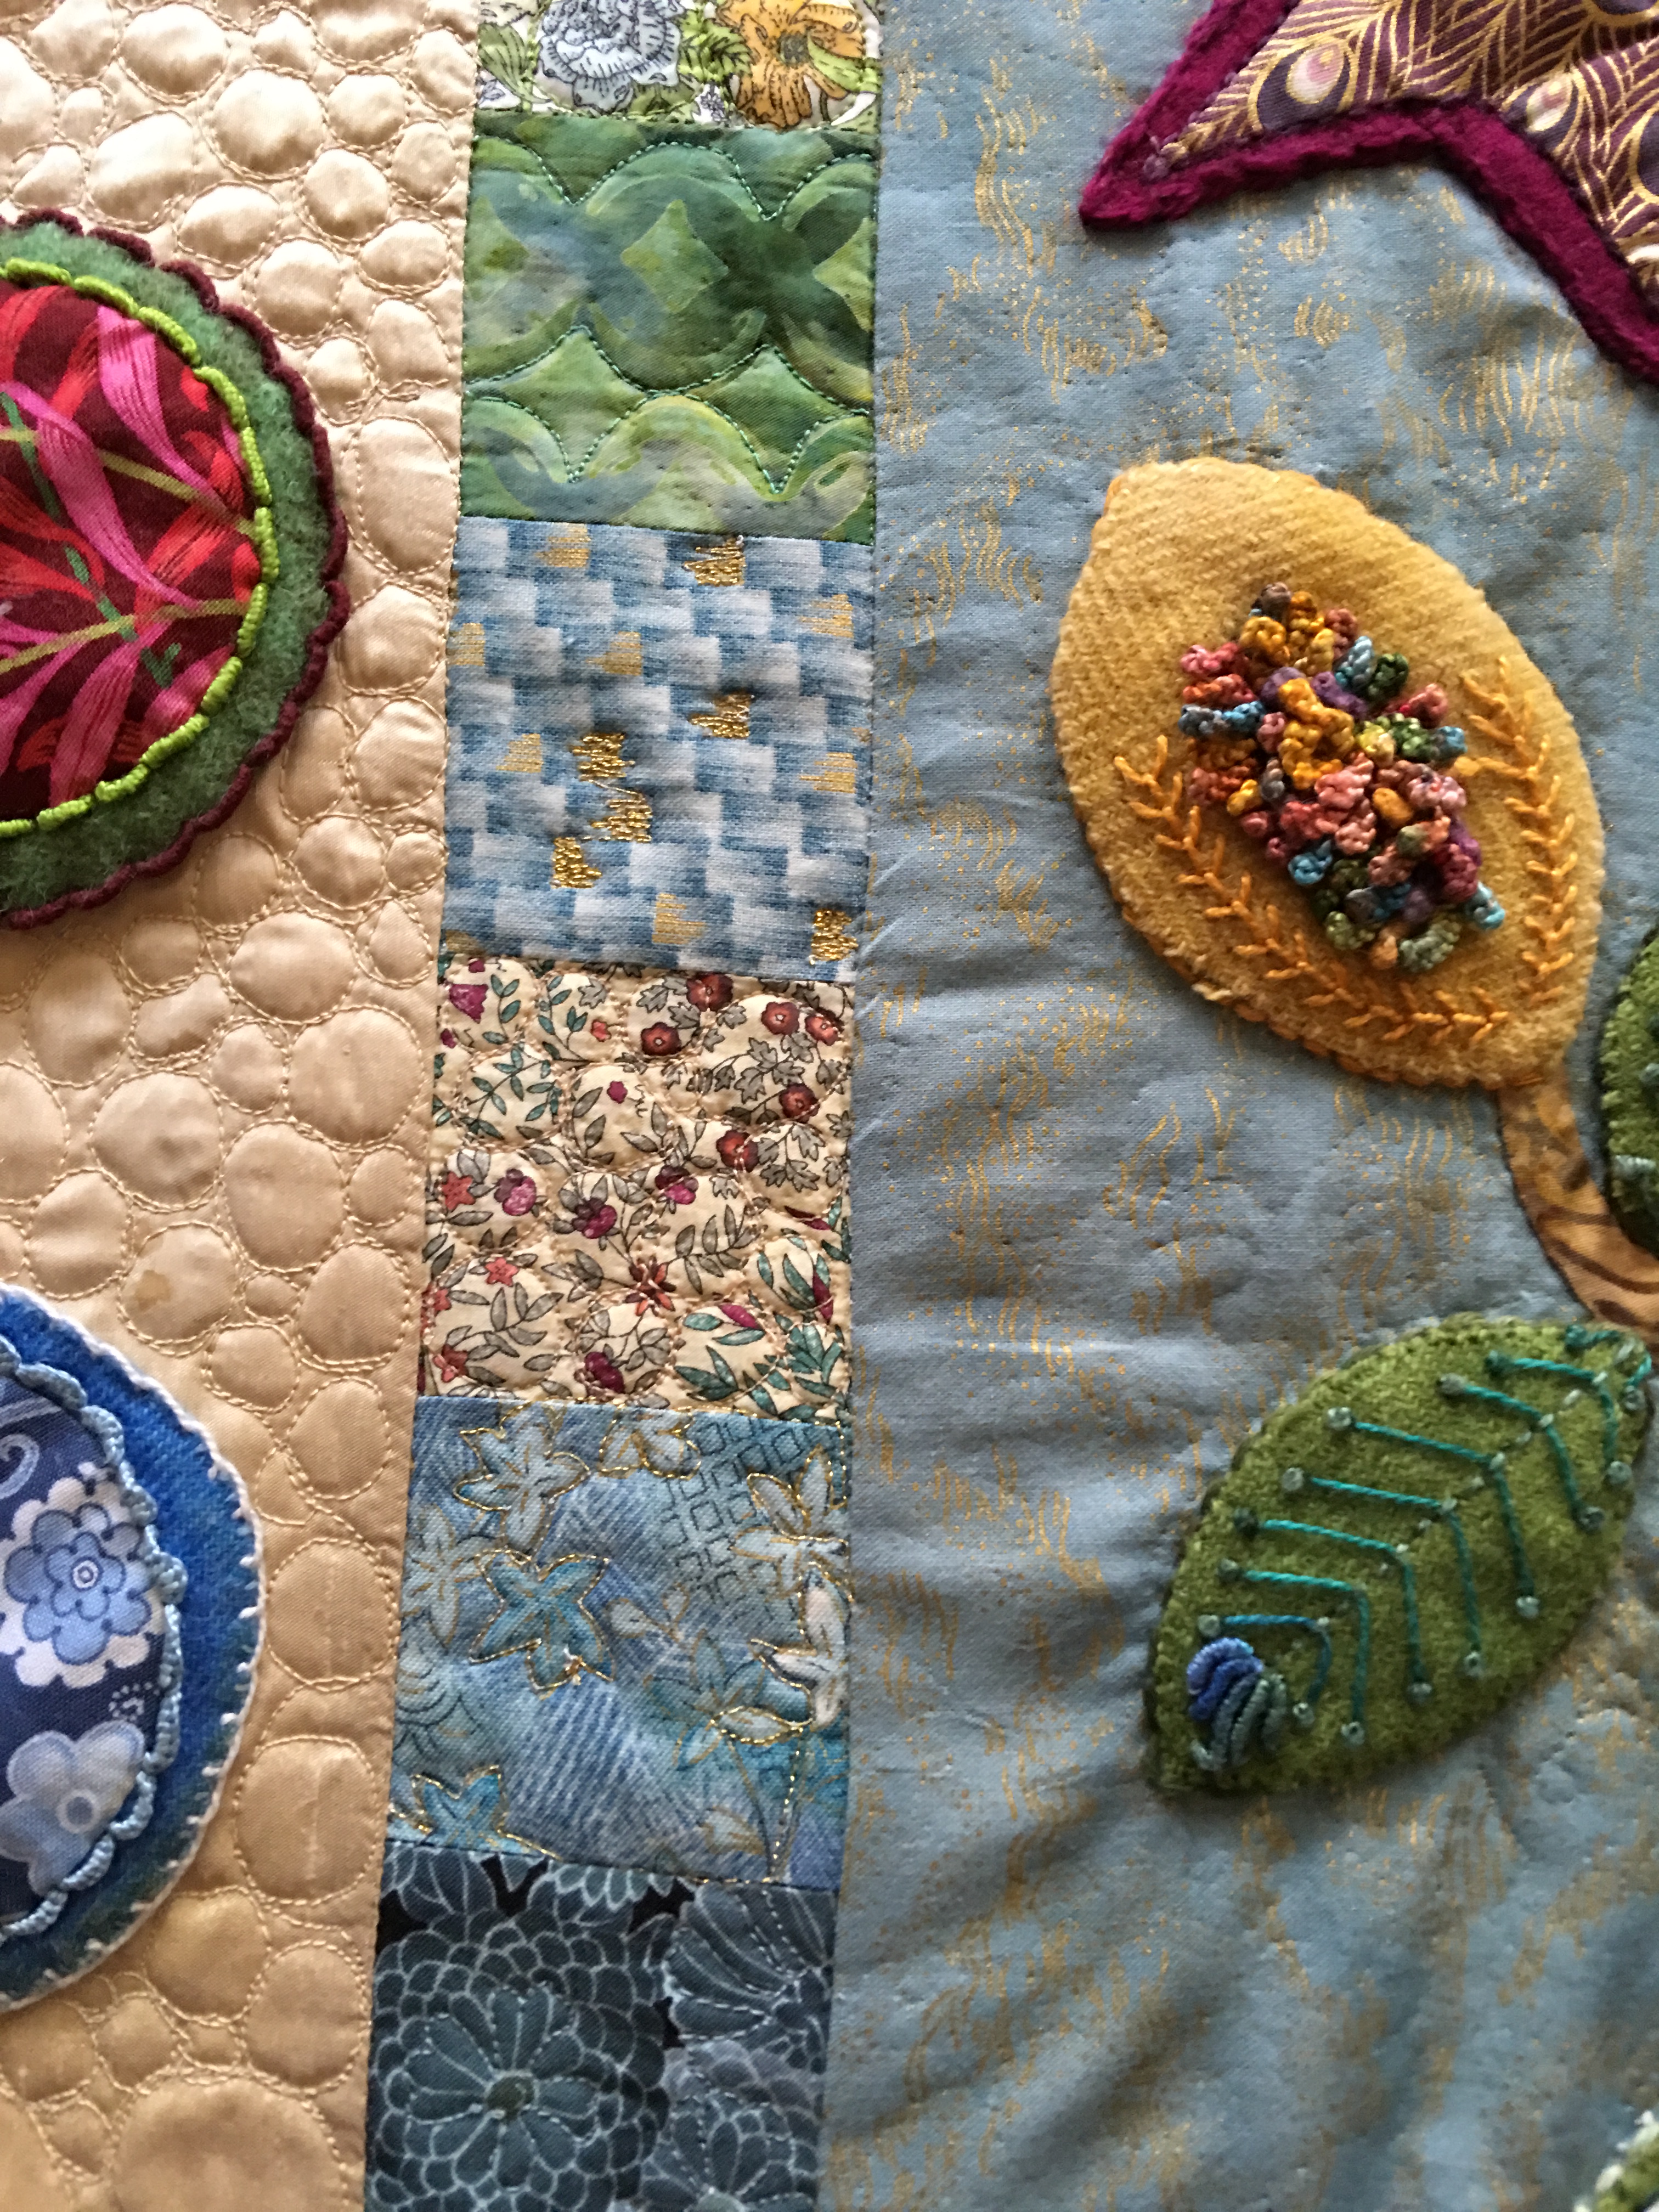
The border
The entire border I did in a pebble stitch, which I love. It’s so reminiscent of shapes I used for my jewelry collection, The Lotus Collection. And now that I think of it, the swirls in the bottom and top panels remind me of my Samadhi Collection.
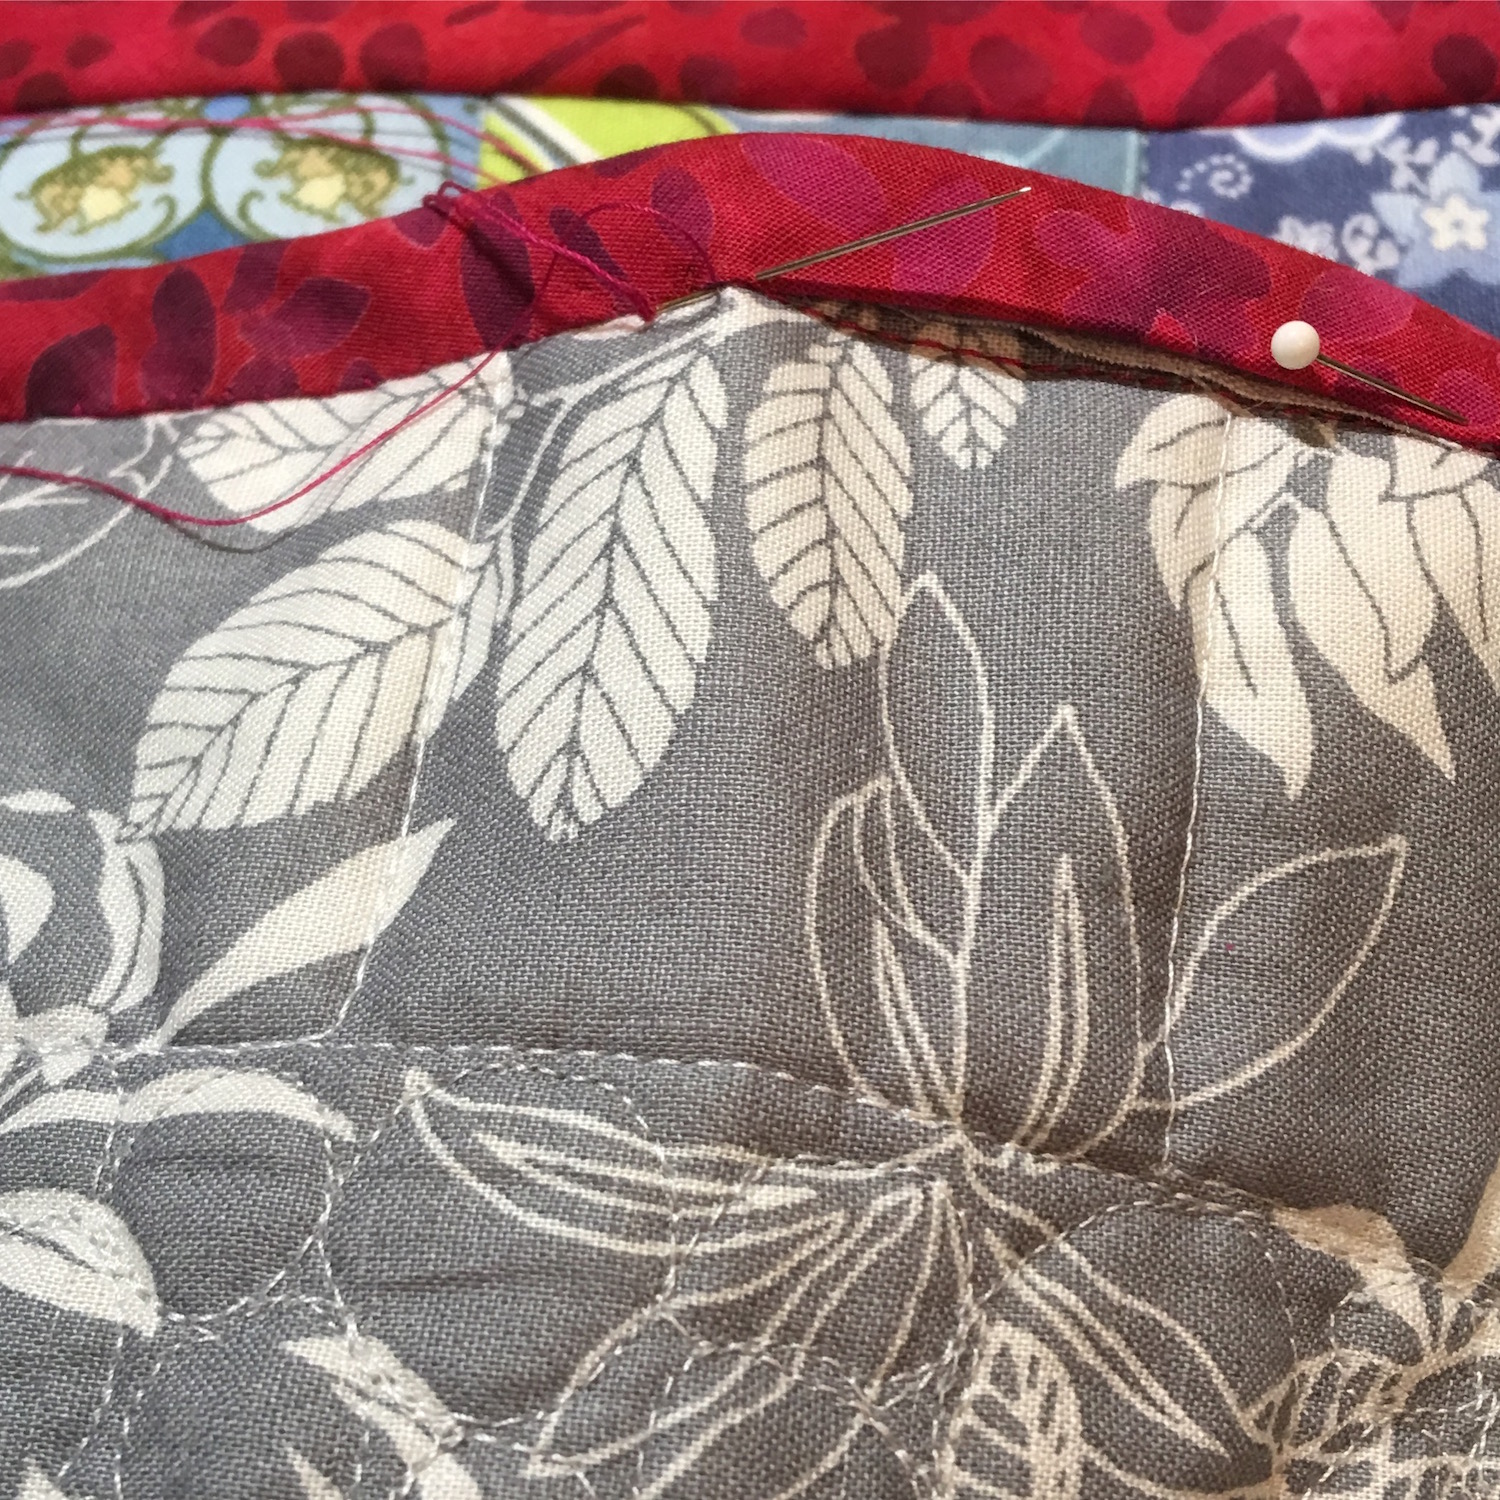
Hand Sewing the binding
Finally I had to learn how to make and add a binding. After a number of different ideas regarding what fabric to use, I decided, with my FH’s (fabulous husband’s) help, to go with a red batik. Batik tends to be pretty densely woven, and as the binding can get more wear and tear than the rest of the quilt, I thought it was a good choice, plus, I love the red. I cut it on the bias, mitered the corners, and hand stitched the back.
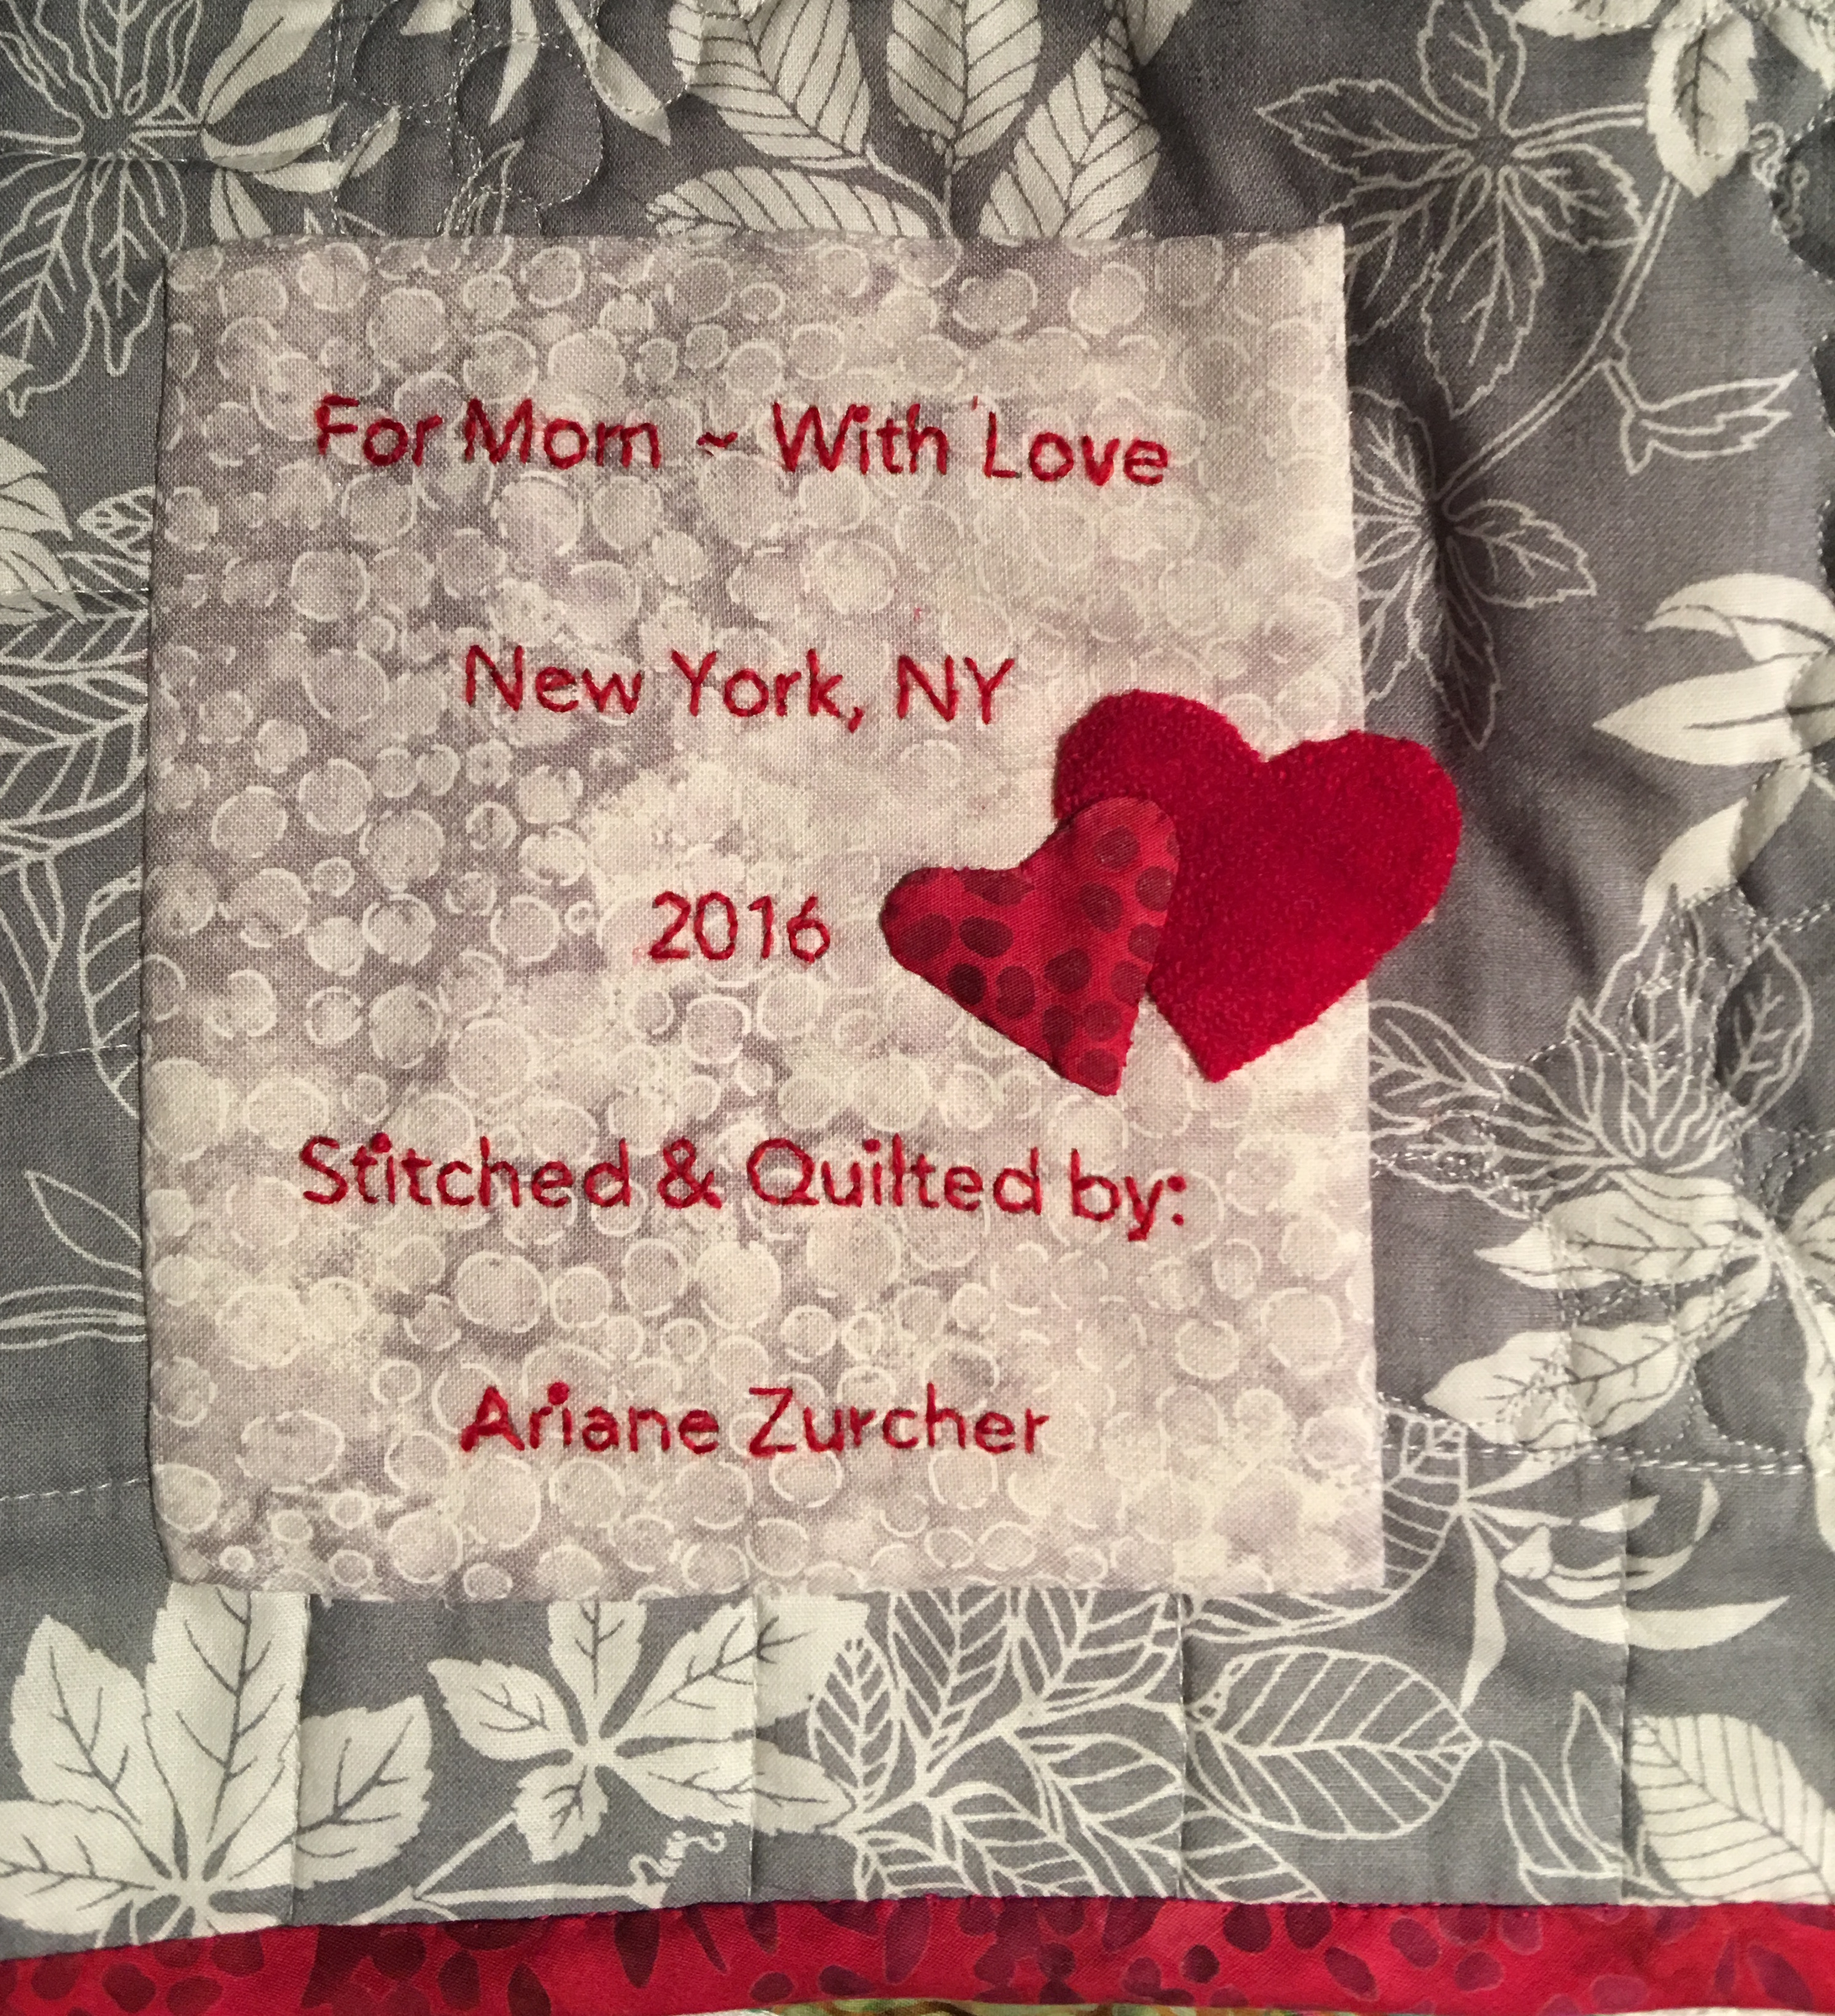
For my beautiful mom ~ Merry Christmas
And then I had to learn how to make a label for my quilt. There are wonderful ideas on Pinterest. Are you on Pinterest? I LOVE, LOVE, LOVE pinterest. I made a label using word documents and then used a freezer paper and cut a piece of fabric that I adhered the freezer paper to and copied the printed label onto the fabric, lightening the tone so it was just readable, but wouldn’t show too much. I then removed the freezer paper, sandwiched the printed material with a cotton batting and muslin and then used red wool thread and stitched the text. I added the little wool red heart and cut out another smaller heart in the same fabric as the binding because I figured I can’t add enough hearts to a quilt made specifically for my mom.
So Mom, if you’re reading this, the cats out of the bag. Merry Christmas!! This quilt was made for you. I thought of you the entire time I was making it. I hope it will keep you wonderfully warm during those cold winter months and I’m told wool batting breathes and should be perfect for the summer months as well. I love you.
What’s next? A twin-sized quilt that I will design, stitch and quilt!! I’ve got my sketch book and am playing with some ideas… I’ll keep you posted! Heh-heh, a little pun to end this post.
My mother has always been a self proclaimed “student,” whether that’s a student of life or of a specific topic, she has always been curious and an avid learner, and as a result, she is a really interesting person to talk to. I, too, am a constant “student.” What this means is that I am often a beginner, which means I’m learning, practicing, making mistakes, perfecting, learning more. When I was younger I wanted to be an expert at something, anything, but as the years wore on I have learned to love the “beginner’s mind,” which can be applied to just about anything. (There are some things I do know quite a bit about and as a result I have strong opinions about those topics, but I’m talking about learning and how it applies to the creative process.) Having a beginner’s mind means being curious, open and filled with wonder. This post is about creating, and in order to create I need to be open to new things.
Last January I took a class, an actual class, not a virtual one, at the soon to be closed City Quilter. It was a BOM (Block of the month) class, and though there were not 12 blocks, but instead six, I figured it would be a good way to learn the process of taking a quilt from start to finish, and it was! I learned a different appliqué technique, I had the support of other classmates, I enjoyed going in once a month to see what everyone else was doing. It was wonderful. It was my first BIG project and I’ve written about it at length in previous posts ‘here’. Each block was hand appliquéd (I’m adding the link to the Craftsy class I took, that helped me enormously, with the hand appliqué technique) and I applied all the stitches I learned from Sue Spargo’s Craftsy class. I’ve talked about the joy of Craftsy in other posts ‘here‘ so I won’t go into all that again.
Once the quilt top was put together, I had to learn how to quilt the whole thing, which took me to this class and this one and this one. I am now in the final stretch and I continue to learn, make mistakes and try again and then learn some more. Each time I don’t know how to do something I google it and look for websites that focus on what I want to do. For Free motion quilting, Lori Kennedy’s The Inbox Jaunt blog is absolutely fantastic with free tutorials on specific motifs. For stitch inspiration there’s of course Sue Spargo’s fantastic website, store and blog, but there are also some great blogs out there that concentrate on stitching, such as Sharon Boggon’s Pintangle where she features a TAST (take a stitch Tuesday) and Mary Corbet’s NeedlenThread, which is more traditional embroidery and oh my goodness is her work beautiful, then there’s Eleanor Pigman’s blog, she’s a bead artist and her work is absolutely incredible! A couple other, not-to-be-missed-blogs are: Kelly Cline Quilting, a blog filled with amazing work, both stitching AND quilting and Trish Burr, the queen of embroidered birds and flowers, though all her work is absolutely incredible and beautiful.
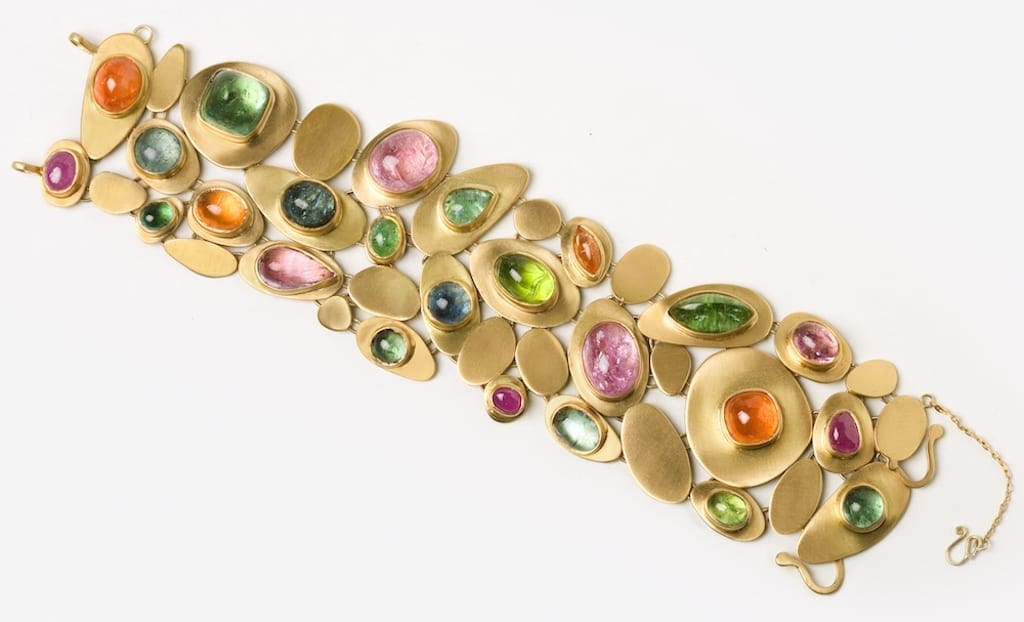
There is a whole world of knowledge, expertise, creativity and art out there and I love finding, learning, applying that knowledge and then creating my own designs. Interestingly I’m drawn to similar motifs over and over again, no matter what the medium is. Below is my 18 kt Gold, Tourmaline and Paraiba Bracelet from my Lotus Collection. It’s no surprise one of my favorite free motion quilting motifs is Pebbles!
In my last post I was busy learning how to free motion quilt and began practicing on a sandwich made for just this purpose, practice. I wrote about all of this ‘here‘ so I won’t go into all of that again.
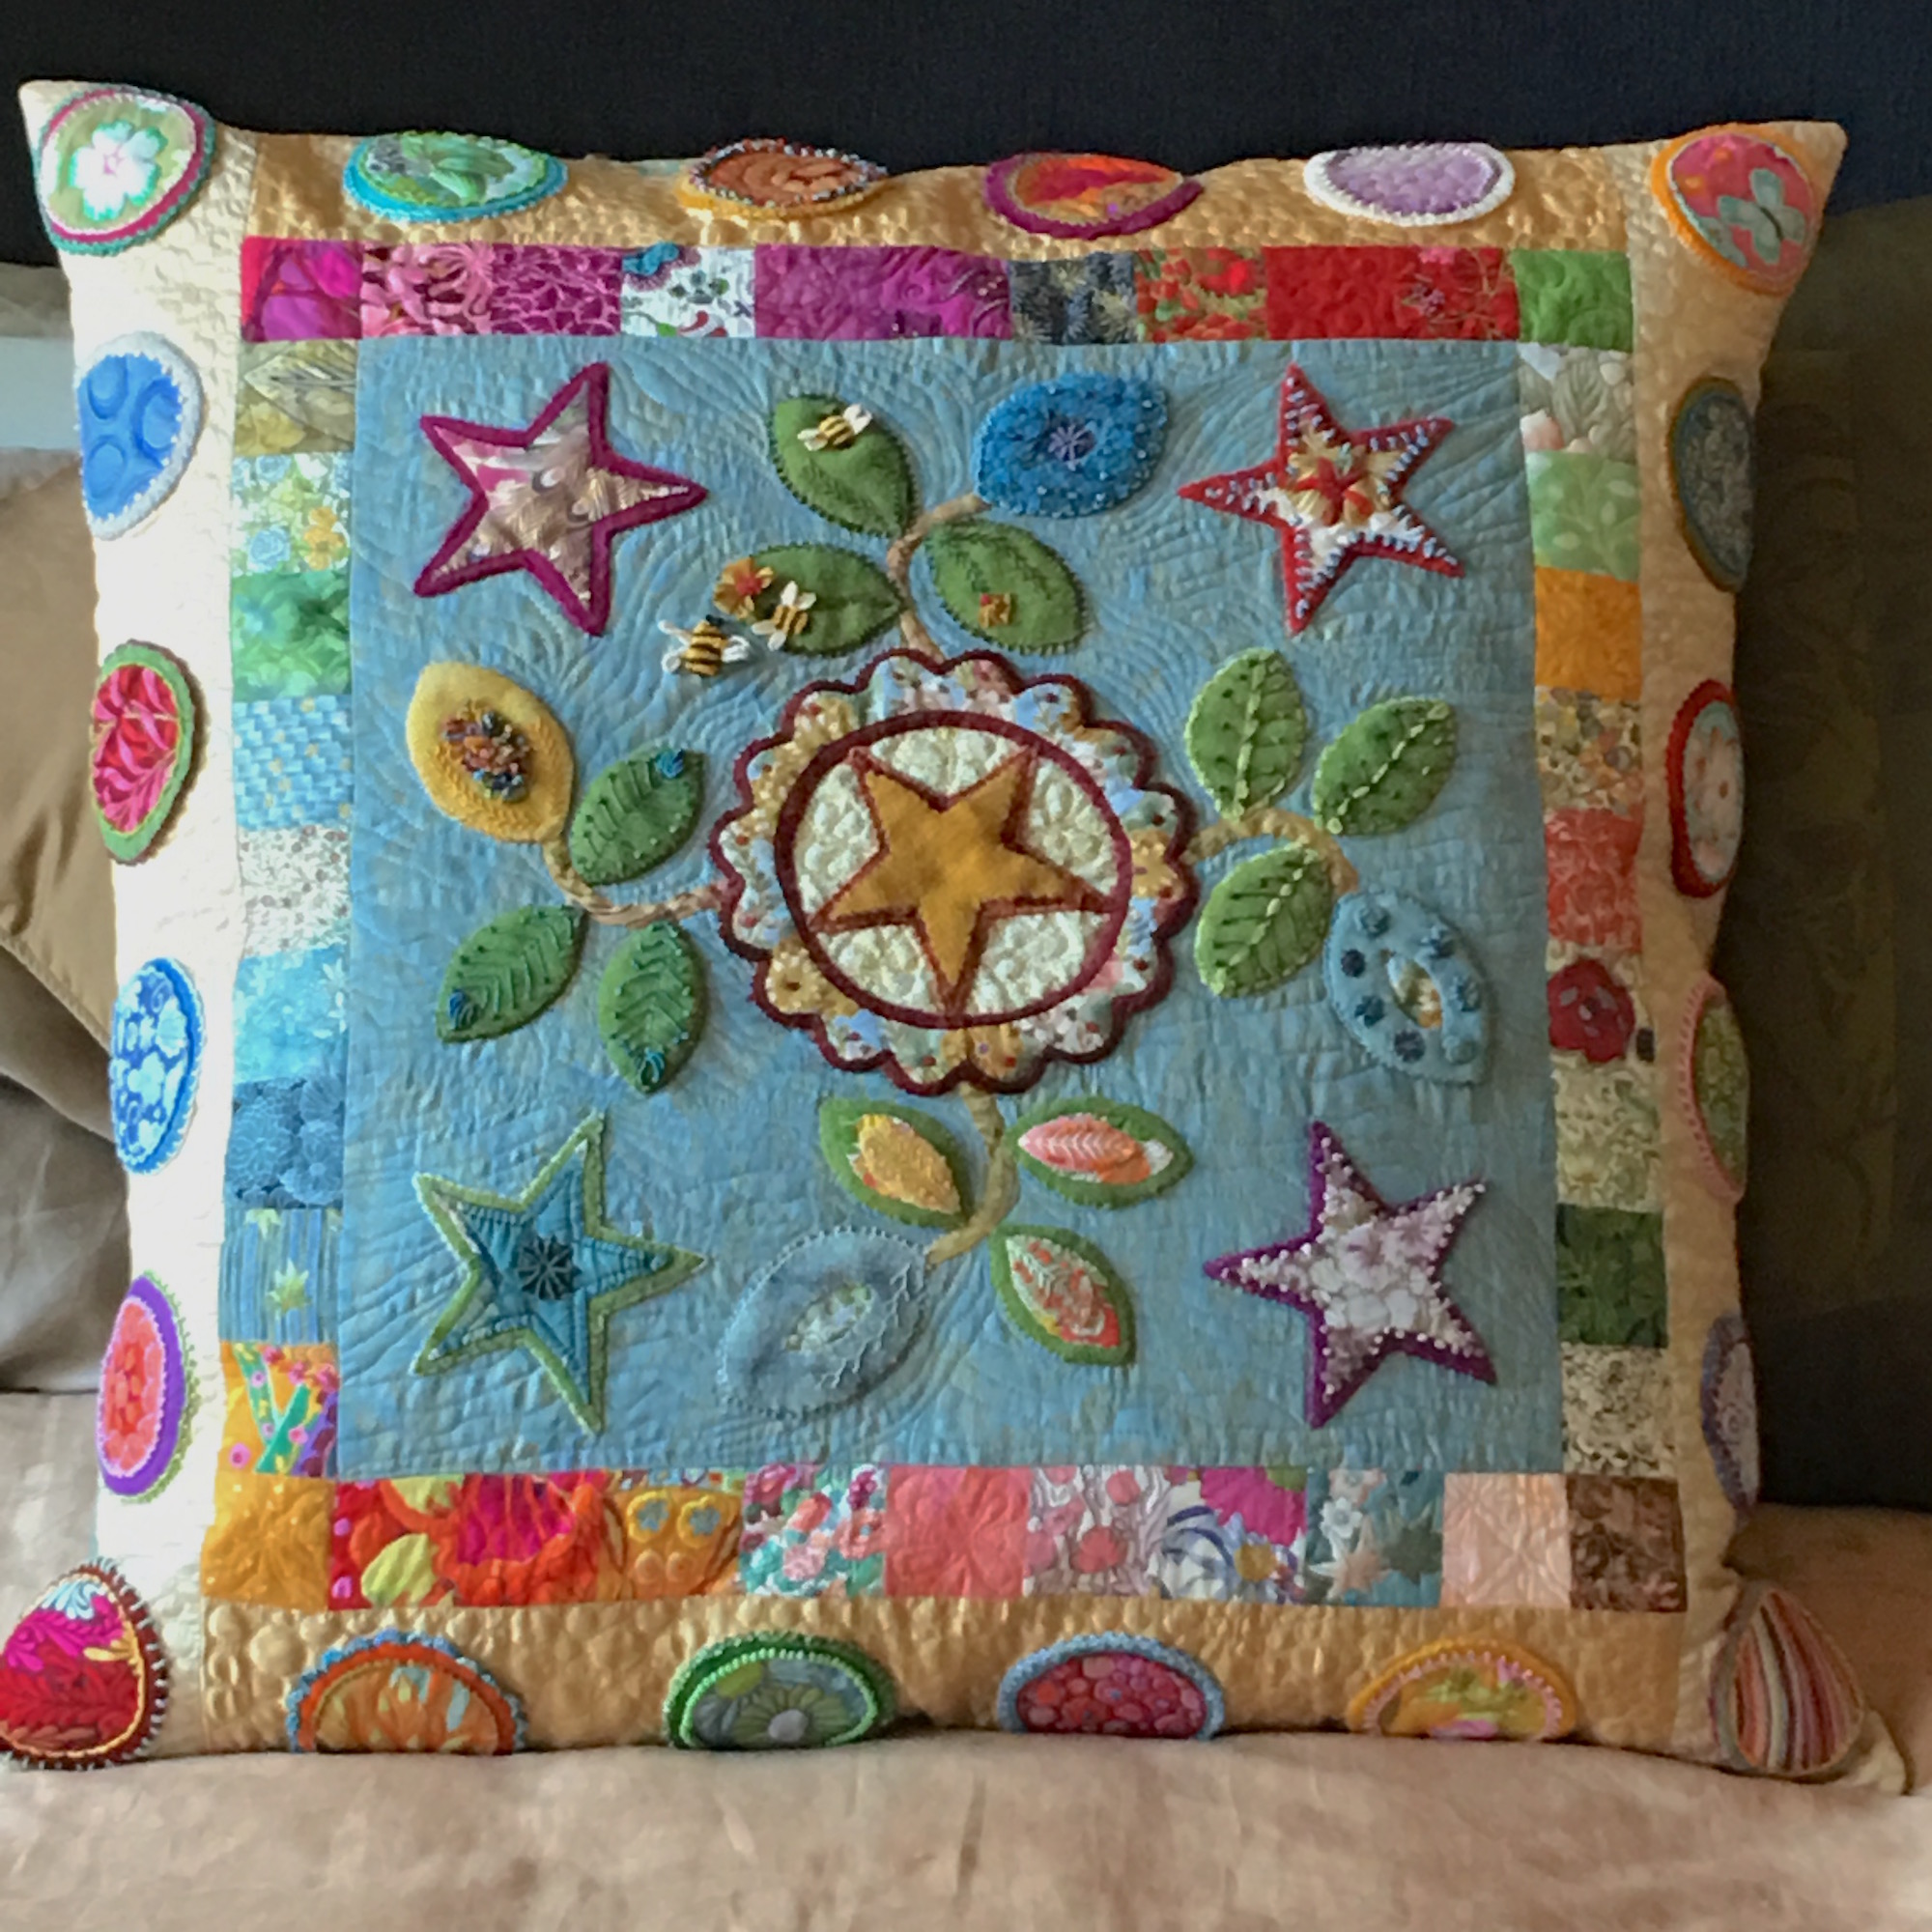
But now you have to see the finished product!
The Quilted Pillow!
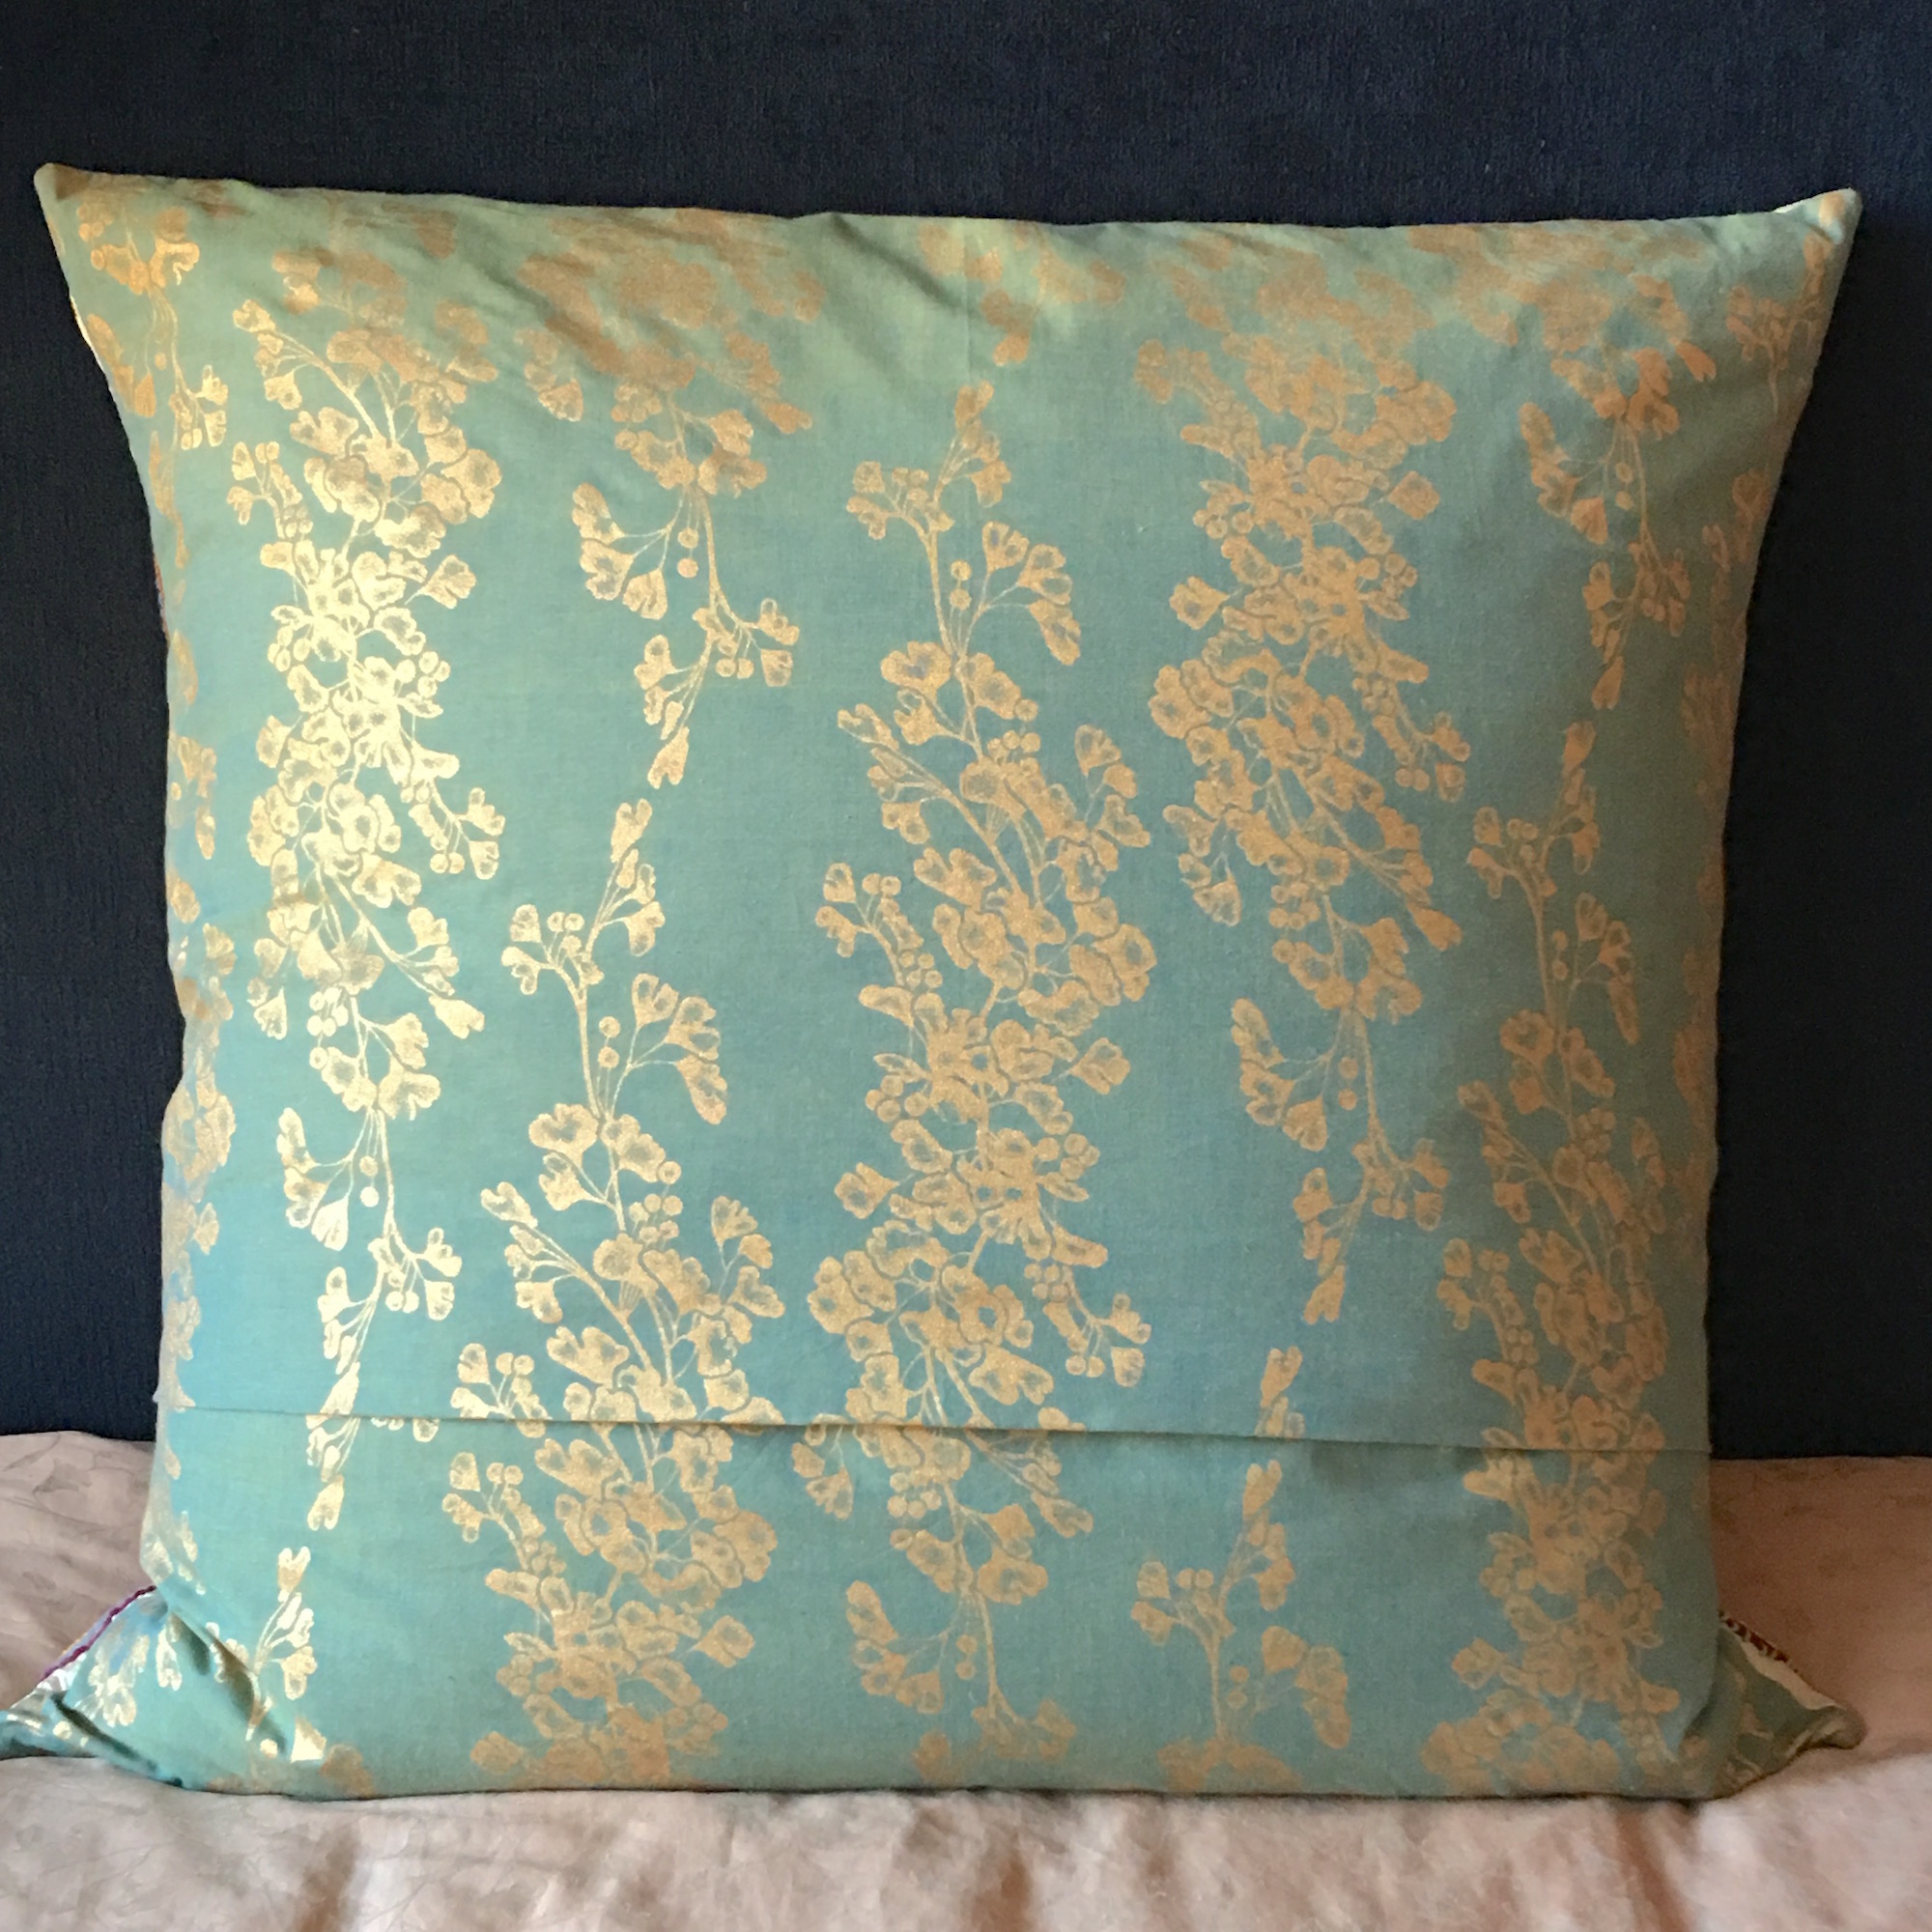
And it’s only fair to show you the back, because I agonized over the material. I asked for lots of people’s opinions and then the quilter, teacher, fabric enthusiast, Diane Rode Schneck, whom many of you in the quilting world may know, pulled out this fabric and said, “I like this one.” And that was it. She was right. It was perfect!
The back
This pillow is BIG, measuring 30″ square and it will go with the quilt top I have not yet begun quilting as my machine is STILL not repaired. In the meantime I have a work space to reorganize.
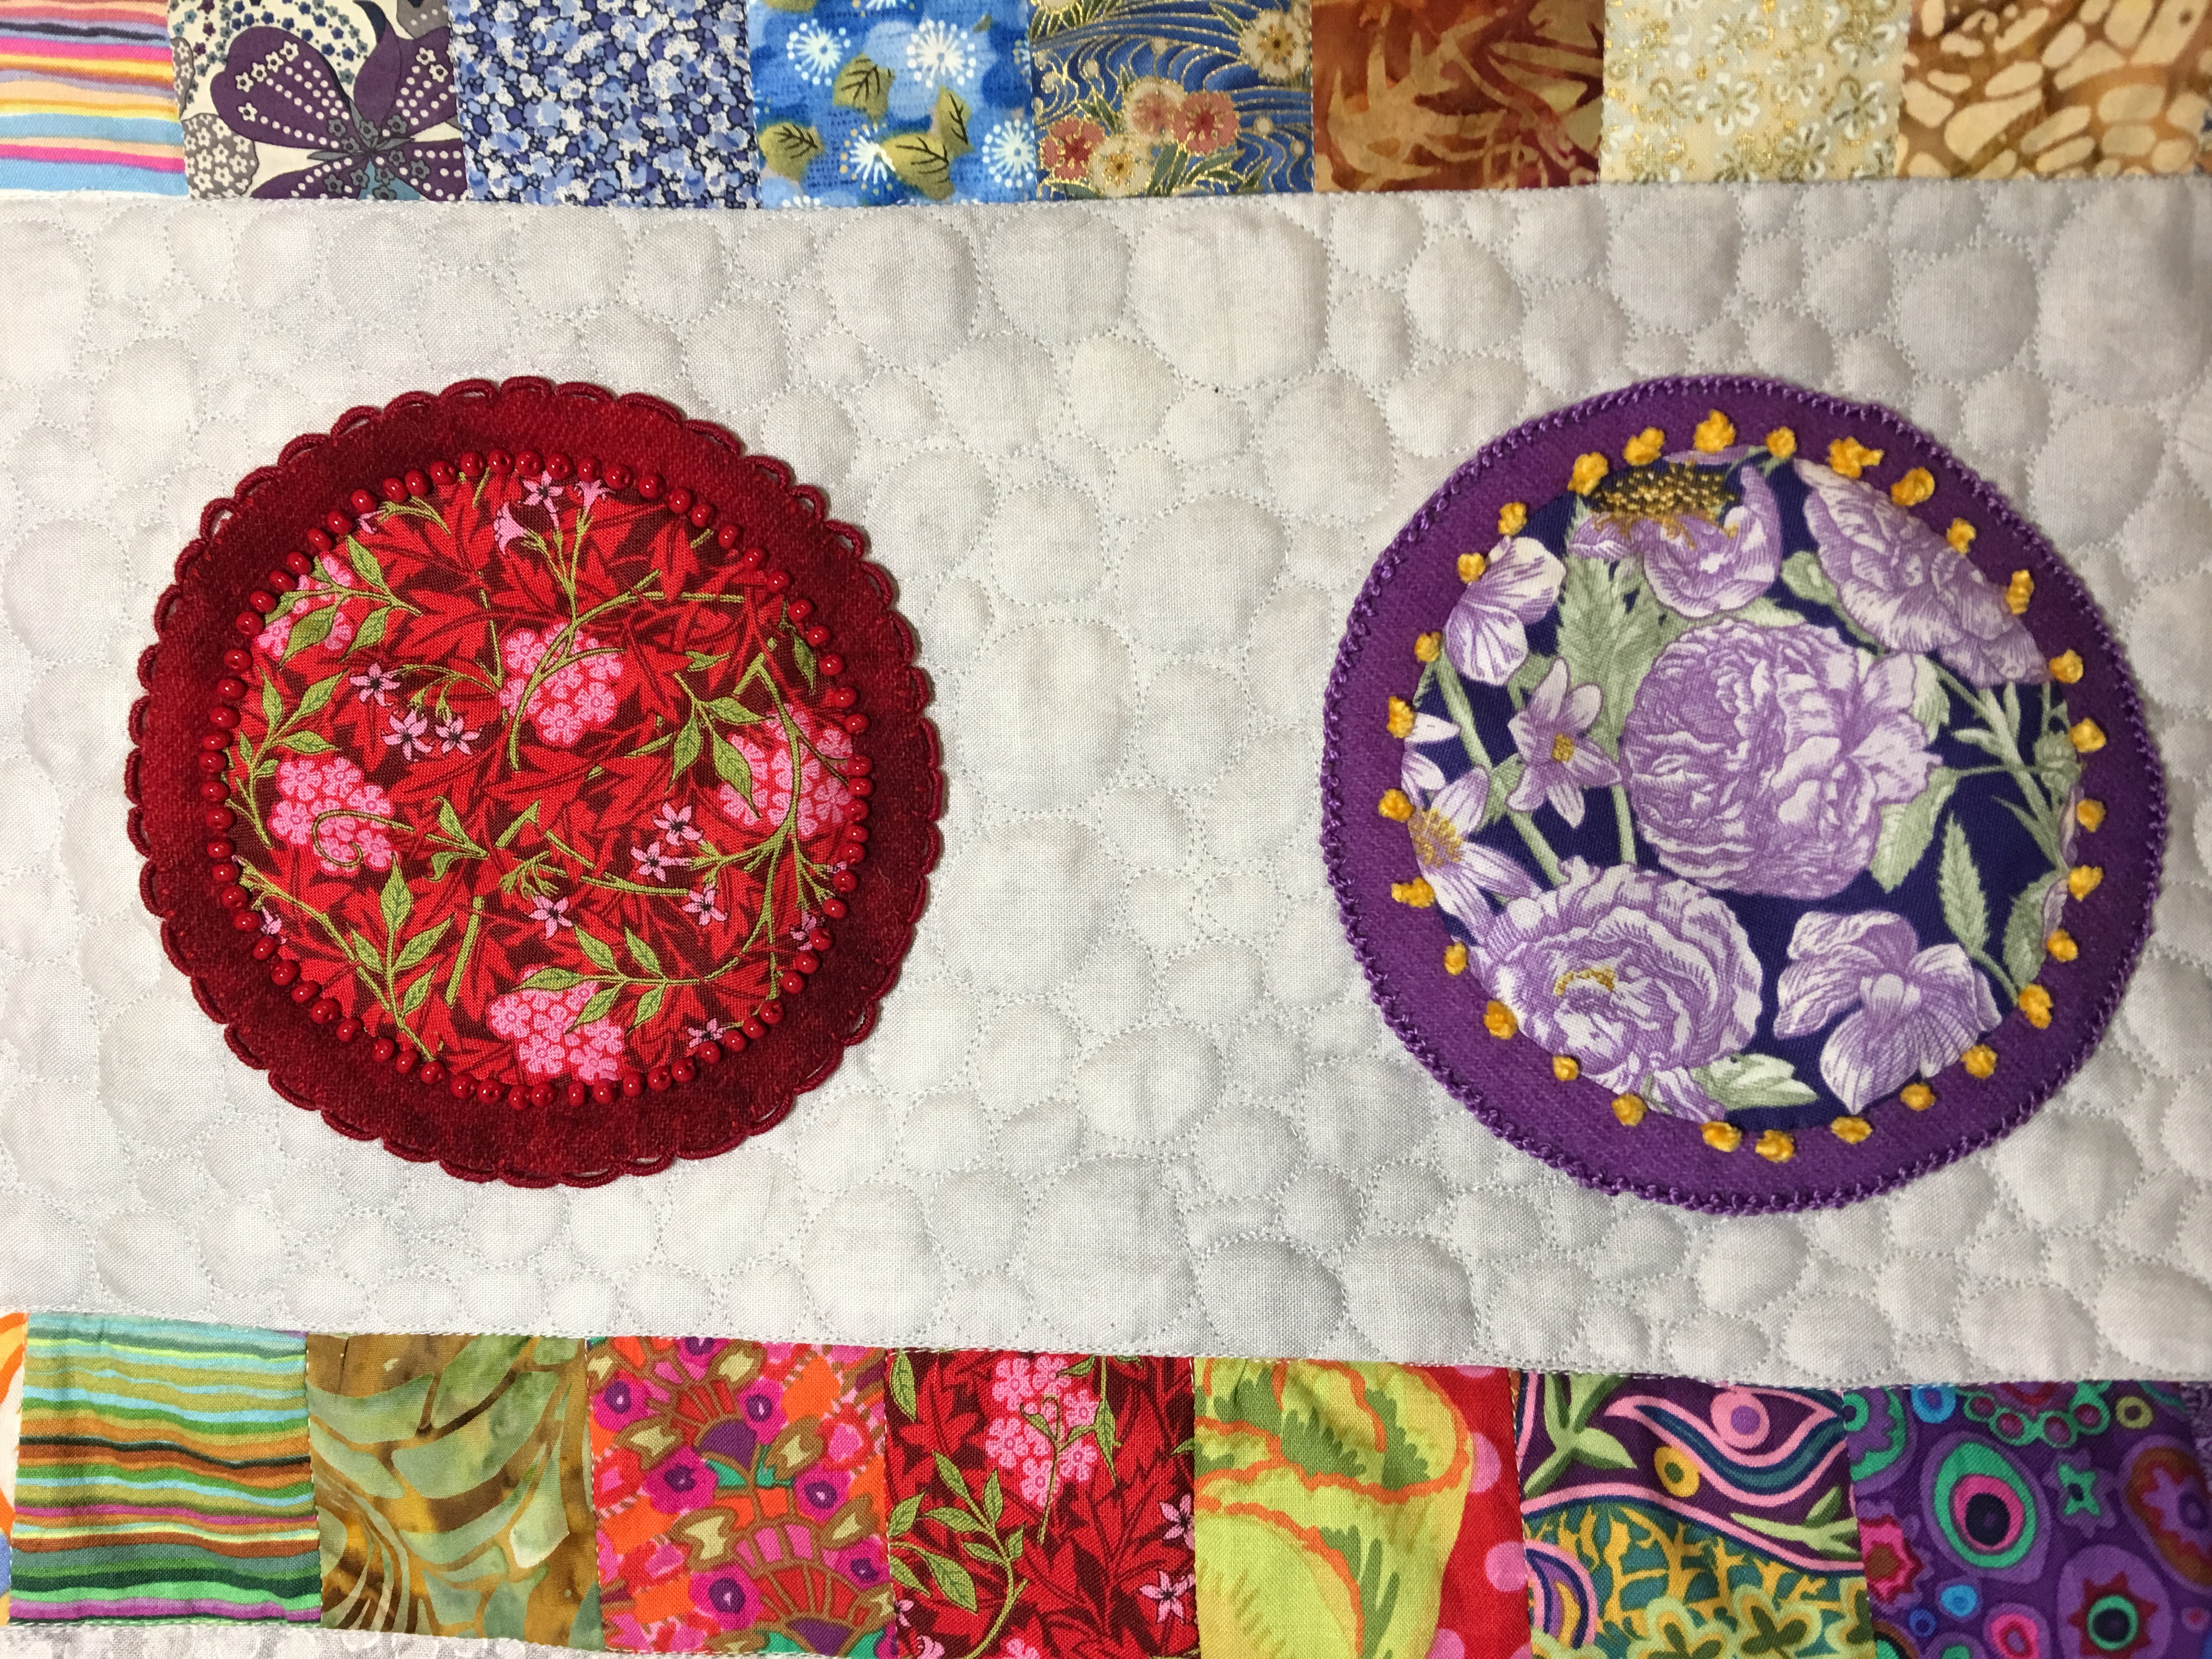
“What’s all the stitching in the background?” I typed to the artist, quilter and stitcher, Sue Spargo while taking her terrific class, Embroidering Texture and Dimension By Hand, on Craftsy. I didn’t know the world I was about to be transported to with that simple question. More ‘here‘ on Sue’s class.
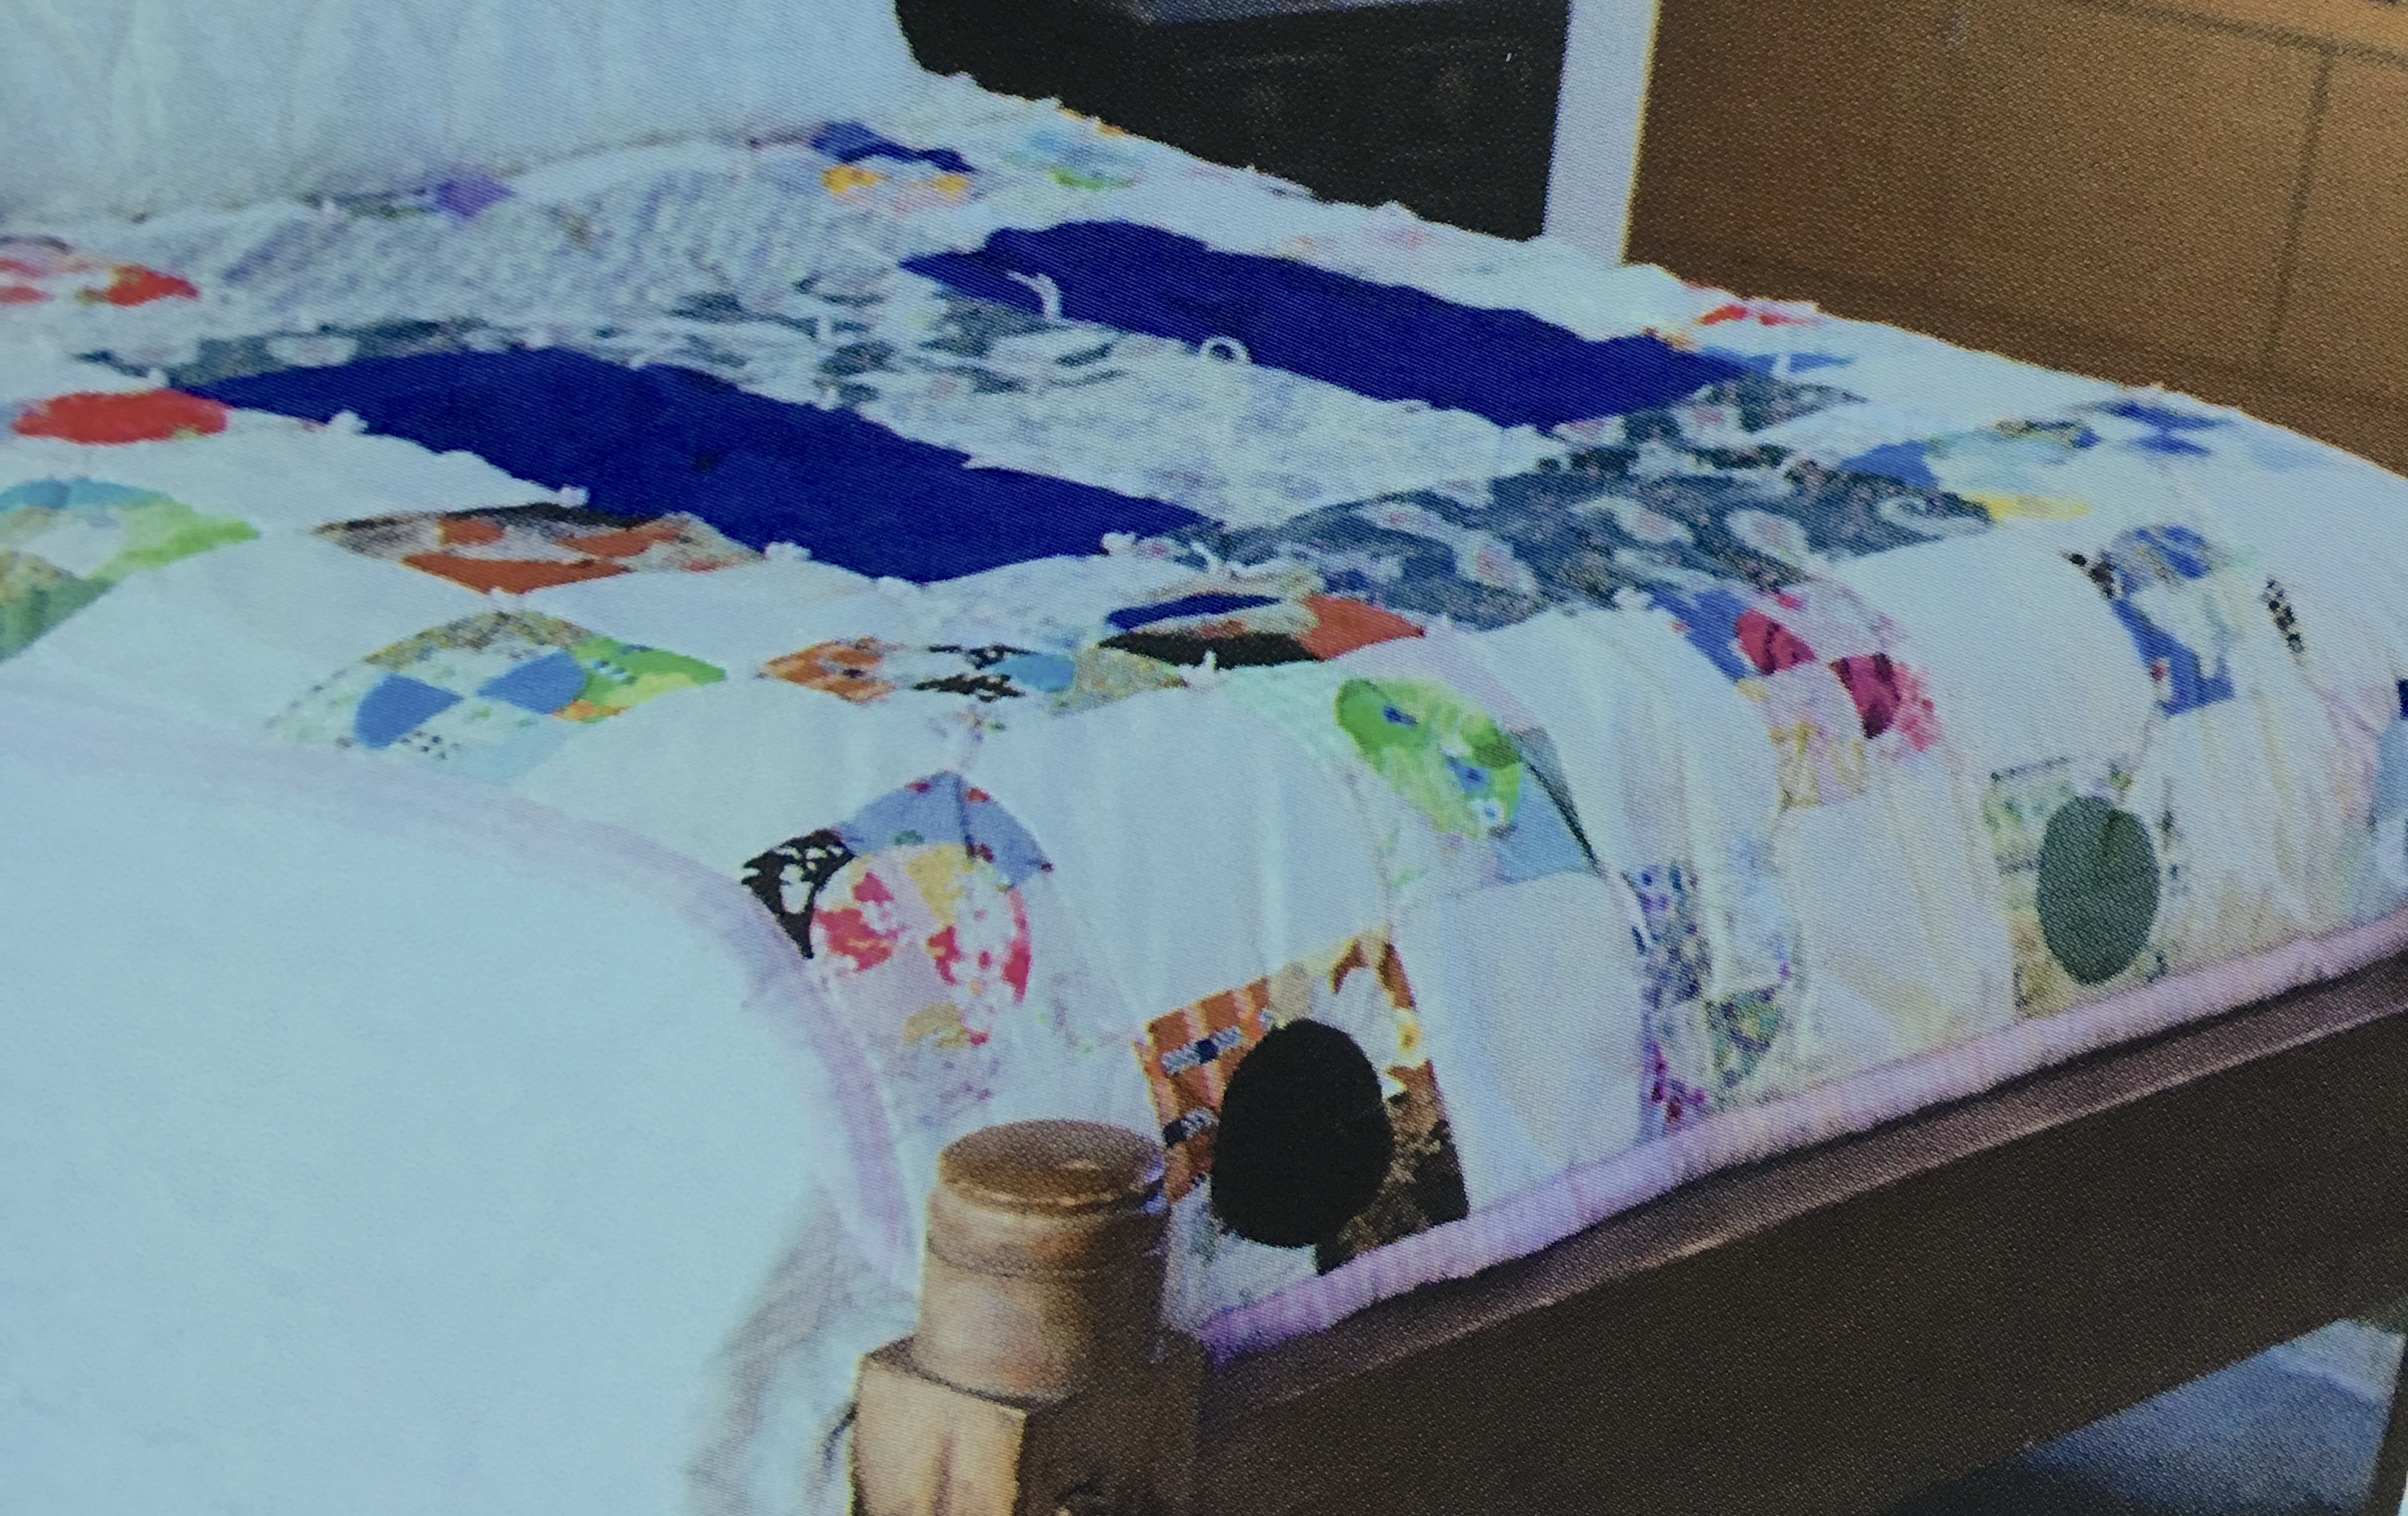
A quick back track, seriously, it will be quick. This is a quilt I made when I was 15 years old for my home economics class in high school, which also included sex education and fire prevention, presumably all things that happen in the home, though not necessarily at the same time…
My First Quilt Ever When I Was Fifteen
In a previous post I wrote that I knew nothing about quilts and quilting and now this photo will show me as an unreliable narrator, but in my defense, when I found Sue Spargo’s class and saw her beautiful art, this project, made more than forty years ago, did NOT leap to mind. As you can see I got a little tired of all those circle blocks and decided to alternate with a plain white block and then in the middle just added huge rectangular pieces of dark blue (a polyester satin-like fabric, if I’m not mistaken, it was the 70’s after all) and some cotton paisley fabric top and bottom, because it was all becoming so endless and tedious. By the time I was finished with the various blocks I tied each corner with a little knot and called it a day. I think I used a polyester filling, not sure I knew the word “batting.” I do not remember particularly loving the process and I think this project may have been the reason I didn’t think much more about quilting for the next forty years!
Okay, so that was brief-ish, right?
I blogged about my first large quilting project ‘here‘ so I won’t go into all of that again, but now I’m at the quilting stage of the quilt. Quilting the quilt is a whole other beast indeed. There are some who like hand quilting and then there are those who like machine quilting and then there are those like me, who think both are amazing and want to do it ALL. Which led me to Free Motion Quilting. This is where you put the feed dogs down on your machine and guide the fabric to obtain beautiful fluid looking stitches that add a whole other layer to your quilt. But since I knew very little about FMQ I decided I needed to take another class. Christina Cameli teaches one on Craftsy called Free Motion Quilting Essentials that I love, as it’s perfect for the beginner (me) and plus, she’s lovely.
I had a quilt sandwich that I’d prepped for another class and began practicing. After a few days I decided to leap in and began quilting the first block I made (and then didn’t like the background fabric and so remade for my queen-sized Flower Pots quilt designed by Kim McLean). I designed a border to match Kim’s queen-sized border and now have a top perfect for a 30″ square pillow, which will go nicely with the queen-sized quilt.
Free Motion Quilting
I started with the center and did swirls and whirls, but ran into problems with my stitch regulator, which broke (it’s still not fixed) but I barreled ahead without it, rationalizing that people make beautiful quilts without stitch regulators all the time. This idea, people-have-been-doing-it-this-way-for-centuries, was also how I rationalized giving birth to both my children without drugs, cutting my own hair, as well as my children’s when they were small (my son may still have some trauma from that.) Then I did the sashing and each 2-inch square was a chance to practice something different, with a different colored thread and finally I began stitching the outer border in a pebble motif, which I love, love, love!
Now here’s the thing… I know people who never pull out stitches, but I’m not one of them. I can. I’ve done it. It makes me very, very uncomfortable. Kind of like fingernails scratching on a chalkboard. So after I finished the outer border, which I really like, I decided the center swirls and whirls had to go. And besides, the stitches were uneven, its all about practice and the process, which I’m thoroughly enjoying… So yeah, I pulled the whole thing out. Yup. Five hours. That’s how long it took. This is what television is for, I’ve decided. My husband watches a couple of movies and I sit beside him allowing my obsessiveness to flow.
Free of Swirls
Now back to quilting. Oh, but what fun, and it’s only just beginning!
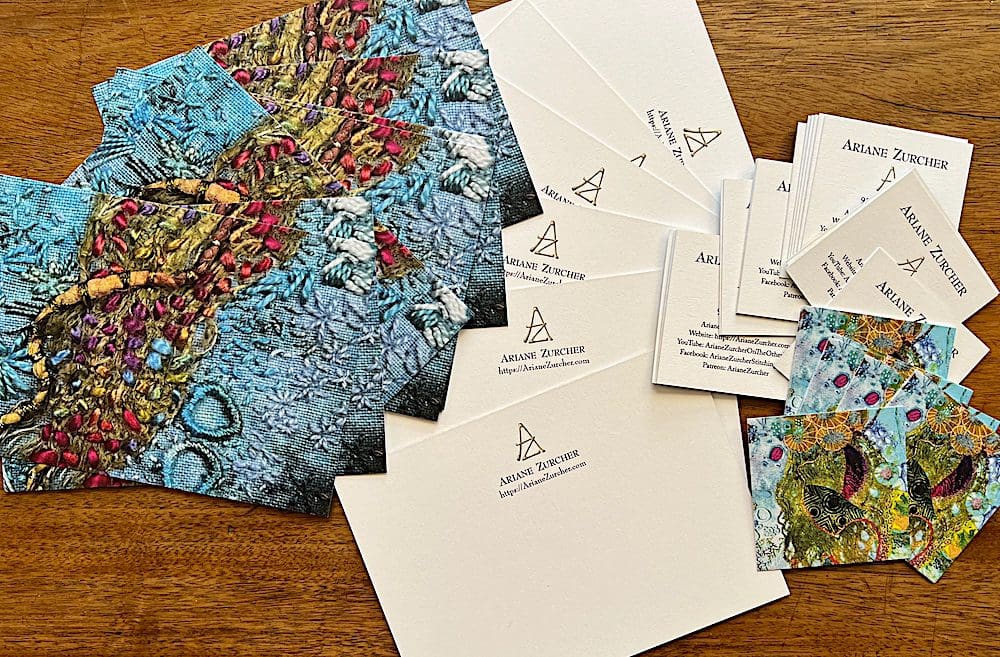
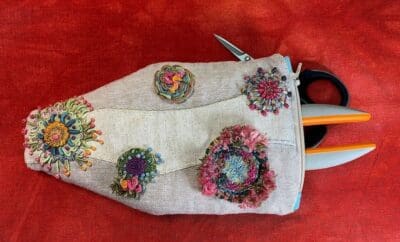
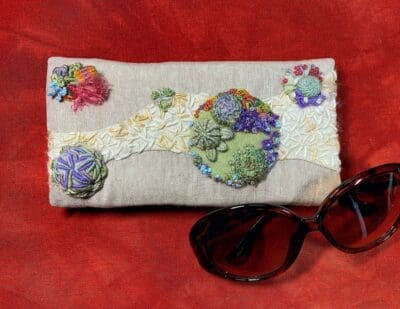
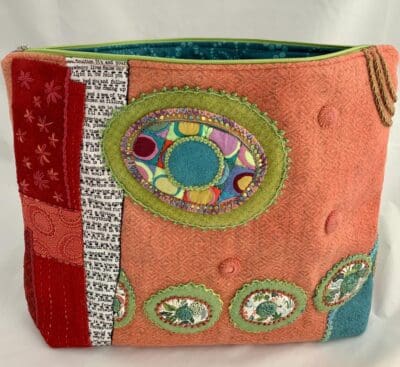
Welcome to my store!
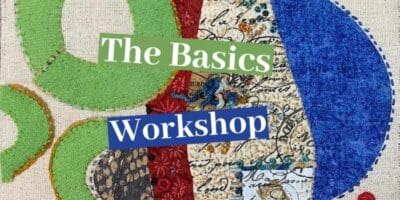
Please browse and look at our patterns available. We also offer Workshops! ~Ariane
 and this…
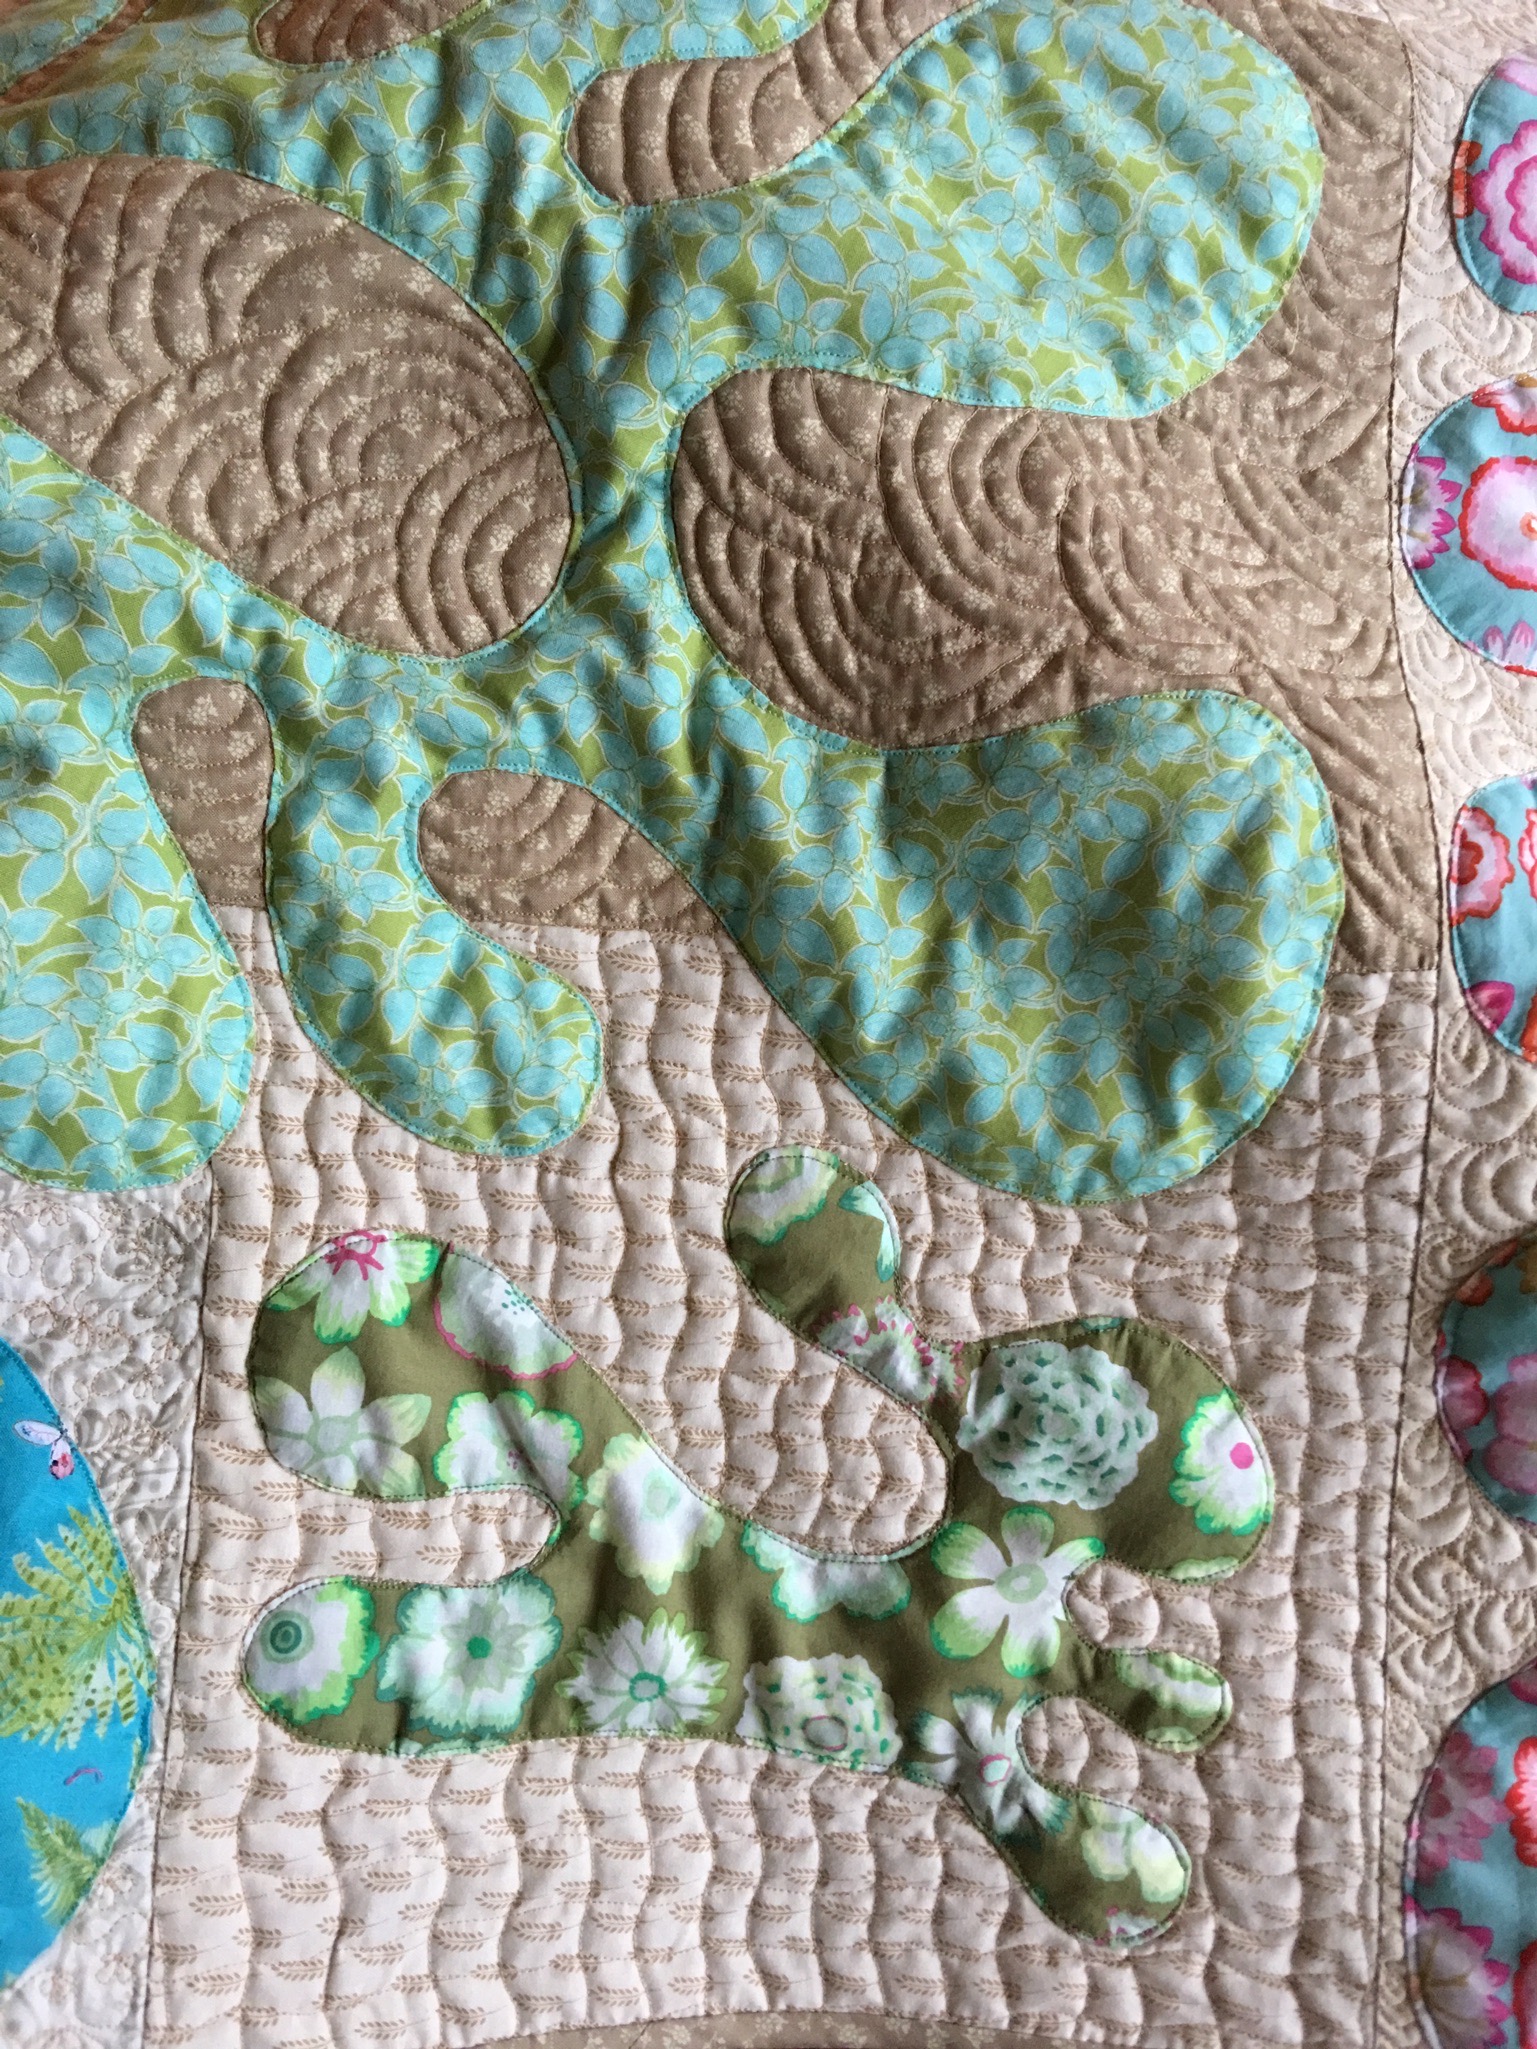 And this…
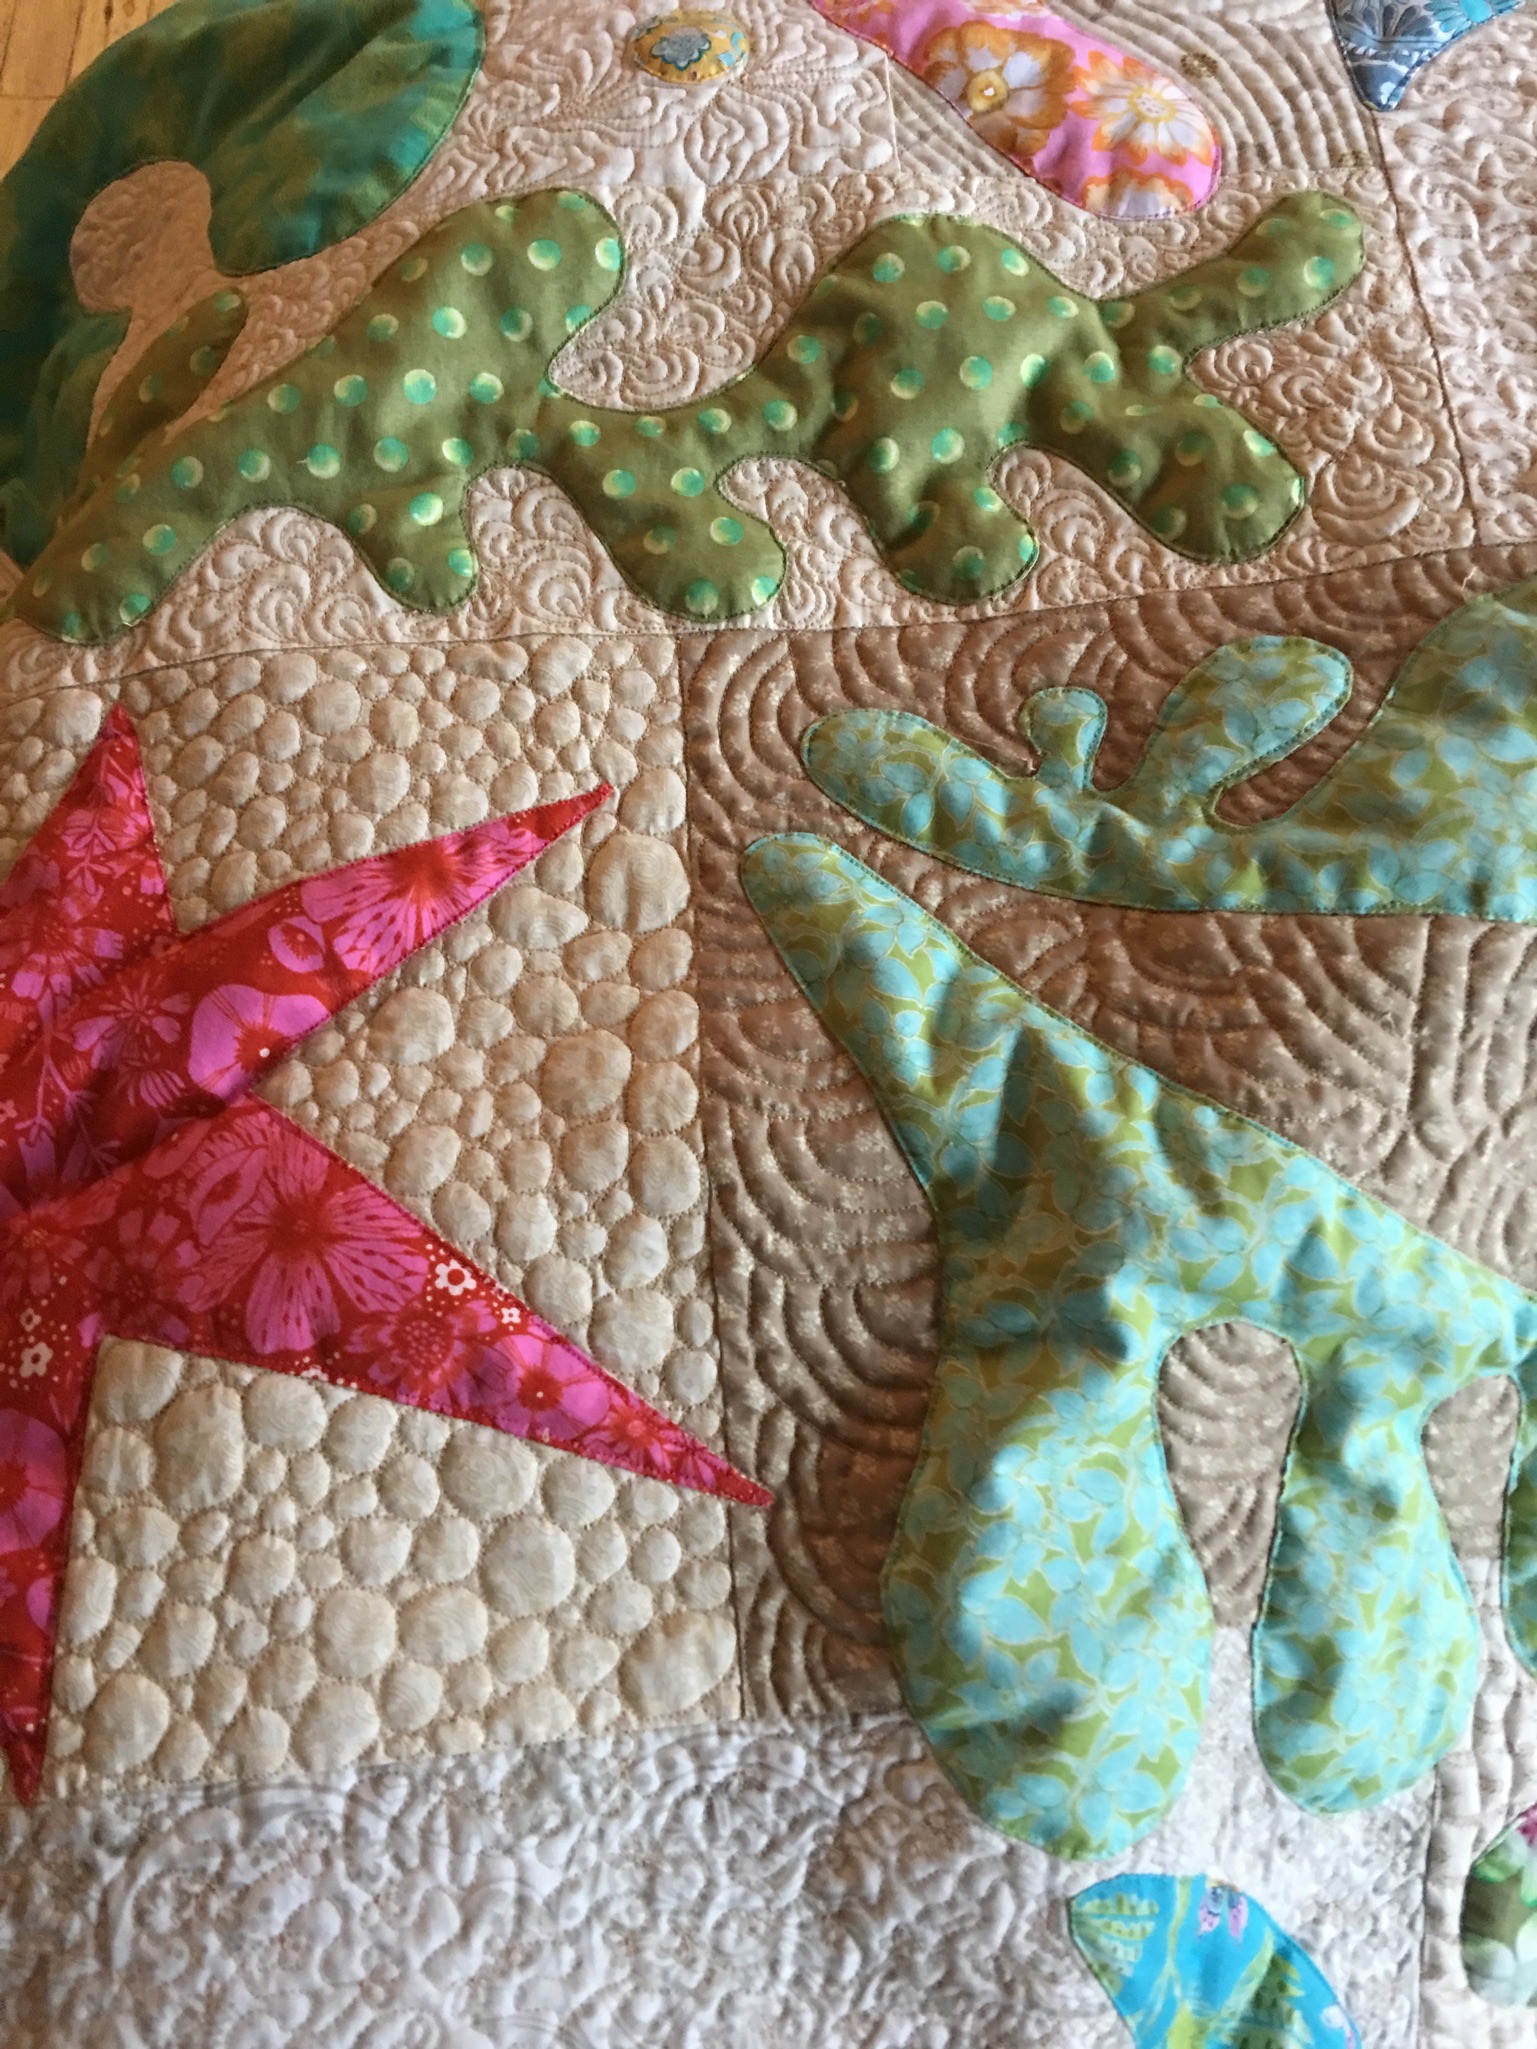
 and this…
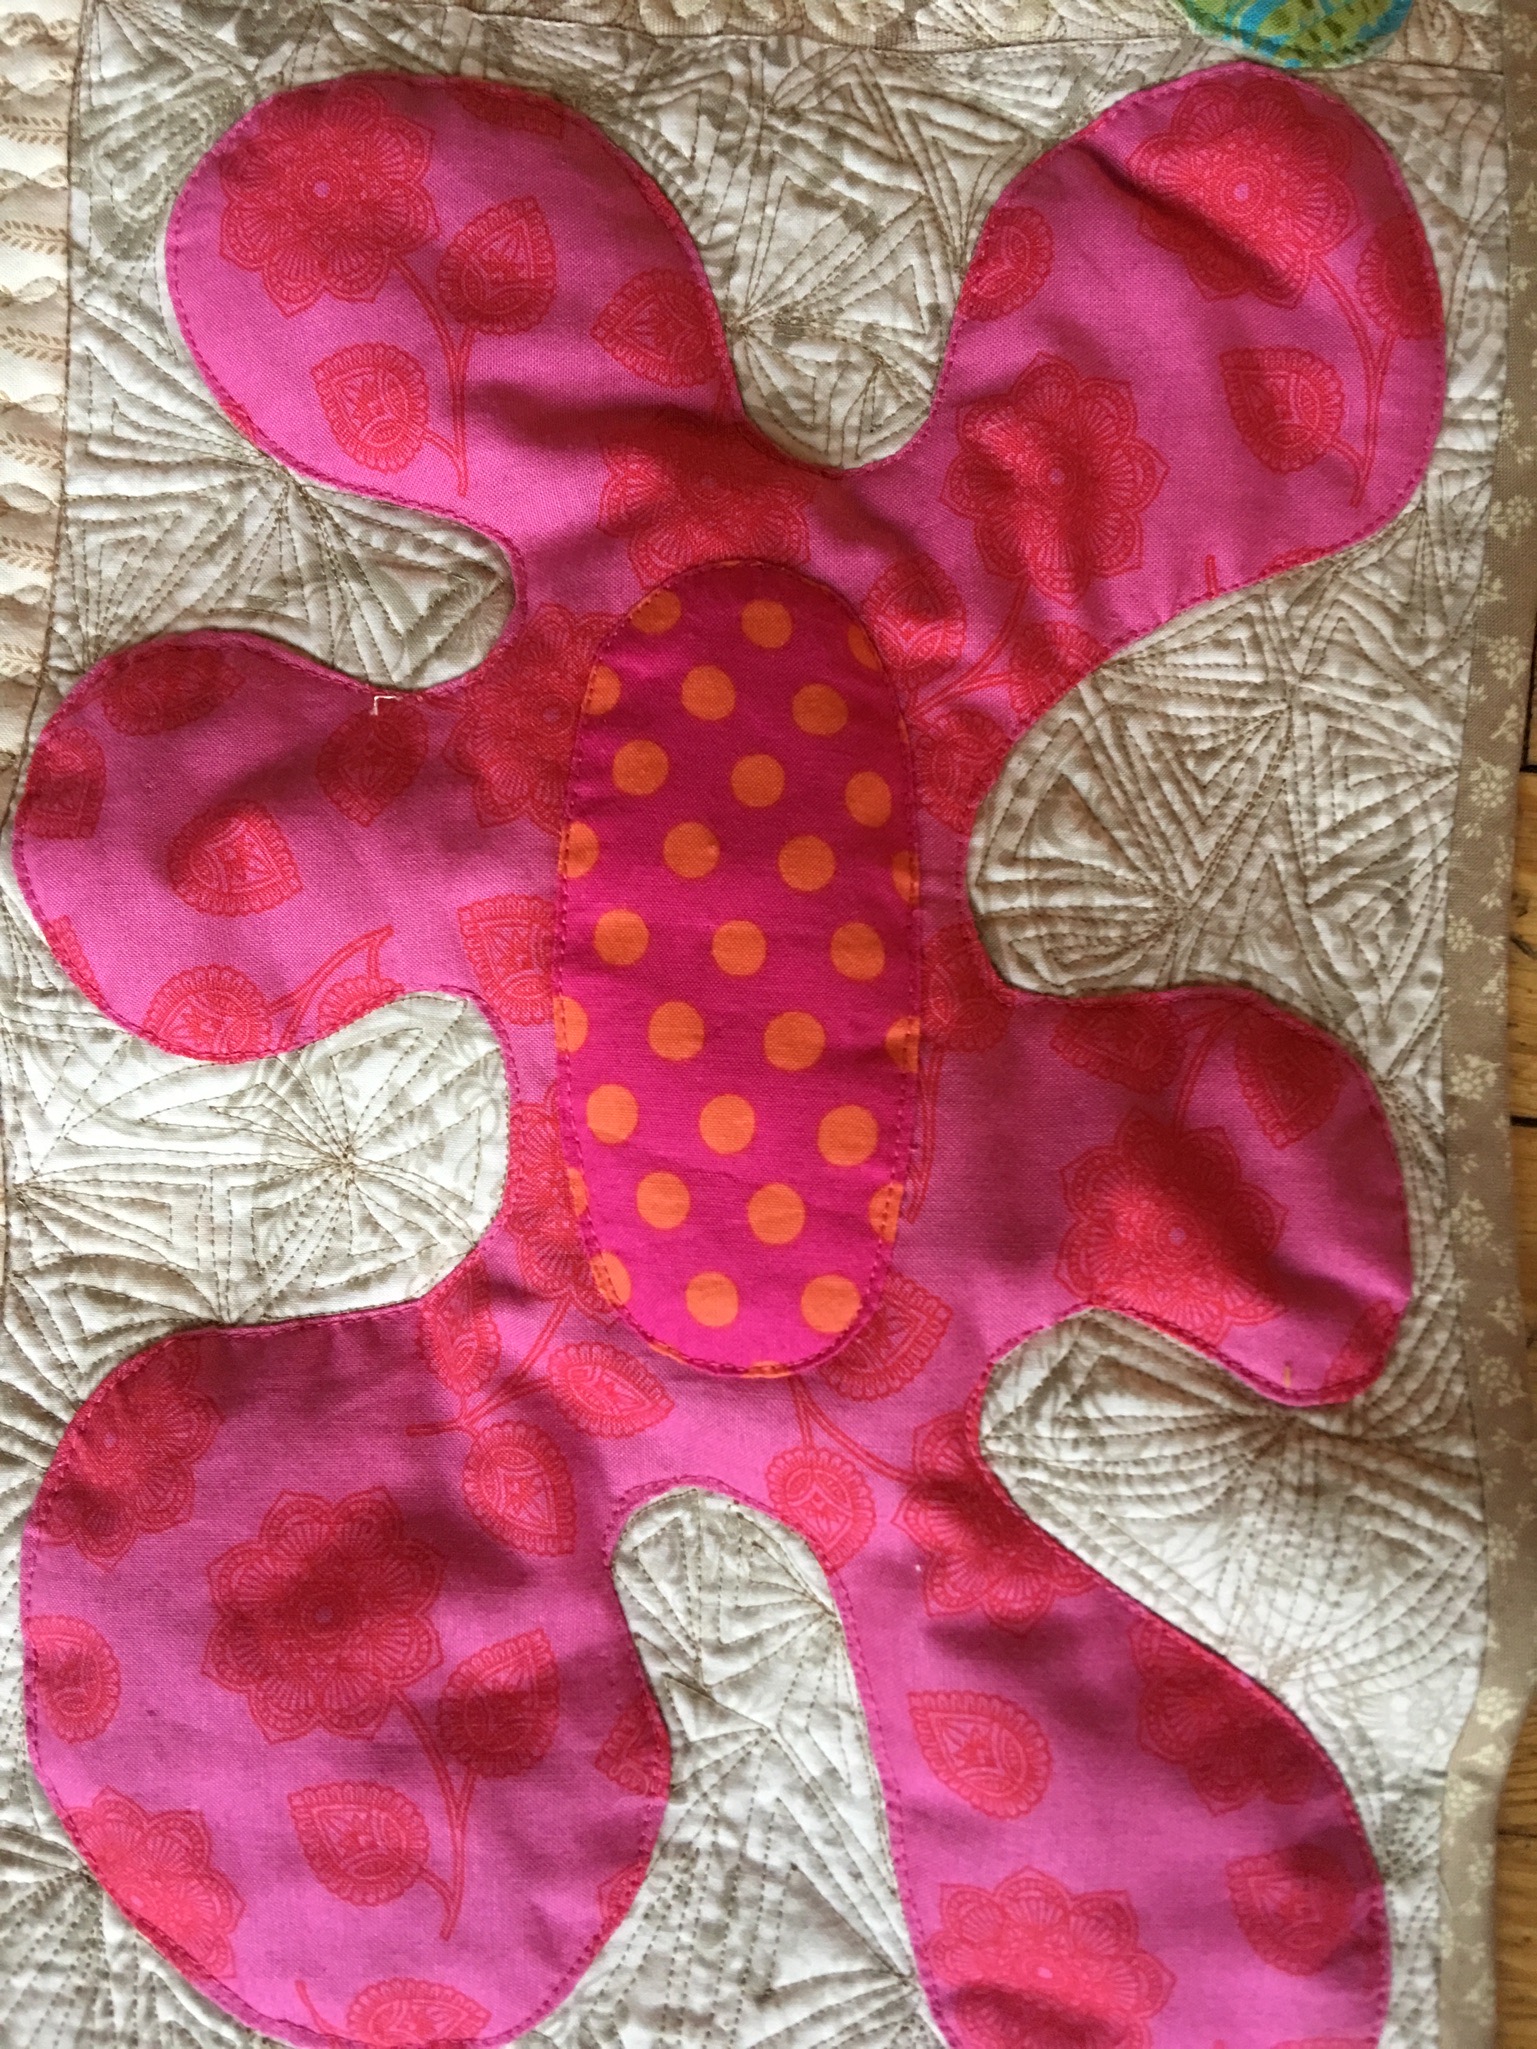 and this…
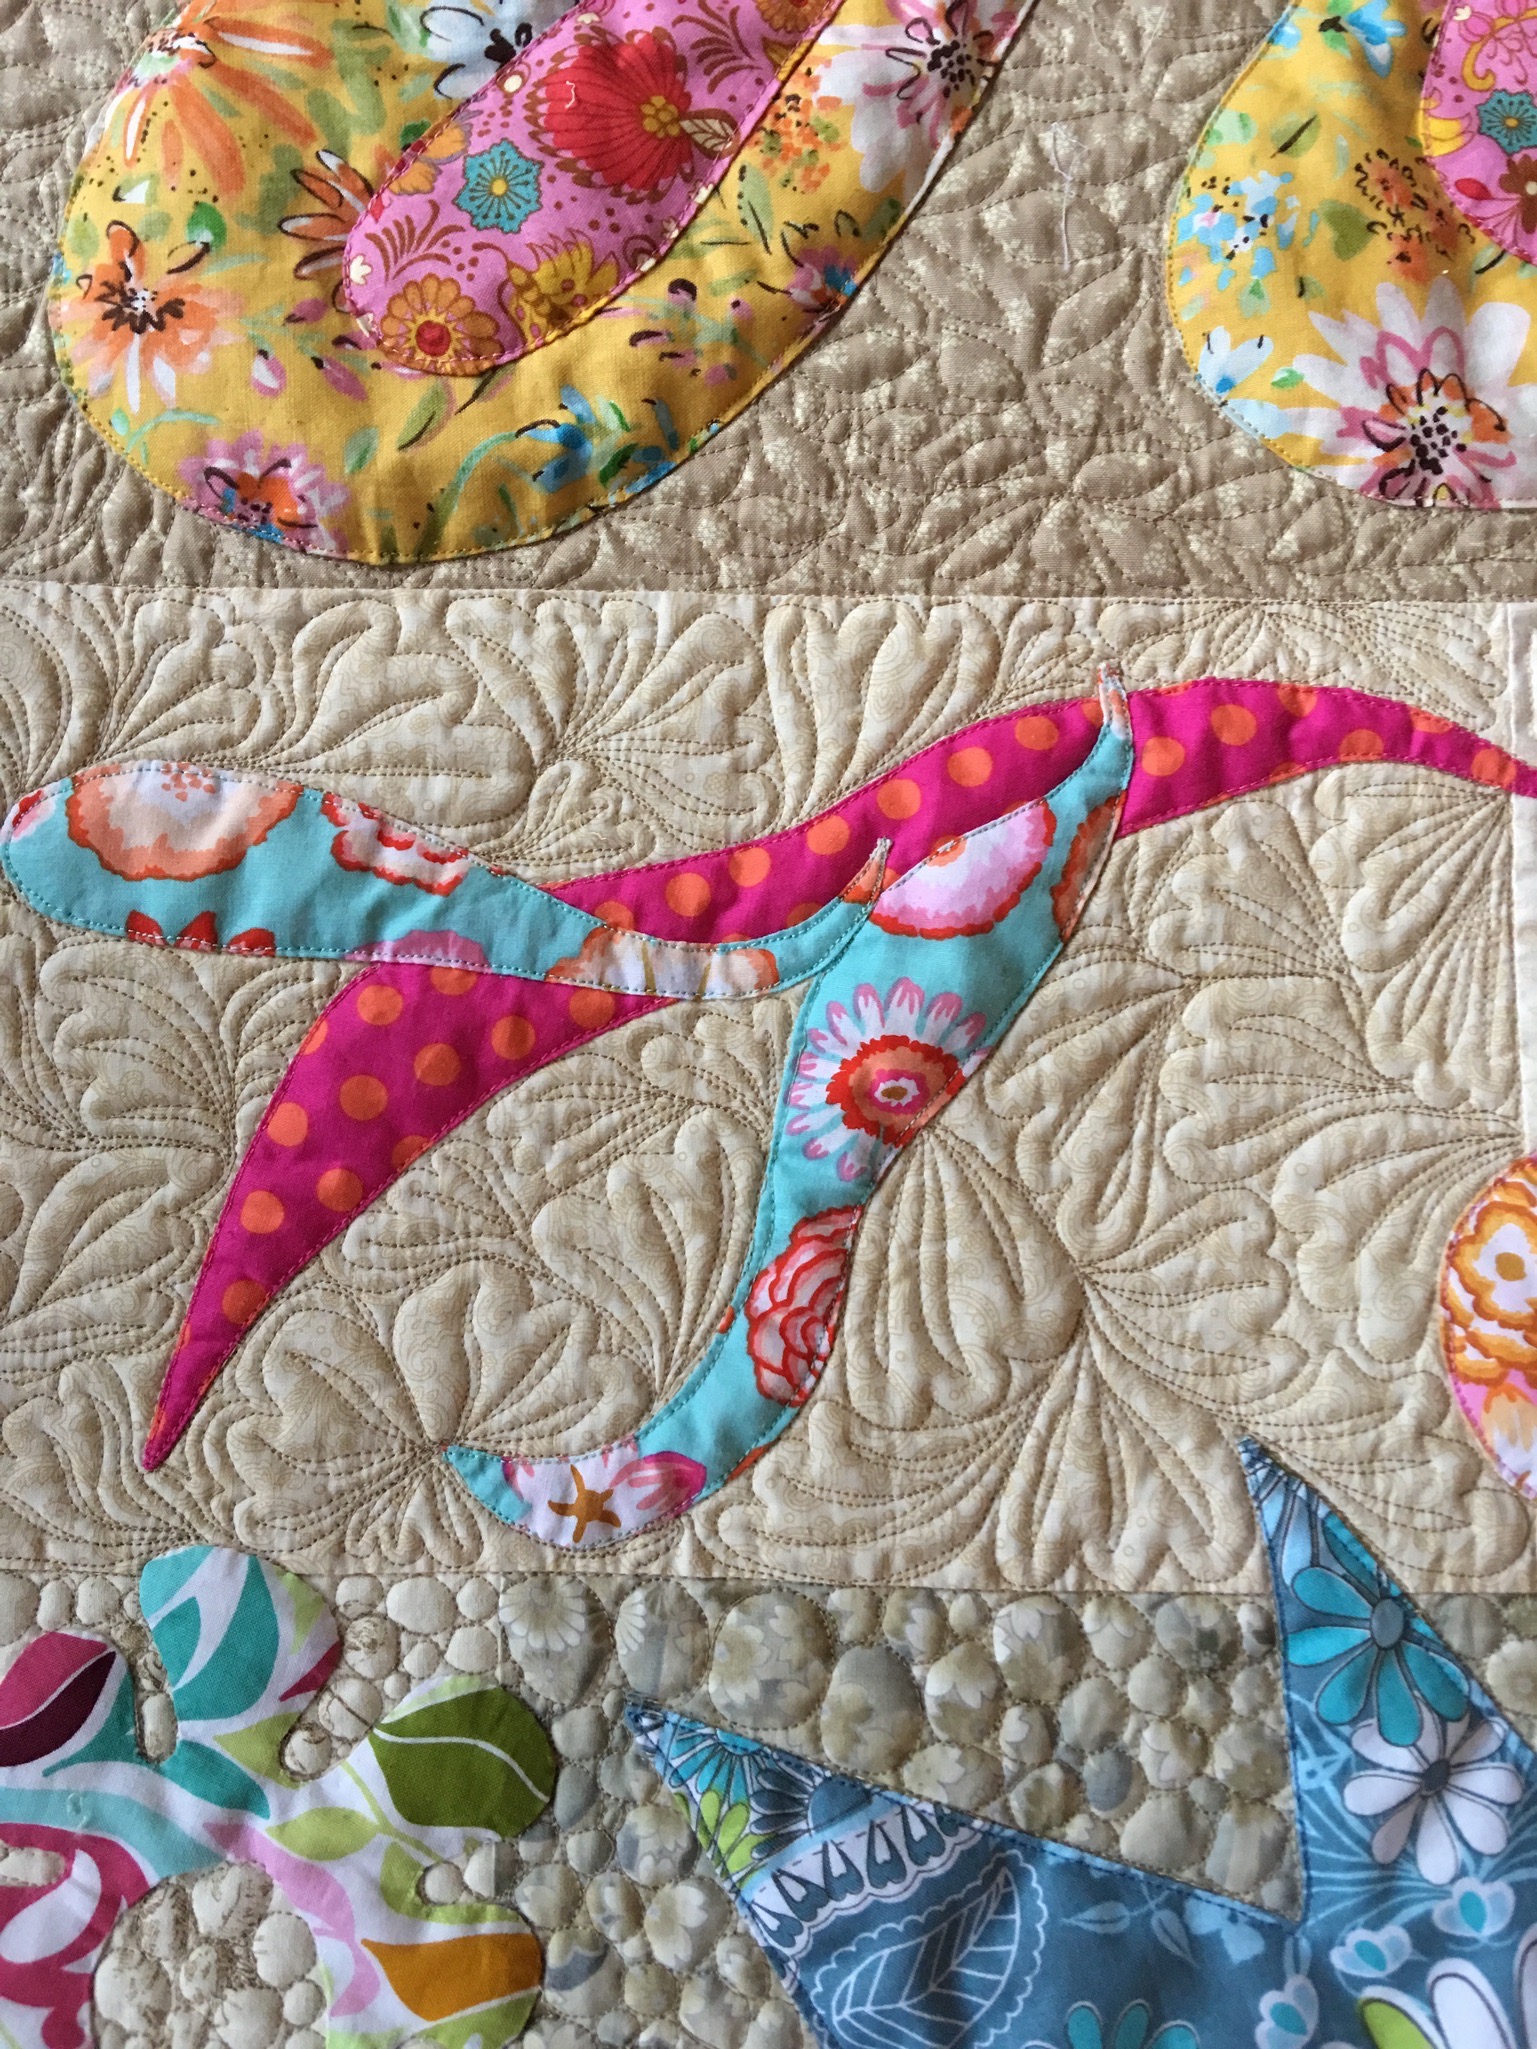 With each block, I tried a different free motion quilting pattern that I thought complimented the shape in the block. I know many feel the shapes themselves should also be quilted and I may have to go back and quilt the larger shapes, but I wanted them to pop, so decided to leave them alone. Once all the blocks were quilted I agonized over the binding. Eventually I opted for the darkest background beige fabric I had used. I cut it on the bias, pieced it together and then following the instructions in Mimi Dietrich’s book, Happy Endings I bound the whole quilt with mitered corners. I added a label and voila!
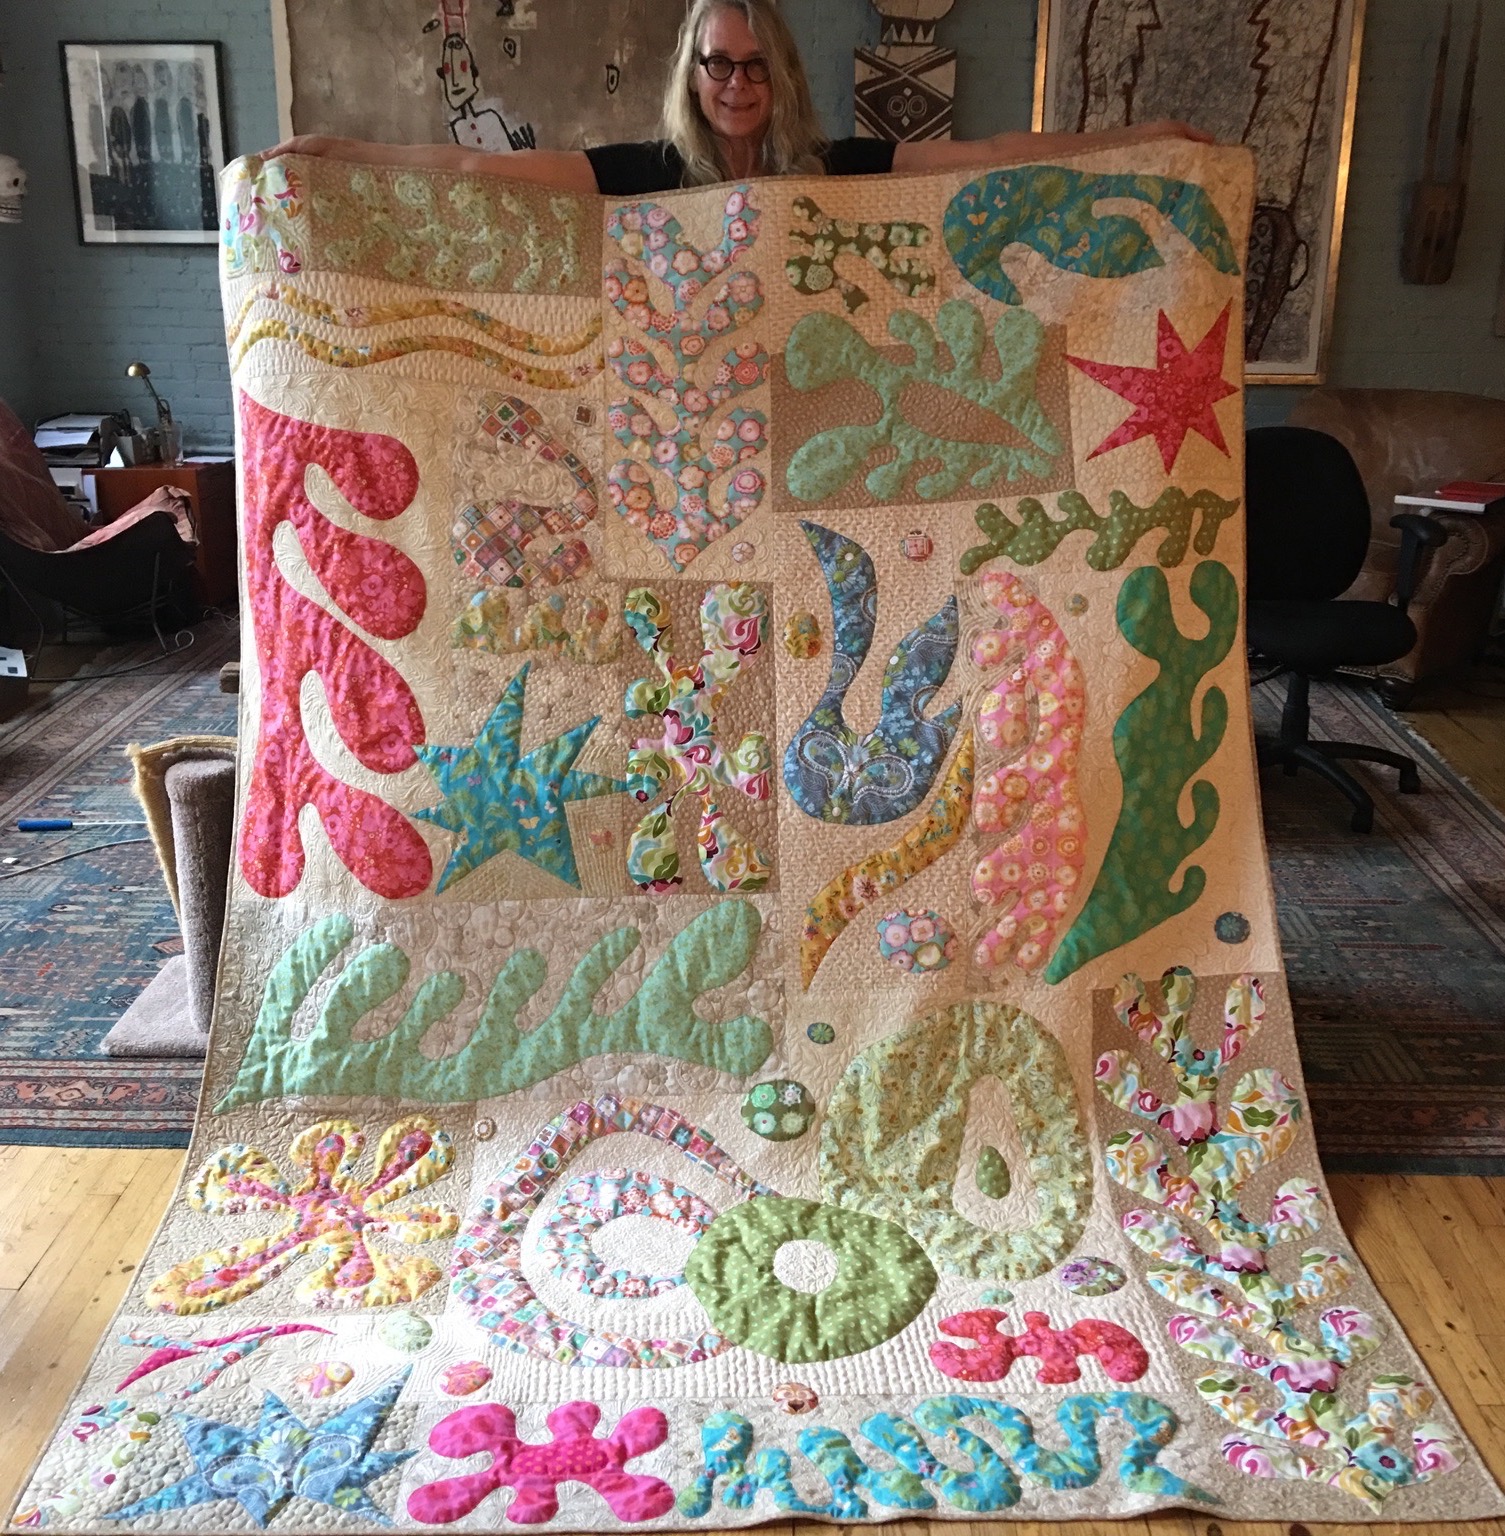
Recent comments